How to Redo Kitchen Cabinets on a Budget
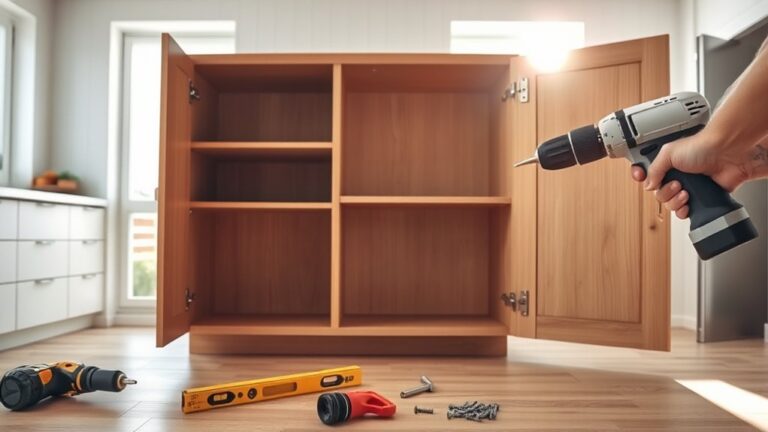
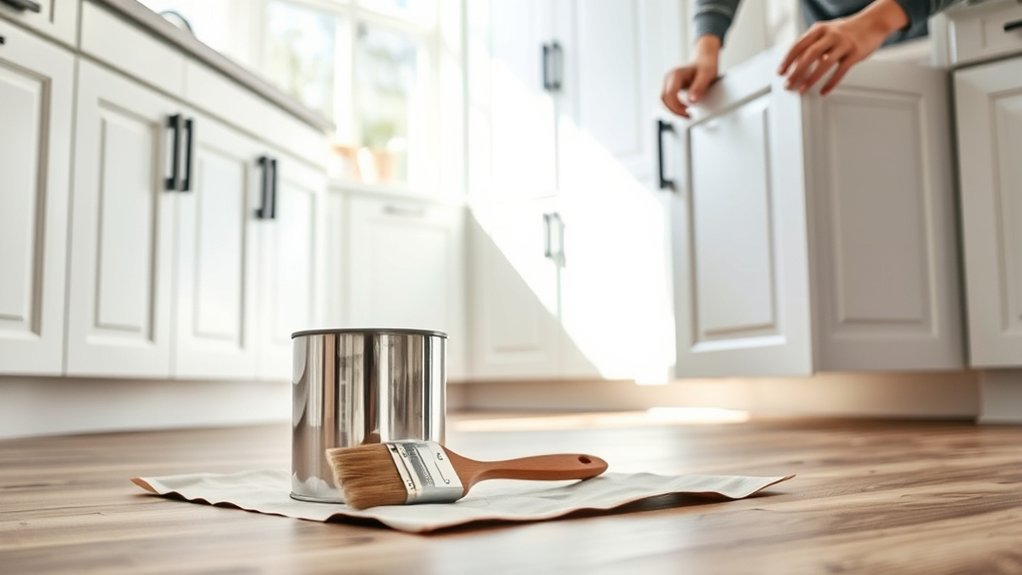
To redo your kitchen cabinets on a budget, start by setting a clear plan and gathering affordable tools like sandpaper, paint, and new hardware.
Cleaning and sanding your cabinets thoroughly is essential to achieve the best results. Fix dents with wood filler before moving on to the next step.
Next, apply a primer to guarantee smooth paint adhesion. Choose cost-effective, eco-friendly paint to refresh your cabinets without breaking the bank.
Updating the hardware is an easy way to give your cabinets a fresh, modern look.
Taking your time with prep and painting will save money and improve results.
Keep going to uncover more smart tips and creative ideas to complete your makeover.
Gather Tools and Budget Supplies for Cabinet Makeover
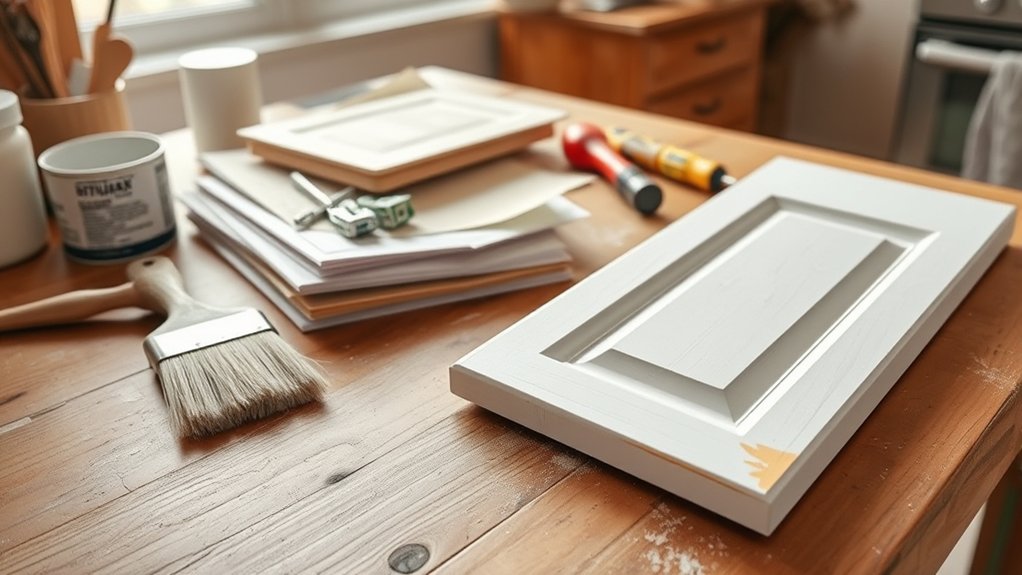
Before you start your cabinet makeover, gather the essential tools and budget-friendly supplies to keep your project on track. Focus on collecting budget tools like a screwdriver, sanding block, paintbrushes, and painter’s tape. These basics won’t break the bank but are vital for a quality finish.
Look for affordable DIY supplies such as primer, paint, and cabinet knobs at discount stores or online sales to save money. Don’t forget drop cloths and cleaning rags to protect your workspace and guarantee a smooth process.
Clean and Prep Cabinets for a Smooth Paint Finish
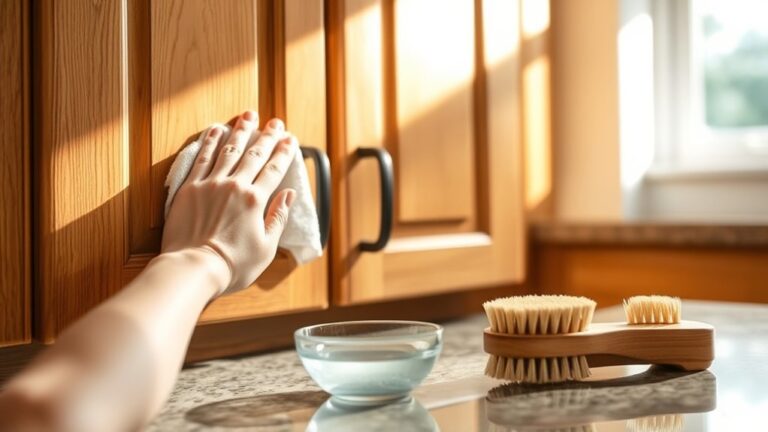
Start by removing all hardware from your cabinets to guarantee you can clean every surface thoroughly. Use a mild cleaner to wipe down the doors and frames, removing grease and dirt that could affect paint adhesion.
Taking these simple steps will save you time and keep your finish smooth and long-lasting.
Remove Hardware Thoroughly
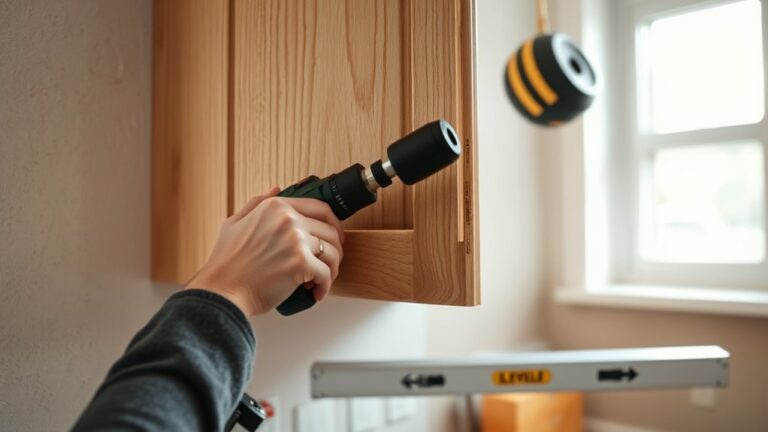
Remove all cabinet hardware carefully to guarantee a smooth painting surface. Start by identifying the hardware types: knobs, pulls, or hinges, since each demands specific removal techniques. Use a screwdriver that fits the screws perfectly to avoid stripping.
For knobs and pulls, unscrew them gently, placing all screws and hardware in a labeled container to save for reuse or resale. Hinges may require removing multiple screws; keep track of their locations for easy reinstallation.
Avoid forcing hardware off, as this can damage the cabinet surface and increase repair costs. If any screws are stuck, apply a bit of lubricant and wait a few minutes before trying again. Taking these careful, cost-conscious steps assures your cabinets are prepped well without unnecessary expense or damage.
Clean Surfaces Completely
A clean surface is essential to guarantee your paint adheres properly and lasts longer. Start with cabinet cleaning by wiping down all surfaces with a degreaser or a mix of warm water and mild dish soap. This removes dirt, grease, and grime, ensuring perfect surface preparation.
Don’t skip rinsing with clean water afterward to avoid residue. Use a sponge or a soft cloth and dry completely before painting.
| Step | Tip |
|---|---|
| 1. Remove hardware | Keeps surfaces accessible |
| 2. Degrease cabinets | Use affordable dish soap |
| 3. Rinse thoroughly | Prevents paint peeling |
| 4. Dry completely | Avoids paint bubbling |
Proper cabinet cleaning is a budget-friendly way to prep your cabinets for a smooth, lasting finish.
Fix Common Cabinet Problems Before Painting
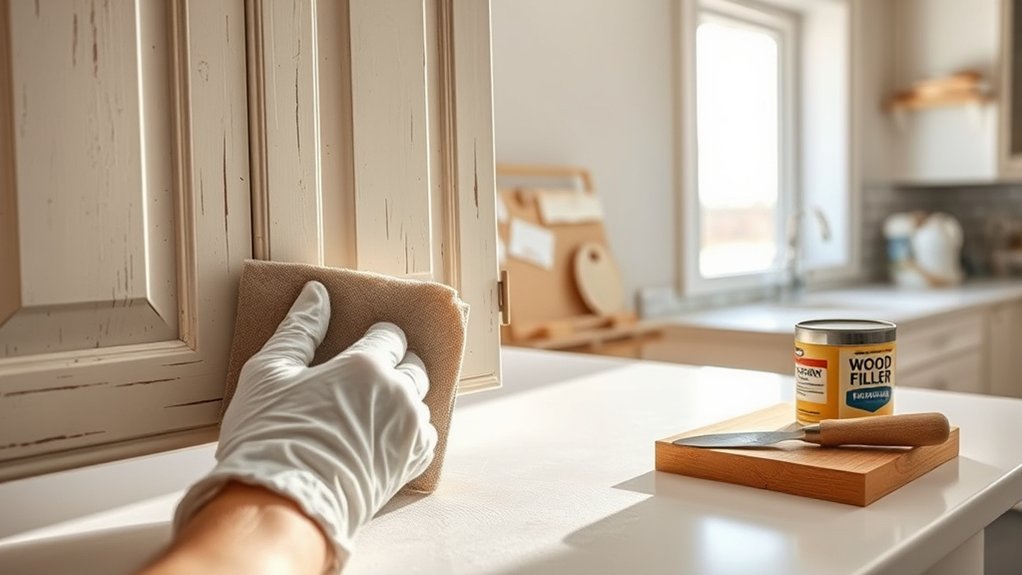
Before you start painting, take time to fix scratches and dents with wood filler or putty for a smooth surface.
Make sure to thoroughly clean and degrease your cabinets to help the paint stick better. These simple steps save you money and guarantee a professional-looking finish.
Repairing Scratches And Dents
Although scratches and dents might seem minor, addressing them properly guarantees a smooth, professional finish when you paint your cabinets. Start with scratch repair by lightly sanding the damaged area to remove rough edges.
Use a wood filler or putty designed for cabinets, applying it directly onto the scratch with a putty knife. For dent filling, press the filler firmly into the dent and smooth it out.
Let the filler dry completely, then sand the surface until it’s flush with the surrounding wood. Choose a cost-effective filler that matches your cabinet material, and buy only what you need to save money.
Taking these steps assures your cabinets look flawless after painting without spending extra on replacements or professional repairs.
Cleaning And Degreasing Cabinets
Start by thoroughly cleaning and degreasing your cabinets to remove built-up grime, oils, and residues that can prevent paint from adhering properly. Use effective cleaning techniques like wiping with a mixture of warm water and mild dish soap to break down surface dirt.
For tougher grease, apply a degreasing solution such as a vinegar-water mix or a commercial kitchen degreaser. Be sure to test any solution on a small area first to avoid damage. Use a soft cloth or sponge to avoid scratching the surfaces.
Rinse with clean water and dry completely before moving on. This step is essential and cost-effective, ensuring your paint job lasts longer without peeling or bubbling. Proper cleaning sets the foundation for a smooth, professional-looking finish.
Choose the Best Paint and Finish for Kitchen Cabinets
Selecting the right paint and finish is essential to achieving durable and attractive kitchen cabinets that fit your style and budget. Start by considering eco friendly options like low-VOC or water-based paints. They’re safer and often easier to clean.
Think about color psychology: light colors can make your kitchen feel larger and more inviting, while darker shades add sophistication. Choose a finish that balances durability and appearance. Semi-gloss or satin finishes resist moisture and are easy to wipe down.
Keep in mind these tips:
- Pick paint designed for cabinets or trim for better adhesion.
- Test small areas to check color and finish.
- Prioritize finishes that withstand kitchen humidity.
- Factor in drying time to avoid project delays.
- Compare prices to find quality paint within your budget.
Paint Your Kitchen Cabinets Like a Pro
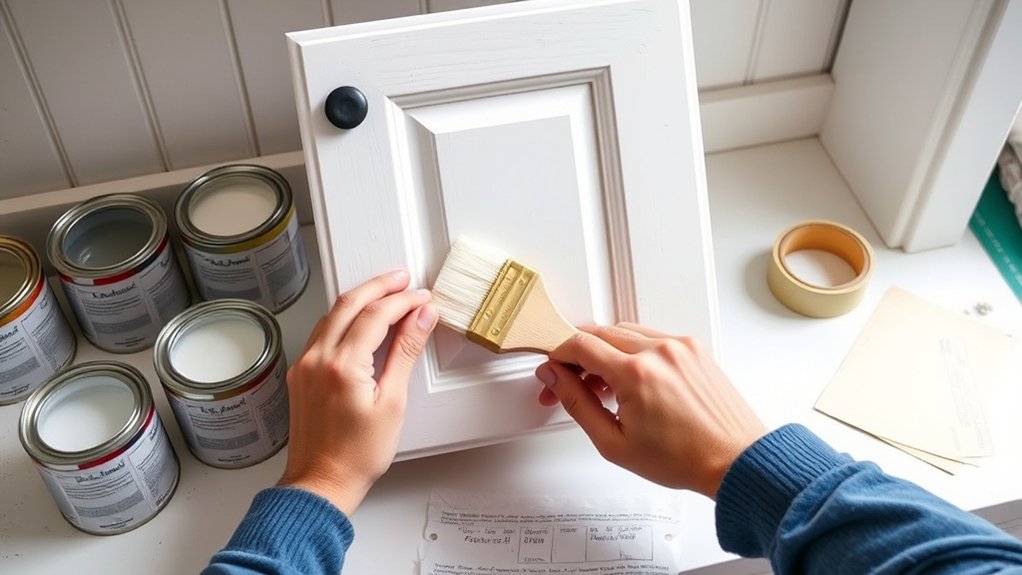
Prepare your workspace carefully before you paint to guarantee a smooth, professional finish on your kitchen cabinets. Start by removing all cabinet doors and hardware, then clean surfaces thoroughly to eliminate grease and dust. Lightly sand the cabinets to help the paint adhere better.
When choosing colors, consider current cabinet color trends like soft grays, classic whites, or deep navy for a fresh, modern look. Use a high-quality primer to seal the wood, preventing stains and uneven tones.
Apply paint using proper painting techniques: use a foam roller for flat areas and a brush for edges to avoid streaks. Multiple thin coats dry faster and create a durable finish. Be patient. Allow each coat to dry fully before adding the next. This approach saves money and delivers impressive results.
Replace Hardware to Update Your Cabinets Instantly
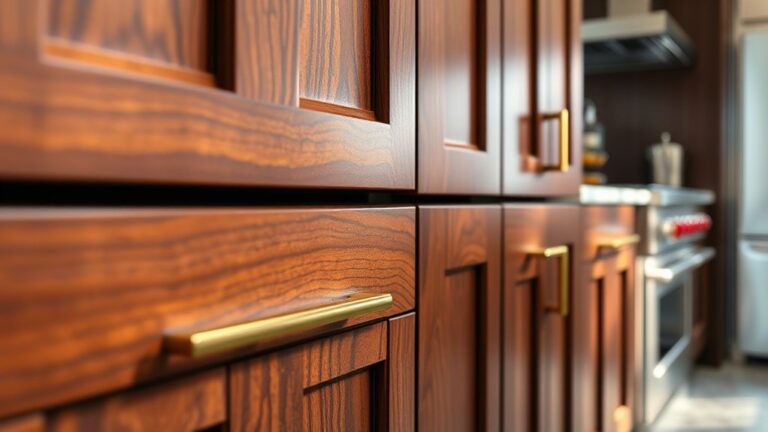
Give your kitchen cabinets an instant facelift by swapping out old hardware for new handles and knobs. This simple change refreshes your space without breaking the bank. Start by choosing hardware styles that complement your cabinet design. Sleek modern pulls or classic vintage knobs work well. Consider current color trends like matte black, brushed gold, or satin nickel to match your kitchen’s vibe.
Here’s how to get started:
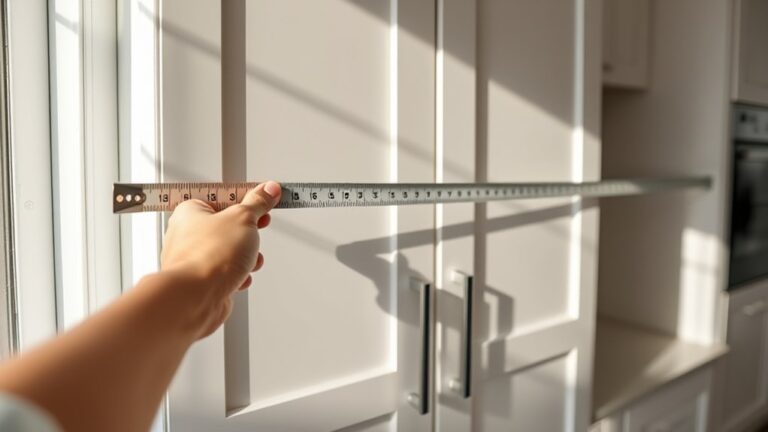
- Measure existing hardware spacing for an easy swap.
- Select durable materials within your budget.
- Use a screwdriver to remove old hardware carefully.
- Align new handles and knobs correctly before screwing them in.
- Clean cabinets before installation for a polished look.
Updating hardware is a quick, cost-conscious way to elevate your kitchen’s style instantly.
Creative Ideas to Personalize Your Kitchen Cabinets
When you want your kitchen to truly reflect your personality, adding creative touches to your cabinets can make all the difference. Start by choosing color schemes that match your style, whether bold and bright or soft and neutral. Painting your cabinets in a fresh color is an affordable way to personalize the space.
Next, consider using stencil designs to add unique patterns or accents on cabinet doors. You can find inexpensive stencils online or make your own for a custom look. Another idea is to apply adhesive vinyl decals for quick, removable decoration.
Don’t forget to mix and match these ideas to fit your budget and taste. By focusing on color schemes and stencil designs, you’ll create a kitchen that feels truly yours without overspending.
Frequently Asked Questions
How Long Does a Kitchen Cabinet Makeover Usually Take?
You’ll usually spend 2-5 days on a cabinet makeover, depending on cabinet colors and painting techniques. Plan drying times carefully, use cost-conscious supplies, and prep thoroughly to get great results without dragging the project out.
Can I Redo Cabinets Without Removing the Doors?
Yes, you can redo cabinets without removing doors by using cabinet refinishing techniques like light sanding and cleaning. Try door painting methods such as spraying or rolling paint carefully to save time and reduce costs effectively.
What Are the Best Budget-Friendly Stores for Cabinet Supplies?
You’ll find budget-friendly cabinet supplies at IKEA for affordable IKEA hacks and local thrift stores for unique thrift store finds.
Combine these with discount hardware stores to save money while upgrading your kitchen cabinets effectively.
How Do I Protect My Kitchen During the Cabinet Painting Process?
Picture your kitchen spotless. Lay drop cloths to catch drips and shield floors. Remove or cover cabinet hardware with painter’s tape to avoid damage.
These simple steps keep your space clean without extra costs or hassle.
Are There Eco-Friendly Paint Options for Kitchen Cabinets?
Yes, you can choose eco-friendly brands like Benjamin Moore Natura or Sherwin-Williams Harmony. They use sustainable materials, reduce toxins, and are budget-friendly.
Always check labels for low VOCs to keep your kitchen safe and green.