How to Mount Kitchen Cabinets to Wall
To mount kitchen cabinets to the wall, first locate your wall studs using a stud finder and mark their centers for secure anchoring.
Cleaning and preparing your walls is essential—fill any holes and sand the surface smooth to ensure a good hold.
Use a level and chalk line to mark the exact cabinet positions accurately.
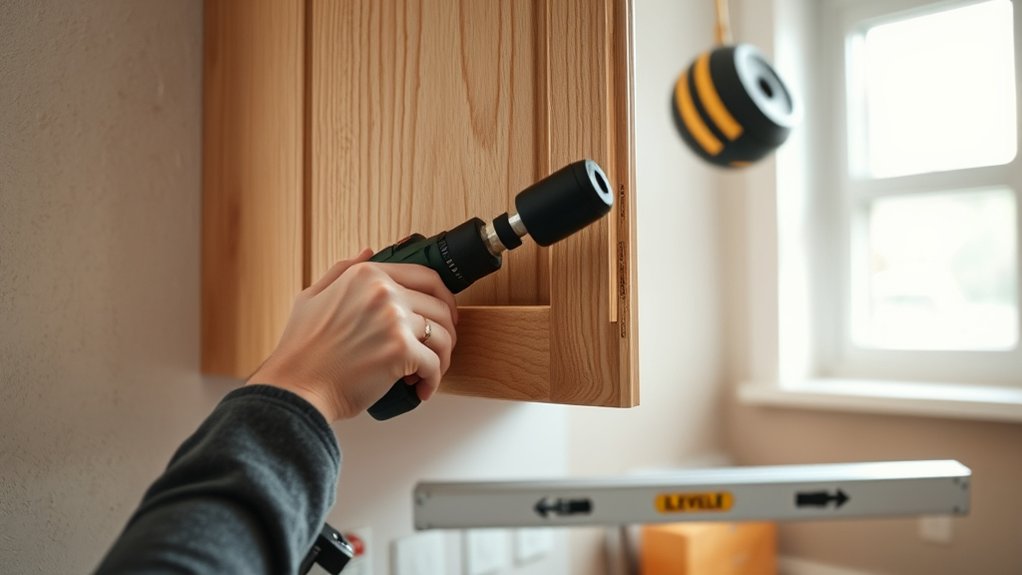
Lift the cabinets carefully and fasten them with appropriate screws directly into the studs.
Clamp the units together to maintain proper alignment during installation.
Once secured, adjust the hinges for perfect door alignment.
Finally, install finish trim to give your cabinets a polished, professional look.
Keep following for detailed steps and pro tips to guarantee a perfect install.
Understand Wall Structure and Locate Wall Studs
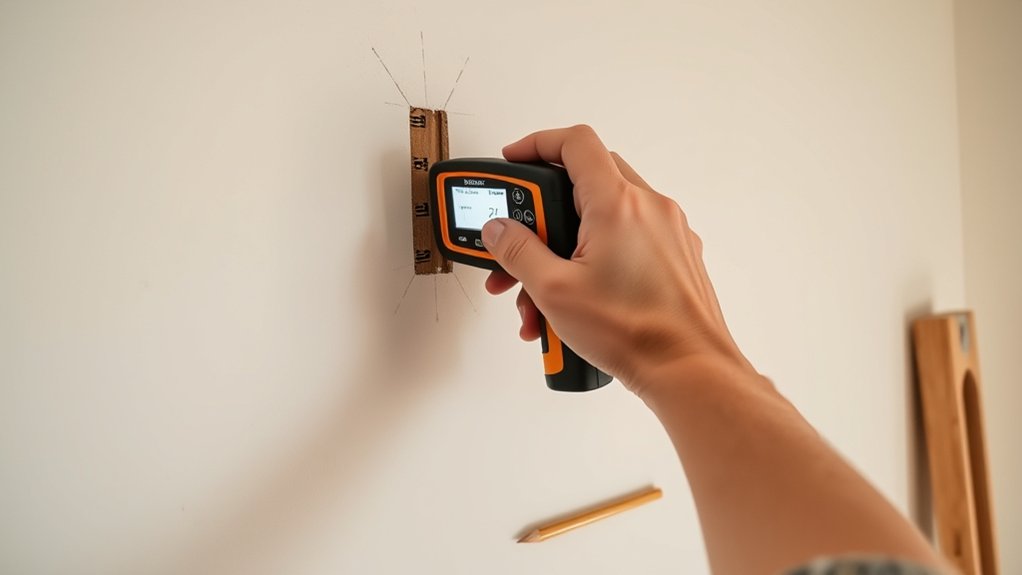
Before you begin mounting kitchen cabinets, you need to understand the wall structure and locate the studs that will support the weight. Most interior walls are either drywall over wood studs or sometimes metal studs, depending on your home’s construction.
Wood studs typically have standard stud spacing of 16 or 24 inches on center, but it’s essential to confirm this on your wall. Use a stud finder to accurately locate each stud, marking their edges and centers for precise cabinet anchoring.
Be aware that wall types like plaster or masonry require different handling, but for drywall and wood studs, mounting directly into the studs guarantees a secure hold. Avoid fastening solely into drywall; this won’t support your cabinets’ weight safely.
Identifying stud spacing and wall types is your foundation for a successful installation.
Pick the Right Tools and Materials for Kitchen Cabinets
When mounting kitchen cabinets, choosing the right tools and materials guarantees a smooth installation and lasting results. Start with a quality stud finder, drill, level, and screwdrivers.
Select screws appropriate for your wall materials. Use longer wood screws for drywall over studs, and toggle bolts or anchors for drywall without studs. Measure precisely to fit the cabinet styles you’ve chosen, as frameless or face-frame cabinets may require different mounting techniques.
Have clamps ready to hold cabinets in place while securing them. Use a stud finder to locate solid support behind your walls, making sure your cabinets won’t sag or pull away over time.
Don’t forget safety gear like gloves and eye protection. Preparing with the right tools tailored to your wall materials and cabinet styles minimizes setbacks and assures a secure, professional finish.
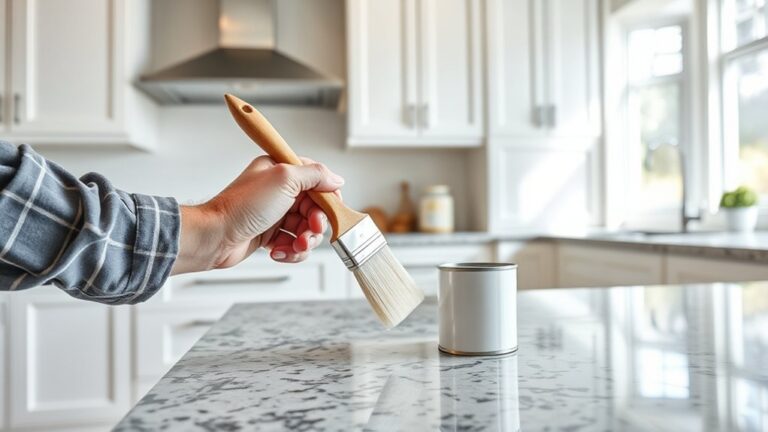
Clean and Prepare Walls for Kitchen Cabinet Installation

Clear the walls thoroughly to affirm a solid, clean surface for your kitchen cabinets. Start with wall cleaning using a mild detergent and warm water to remove grease and dust. After drying, inspect for holes or uneven spots.
Fill holes with spackle, sand smooth, and wipe away dust. Proper surface preparation affirms strong cabinet adhesion and prevents damage.
| Step | Action |
|---|---|
| 1. Wall Cleaning | Use detergent, warm water |
| 2. Drying | Let walls dry completely |
| 3. Repair | Fill holes, sand uneven areas |
| 4. Final Wipe | Remove sanding dust |
Following these precise steps will set a reliable foundation for mounting your kitchen cabinets securely.
Level and Mark Kitchen Cabinet Positions Accurately
Although mounting cabinets might seem straightforward, leveling and marking their positions accurately is essential to guarantee a flawless fit and appearance. Start by using a reliable level to draw a horizontal guideline across the wall where the bottom of the cabinets will sit. This assures all cabinets align perfectly.
Use alignment tools like a laser level or a chalk line for precision. Next, apply marking techniques to indicate stud locations and cabinet edges directly on the wall. Mark the top and bottom edges of each cabinet’s placement clearly, referencing your guideline.
Double-check measurements to avoid errors. Accurate markings help prevent uneven gaps and misalignment, making the installation process smoother and more professional-looking. Taking time for precise leveling and marking saves corrections later.
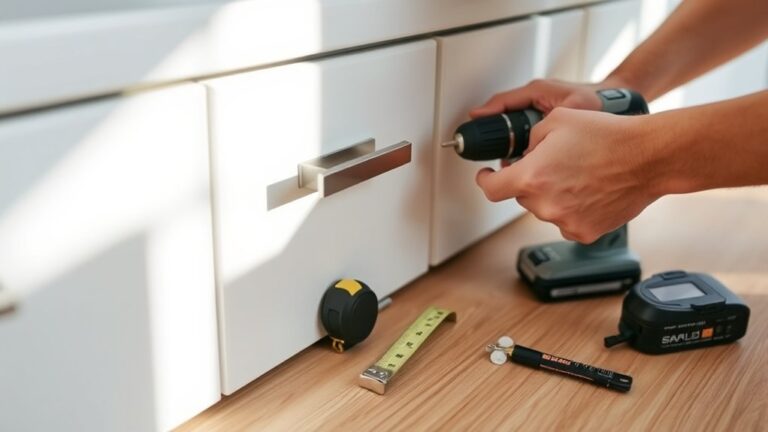
Safely Lift and Fasten Kitchen Cabinets to the Wall
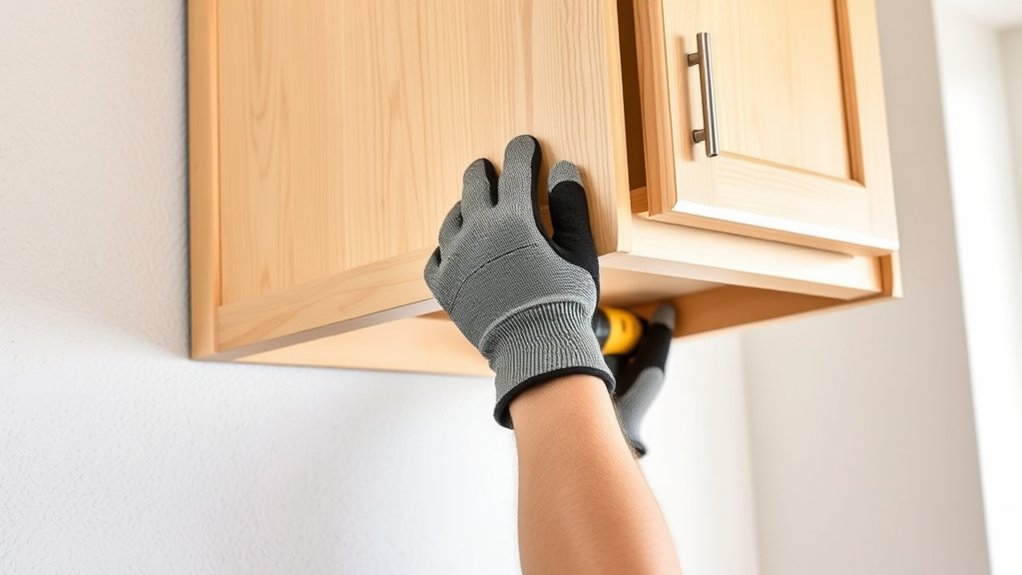
You’ll need to use proper lifting techniques to avoid injury and keep the cabinet steady as you position it. Once aligned with your markings, secure the cabinet firmly using the right screws and anchors for your wall type.
Taking these steps guarantees the cabinet stays level and safely mounted.
Proper Lifting Techniques
Lift kitchen cabinets carefully to prevent injury and guarantee accurate placement. Start by adopting a proper lifting posture: keep your back straight, bend your knees, and use your legs to lift. Ergonomic techniques reduce strain and improve control.
Always lift with a partner for larger cabinets to distribute weight evenly.
| Step | Key Tip |
|---|---|
| Assess Weight | Test cabinet weight before lifting |
| Position Feet | Stand shoulder-width apart for stability |
| Grip Securely | Use both hands, gripping cabinet edges firmly |
| Lift Smoothly | Avoid jerky movements; rise steadily |
Following these steps helps you lift safely and position cabinets accurately on the wall.
Secure Fastening Methods
Once you position the cabinets on the wall, securing them firmly is essential to guarantee stability and safety. Use proper fastening techniques to prevent accidents and ascertain longevity.
Start by locating studs and marking their positions. If studs aren’t available, rely on heavy-duty wall anchors designed for your wall type. Follow these steps:
- Drill pilot holes through the cabinet back panel aligned with studs or anchors.
- Insert wall anchors if needed, making sure they’re flush and secure.
- Use long, sturdy screws to fasten cabinets tightly to studs or anchors.
- Check alignment and tighten all screws evenly to avoid warping.
Secure Cabinets Together and Adjust Door Alignment
Align the cabinets side by side and clamp them together tightly to guarantee a flush fit. Check the cabinet alignment carefully, confirming the fronts are even and the tops are level.
Use a drill to drive screws through the adjoining cabinet faces at the joint support points, typically at the cabinet sides near the top and bottom. This will securely join the cabinets into one continuous unit.
Once fastened, open and close each door to inspect their alignment. Adjust the door hinges as needed. Most hinges have screws for fine-tuning height, depth, and side-to-side position.
Small adjustments will ensure even gaps between doors and a smooth operation. Taking these steps now prevents misalignment and uneven door spacing after installation, giving your kitchen a polished, professional look.
Check Cabinet Stability and Install Finish Trim
Test the stability of the joined cabinets by gently shaking them to verify they’re firmly secured to each other and the wall. Ensuring cabinet stability prevents future issues like sagging or detachment.
Once stable, it’s time to install the finish trim for a polished look. Follow these steps:
- Inspect all cabinet joints and wall attachments for tightness.
- Use a level to confirm cabinets are perfectly aligned.
- Cut finish trim pieces to fit around cabinet edges precisely.
- Attach the finish trim with finishing nails, filling gaps with wood filler for a seamless appearance.
This final check and trim installation secure your cabinets and enhance the kitchen’s overall aesthetics, completing your mounting project with professional results.
Frequently Asked Questions
Can I Mount Cabinets on Drywall Without Studs?
Sure, you can securely set sturdy cabinets on drywall without studs by selecting strong drywall anchors. Match anchors to your cabinet materials, ensuring precise placement and weight support, so your setup stays safe and stable every time you install.
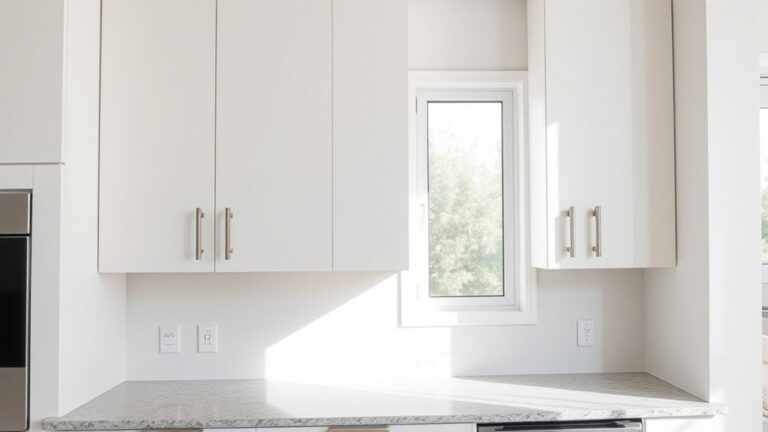
What Is the Best Cabinet Height for Accessibility?
For ideal cabinet ergonomics, mount upper cabinets 54 inches from the floor, with an 18-inch gap above the countertop. This height guideline guarantees easy reach and maximizes accessibility for most users. Adjust for personal needs.
How Do I Protect Cabinets From Moisture Damage?
Like a raincoat shields you from storms, you should apply moisture barriers behind cabinets and use high-quality cabinet finishes to repel water. Seal edges carefully, ensuring durability and preventing warping or mold in humid kitchen environments.
Can I Install Cabinets on Uneven Walls?
Yes, you can install cabinets on uneven walls by using cabinet leveling techniques like shimming.
Combine these with wall bracing options such as furring strips to create a flat, secure surface for mounting your cabinets properly.
What Weight Limits Apply to Wall-Mounted Cabinets?
You’ll find weight limits depend on mounting hardware and wall type; proper weight distribution across studs is essential.
Typically, cabinets hold 50-100 pounds per linear foot, but always verify hardware specs to guarantee safe, secure installation.