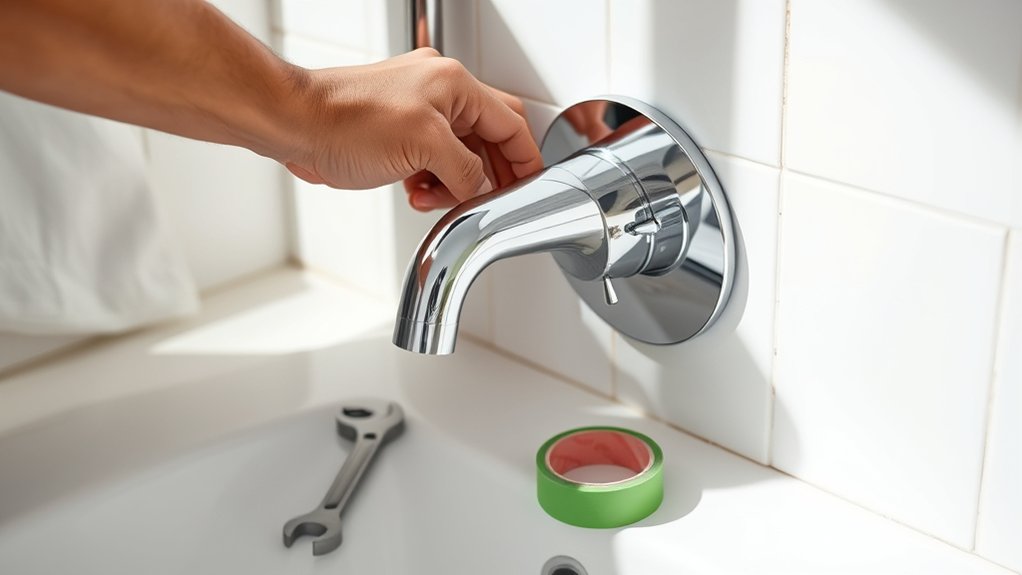
How to Install Moen Shower Faucet
To install your Moen shower faucet, first gather essential tools such as wrenches, screwdrivers, plumber’s tape, and a cartridge puller. These tools will help ensure a smooth and efficient installation process.
Next, shut off the water supply and remove the old faucet by detaching the handles, trim, and cartridge.
Position and secure the new valve, making sure it is properly aligned with the existing plumbing. Make tight, sealed connections to prevent leaks.
Attach the trim and handle carefully, ensuring a flush fit and smooth operation.
Finally, test the water flow to check for leaks and proper pressure. Follow these steps, and you’ll soon handle more detailed adjustments with confidence.
Gather Tools for Moen Shower Faucet Installation
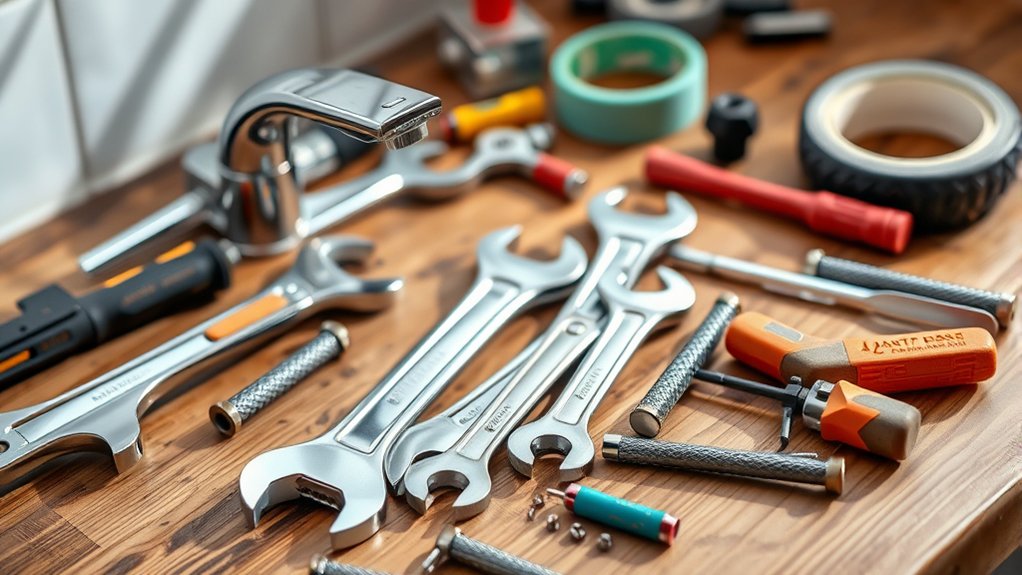
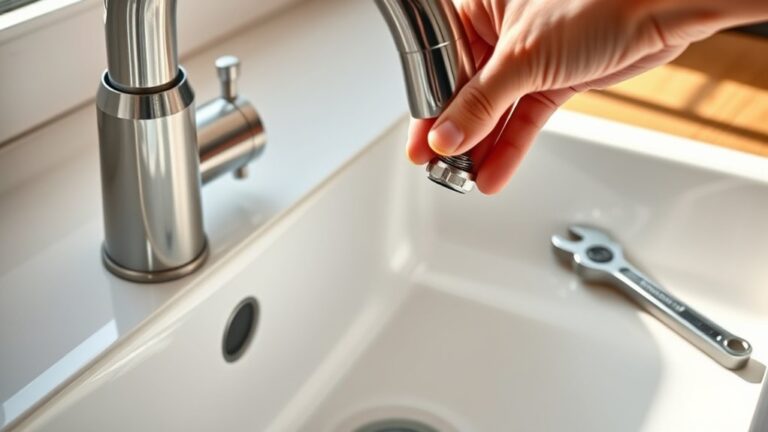
Begin by assembling the necessary tools before you start installing your Moen shower faucet. You’ll need an adjustable wrench, Phillips and flathead screwdrivers, plumber’s tape, and a utility knife.
Depending on the faucet types, single-handle or dual-handle, having a cartridge puller might be essential. Additionally, a silicone sealant and a hex key set can help with securing components correctly.
Review installation tips specific to your model to guarantee you have model-specific tools on hand. Organizing your workspace with these tools ready prevents interruptions during installation.
Check your model’s installation tips to ensure all necessary tools are ready, avoiding delays during setup.
This preparation step is critical for a smooth process and helps avoid damage to parts. Proper tool selection aligns with Moen’s recommended procedures and guarantees accurate, efficient faucet installation.
Turn Off Water and Remove Old Moen Faucet
Before you remove your old Moen faucet, make sure to shut off the main water supply to prevent leaks or water damage. Locate the shutoff valve, typically near your water meter, and turn it clockwise until fully closed.
Next, open the existing faucet to drain residual water and relieve pressure. Use a screwdriver or Allen wrench to remove the handle, following Moen-specific faucet maintenance tips to avoid damaging components.
Carefully detach the escutcheon plate and unscrew the valve cartridge using pliers or a cartridge puller. Remember to wear protective gloves and eye protection as part of plumbing safety precautions to avoid injury from sharp edges or unexpected water sprays.
Once removed, inspect the pipes for corrosion or damage before proceeding with installation.
Install the Moen Valve and Connect Plumbing
Position the new Moen valve carefully into the existing plumbing setup, guaranteeing the alignment matches your shower’s configuration. Confirm valve placement by checking that the hot and cold inlets align with the corresponding supply lines.
Secure the valve firmly within the wall framing, maintaining a consistent depth so the finished wall surface will sit flush with the valve face. Next, make the plumbing connections using proper fittings. Solder copper pipes or tighten compression fittings, depending on your plumbing type.
Ascertain all joints are clean and sealed to prevent leaks. Test the plumbing connections by briefly turning on the water supply to check for leaks before closing the wall. Proper valve placement and secure plumbing connections are critical for reliable shower operation and ease of future maintenance.
Attach the Moen Shower Trim and Handle
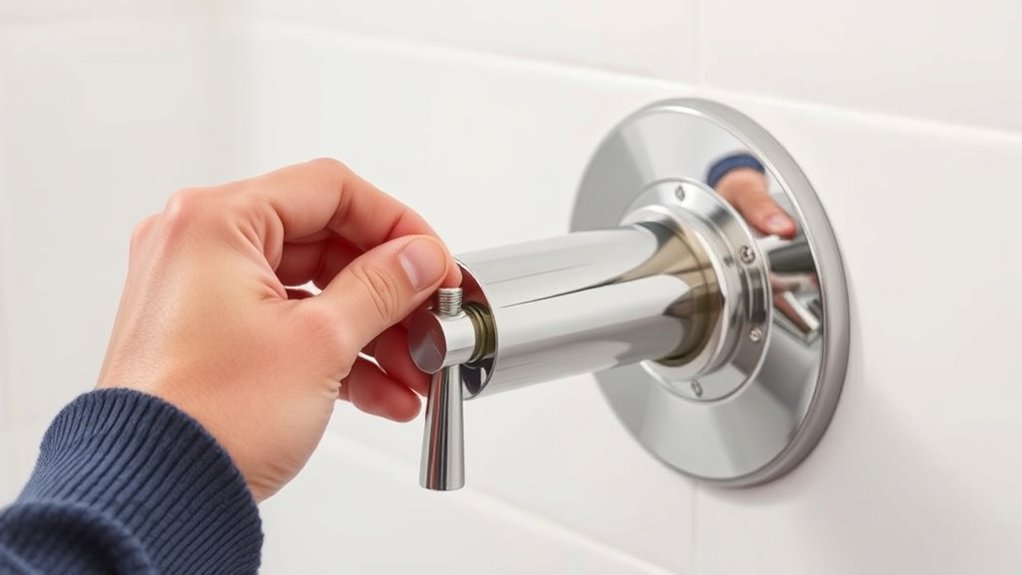
Attach the shower trim by aligning it carefully over the installed valve, guaranteeing the escutcheon plate sits flush against the wall without gaps. Secure the trim with the provided screws, tightening them evenly to avoid warping the plate.
Select the appropriate handle style that matches your chosen trim finish for a cohesive look. Slide the handle onto the valve stem, making sure it fits snugly without forcing.
Use the set screw to fasten the handle securely, typically located on the underside or side, depending on the model. Double-check that the handle operates smoothly within its designed range of motion.
Installing the trim and handle precisely prevents leaks and guarantees aesthetic consistency. Always consult the manufacturer’s instructions for specific torque settings and compatibility with your valve model.
Test the Faucet and Troubleshoot Common Problems
Anyone installing a Moen shower faucet needs to thoroughly test the faucet to confirm proper function and identify any issues early. Begin by turning on the water supply and operating the handle to check for consistent water pressure.
Observe for any faucet leaks around the trim plate, handle, and connections. If you detect leaks, tighten connections or replace faulty cartridges. Low water pressure may indicate debris blocking the valve; remove the cartridge and clean or replace it as necessary.
Also, verify the diverter operates smoothly to switch between showerhead and tub spout. If water temperature fluctuates, recalibrate the pressure balancing valve. Addressing these common problems during testing prevents future damage and ensures your Moen shower faucet performs reliably.
Frequently Asked Questions
What Types of Warranties Do Moen Shower Faucets Offer?
Moen shower faucets offer limited lifetime warranty coverage, ensuring product longevity against defects in material and workmanship. You’ll get repair or replacement support, guaranteeing reliable performance throughout your faucet’s lifespan without extra cost.
Can I Install a Moen Faucet Without Professional Plumbing Experience?
Yes, you can complete a DIY installation by understanding plumbing basics. Carefully follow Moen’s step-by-step instructions, use proper tools, and guarantee water supply is off.
Precision and patience are key for a successful faucet setup.
How Do I Choose the Right Moen Shower Faucet Model for My Bathroom?
Think of choosing your Moen faucet like tailoring a suit. Start with your design preferences, then focus on water efficiency ratings.
Match these with your bathroom’s plumbing specs to guarantee flawless fit and peak performance.
Are Moen Shower Faucets Compatible With Low Water Pressure Systems?
Yes, Moen shower faucets generally offer good faucet compatibility with low water pressure systems. You’ll want to check specific model specifications to guarantee ideal water pressure performance and avoid reduced flow or inconsistent temperature control issues.
What Maintenance Tips Keep a Moen Shower Faucet Functioning Longer?
You should perform regular faucet care by cleaning aerators and cartridges, checking seals for wear, and tightening connections. This proactive leak prevention helps maintain ideal performance and extends your Moen shower faucet’s lifespan effectively.