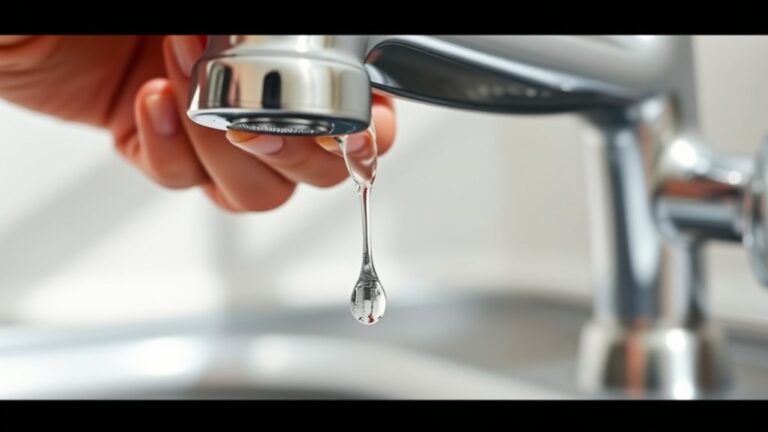
How to Replace a Single Lever Shower Faucet
To replace a single lever shower faucet, first gather essential tools such as an adjustable wrench, screwdrivers, plumber’s tape, and a replacement cartridge. Ensuring you have the right tools helps make the process smoother and more efficient.
Next, turn off both the main water supply and the local shut-off valves. Open the faucet to relieve any remaining water pressure before proceeding with removal.
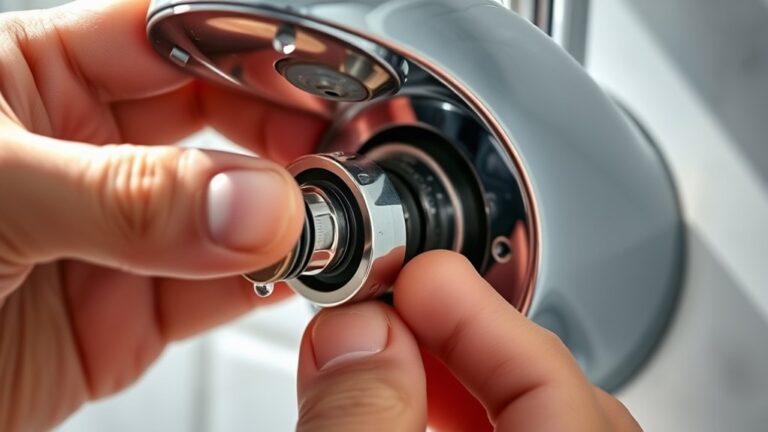
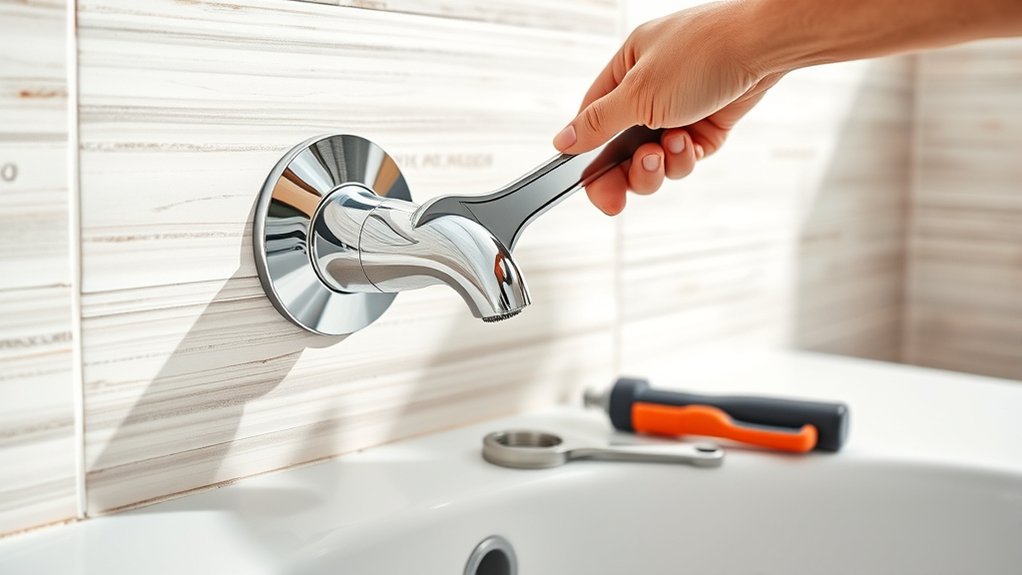
Remove the handle, escutcheon plate, and valve stem nut using the appropriate tools. Carefully detach these parts to access the internal components.
When installing the new faucet, align it securely in place. Apply plumber’s tape to all threaded connections to prevent leaks. Tighten all screws evenly to ensure a proper fit.
Finally, test the faucet for leaks and proper functionality before finishing the installation. Follow these steps closely for a successful replacement, and keep reading for detailed instructions and troubleshooting tips.
Tools and Materials You’ll Need
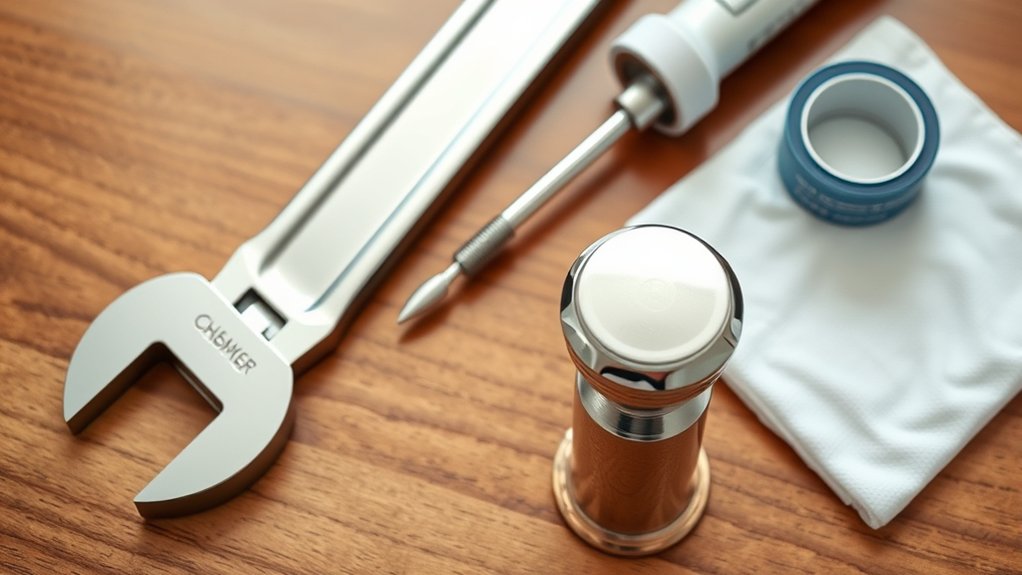
Before you begin replacing your shower faucet, gather all necessary tools and materials to guarantee a smooth process. Identify the correct faucet types compatible with your plumbing system, typically single lever models.
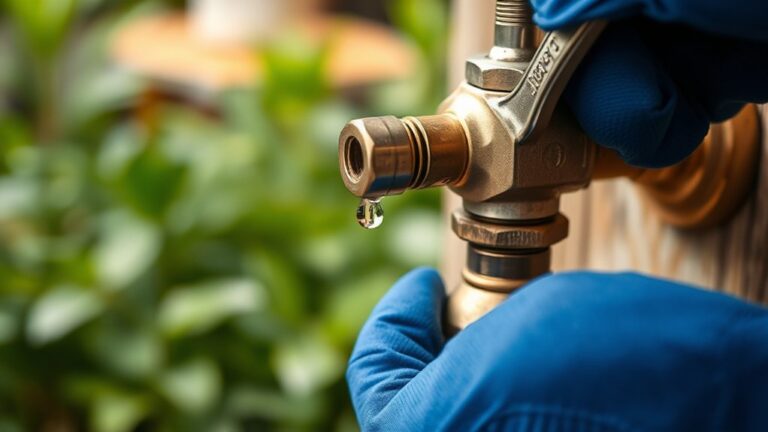
You’ll need an adjustable wrench, screwdrivers, plumber’s tape, and a replacement cartridge or faucet assembly. Installation tips include making sure you have thread sealant and a basin wrench for hard-to-reach nuts.
Maintenance advice recommends inspecting O-rings and washers for wear, as these often cause common issues like leaks or reduced water flow. Prepare a bucket and towels to catch residual water during removal.
Having all these tools and materials ready helps you avoid delays and guarantees a precise, efficient faucet replacement without unexpected complications.
Turn Off Water Supply
Two main valves control the water supply to your shower: the main shut-off valve and the local shut-off valve. Before replacing your single lever shower faucet, you need to turn off the water supply to prevent leaks and water damage.
Depending on your water supply types, the valves may differ in location and design.
Follow these steps to properly shut off the water:
- Locate the main shut-off valve, typically near the water meter or where the main line enters your home.
- Identify the local shut-off valve, usually behind the shower access panel.
- Turn off both valves to stop water flow completely.
- Open the shower faucet to relieve any remaining pressure and guarantee pressure regulation before starting work.
This guarantees a safe and dry workspace.
Remove the Old Single Lever Shower Faucet
Once the water supply is fully shut off and pressure is relieved, you can begin removing the old single lever shower faucet. Start by unscrewing the handle using the appropriate screwdriver or Allen wrench, depending on your faucet type.
Next, remove the escutcheon plate carefully to expose the valve assembly. Use an adjustable wrench to loosen and detach the valve stem nut. Be mindful of any retaining clips or screws that secure the valve.
Familiarize yourself with plumbing basics, such as identifying the valve cartridge, to avoid damaging components. After detaching the valve assembly, inspect the surrounding plumbing for corrosion or debris. Proper removal guarantees a clean installation surface for the new faucet.
Avoid using excessive force, which could damage pipes or wall structures during disassembly.
Install the New Single Lever Shower Faucet
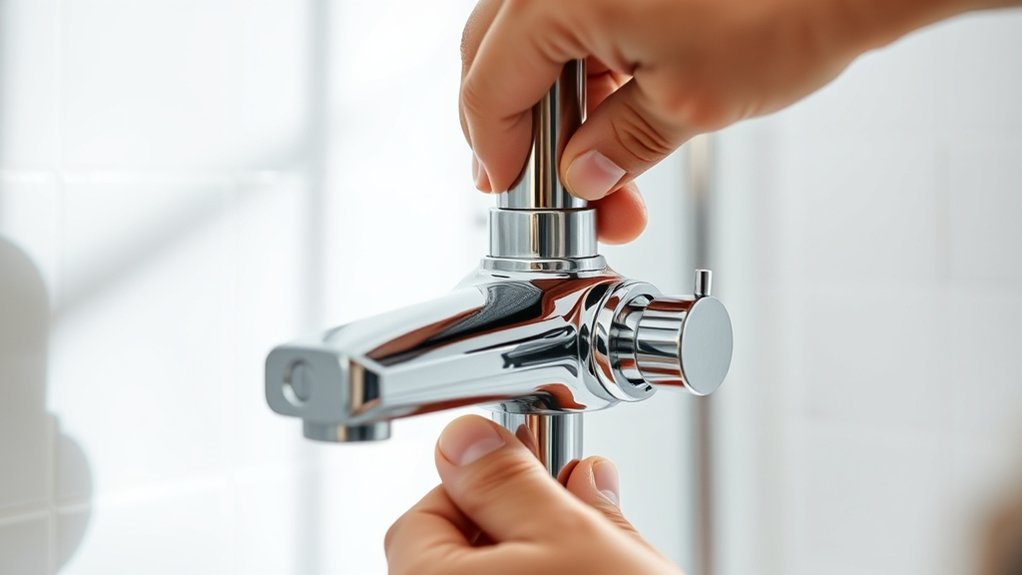
Align the new single lever shower faucet with the valve assembly, ensuring the cartridge fits securely into place. Different faucet styles may require slight adjustments during installation, so check compatibility before proceeding.
Follow these installation tips to secure your faucet correctly:
- Tighten the mounting screws evenly to avoid misalignment.
- Apply plumber’s tape to threaded connections to prevent leaks.
- Attach the handle firmly, ensuring smooth lever operation.
- Reinstall the trim plate flush against the wall to cover the valve assembly.
Test and Troubleshoot Your New Faucet
Turn on the water supply and operate the new shower faucet to check for proper function. Observe water flow, temperature adjustment, and handle movement to guarantee smooth operation. Monitor for leaks around the base and connections.
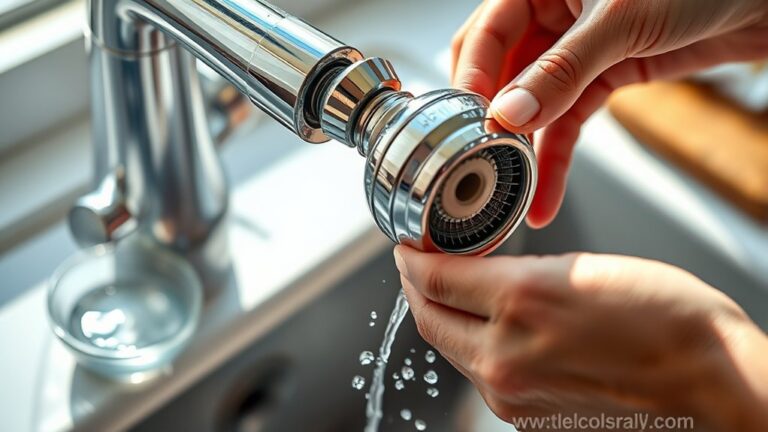
If water pressure is low or inconsistent, inspect the supply lines and aerator for blockages. Should the handle feel stiff or fail to adjust temperature correctly, verify cartridge installation and alignment.
Use troubleshooting tips such as tightening loose connections or replacing faulty washers to resolve issues. Confirm that hot and cold water mix accurately and that the faucet performance meets manufacturer specifications.
Troubleshoot by tightening connections or replacing washers to ensure proper mixing and optimal faucet performance.
Completing these steps guarantees your new faucet operates efficiently and reliably without leaks or mechanical faults.
Frequently Asked Questions
Can I Replace a Single Lever Faucet Without Draining the Water Heater?
You don’t need to empty the water heater’s reservoir to replace your faucet.
With proper faucet installation tips and the right plumbing tools needed, you can isolate the water supply and work efficiently without draining the system.
Are Single Lever Faucets Compatible With All Shower Types?
Single lever faucets aren’t compatible with all shower types. You’ll need to check your specific faucet types and plumbing setup.
Follow installation tips carefully, confirming valve compatibility and proper sealing to avoid leaks and guarantee smooth operation.
How Do I Maintain My New Single Lever Shower Faucet?
Like tuning a vintage radio, regularly clean your faucet using mild cleaners to avoid buildup. Check water pressure monthly, adjusting if needed, to guarantee smooth operation.
This prevents wear and maintains peak performance efficiently.
What Causes a Single Lever Faucet to Drip After Installation?
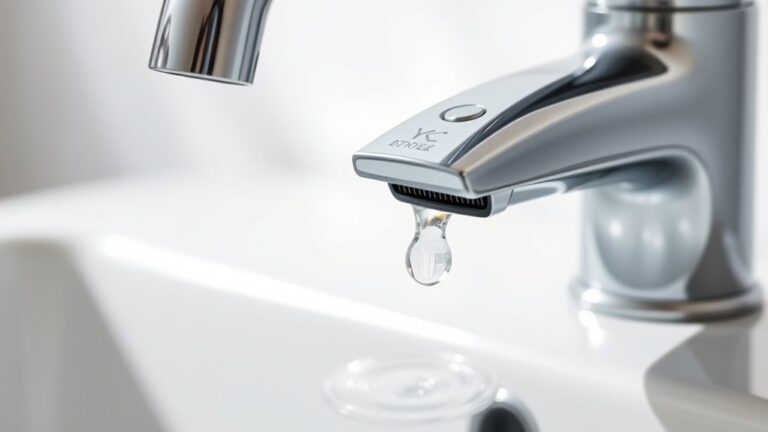
Drip causes often include improper cartridge seating, damaged washers, or loose connections during installation. You should check for installation issues like misaligned parts or debris, ensuring all seals and components fit perfectly to prevent leaks.
Can I Upgrade to a Thermostatic Valve With a Single Lever Faucet?
You can upgrade to a thermostatic valve with single lever options for precise temperature control and safety. Confirm compatibility with your plumbing, then follow manufacturer instructions to enjoy thermostatic valve benefits like consistent water temperature and scald protection.