How to Drip Faucets
To control your dripping faucet, first turn off the water supply to avoid waste.
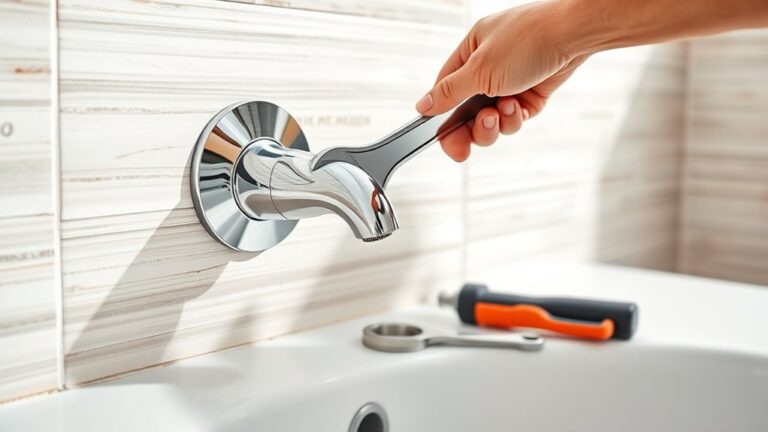
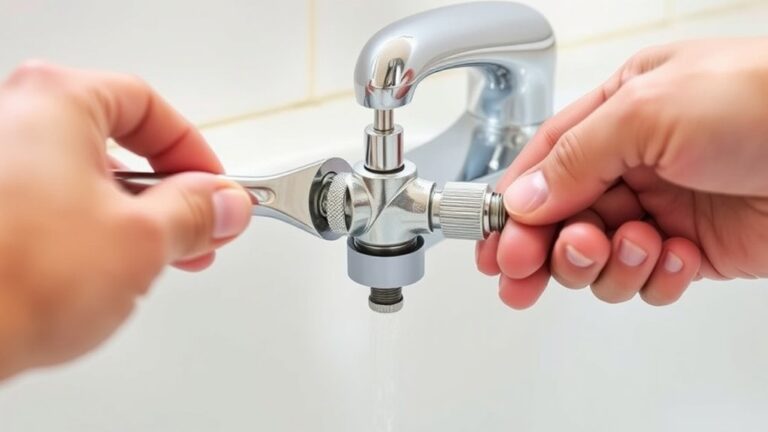
Understanding how to drip faucets effectively starts with identifying the type of drip—steady or intermittent. Next, remove the handle using the right screwdriver.
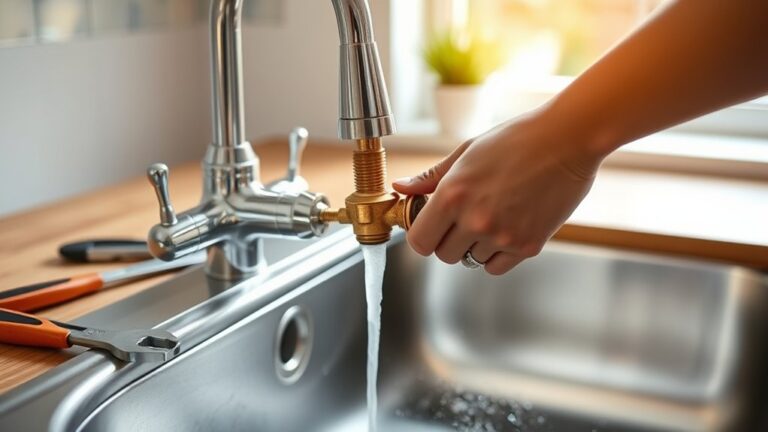
Inspect washers, O-rings, and valve seats for wear. Replace any faulty parts with precision using an adjustable wrench and plumber’s tape.
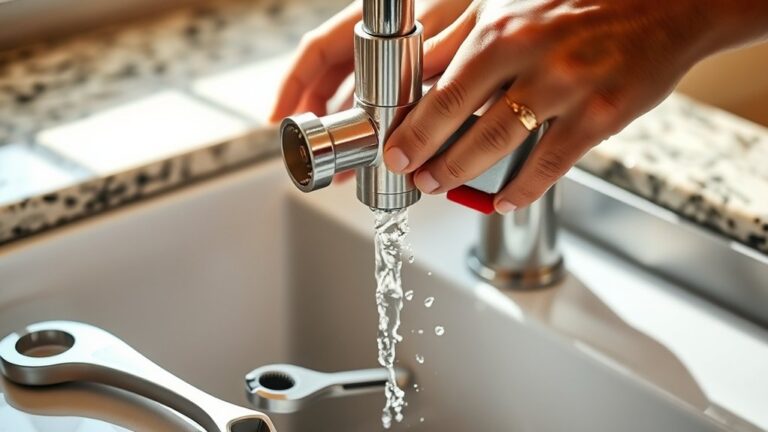
After reassembly, test for leaks to guarantee a proper seal.
With these key steps, you’ll restore efficient flow and prevent future drips. You can also explore ways to maintain your faucet’s performance.
How to Fix a Dripping Faucet Quickly
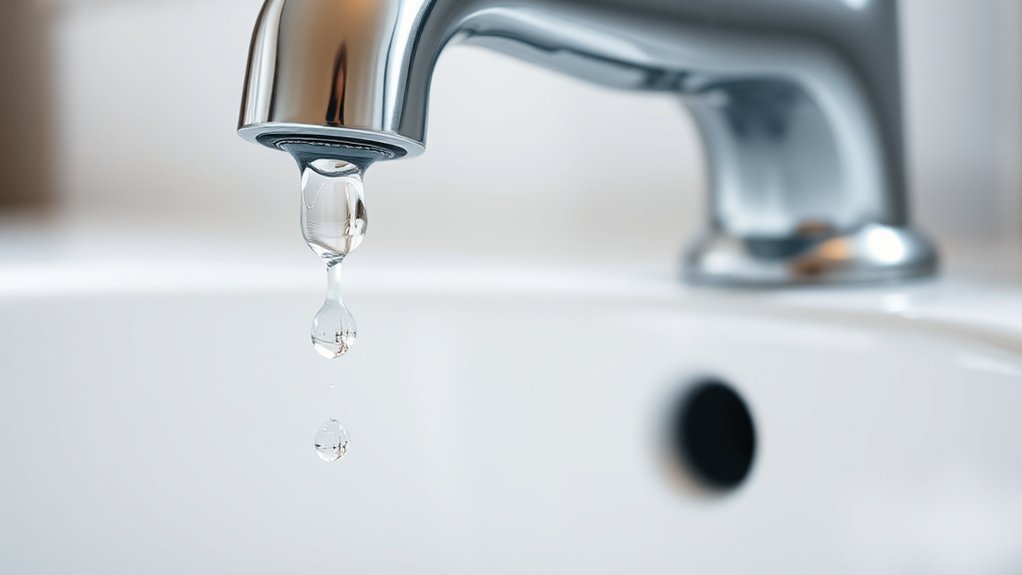
Start by turning off the water supply to the faucet to prevent further dripping. Identify the drip type, whether it’s a steady stream, intermittent drops, or a slow leak, since each requires a specific approach in faucet maintenance.
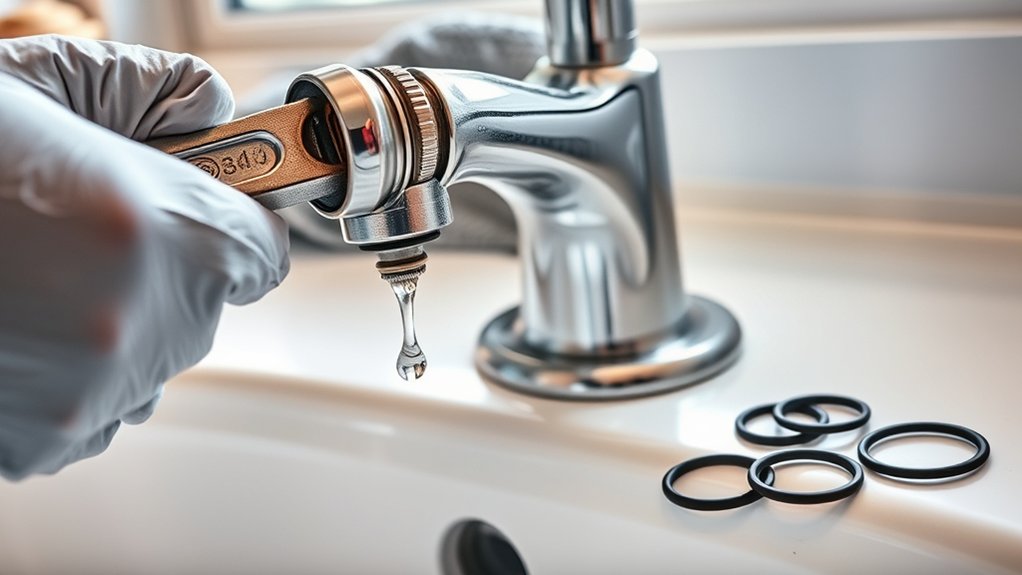
Remove the faucet handle carefully, exposing the internal components. Inspect the washer, O-ring, and valve seat for wear or damage, as these parts commonly cause drips. Replace any faulty components with exact matches to guarantee a proper seal.
Reassemble the faucet and turn the water supply back on to test if the drip has stopped. Addressing drip types promptly not only conserves water but also extends the faucet’s lifespan. Following these steps quickly fixes most drips and prevents further complications.
Tools You’ll Need to Stop Faucet Drips
To effectively stop faucet drips, you’ll need a set of essential tools that allow for precise inspection and repair. These tools accommodate various faucet types and common materials like brass, stainless steel, and plastic, ensuring compatibility during disassembly and replacement.
| Tool | Purpose |
|---|---|
| Adjustable wrench | Loosen and tighten nuts |
| Screwdriver set | Remove screws from handles |
| Replacement washers | Fit different faucet types |
| Plumber’s tape | Seal threaded connections |
Having these tools ready helps you address leaks efficiently, minimizing damage and water waste. Choose tools matching the faucet’s construction for smooth operation and avoid damaging delicate components during repair.
How to Identify What’s Causing Your Faucet to Drip
With the right tools at hand, you can now focus on pinpointing the exact cause of your faucet’s drip. Different faucet types—compression, cartridge, ceramic disc, and ball—exhibit unique common leaks. To identify the source, follow these steps:
Equipped with proper tools, identify your faucet type and pinpoint the specific cause of its drip.
- Inspect the faucet handle for looseness or damage.
- Check the spout base for water pooling or corrosion.
- Look beneath the sink for wetness around supply lines.
- Observe the drip pattern: steady, occasional, or spray.
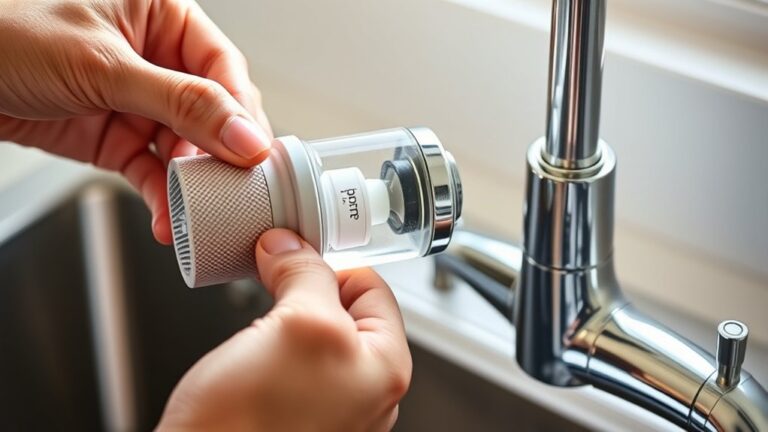
- Remove the aerator to see if sediment affects flow.
These checks help isolate issues like worn washers, faulty seals, or mineral buildup specific to your faucet type. Understanding these signs guides you to the root cause efficiently, enabling you to address the drip with confidence.
Safely Replacing Worn Faucet Parts
First, you’ll need to identify which faucet components are worn or damaged. Next, gather the necessary tools, such as a wrench, screwdriver, and replacement parts.
Finally, follow a step-by-step process to remove and replace the faulty parts safely and efficiently.
Identifying Worn Components
Although diagnosing faucet issues can seem challenging, identifying worn components is essential for effective repairs. Start by carefully inspecting these common problem areas:
- Worn washers that cause leaks by failing to seal properly
- Faulty O rings which deteriorate and allow water to drip
- Corroded valves that restrict flow or cause irregular dripping
- Loose connections often resulting from improper installation or aging fixtures
- Worn cartridges leading to inconsistent water control and leaks
Check for mineral buildup around these parts, as it can accelerate wear. Use visual and tactile inspection to detect damage or deformation. Identifying these worn components precisely helps you target repairs correctly, preventing further damage and conserving water efficiently.
Gathering Necessary Tools
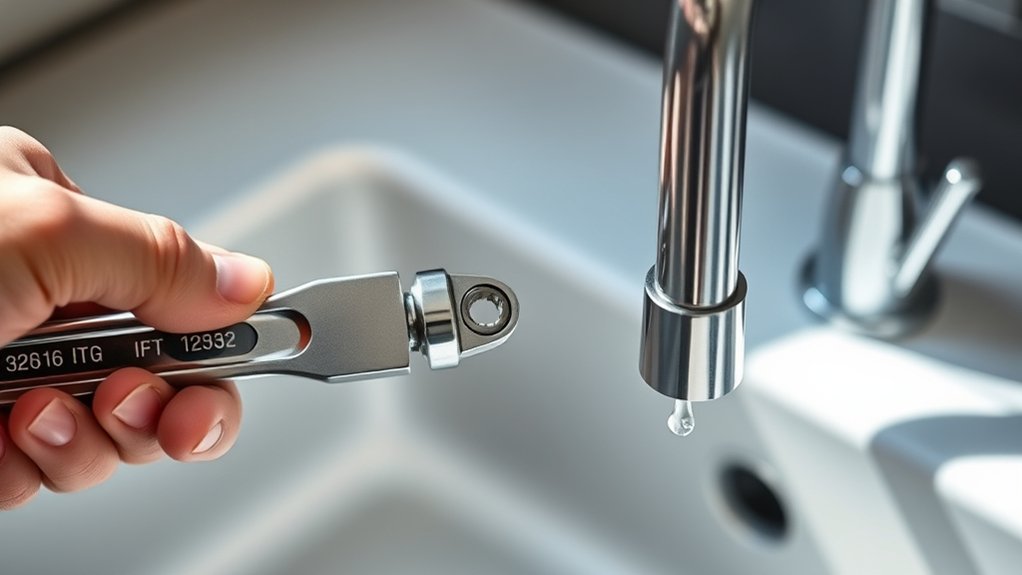
To replace worn faucet parts safely, you’ll need a specific set of tools tailored to the job. Start with an adjustable wrench and a basin wrench, which accommodate various faucet types and tight spaces under sinks. Include screwdrivers, both flathead and Phillips, to handle different fasteners commonly found in faucet assemblies.
A pair of pliers helps with gripping and turning small components prone to common issues like corrosion or mineral buildup. Don’t forget a utility knife for cutting old seals or caulk. Additionally, have plumber’s tape on hand to guarantee watertight reassembly.
Before beginning, confirm your faucet type: compression, cartridge, ball, or ceramic disc, so you can gather any specialized tools or replacement parts specific to that model. This preparation minimizes risks and guarantees efficient, safe repairs.
Step-by-Step Replacement Process
Begin by shutting off the water supply valves located under the sink to prevent leaks during the replacement. Next, identify your faucet type to select the appropriate repair kit and parts.
Then, follow these steps to safely replace worn components:
- Remove the faucet handle using a screwdriver or Allen wrench, depending on your faucet type.
- Detach the packing nut or retaining clip to access the valve stem or cartridge.
- Extract the worn parts, such as washers, O-rings, or cartridges, from the repair kit.
- Install new components carefully, guaranteeing proper alignment and fit for your faucet type.
- Reassemble the faucet, tighten all fittings, and turn on the water supply to test for leaks.
This precise process guarantees a reliable fix and prevents further dripping.
Tips to Prevent Faucet Drips From Coming Back
When you fix a dripping faucet, ensuring it doesn’t start leaking again often depends on proper maintenance and careful installation. To apply effective drip prevention techniques, regularly inspect and clean faucet components, especially washers and O-rings, which wear out over time.
Use high-quality replacement parts during repairs to increase durability. Tighten all fittings securely but avoid overtightening, which can damage seals. Implement faucet maintenance tips such as flushing aerators to remove debris and checking water pressure to prevent strain on valves.
Lubricate moving parts with plumber’s grease to maintain smooth operation. Consistently perform these steps to minimize recurrence of leaks and extend your faucet’s lifespan. Following these precise measures helps you maintain a drip-free faucet efficiently and prevents costly future repairs.
When Should You Call a Plumber for Faucet Drips?
How do you know if a faucet drip requires professional attention? While some drips are easy to fix, certain signs indicate you should call a plumber. Ignoring these can increase repair costs and worsen damage.
Common causes like worn-out washers or damaged valves might be straightforward, but complex issues demand expertise.
Call a plumber when you notice:
- Persistent dripping despite your DIY fixes
- Sudden increase in water bills
- Corroded or damaged faucet components
- Noisy or irregular water flow
- Water pooling around the sink or cabinet
A professional can accurately diagnose the problem, prevent costly repairs, and guarantee your faucet functions efficiently. Don’t delay if these symptoms appear. Timely intervention saves money and prevents water waste.
Frequently Asked Questions
What Causes Faucet Drips After a Recent Water Pressure Change?
You’ll find that 70% of faucet drips after pressure fluctuations stem from stress on faucet components like washers or seals.
You should inspect and replace worn parts, as sudden pressure changes often compromise their integrity.
Can a Dripping Faucet Increase My Water Bill Significantly?
Yes, a dripping faucet causes significant water waste, increasing your water bill.
To estimate cost, measure the drip rate and calculate daily water loss. Then multiply by your utility’s rate for precise cost estimation and efficient budgeting.
Are All Faucet Drips Harmful to Plumbing Systems?
You shouldn’t treat all faucet drips like a telegram from the past; some drips signal urgent drip prevention needs. Regular plumbing maintenance helps you identify harmful leaks, preventing corrosion and pressure issues that degrade your system’s integrity.
How Long Can I Safely Ignore a Slow Faucet Drip?
You shouldn’t ignore a slow faucet drip for more than a few days; drip consequences include water waste and potential pipe damage.
Follow maintenance tips by promptly inspecting and repairing leaks to prevent costly plumbing issues and conserve resources.
Do Different Faucet Brands Require Unique Repair Methods?
Different faucet types demand specific repair techniques, require distinct tools, and follow unique disassembly steps. You’ll need to identify your faucet brand to apply the correct repair methods, ensuring precise fixes and avoiding damage or inefficiency.