How to Strip Paint From Kitchen Cabinets
To strip paint from kitchen cabinets, start by selecting a method that suits your cabinet material and the type of paint. Chemical strippers are effective for removing tough paints, while eco-friendly options help minimize fumes and environmental impact.
Gather essential tools such as scrapers, gloves, and goggles, and ensure your workspace is well-ventilated. Clear and protect the area to avoid damage from the stripper.
Apply the paint stripper evenly and allow it to work before carefully scraping off the loosened paint. After removing the paint, clean any residue thoroughly and sand the surface gently to prepare it for refinishing.
Finally, handle all waste materials properly by following local disposal guidelines to stay safe and environmentally responsible.
For more detailed instructions and troubleshooting tips, continue exploring additional techniques.
Pick the Best Paint Stripping Method for Your Cabinets
Choosing the right paint stripping method depends on your cabinet material, the paint type, and your workspace safety. If you have delicate wood, mechanical methods like sanding may cause damage.
Chemical alternatives, such as environmentally safe paint strippers, offer effective removal without harsh fumes. Look for eco-friendly options that contain biodegradable ingredients and low volatile organic compounds (VOCs) to protect indoor air quality.
For tougher, oil-based paints, chemical strippers often work faster but require proper ventilation and protective gear. Heat guns provide a solvent-free option but risk scorching wood if misused.
You must evaluate each method’s efficiency, safety, and environmental impact before deciding. Selecting an appropriate approach guarantees you preserve your cabinets’ integrity while minimizing health risks and ecological harm during paint removal.
Gather the Right Tools for Paint Stripping
Once you’ve determined the best paint stripping method, gather the necessary tools to guarantee a smooth process. Essential tool types include chemical strippers, scrapers, wire brushes, and sanding blocks or power sanders, depending on your chosen approach.
Select tools with ergonomic handles to reduce fatigue during extended use. Don’t forget safety gear: wear gloves resistant to chemicals, safety goggles to protect your eyes from splashes and debris, and a respirator mask to avoid inhaling fumes or dust. Additionally, consider long sleeves and protective clothing to shield your skin.
Having the right tool types and safety gear within reach secures efficiency and minimizes risks, setting the stage for successful paint removal from your kitchen cabinets.
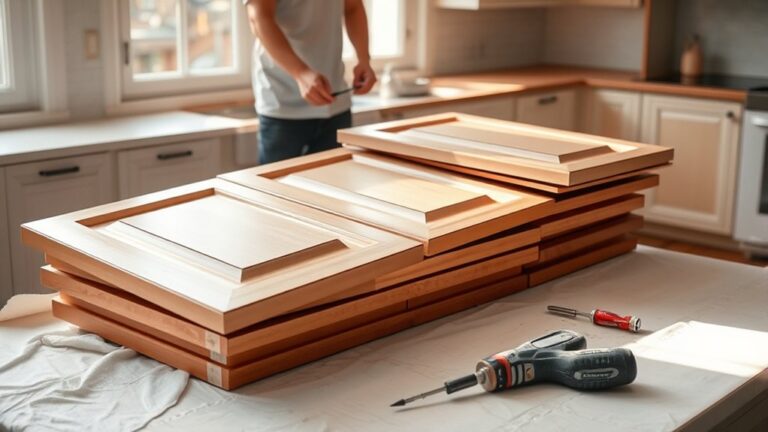
Prepare Your Workspace for Paint Stripping
Start by clearing your kitchen area to create ample working space and prevent accidents. Cover countertops, floors, and appliances with drop cloths or plastic sheeting to protect them from paint stripper and debris.
Finally, open windows and use fans to guarantee proper ventilation and reduce exposure to fumes.
Clear Kitchen Area
Before stripping paint from your kitchen cabinets, clear the entire area to assure safety and efficiency. Remove all items from countertops, shelves, and inside cabinets to improve kitchen organization and prevent damage.
This step enhances cabinet accessibility, allowing you to work unhindered and reach all surfaces. Clear floor space to avoid tripping hazards and assure easy movement around the workspace.
Relocate small appliances, utensils, and food products to another room temporarily. Proper clearance reduces contamination risks from dust and chemicals during stripping.
Protect Surrounding Surfaces
Three key steps will help you protect surrounding surfaces when stripping paint from your kitchen cabinets. First, clear the immediate area of all removable items to avoid accidental damage.
Next, apply surface protection such as drop cloths or plastic sheeting over countertops, floors, and appliances to catch drips and debris.
Finally, use masking techniques, carefully tape off edges, hinges, and adjacent walls with painter’s tape to prevent chemical exposure and overspray. Confirm masking materials adhere firmly to avoid gaps.
These steps create a controlled workspace, minimizing cleanup and safeguarding surfaces from chemical strippers and paint residue. Proper surface protection and masking techniques are essential to maintain the integrity of your kitchen’s finish while you efficiently strip paint from the cabinets.
Ensure Proper Ventilation
When working with chemical paint strippers, guaranteeing proper ventilation is essential to maintain air quality and reduce exposure to harmful fumes. You need to open all windows and doors to create cross-ventilation, allowing fresh air to circulate and dilute airborne chemicals.
Use fans to direct fumes outside, enhancing the ventilation importance in your workspace. Avoid working in enclosed spaces where vapors can accumulate, as this compromises air quality and poses health risks.
If possible, wear a respirator rated for organic vapors to provide additional protection. Monitor air flow continuously and take breaks outside the work area to minimize inhalation of toxic substances.
Prioritizing ventilation guarantees a safer, more efficient paint-stripping process, protecting your respiratory health and maintaining ideal air quality throughout the project.
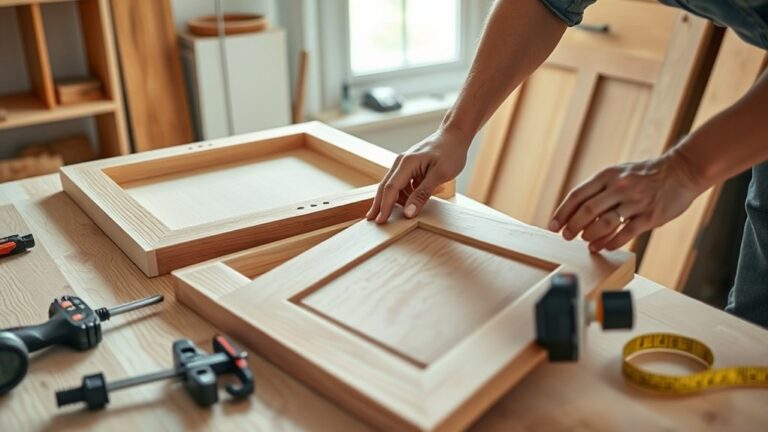
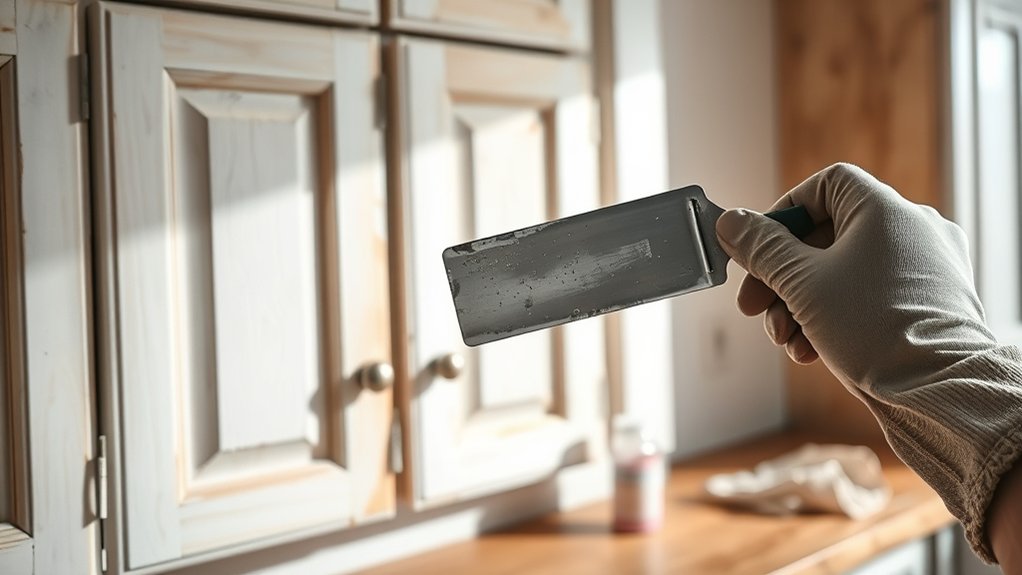
Step-by-Step Paint Stripping for Cabinets
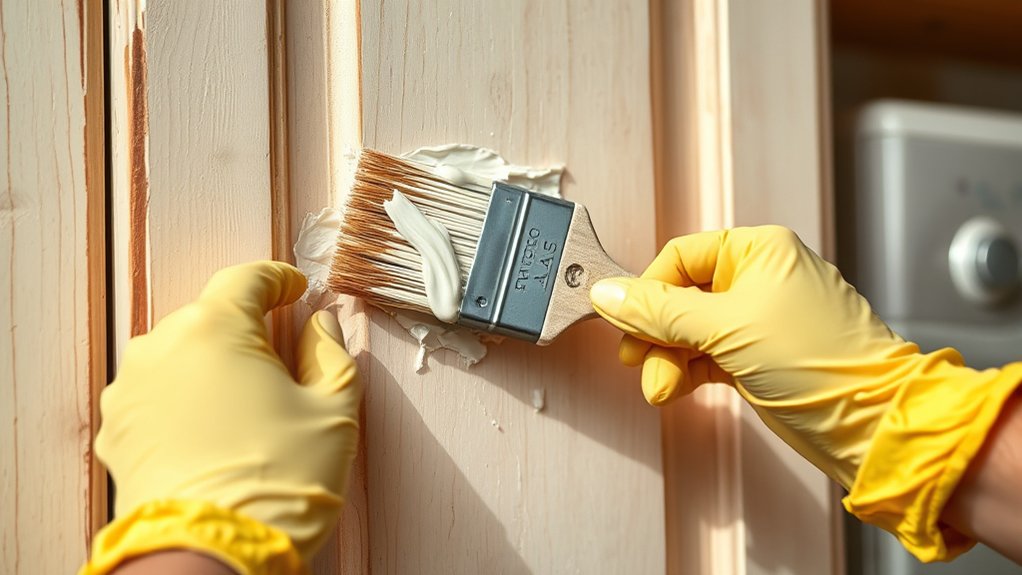
Start by preparing your workspace with proper ventilation and protective gear, including gloves and goggles. Choose the appropriate paint stripper type, gel, liquid, or environmentally friendly, based on your cabinet refinishing needs.
Apply the stripper evenly with a brush, following manufacturer instructions. Allow it to sit for the recommended time to soften the paint. Use a plastic scraper to gently remove the loosened paint, avoiding damage to the wood.
| Step | Tip |
|---|---|
| Select stripper | Match to paint type |
| Apply stripper | Use even coats |
| Wait | Follow timing on label |
| Scrape paint | Use plastic, not metal tools |
| Repeat if needed | Guarantee full paint removal |
This method guarantees effective stripping while preserving the cabinet surface for refinishing.
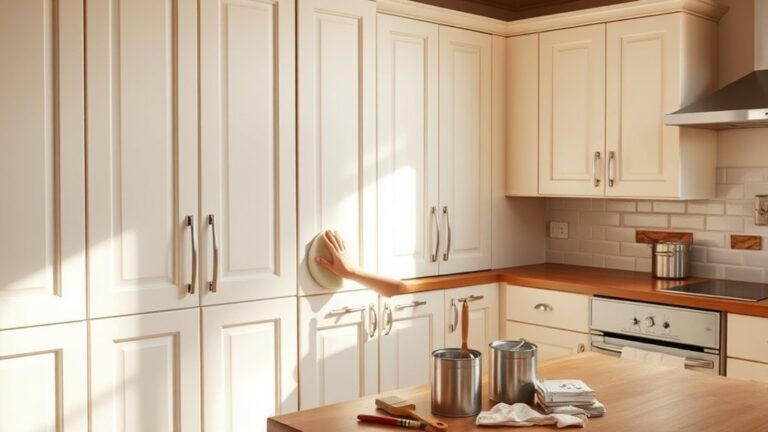
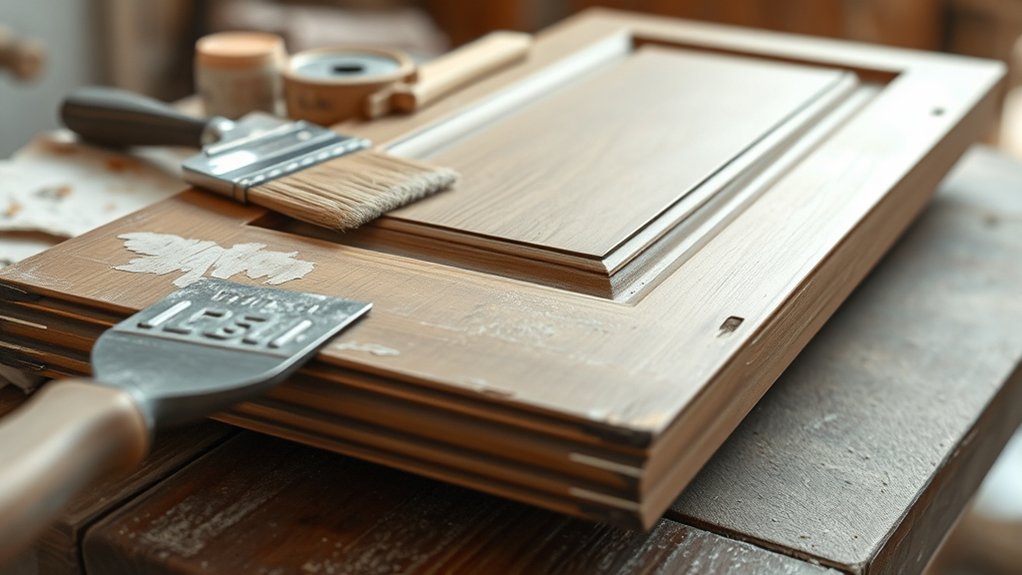
Clean and Sand Cabinets After Stripping Paint
After stripping paint, thoroughly remove all residue using a damp cloth or mineral spirits to guarantee a clean surface. Next, sand the cabinets with medium-grit sandpaper, following the wood grain to avoid scratches. Proper sanding preps the surface for a smooth, even finish.
Removing Residue Thoroughly
Although stripping paint removes the bulk of the finish, you’ll still need to eliminate any remaining residue to guarantee a smooth surface. Start residue removal by applying a specialized chemical stripper or mineral spirits to loosen stubborn paint traces. Use a plastic scraper or nylon brush to gently lift softened residue without damaging the wood.
Following this, employ effective cleaning techniques. Wipe down surfaces with a lint-free cloth dampened with warm, soapy water to remove chemical remnants. Rinse thoroughly with clean water and dry immediately to prevent moisture absorption.
Proper residue removal guarantees no contaminants interfere with subsequent finishing steps. Avoid abrasive tools at this stage to prevent surface marring. By meticulously cleaning off all residue, you prepare your cabinets for ideal adhesion and a flawless final appearance.
Proper Sanding Techniques
Focus on thoroughly cleaning your cabinets before sanding to guarantee all chemical residues and dust are removed. Once dry, choose the appropriate sanding tools, typically a fine-grit sanding sponge or 120- to 220-grit sandpaper attached to a sanding block or orbital sander. Use consistent, even pressure, and sand along the wood grain to prevent surface scratches.
Employ proper sanding techniques by starting with a coarser grit to smooth rough areas and gradually switch to finer grits for a smooth finish. Avoid over-sanding, which can damage the wood. Pay special attention to corners and edges using detail sanding tools for uniform results.
Finally, wipe down the cabinets with a tack cloth to remove all sanding dust before proceeding with priming or painting.
How to Fix Common Paint Stripping Problems
When paint stripper doesn’t work as expected, you’ll need to identify the issue quickly to avoid damaging your cabinets. Common mistakes include applying stripper too thinly or letting it dry before removal. Reapply a thicker, even coat and cover with plastic wrap to retain moisture, improving effectiveness.
If stubborn paint remains, use a plastic scraper gently to avoid gouging the wood. Inadequate dwell time is another frequent error; always follow manufacturer instructions for best results. For multiple layers, repeat the process rather than forcing removal in one go.
Avoid using metal tools that can scratch surfaces. Adjust your paint stripping techniques by testing on a small area first, ensuring the stripper suits the paint type and cabinet finish. This prevents irreversible damage and maximizes stripping efficiency.
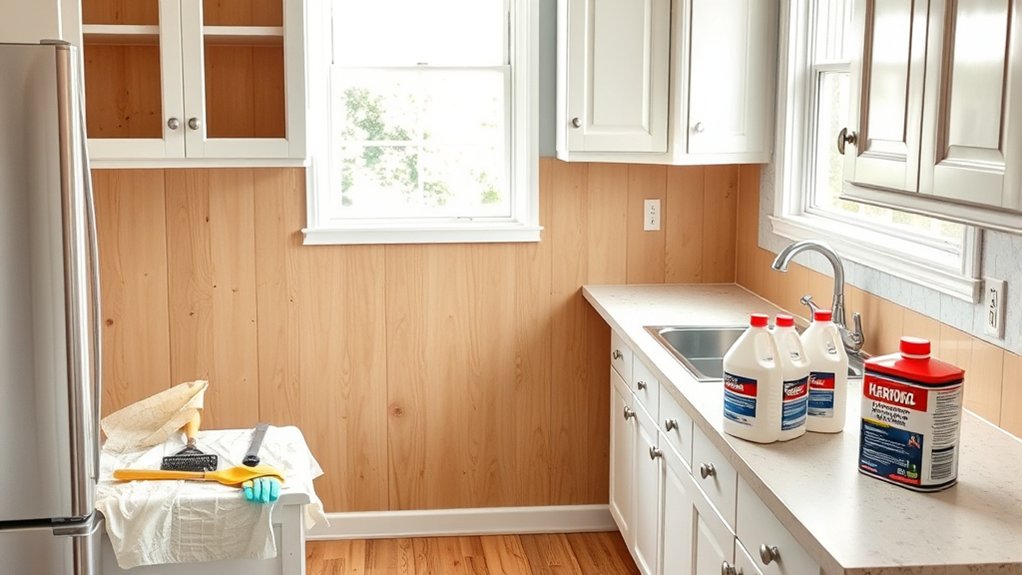
How to Safely Dispose of Paint Stripping Waste
After successfully removing paint from your cabinets, you must handle the leftover waste carefully. Paint stripping waste, including chemical residues, paint chips, and used rags, can be hazardous. First, consult your local disposal guidelines to comply with environmental regulations.
Many areas classify paint stripping waste as hazardous, requiring special handling. Store waste in sealed, labeled containers to prevent spills or contamination. Avoid pouring chemicals down drains or throwing waste in regular trash, as this can harm the environment.
Contact your local waste management facility or hazardous waste collection center for proper disposal instructions. Following these steps guarantees you minimize environmental impact and adhere to legal requirements, keeping your project safe and eco-friendly.
Frequently Asked Questions
Can I Paint Kitchen Cabinets Without Stripping the Old Paint?
Yes, you can paint kitchen cabinets without stripping old paint, but proper surface preparation is essential. Clean, sand, and prime to guarantee ideal paint adhesion, preventing peeling and assuring a smooth, durable finish that lasts.
How Long Does Paint Stripping Typically Take?
Stripping paint typically takes 30 minutes to several hours, depending on your stripping techniques and paint layers.
Factor in drying times for chemical strippers, usually 15-30 minutes, before scraping or sanding for best results.
Are There Eco-Friendly Alternatives to Chemical Paint Strippers?
Yes, you can use natural solutions like citrus-based gels or soy-based strippers. These biodegradable options effectively remove paint while minimizing environmental impact, letting you strip cabinets safely and efficiently without harsh chemicals or toxic fumes.
Can I Strip Paint From Cabinets Made of Laminate?
You can’t effectively strip paint from laminate since 85% of paint failures stem from poor adhesion. Instead, focus on laminate care: lightly sanding and using primer improves paint adhesion without damaging the surface or compromising durability.
What Type of Paint Is Best for Kitchen Cabinets After Stripping?
You’ll want a high-quality acrylic enamel paint for paint durability and easy cleaning. Choose between satin or semi-gloss finish options to resist moisture and wear, ensuring your kitchen cabinets stay durable and visually appealing longer.