How to Install a Kitchen Faucet
To install a kitchen faucet, first choose a model that fits your sink’s hole configuration and gather necessary tools like a basin wrench.
Shut off the water supply and clear your workspace to ensure a smooth installation process.
Remove the old faucet by disconnecting the supply lines carefully.
Then, position the new faucet base and secure it underneath the sink.
Connect the water lines tightly to avoid leaks, and test the installation by turning the water back on and checking all connections.
Following these steps guarantees a proper install with reliable function and lets you handle common issues confidently.
Choose the Right Kitchen Faucet and Gather Tools
Before you begin installing your new kitchen faucet, you need to select a model that matches your sink configuration and meets your functional needs. Evaluate faucet styles such as single-handle, double-handle, pull-down, or touchless to find one compatible with your sink’s hole layout.
Measure the number of holes and spacing to guarantee a proper fit. Consider installation materials; brass and stainless steel provide durability and corrosion resistance, while plastic components may reduce cost but compromise longevity.
Ensure faucet compatibility by measuring hole count and spacing; choose durable materials like brass or stainless steel over plastic.
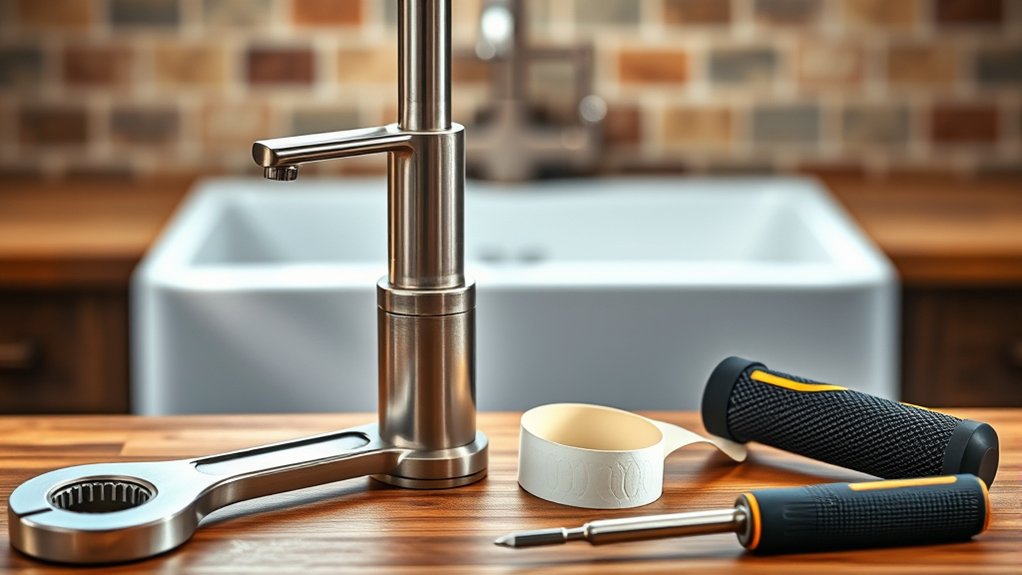
Gather necessary tools such as an adjustable wrench, basin wrench, plumber’s tape, and a bucket to catch residual water. Having all installation materials and tools ready streamlines the process and prevents interruptions.
Selecting the correct faucet style and preparing materials precisely will guarantee a smooth, efficient installation.
Turn Off the Water and Prepare Your Sink Area
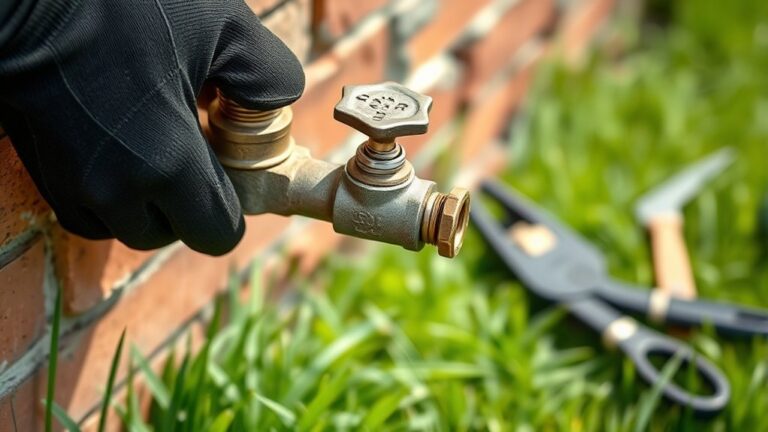
After selecting the appropriate faucet and assembling your tools, the next step is to turn off the water supply to your kitchen sink. Locate the shutoff valves under the sink and rotate them clockwise until fully closed. If no local valves exist, turn off the main water supply to your home.
Next, open the faucet to drain residual water, preventing spills during installation. For effective sink organization, clear the area thoroughly, removing all items and debris. Use a bucket or towels to catch any drips from disconnected pipes.
Prioritize plumbing safety by wearing gloves and ensuring the workspace is dry and well-lit. Proper preparation minimizes risks and streamlines the faucet installation process, setting a solid foundation for subsequent steps.
Remove Your Old Kitchen Faucet Safely
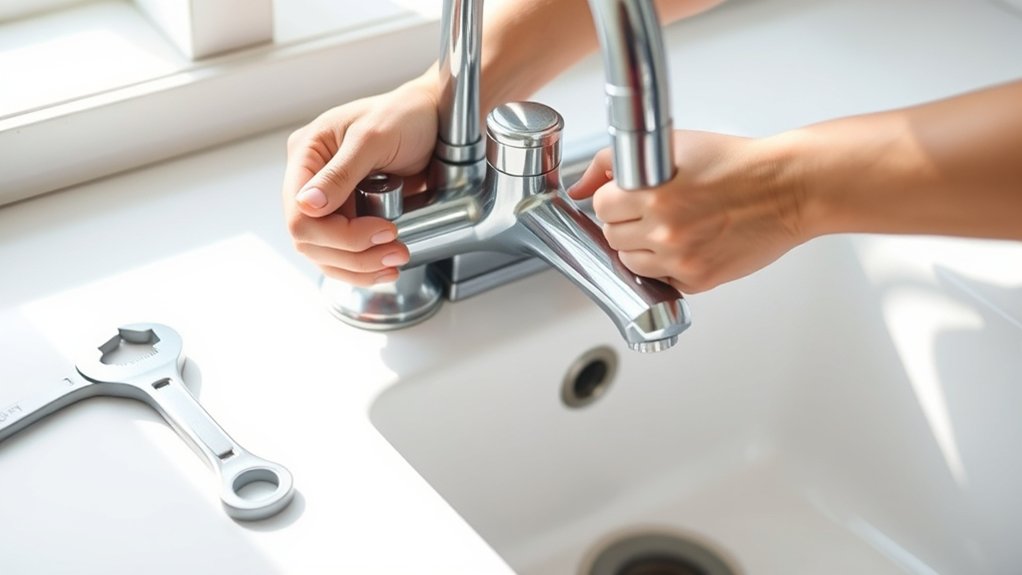
First, make sure you’ve completely turned off the water supply valves under the sink. Next, use a wrench to carefully disconnect the supply lines from the faucet. This will prevent leaks and prepare you to fully remove the old fixture.
Turn Off Water Supply
Two main valves control the water supply to your kitchen faucet: the hot and cold shutoff valves located under the sink. Before you remove your old faucet, you must turn these off to stop water pressure and prevent leaks.
Depending on faucet types, the valves might be compression, ball, or cartridge valves, so make sure you fully close both.
- Locate the shutoff valves beneath the sink.
- Turn each valve clockwise until it stops to cut off water flow.
- Open the faucet to relieve any remaining water pressure in the lines.
Confirm water is off by checking that no water flows from the faucet. This step is critical for safety and efficiency, preventing water damage during faucet removal.
Disconnect Supply Lines
Begin by loosening the supply line connections that run from your shutoff valves to the faucet. Identify the supply line types: braided stainless steel, flexible plastic, or rigid copper, as each requires a specific disconnect method.
For braided or flexible lines, use an adjustable wrench or pliers to carefully unscrew the compression nuts. With rigid copper lines, you may need a tubing cutter or a wrench to disconnect flare nuts.
Always hold the valve steady with a second wrench to prevent twisting or damage. After loosening, gently pull the supply lines away from the faucet connections.
Inspect the lines and fittings for any signs of wear or corrosion before removal. Properly disconnecting supply lines guarantees a clean faucet removal and prevents water leakage during installation.
Install the New Kitchen Faucet Step-by-Step
Start by gathering all necessary tools and materials to streamline the installation process.
Next, connect the water supply lines carefully to prevent leaks.
Finally, secure the faucet firmly to the sink to guarantee stability and proper function.
Prepare Tools And Materials
Gather all necessary tools and materials before you begin installing your new kitchen faucet to guarantee a smooth process. Different faucet types may require specific tools, so review your model’s instructions carefully. Having everything prepared avoids interruptions and assures efficiency.
Crucial tools and materials include:
- Basin wrench – essential for tightening nuts in confined spaces beneath the sink.
- Adjustable wrench – useful for securing water supply connections.
- Plumber’s tape – prevents leaks by sealing threaded joints effectively.
Keep installation tips in mind: work methodically, double-check compatibility of parts, and maintain a clean workspace. Preparing thoroughly helps you avoid mistakes and complete the installation with confidence and precision.
Connect Water Supply Lines
Securely connecting the water supply lines guarantees your new kitchen faucet functions without leaks. Start by matching the supply lines to the faucet types, usually one hot and one cold.
Check for compatibility between the faucet connections and your existing water valves. Use flexible braided stainless steel lines for durability and better resistance to water pressure variations.
Hand-tighten the connections, then use an adjustable wrench to snug them without over-tightening. After connecting, turn on the water supply slowly to check for leaks.
| Faucet Types | Recommended Supply Lines |
|---|---|
| Single Handle | Braided Stainless Steel |
| Double Handle | Braided Stainless Steel |
| Pull-Out/Pull-Down | Braided Stainless Steel |
Secure Faucet To Sink
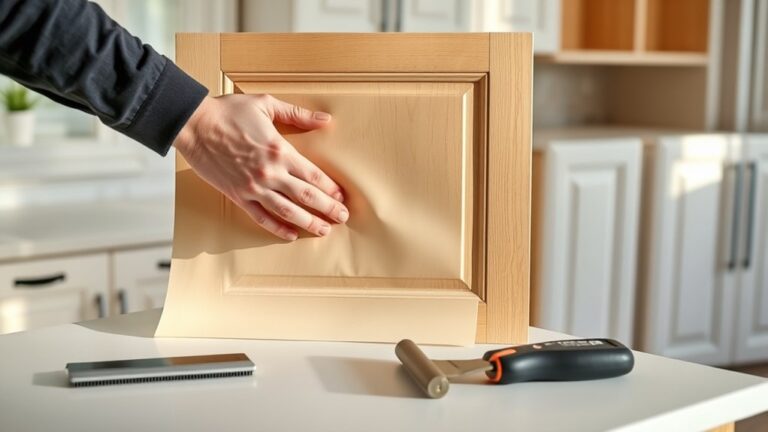
Position the faucet base over the sink’s mounting holes, guaranteeing the gasket or plumber’s putty is properly placed to create a watertight seal. Confirm that your faucet type matches the sink compatibility, especially regarding hole size and number. Next, secure the faucet firmly to prevent movement or leaks.
- Insert mounting nuts from beneath the sink, threading them onto each faucet shank.
- Tighten nuts evenly with a basin wrench, maintaining consistent pressure to avoid misalignment.
- Verify the faucet sits flush against the sink surface without gaps or wobble.
Properly securing the faucet guarantees durability and prevents water damage. Different faucet types, such as single-hole, center-set, or widespread, may require specific mounting hardware, so check the manufacturer’s instructions for precise compatibility details.
Connect Water Supply Lines Securely

Attach the water supply lines to the faucet’s threaded inlets, guaranteeing each connection matches the correct hot and cold water valves. Different faucet types may require specific connection methods: compression fittings, threaded connections, or quick-connect adapters. Confirm compatibility before proceeding.
Use plumber’s tape on threaded fittings to prevent leaks. Hand-tighten the connections first, then use an adjustable wrench to secure them firmly without over-tightening, which can damage threads.
Flexible supply lines offer easier installation and accommodate various faucet types, while rigid lines require precise alignment. Double-check the orientation and tightness of each connection.
Properly securing these connections guarantees water flows efficiently and prevents future leaks. Follow manufacturer guidelines closely for connection methods unique to your faucet model.
Test Your Faucet for Leaks and Proper Flow
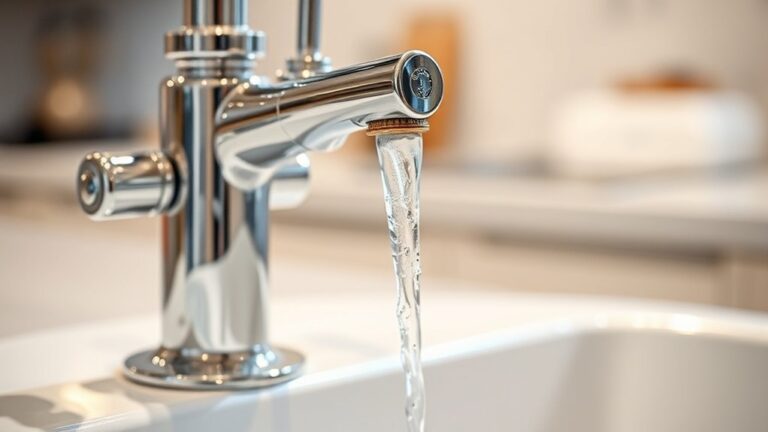
Once the water supply lines are connected and tightened properly, it’s time to check your faucet for leaks and verify water flows correctly. Begin by slowly turning on the main water valve to restore water supply.
- Observe all connection points closely for any signs of moisture. Use leak detection methods such as a dry tissue or paper towel to identify small drips.
- Activate the faucet handles, testing both hot and cold water separately. Check that water pressure is steady and strong, indicating proper flow.
- Inspect under the sink during operation to guarantee no water escapes from supply lines or fittings.
This systematic approach to leak detection and water pressure verification guarantees your kitchen faucet functions reliably and safely.
Fix Common Faucet Installation Problems
Although you’ve tested for leaks and proper flow, you might still encounter common faucet installation issues such as drips, low water pressure, or loose handles. To fix faucet leaks, first check that all connections are tight and washers are properly seated.
Different faucet types require specific installation tips; for example, cartridge faucets often need cartridge replacement if dripping persists. For low water pressure, inspect aerators for clogs and make sure supply valves are fully open.
Loose handles usually indicate worn screws or faulty mounting nuts. Tighten or replace them accordingly. Regular maintenance advice includes cleaning aerators and inspecting seals to prevent future problems.
When troubleshooting issues, always turn off the water supply before adjustments. Following these guidelines guarantees efficient faucet operation and longevity.
Frequently Asked Questions
How Do I Maintain My Kitchen Faucet to Prevent Future Issues?
You should know 30% of faucet failures result from neglect. Regular faucet cleaning prevents buildup, while timely repair tips like tightening connections and checking seals ensure peak performance.
This extends your faucet’s lifespan and helps avoid costly, inconvenient damage.
What Are the Best Brands for Durable Kitchen Faucets?
You’ll want to choose brands like Moen, Delta, or Kohler for durable kitchen faucets. They use high-quality faucet materials and offer various design styles, ensuring longevity and a precise fit for your kitchen setup.
Can I Install a Kitchen Faucet by Myself Without Plumbing Experience?
Yes, you can handle DIY plumbing for a kitchen faucet if you follow instructions carefully. Use proper faucet tools like a basin wrench and plumber’s tape.
Make certain water supply is off before starting installation to avoid leaks or damage.
How Do I Choose Between a Single-Handle and Double-Handle Faucet?
You choose between single-handle and double-handle faucet styles based on control preference: single-handle offers quick, precise water flow adjustment, while double-handle provides separate hot and cold control for more tailored temperature settings.
What Should I Do if My Water Pressure Is Low After Installation?
If your water flow is weak after installation, check for clogged aerators or supply valves. Inspect for kinks in hoses and guarantee valves are fully open.
Address pressure issues by flushing lines or consulting a plumber if needed.