How to Wrap Kitchen Cabinets
To wrap your kitchen cabinets, start by thoroughly cleaning and lightly sanding the surfaces for better adhesion.
This preparation is essential to ensure the wrap sticks properly and lasts longer. Remove all hardware and use wood filler to fix any imperfections.
Choose a durable wrap like vinyl or laminate that matches your aesthetic and moisture needs.
Using the right material will help your cabinets withstand kitchen conditions.
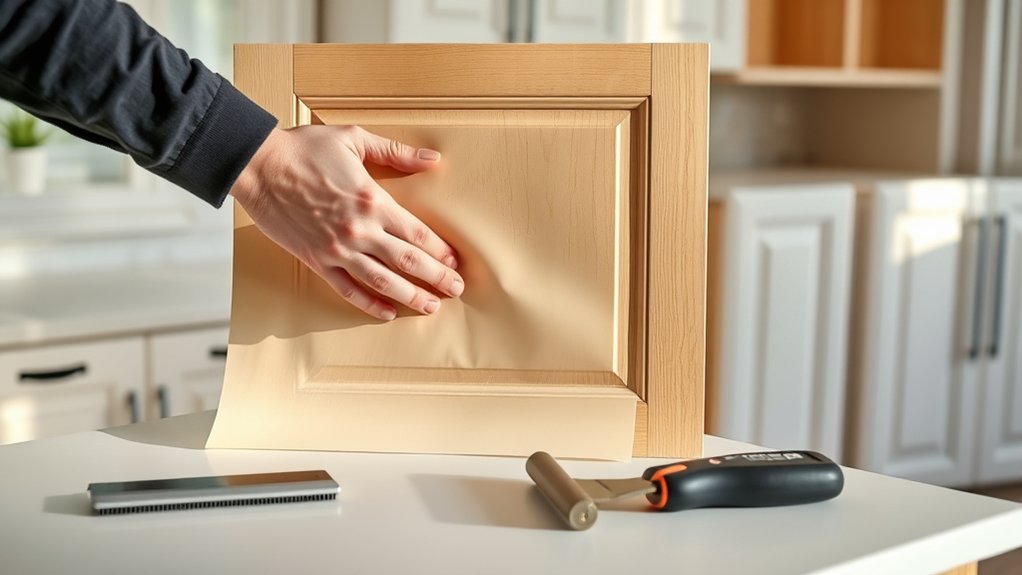
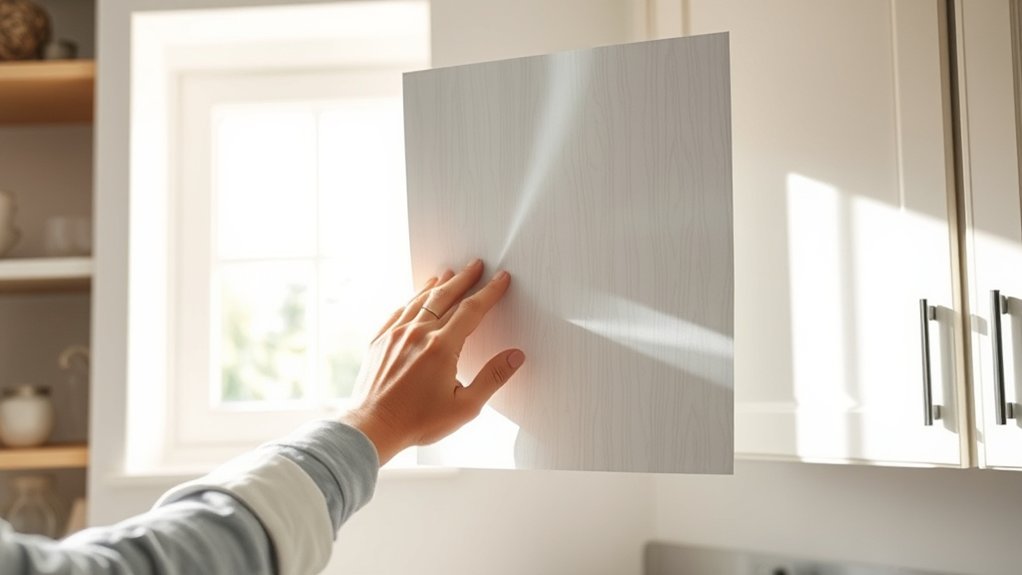
Use a heat gun and squeegee to carefully apply the wrap, ensuring smooth edges and no air bubbles.
Avoid rushing to prevent wrinkles and seam lifting.
Proper prep and technique matter—detailed guidance will help you master each step.
Why Wrap Your Kitchen Cabinets Instead of Replacing Them?
Although replacing kitchen cabinets can dramatically change your space, wrapping them offers a cost-effective alternative that preserves the existing structure while updating the appearance. By choosing to wrap, you avoid the extensive labor and material expenses associated with demolition and installation, resulting in significant cost savings.
Wrapping involves applying a durable adhesive film or veneer directly onto your current cabinet surfaces, which means you retain the cabinetry’s framework and hardware, minimizing disruption. This method also allows for precise aesthetic upgrades, such as modern finishes, textures, and colors, tailored to your design preferences without compromising structural integrity.
Ultimately, wrapping streamlines the renovation process, reducing time and waste, while delivering a fresh, customized look that maximizes your investment efficiently.
How to Choose the Right Wrap Material for Your Cabinets
Selecting the right wrap material for your kitchen cabinets requires careful consideration of durability, finish, and ease of application. Vinyl options offer flexibility and moisture resistance, ideal for kitchens prone to humidity.
Laminate choices provide a rigid, scratch-resistant surface but can be less forgiving during installation. Your decision should balance aesthetic goals with functional demands.
| Material Type | Durability | Finish Options | Installation Ease |
|---|---|---|---|
| Vinyl | High moisture resistance | Matte, glossy, textured | Moderate flexibility, easier on curves |
| Laminate | Scratch and heat resistant | Matte, semi-gloss | Rigid, requires precision cutting |
| Thermofoil | Good chemical resistance | High-gloss, smooth | Heat applied, less forgiving |
| Wood Veneer | Natural durability | Varied wood grains | Requires expert handling |
Choose based on cabinet condition, kitchen environment, and desired finish.
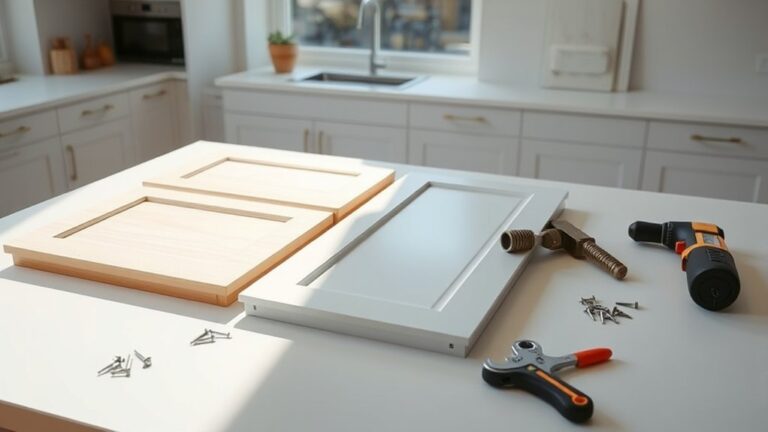
Tools and Supplies You’ll Need to Wrap Cabinets

After deciding on the wrap material that fits your kitchen’s needs and style, gather the right tools and supplies to secure a smooth application process. You’ll need a high-quality squeegee to evenly press the wrap and eliminate air bubbles.
Choose the right wrap and tools to ensure a smooth, bubble-free application for your kitchen cabinets.
A precision utility knife with extra blades is essential for clean, accurate cuts. Select adhesive types compatible with your chosen wrap finishes, whether matte, gloss, or textured, to guarantee strong, lasting adhesion.
A heat gun helps conform the wrap to cabinet contours, preventing wrinkles. Additionally, use a measuring tape for exact dimensions and a lint-free cloth to clean surfaces before application.
Having a straight edge or metal ruler aids precise trimming. These tools and supplies, carefully chosen, will streamline your cabinet wrapping and enhance the final professional appearance.
Preparing Your Cabinets for Wrapping
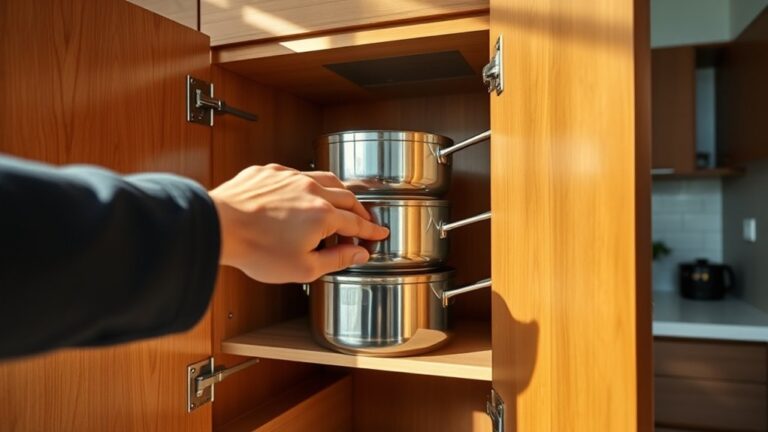
Before applying any wrap, you need to thoroughly prepare your cabinets to guarantee the adhesive bonds properly and the finish is smooth. Start with cabinet cleaning: remove all grease, dirt, and residues using a degreaser or a mixture of warm water and mild detergent. Wipe surfaces with a lint-free cloth, making sure no moisture remains.
Next, focus on surface preparation. Sand the cabinet surfaces lightly with fine-grit sandpaper (220 grit) to create a slightly rough texture that improves adhesion. Fill any dents or holes with wood filler, then sand again once dry to confirm a uniform surface.
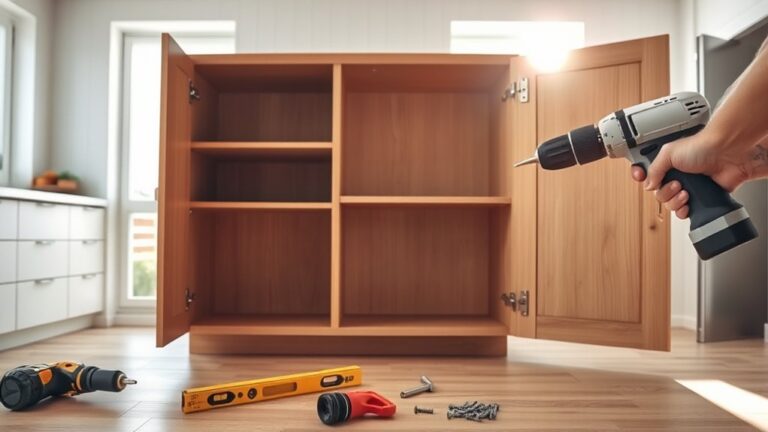
Remove hardware and hinges to access all corners fully. Finally, wipe down the cabinets with isopropyl alcohol to remove oils and dust. Proper surface preparation is essential for a durable, professional-looking wrap.
Step-by-Step Guide to Wrapping Kitchen Cabinets
Start by measuring each cabinet surface accurately to guarantee your wrap material fits perfectly without excess or gaps. Cut the vinyl wrap according to these dimensions, adding a small margin for trimming.
Next, clean the cabinet thoroughly to remove dust and oils, ensuring excellent adhesion. Peel the backing slowly, aligning the wrap with the cabinet edges, and press firmly using a squeegee.
Apply consistent pressure from the center outward, following DIY wrapping techniques to avoid misalignment. For corners and curves, heat the vinyl gently with a heat gun to increase flexibility, allowing it to conform tightly.
Trim any excess material precisely along edges. Finally, consider cabinet color trends when selecting wrap finishes to achieve a modern, cohesive look that complements your kitchen’s design.
Tips for a Smooth, Bubble-Free Cabinet Wrap Finish
When you apply the vinyl wrap, guarantee you work methodically to prevent air bubbles from forming beneath the surface. Employing effective bubble free techniques is essential for a flawless finish. Start by ensuring the cabinet surface is clean, smooth, and free of dust or grease.
Mastering adhesive application helps you control the vinyl’s placement and prevents trapped air. Use a squeegee with firm, consistent pressure, moving from the center outward to push out air pockets. If bubbles appear, puncture them with a fine needle and smooth the area immediately.
Key bubble free techniques include:
- Preheating vinyl for flexibility
- Applying slow, steady pressure with a squeegee
- Using a heat gun to soften vinyl edges
- Starting adhesive application from one edge to the other
Handling Cabinet Doors, Drawers, and Edges When Wrapping
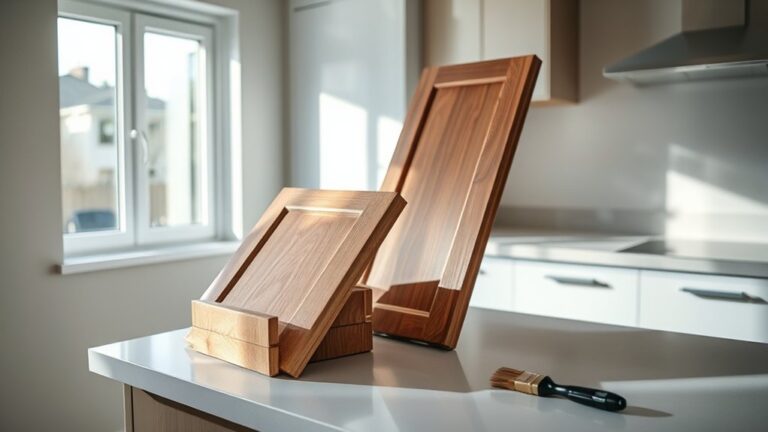
Although wrapping flat cabinet surfaces requires careful technique, handling doors, drawers, and edges demands even greater attention to detail and precision to guarantee seamless adhesion and a professional finish. Start by removing doors and drawers to work on them individually.
When wrapping edges, use a heat gun to soften the vinyl, allowing it to conform tightly without bubbles or creases. Pay close attention to door alignment during reinstallation. Misaligned doors will expose seams and compromise the wrap’s aesthetic.
For drawer handling, make sure that the vinyl doesn’t interfere with the drawer’s track or operation; trim excess material precisely around edges. Use a roller to press vinyl firmly into corners and edges, avoiding air pockets. This meticulous approach guarantees durability and a flawless, factory-quality look.
Top Cabinet Wrapping Mistakes and How to Avoid Them
Why do some cabinet wraps fail to achieve a smooth, lasting finish? It often stems from common misconceptions about wrapping techniques. To avoid these pitfalls, focus on precise execution rather than shortcuts.
Skipping surface preparation: Dust, grease, or uneven surfaces prevent proper adhesion, causing bubbles or peeling.
Ignoring temperature and humidity: Wrapping vinyl in unfavorable conditions leads to poor bonding and warping.
Improper edge wrapping: Failing to wrap edges fully results in lifting and visible seams.
Rushing application: Applying the wrap too quickly without smoothing causes wrinkles and air pockets.
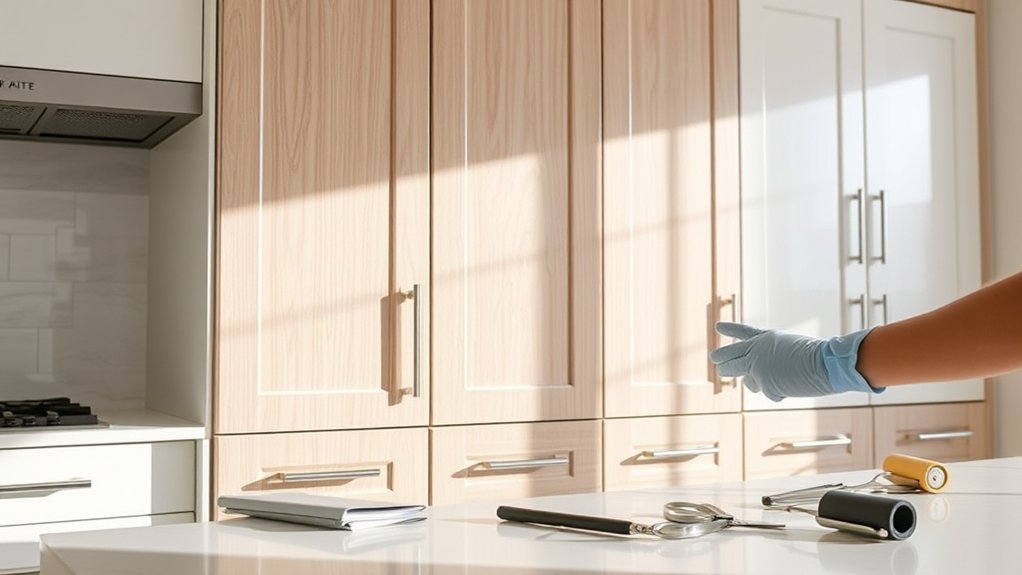
Caring for Wrapped Cabinets to Keep Them Looking Fresh
You should clean your wrapped cabinets regularly using a soft, damp microfiber cloth and mild, non-abrasive cleaners to prevent residue buildup. Avoid exposing the wrap to excessive heat, moisture, or sharp objects that can cause peeling or scratches.
Applying a protective sealant periodically will maintain the finish and extend the lifespan of your cabinet wrap.
Regular Cleaning Techniques
Maintaining the appearance of your wrapped kitchen cabinets requires consistent cleaning at least once a week to prevent dirt buildup and preserve the adhesive integrity. Adhering to an ideal cleaning frequency minimizes surface degradation and extends the wrap’s lifespan.
Select cleaning products that are non-abrasive and pH-neutral to avoid damaging the laminate surface or loosening the adhesive. Use a microfiber cloth for gentle yet effective cleaning.
Follow these regular cleaning techniques:
- Wipe down cabinets with a damp microfiber cloth using mild detergent diluted in water.
- Avoid soaking surfaces; use minimal moisture to prevent adhesive weakening.
- Dry immediately with a clean, soft cloth to prevent streaks and water spots.
- Inspect seams regularly to catch early signs of lifting or wear.
This routine maintains finish quality and promotes long-term durability.
Avoiding Damage Causes
Although wrapped kitchen cabinets offer a durable and attractive finish, they remain vulnerable to damage from common household practices. For effective damage prevention, avoid exposing the wrap to excessive moisture, heat, or abrasive cleaners, as these can compromise surface adhesion and integrity.
Use only pH-neutral, non-abrasive cleaning agents applied with a soft cloth to maintain surface protection. Be cautious when handling sharp objects near the cabinets to prevent scratches or punctures in the wrap material.
Additionally, prevent prolonged exposure to direct sunlight, which can cause fading or warping. By understanding these critical damage causes and adjusting your daily routines accordingly, you’ll extend the lifespan and maintain the pristine appearance of your wrapped kitchen cabinets without compromising their structural or aesthetic qualities.
Protective Maintenance Tips
Preserve the clarity and durability of your wrapped kitchen cabinets by implementing targeted maintenance strategies designed to prevent wear and deterioration. Establish a strict maintenance schedule, inspecting surfaces regularly to address any signs of damage promptly. Use cleaning products specifically formulated for surface protection to avoid degrading the wrap’s finish.
Prioritize wear prevention by minimizing direct exposure to environmental factors such as excessive moisture and UV radiation, which compromise moisture resistance and finish longevity.
To maintain ideal cabinet condition, you should:
- Wipe spills immediately with a soft, damp cloth to prevent moisture infiltration.
- Avoid abrasive cleaners that degrade the wrap’s UV protective layer.
- Use protective pads or liners inside cabinets to reduce friction wear.
- Control kitchen humidity and temperature to mitigate environmental stress.
These practices guarantee your cabinets remain fresh and resilient over time.
Should You Hire a Pro to Wrap Your Cabinets?
You’ll need steady hands and patience to handle the precise measurements and smooth application required for wrapping cabinets. Consider whether you have the time to complete the project without mistakes that could cost extra material or time.
Weigh the upfront cost of hiring a pro against the potential for a flawless finish and faster completion.
Skill Level Required
Because wrapping kitchen cabinets demands careful surface preparation, precise cutting, and smooth application, evaluating your skill level before starting is essential. If you’re new to this, beginner tips like measuring twice, working in small sections, and using a heat gun for pliability help prevent errors.
Advanced techniques include seamless corner wrapping and bubble-free adhesion, which require steady hands and experience. Consider these factors to decide if you should hire a pro:
- Your familiarity with surface prep tools and adhesion methods
- Ability to execute clean, straight cuts with minimal waste
- Experience with handling vinyl or laminate materials
- Patience to manage intricate cabinet details without damaging surfaces
If any of these seem challenging, hiring a professional guarantees a flawless finish and avoids costly mistakes.
Time Commitment Involved
Although wrapping kitchen cabinets can be a rewarding DIY project, it demands a significant time investment that many underestimate. Understanding realistic time expectations is vital before you start. The project duration varies based on cabinet quantity, prep work, and your experience level. Rushing risks poor adhesion or visible seams.
| Task | Estimated Time |
|---|---|
| Surface Preparation | 3-5 hours |
| Wrapping Application | 5-8 hours |
| Finishing Touches | 1-2 hours |
If you lack the time or precision skills, hiring a pro can guarantee efficiency and quality. Pros typically complete the job faster due to expertise and specialized tools, reducing overall project duration without sacrificing finish quality.
Cost Considerations
When deciding whether to hire a professional to wrap your kitchen cabinets, carefully evaluating the associated costs is essential. Conduct a thorough budget analysis that factors in labor fees alongside material costs.
Professionals bring expertise, reducing the risk of costly errors and ensuring ideal adhesive application and finish. However, DIY wrapping can cut labor expenses but may increase material waste or require rework.
Consider these cost factors:
- Labor charges based on cabinet quantity and complexity
- Quality and price of vinyl or laminate materials
- Potential costs for tools or equipment rental
- Time investment versus professional efficiency
Frequently Asked Questions
How Long Does a Kitchen Cabinet Wrap Typically Last?
A kitchen cabinet wrap typically lasts 8 to 15 years. Durability factors include material quality, moisture exposure, and usage.
You’ll extend lifespan by following maintenance tips like gentle cleaning, avoiding heat, and promptly repairing damage.
Can I Wrap Cabinets With Existing Damage or Imperfections?
Think of wrapping cabinets like applying wallpaper over a wall; without proper surface preparation, imperfections show. You can wrap damaged cabinets, but repair options like sanding or filling dents are essential to guarantee a smooth, lasting finish.
Are Kitchen Cabinet Wraps Heat and Moisture Resistant?
Kitchen wraps typically offer moderate heat and moisture resistance, but durability concerns arise near stoves or sinks.
You should choose high-quality, specifically designed wraps to guarantee long-lasting protection against kitchen humidity and temperature variations.
Will Wrapping Cabinets Affect My Home’s Resale Value?
Wrapping cabinets can impact resale value depending on resale trends and buyer preferences. If your wrap matches current styles and quality standards, it may enhance appeal. Otherwise, it could deter buyers seeking original or high-end finishes.
Can I Remove a Cabinet Wrap Without Damaging the Surface?
Yes, you can remove cabinet wraps without damaging surfaces by using gentle removal techniques like applying heat with a hairdryer to soften adhesive. Peel slowly while protecting the surface with a plastic scraper to avoid scratches or residue.