How to Fix Bathroom Faucet Handle
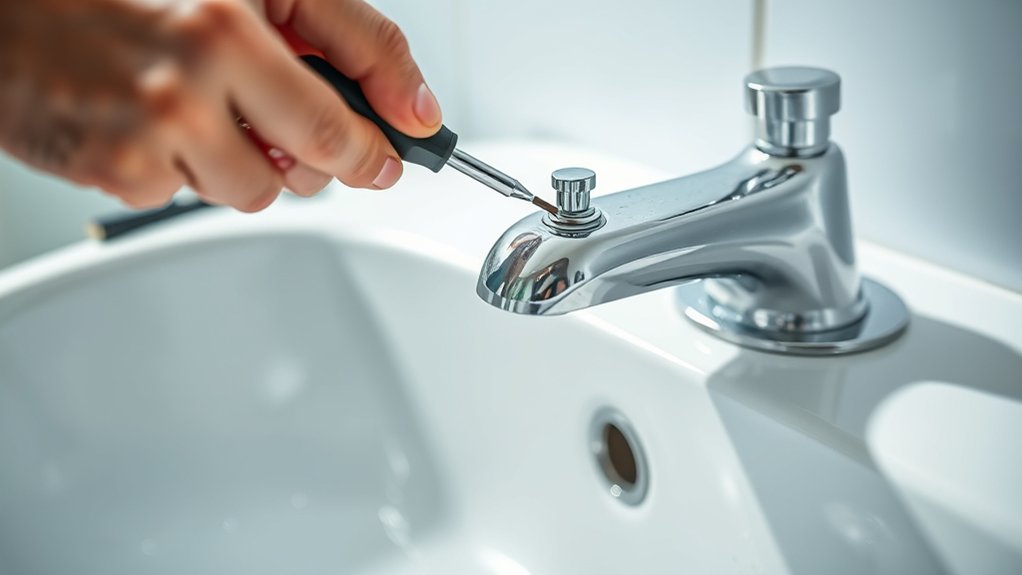
To fix your bathroom faucet handle, start by identifying its type and locating the set screw, which is usually hidden under a cap.
Use the right screwdriver or Allen wrench to tighten any loose handles.
If tightening doesn’t solve the problem, remove the handle to inspect it closely.
Check for worn parts like cartridges or O-rings and replace them as needed, using pliers if necessary.
Always wear safety gear while working, and lubricate moving parts afterward with plumber’s grease.
Following these proper steps prevents damage and keeps your faucet working smoothly.
Explore further for detailed tips and maintenance advice.
How to Identify Your Bathroom Faucet Handle Type
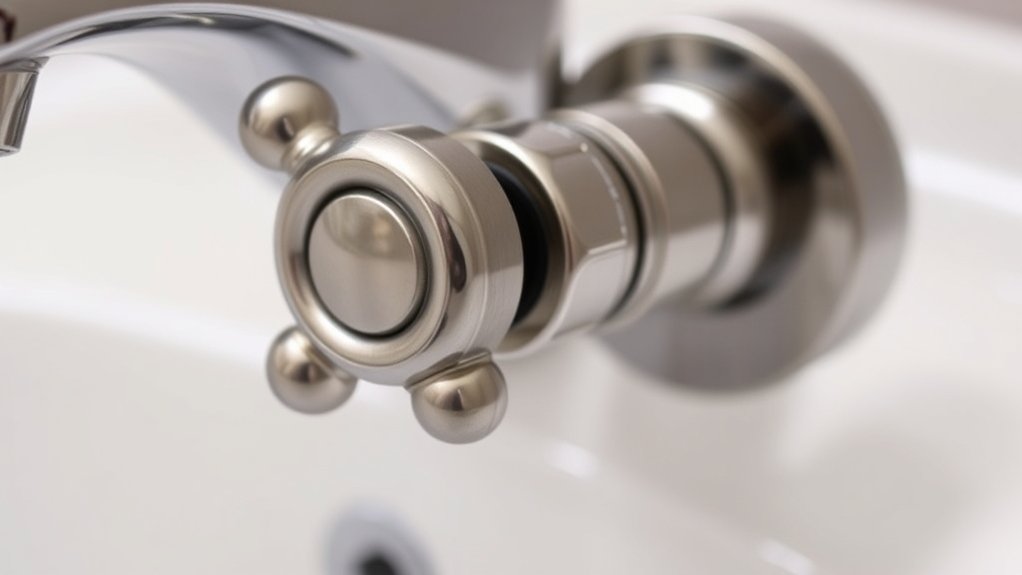
How do you determine the type of bathroom faucet handle you have? First, examine the handle materials; common ones include metal, plastic, and ceramic. Metal handles often feel sturdy and may show signs of corrosion, while plastic handles are lighter and more prone to cracking.
Next, observe design variations. Handles typically fall into four categories: lever, knob, cross, and paddle. Levers operate with a simple up-down or side-to-side motion, knobs twist to control water flow, cross handles have four prongs, and paddle handles are flat and wide. Identifying these characteristics helps you understand your faucet’s mechanism.
Take note of how the handle attaches, either with a visible screw or hidden under a decorative cap, since this affects the removal process during repair.
Tools Needed to Fix a Bathroom Faucet Handle
You’ll need a few essential tools like a screwdriver, an adjustable wrench, and a hex key to fix your faucet handle properly. Don’t forget safety equipment such as gloves and safety glasses to protect yourself during the repair.
Choosing the right tools guarantees you avoid damage and complete the job efficiently.
Essential Repair Tools
Before diving into the repair, gather the essential tools to guarantee a smooth process. You’ll need an adjustable wrench to loosen and tighten nuts without damaging your faucet. A set of screwdrivers, both flathead and Phillips, is vital for removing handle screws efficiently.
Include an Allen wrench set for hex screws common in modern faucets. Pliers help grip and turn small parts, while a basin wrench assists in hard-to-reach areas under the sink. Have plumber’s grease on hand to lubricate moving components, enhancing repair techniques and extending handle lifespan.
Finally, keep a clean cloth for wiping debris during maintenance. Using these tools correctly supports effective repair techniques and maintenance tips, ensuring your bathroom faucet handle functions flawlessly after servicing.
Safety Equipment Required
Alongside assembling the right tools for your bathroom faucet handle repair, equipping yourself with proper safety gear protects you from potential hazards. Wearing safety goggles shields your eyes from debris or splashes, while rubber gloves protect your hands from sharp edges and cleaning chemicals. Using these safety items reduces injury risk and improves handling precision.
| Safety Equipment | Purpose |
|---|---|
| Safety Goggles | Protect eyes from debris |
| Rubber Gloves | Prevent cuts and chemical exposure |
| Face Mask | Avoid inhaling dust or fumes |
| Knee Pads | Provide comfort during prolonged kneeling |
Ensure you wear all recommended safety equipment before starting your repair to maintain a safe and efficient work environment.
Tool Selection Tips
Selecting the right set of tools is essential for efficiently fixing a bathroom faucet handle. Focus on essential tool types: an adjustable wrench, a Phillips and flathead screwdriver, an Allen wrench set, and a pair of pliers. These cover most faucet handle repairs.
Choose tool brands known for durability and precision, such as Craftsman, Klein Tools, or Stanley, to guarantee reliability and ease of use. Avoid generic or low-quality tools, which can damage screws or fittings.
Inspect tools before starting to confirm they’re in good condition. Using the correct tool type prevents stripping screws and protects faucet components.
Having the proper tool brands and types on hand will streamline the repair process and reduce frustration, enabling you to complete the job accurately and quickly.
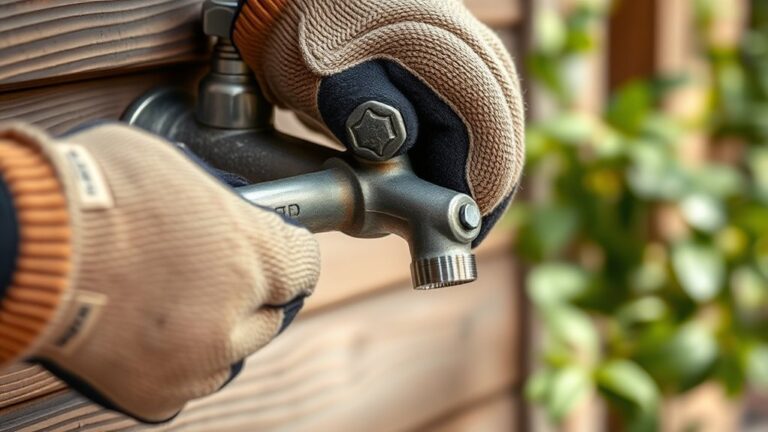
How to Tighten or Replace a Loose Faucet Handle
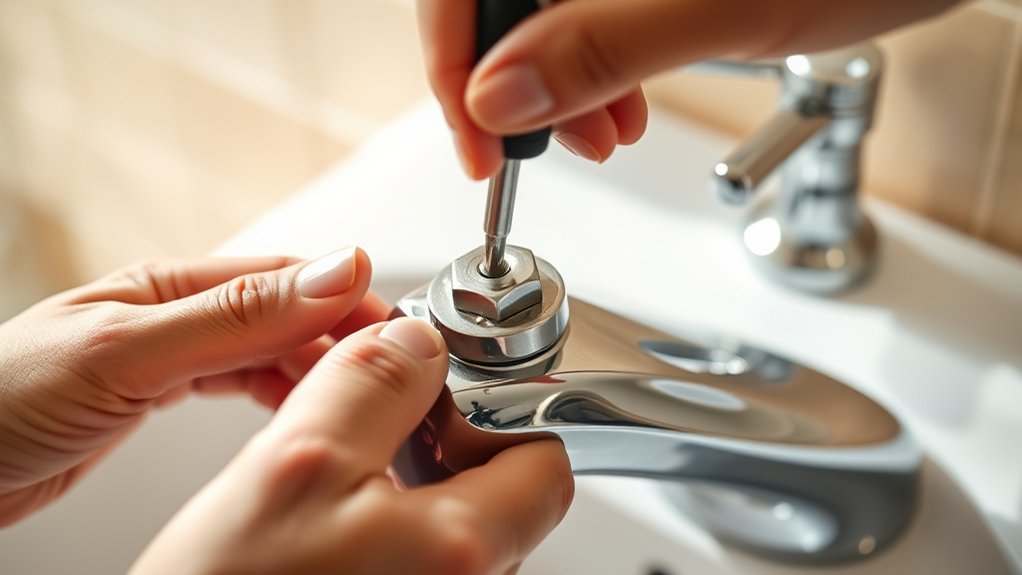
Start by identifying the type of handle your faucet has and locating the set screw, which usually secures the handle to the stem. Use an appropriate screwdriver or Allen wrench to tighten any loose screws.
If tightening doesn’t fix the handle alignment, remove the handle by loosening the set screw completely. Inspect for wear or damage; replace the handle if necessary. Reattach securely, ensuring proper alignment to avoid wobbling.
How to Fix a Stuck Bathroom Faucet Handle
First, identify your faucet handle type to know the correct removal method. Next, carefully remove the handle without damaging any components.
Finally, apply lubricant to the moving parts and reassemble the handle for smooth operation.
Identify Handle Type
Before you can effectively fix a stuck bathroom faucet handle, you need to identify its type. Knowing the faucet handle types helps you determine the repair approach. Common styles include single-handle, double-handle, and lever handles.
Single-handle faucets control both hot and cold water with one lever or knob, while double-handle faucets have separate controls for each. Lever handles typically pivot up and down or side to side.
When identifying faucet styles, examine the handle’s shape, movement, and attachment method. Look for visible screws or hidden caps that may conceal fasteners.
Accurate identification guarantees you use the right tools and techniques, preventing damage during repair. Take note of your faucet’s brand and model if available, as this information can assist in sourcing replacement parts.
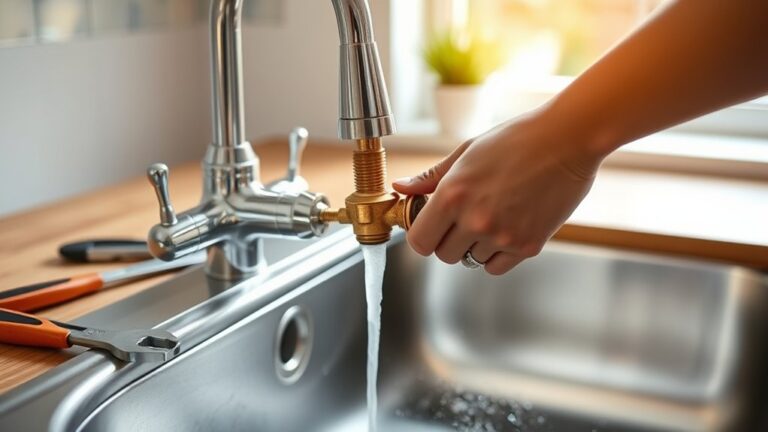
Remove Handle Safely
After identifying your faucet handle type, you’ll need to remove it carefully to avoid damage. Begin handle removal by turning off the water supply to prevent leaks. Locate and remove any visible screws, often hidden under caps or decorative covers. Use the appropriate screwdriver or Allen wrench to avoid stripping screws.
If the handle is stuck, apply gentle, steady pressure with a handle puller tool, avoiding excessive force that risks breaking the handle or valve stem. For handles without screws, twist or pry gently at the base using a flathead screwdriver wrapped in tape to protect the finish.
Maintain handle safety by working slowly and methodically, ensuring no parts are forced or damaged. Proper handle removal sets the stage for efficient repair and prevents costly replacements.
Lubricate And Reassemble
Apply a suitable plumbing grease or silicone-based lubricant to the valve stem and moving parts to reduce friction and restore smooth operation. Use proper lubrication techniques by applying a thin, even layer to all contact surfaces, avoiding excess that could attract debris.
This step is critical for effective handle maintenance and guarantees long-term smooth functionality. Once lubricated, carefully reassemble the handle by aligning it with the valve stem and securing it with the retaining screw.
Tighten the screw firmly but avoid overtightening to prevent damage. Test the handle’s movement to confirm it operates smoothly and without resistance.
Regular handle maintenance, including lubrication, prevents future sticking and prolongs faucet lifespan. Following these steps will restore your faucet handle’s ease of use efficiently and effectively.
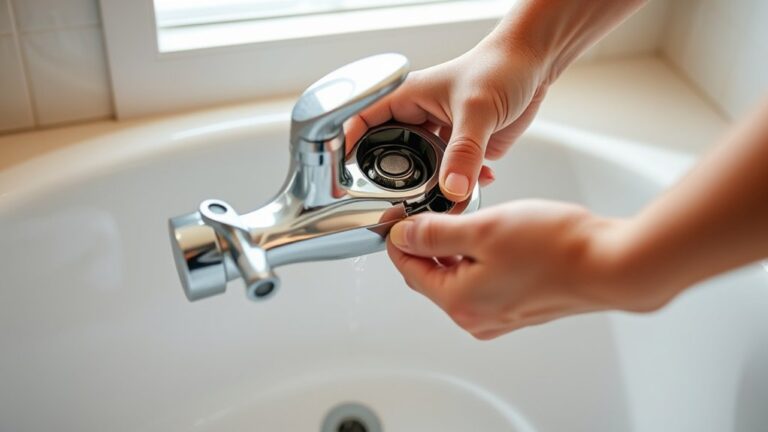
How to Check and Replace Worn Faucet Handle Parts
When your faucet handle feels loose or fails to turn smoothly, it’s essential to inspect the internal parts for wear. First, remove the handle by loosening the set screw with an Allen wrench or screwdriver.
Examine the cartridge, O-rings, and washers for signs of faucet handle wear, such as cracks, corrosion, or deformation. If you spot damage, obtain exact replacement parts matching your faucet model.
Carefully remove the worn components using pliers or a cartridge puller. Install the new parts in reverse order, ensuring they fit snugly and align properly.
Reattach the handle and tighten the set screw securely. Test the handle’s movement to confirm smooth operation. Addressing worn parts promptly prevents further damage and keeps your faucet functioning efficiently.
Tips to Prevent Future Faucet Handle Issues
To prevent future faucet handle issues, you should regularly clean and lubricate the moving parts to reduce wear and corrosion. Use a silicone-based grease for lubrication, as it withstands water exposure and prevents metal degradation.
Regularly clean and lubricate faucet handles with silicone-based grease to prevent wear, corrosion, and metal damage.
Conduct preventive maintenance every six months, inspecting handles for looseness or damage. Tighten screws and replace worn components promptly to avoid further damage.
Avoid using abrasive cleaners that can erode the finish and compromise the handle’s integrity. Additionally, make sure water pressure stays within recommended limits to reduce stress on internal parts.
Practicing consistent faucet care extends the handle’s lifespan, improves functionality, and prevents leaks. By integrating these steps into your routine, you’ll maintain smooth operation and minimize costly repairs in the future.
Frequently Asked Questions
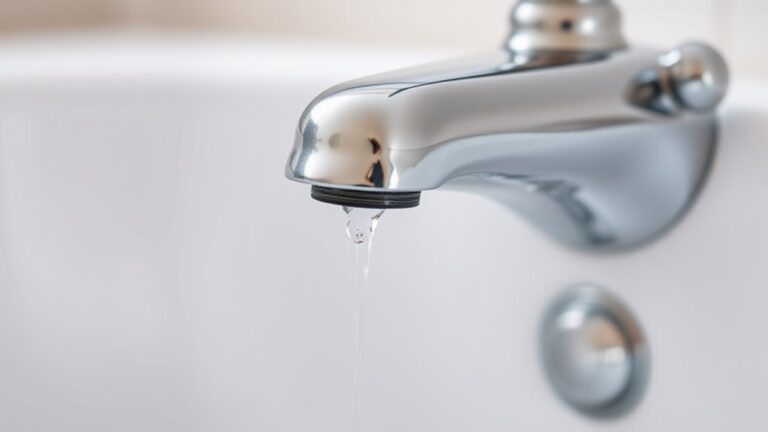
What Causes a Faucet Handle to Drip Continuously?
Even a medieval knight would know that faucet handle leaks usually happen because worn washers let water seep through. You’ll fix it by doing a washer replacement to stop that continuous drip and save water efficiently.
How Do I Remove Mineral Deposits From Faucet Handles?
You remove mineral buildup by soaking the faucet handles in a vinegar-based cleaning solution for 30 minutes. Then, scrub gently with a soft brush to dissolve deposits.
Rinse thoroughly and dry to prevent further buildup and corrosion.
Can I Upgrade My Faucet Handles Without Replacing the Entire Faucet?
Like upgrading your wardrobe, you can swap faucet handle styles without changing the whole faucet. Choose from various handle material options such as metal, ceramic, or plastic to match your bathroom’s look and guarantee compatibility with your existing fixture.
Are There Eco-Friendly Faucet Handle Options Available?
Yes, you can find eco-friendly faucet handles made from eco-friendly materials like bamboo, recycled metal, or bioplastics.
Look for sustainable brands that prioritize durability and water efficiency to guarantee your upgrade minimizes environmental impact effectively.
How Do I Fix a Faucet Handle That Squeaks When Turned?
You can stop a squeaky handle by applying faucet handle lubrication. First, remove the handle, clean the stem, then apply a silicone-based lubricant. This is one of the most effective squeaky handle solutions. Reassemble afterward.