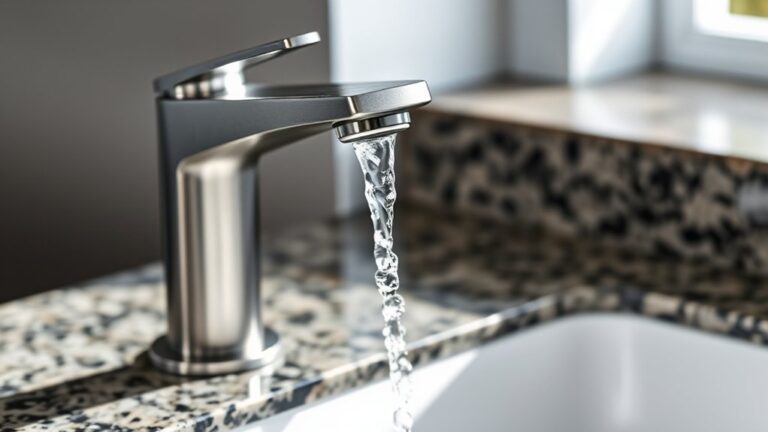
How to Fix Shower Faucet Diverter
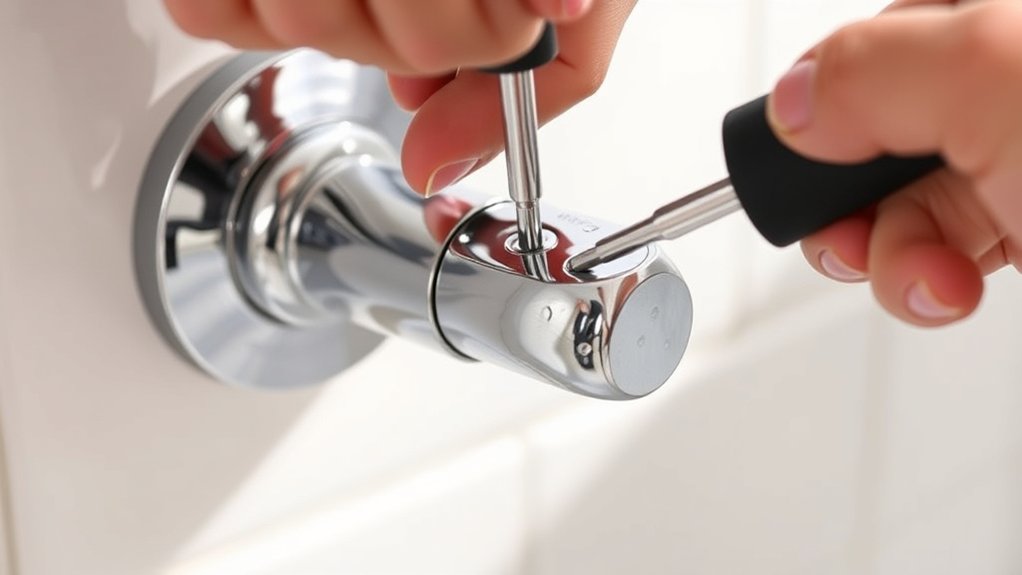
To fix your shower faucet diverter, first turn off the water supply and remove the handle or tub spout to access the mechanism.
Begin by checking for worn washers, seals, or mineral buildup that may be causing leaks or sticking.
Clean the parts thoroughly with vinegar and apply plumber’s grease to lubricate all moving components.
Replace any damaged pieces as needed to ensure smooth operation.
Once repairs are complete, reassemble the diverter securely and test its operation to guarantee proper water flow.
For detailed steps on specific diverter types and preventive tips, keep exploring these repair methods.
How to Identify Common Shower Faucet Diverter Problems
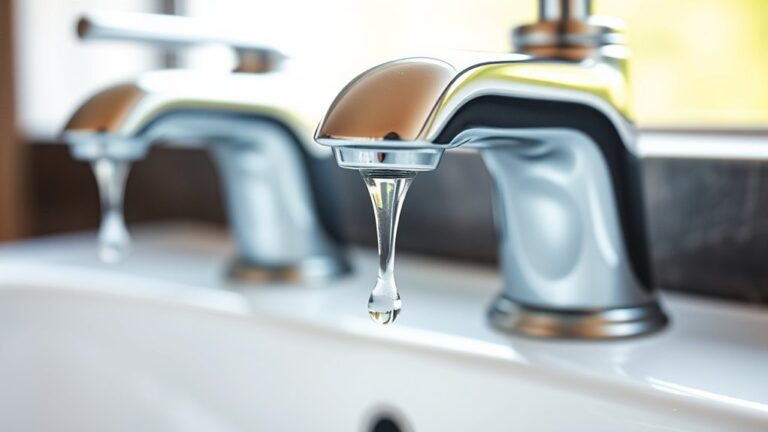
To identify common shower faucet diverter problems, start by observing how water flows when you switch between the tub spout and showerhead. If water trickles from both outlets simultaneously or the flow fails to divert fully, you likely have a faulty diverter.
A leaky diverter often causes continuous water flow from the tub spout, even when the showerhead is active. Additionally, low pressure at the showerhead may indicate internal blockages or worn seals inside the diverter valve.
Check for unusual resistance or sticking when operating the diverter handle or knob, which signals mechanical wear or corrosion. Detecting these issues early helps prevent further damage and water waste. Accurate diagnosis guarantees you address the root cause effectively during repair or replacement.
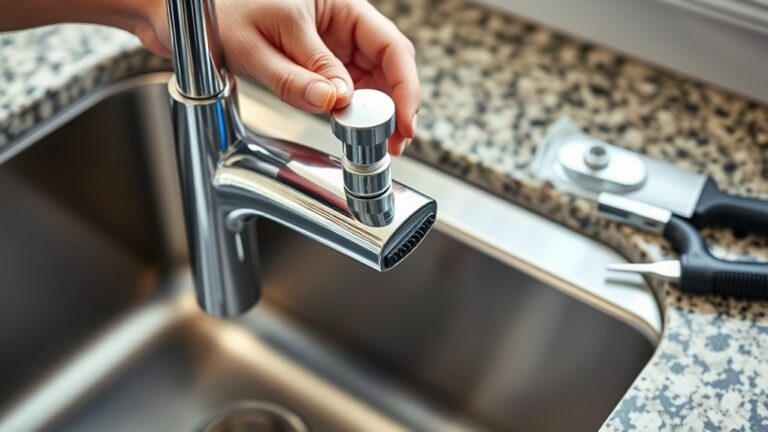
Tools You Need to Fix a Shower Faucet Diverter
Before you start fixing your shower faucet diverter, gather the essential tools to guarantee a smooth repair process. You’ll need a flathead and Phillips screwdriver to remove handles and faceplates.
An adjustable wrench helps loosen nuts and fittings without damaging them. Needle-nose pliers assist in extracting small clips or seals.
A plumber’s grease will lubricate moving parts during diverter maintenance, ensuring smooth operation. Keep a flashlight handy for better visibility inside tight spaces.
Additionally, have a bucket or towel ready to catch any water drips. Understanding plumbing basics, such as how water flows through the diverter, will guide you in using these tools effectively.
These tools cover typical repairs and upkeep, enabling you to address common diverter issues efficiently without unnecessary delays.
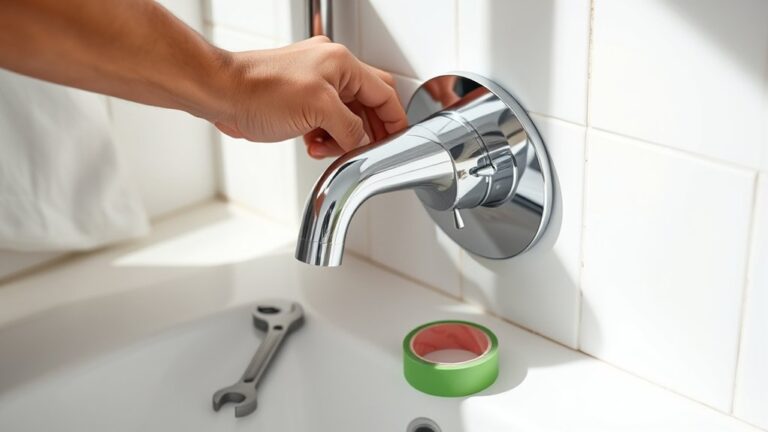
How to Fix a Tub Spout Diverter
First, identify the type of tub spout diverter you have, as this determines the repair method. Next, remove the tub spout carefully to access the diverter mechanism.
Finally, replace or repair the diverter based on its condition to restore proper function.
Identifying Diverter Types
There are three main types of tub spout diverters you’ll encounter: the lift-knob, push-pull, and dial diverters. Each controls water flow differently, so identifying your tub spout diverter type is essential before repairs.
Lift-knob diverter: Also called a pull up diverter; you pull the knob upward to redirect water.
Push-pull diverter: Requires pulling or pushing the tub spout diverter itself to change flow.
Dial diverter: A rotating mechanism on the spout controls water direction.
Internal diverter: Built inside the spout, often requiring more disassembly to access.
External diverter: Mounted visibly on the spout, easier to inspect and fix.
Knowing these types helps you approach fixing your tub spout diverter efficiently and safely.
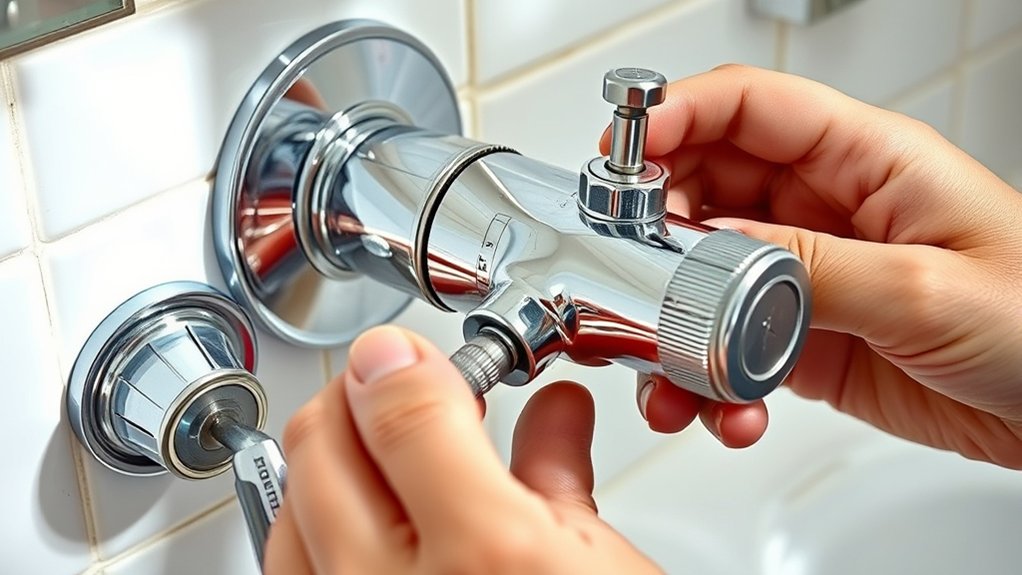
Removing The Tub Spout
Understanding your tub spout diverter type helps determine the removal method for the spout. First, identify whether you have a slip-on or threaded tub spout type. Slip-on spouts typically have a set screw underneath; loosen it with an Allen wrench, then pull the spout straight off the pipe.
Threaded spouts require you to turn the spout counterclockwise to unscrew it from the pipe. Be cautious not to damage the diverter mechanisms inside the spout during removal, as these control water flow between the tub and shower.
If you encounter resistance, apply penetrating oil and wait before attempting removal again. Once removed, inspect the diverter mechanisms for wear or debris, preparing for the next step in repair or replacement.
Replacing Or Repairing Diverter
Begin by examining the diverter mechanism inside the tub spout to identify whether it requires cleaning, repair, or full replacement. Address common diverter issues such as sticking, leaking, or failure to divert water properly.
Follow these diverter maintenance tips to proceed efficiently:
- Remove mineral deposits by soaking the diverter in vinegar.
- Inspect the internal parts for wear or damage.
- Replace worn washers or O-rings to restore functionality.
- If damaged beyond repair, install a compatible replacement diverter.
- Reassemble the tub spout and test the diverter operation.
How to Fix a Three-Valve Shower Faucet Diverter
Although three-valve shower faucet diverters can be more complex than single-handle models, you can fix common issues by carefully removing the diverter assembly and inspecting its components. Start by shutting off the water supply, then unscrew the diverter handle and trim.
Check for worn washers, debris, or corrosion causing leaks or poor water flow. Clean or replace faulty parts as needed. Avoid common installation mistakes like overtightening or misaligning components to guarantee smooth operation.
Follow these diverter maintenance tips to prolong lifespan.
| Step | Tool Needed | Action |
|---|---|---|
| Shut off water | Adjustable wrench | Turn off main water supply |
| Remove handle | Screwdriver | Unscrew diverter handle |
| Inspect parts | Flashlight | Check washers, seals, debris |
| Clean/replace parts | Cloth, replacement | Remove buildup or swap parts |
| Reassemble | Screwdriver | Reattach handle and trim |
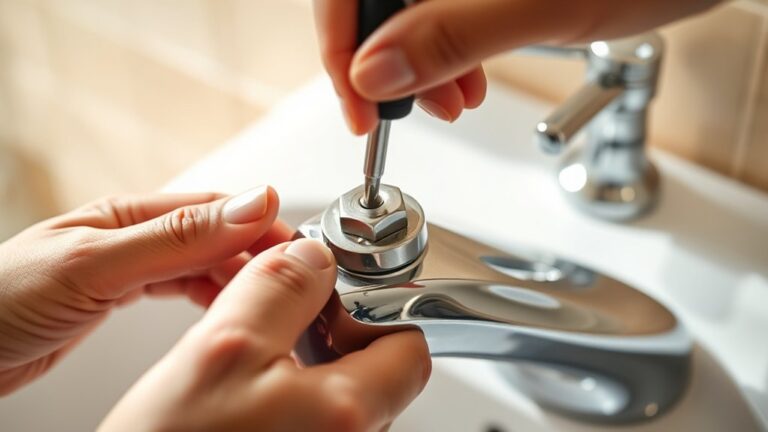
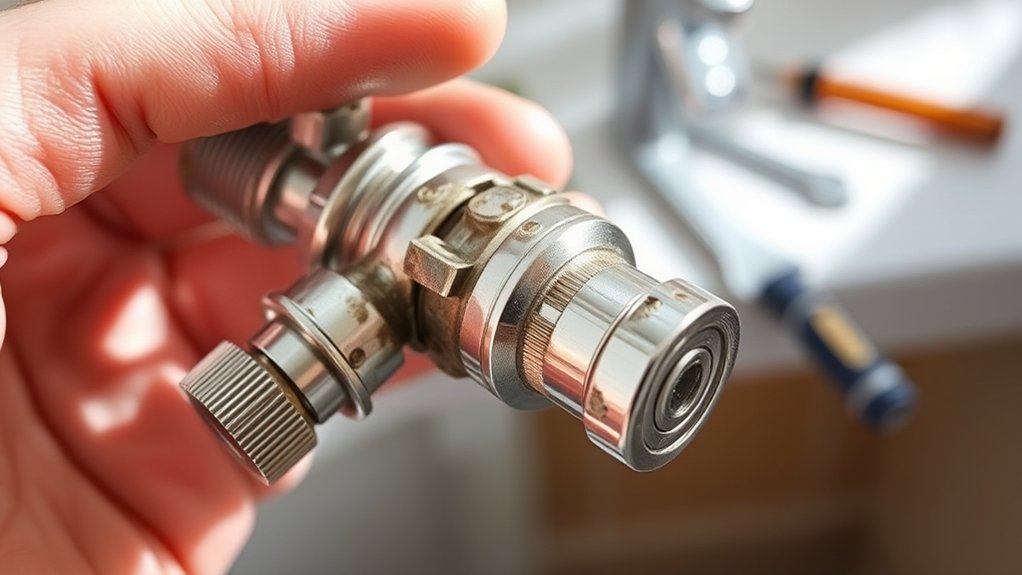
How to Replace a Faulty Diverter Cartridge
When your shower diverter fails to redirect water properly, replacing the faulty cartridge often resolves the issue. Follow these steps to guarantee a smooth replacement using proper diverter installation techniques:
Turn off the water supply and open the faucet to relieve pressure. Remove the handle and escutcheon plate to access the cartridge. Extract the old cartridge carefully, noting its orientation.
Identify and purchase a compatible cartridge from common cartridge brands like Moen, Delta, or Kohler. Insert the new cartridge, aligning it correctly, then reassemble the handle and plate.
Choose the right cartridge from trusted brands and install it carefully for a perfect fit and function.
Test the diverter to confirm correct water flow. Using precise diverter installation techniques prevents leaks and guarantees longevity. Always consult your faucet’s manual or cartridge brand specifications for compatibility and installation nuances.
Troubleshooting Other Shower Faucet Diverter Issues
If your shower faucet diverter isn’t functioning correctly after replacing the cartridge, other issues may be causing the problem. Start by inspecting for diverter leaks around seals and connections; even small leaks can reduce water pressure and impair diverter operation.
Tighten or replace worn washers and O-rings to eliminate leaks. Check for mineral buildup or debris inside the diverter valve body, which can block water flow and cause pressure loss. Clean these parts thoroughly with vinegar or a commercial descaler.
Also, verify your home’s water pressure; low pressure can prevent the diverter from fully switching flow between tub and shower. Use a pressure gauge to test and address any supply issues. If problems persist, the diverter valve assembly itself might be damaged and require replacement.
Tips for Preventing Future Shower Faucet Diverter Problems
Addressing leaks, mineral buildup, and water pressure issues can extend the life of your shower faucet diverter, but preventing problems before they start is even more effective. Implementing preventive maintenance and conducting regular inspections are key to avoiding costly repairs and malfunctions. You should:
- Inspect the diverter valve quarterly for signs of wear or corrosion.
- Clean mineral deposits using vinegar or a commercial descaling solution.
- Test water pressure regularly to guarantee it stays within manufacturer specifications.
- Lubricate moving parts with plumber’s grease to maintain smooth operation.
- Replace worn washers or seals promptly to prevent leaks.
Frequently Asked Questions
Can a Shower Diverter Cause Low Water Pressure?
Yes, a faulty diverter functionality can cause low pressure by restricting water flow. You’ll want to inspect and clean or replace the diverter to restore proper pressure and guarantee smooth water redirection between spout and showerhead.
How Long Does a Diverter Repair Usually Take?
A diverter repair usually takes 30-60 minutes, depending on diverter types and complexity.
You’ll need repair tools like wrenches, screwdrivers, and pliers. Prepare to disassemble, inspect, replace seals, or clean components efficiently.
Are There Eco-Friendly Diverter Options Available?
Yes, you can choose eco-friendly diverters made from sustainable materials like recycled brass or stainless steel. These options support water conservation by improving flow control, reducing waste, and enhancing your shower’s environmental efficiency.
Can I Upgrade My Diverter Without Plumbing Changes?
You can upgrade your diverter without plumbing changes if you pick compatible diverter types. Follow installation tips like turning off water, removing the old diverter carefully, and ensuring a tight fit to avoid leaks.
Is It Safe to Fix a Diverter Without Turning off Water?
You shouldn’t fix diverter leaks without turning off water; it risks injury and water damage.
For safe shower maintenance, always shut off the water supply before disassembling or repairing the diverter valve.