How to Replace Bathtub Faucet Diverter
To replace your bathtub faucet diverter, first turn off the main water supply and drain the pipes by opening the faucet. This step is crucial to prevent water leakage during the replacement process.
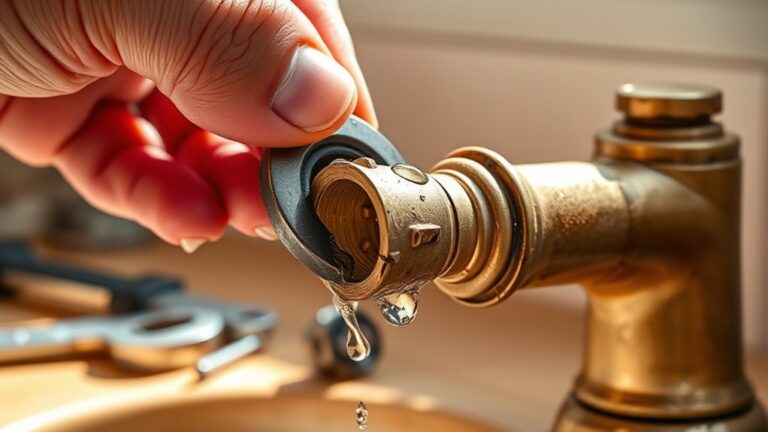
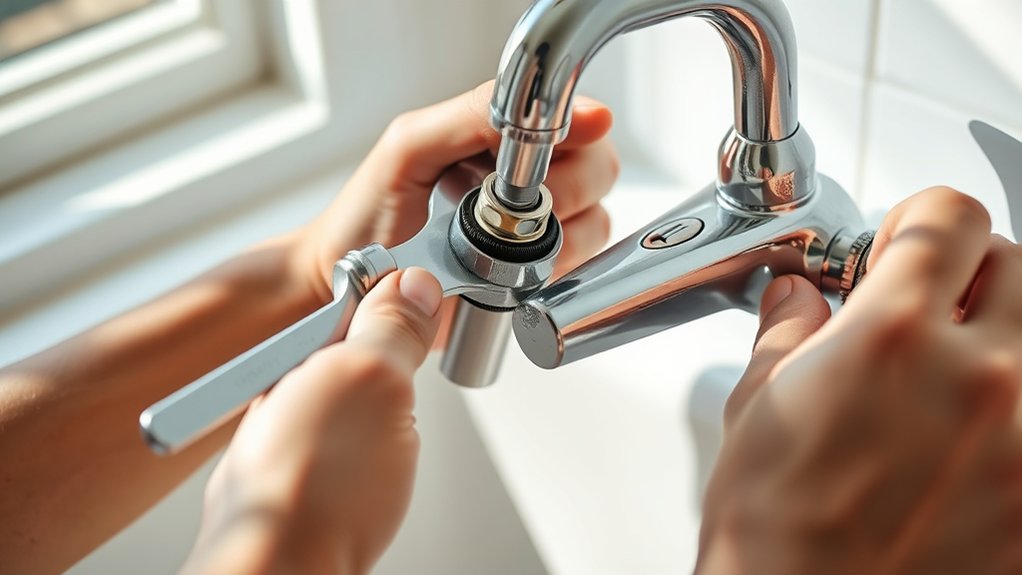
Use an adjustable wrench or screwdriver to remove the old diverter carefully.
Next, clean the area thoroughly to ensure a good seal for the new diverter. Apply plumber’s tape on threaded connections before installing the new, compatible diverter. Tighten it securely to avoid any leaks.
Finally, test the water flow from both the spout and showerhead. Adjust the diverter mechanism for smooth operation. Following these precise steps will help you avoid leaks and guarantee proper function—more details will guide you through each stage.
How to Know When to Replace Your Bathtub Faucet Diverter
How can you tell when your bathtub faucet diverter needs replacing? Start by inspecting for common diverter signs such as inconsistent water flow or difficulty switching between tub spout and showerhead.
If water continues to flow from the tub spout while the shower is on, it indicates the diverter valve is failing. Another clear diverter sign is faucet leaks around the spout or handle area, which suggest internal wear or damage.
You might also notice a loose or stuck diverter lever that no longer operates smoothly. Address these issues promptly, as persistent faucet leaks can cause water waste and damage.
When these symptoms appear, replacing the bathtub faucet diverter is necessary to restore proper function and prevent further plumbing complications.
Turning Off Water and Preparing Your Tub for Replacement
Before beginning the replacement process, verify you turn off the water supply to the bathtub to prevent leaks and water damage. Locate the main shutoff valve or the local valve supplying water to the bathtub. Turn it clockwise until fully closed.
Always turn off the bathtub water supply before starting to prevent leaks and water damage.
Open the faucet to drain residual water from the pipes. For tub preparation, clear the area around the faucet and drain. Remove any shower curtains or accessories that may obstruct access.
Place a cloth or towel in the tub to catch any small parts or debris during removal. Make certain the workspace is dry to avoid slipping or electrical hazards. Confirm the water supply is completely off by testing the faucet; no water should flow.
Proper tub preparation and water supply shutdown are essential for a safe, efficient diverter replacement.
Tools and Materials Needed for Bathtub Faucet Diverter Replacement
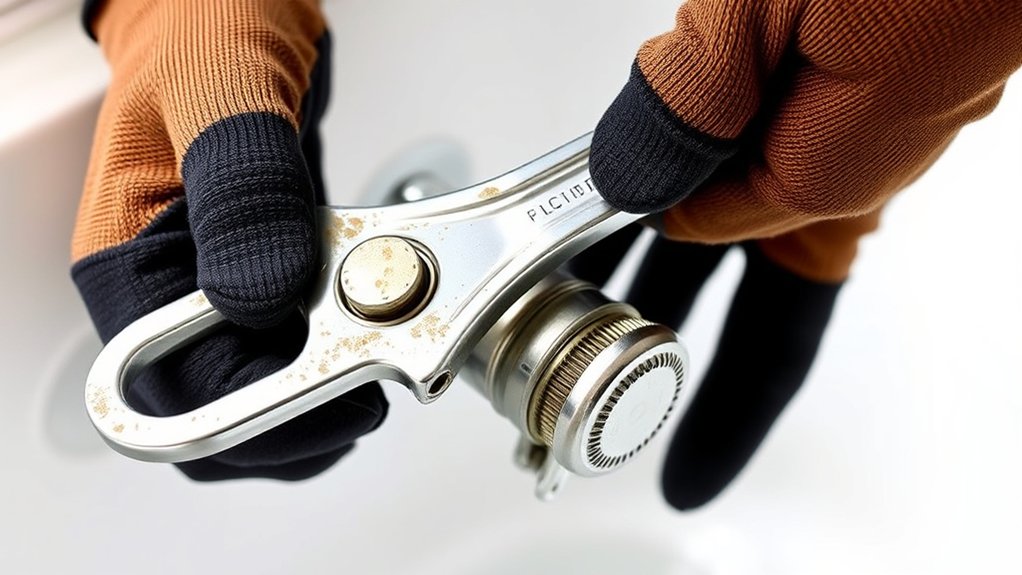
You’ll need specific tools like an adjustable wrench, screwdriver, and plumber’s tape to replace the bathtub faucet diverter properly. Don’t forget safety equipment such as gloves and safety glasses to protect yourself during the process.
Additionally, have the correct replacement diverter and any necessary seals or washers ready before you begin.
Essential Replacement Tools
Successful replacement of a bathtub faucet diverter requires a specific set of tools and materials to guarantee efficiency and prevent damage. Different diverter types demand precise installation techniques, so having the right tools streamlines the process and assures a secure fit.
Before you start, gather the following essentials:
- Adjustable wrench: for loosening and tightening diverter nuts without stripping.
- Screwdrivers (flathead and Phillips): to remove and install screws on diverter assemblies.
- Plumber’s tape (Teflon tape): to create watertight seals on threaded connections.
- Replacement diverter valve: compatible with your faucet model and diverter type.
Using these tools correctly will help you execute clean removal and installation, avoiding leaks and mechanical failures. Confirm each tool is in good condition to support precise manipulation during replacement.
Required Safety Equipment
Having the right tools ready is only part of the preparation; protecting yourself during the replacement process is equally important. Before you begin, put on safety goggles to shield your eyes from debris, splashes, or accidental tool slips.
Use gloves protection to safeguard your hands from sharp edges, hot water residue, and harsh cleaning agents. Choose gloves with a durable grip to maintain control over tools and components.
Confirm your work area is well-lit and free of hazards to prevent slips or accidents. Avoid loose clothing or jewelry that could catch on hardware.
Prioritize safety equipment to reduce injury risk while maintaining focus on the task. By following these precautions, you’ll create a secure environment conducive to an efficient and safe bathtub faucet diverter replacement.
Recommended Replacement Materials
Before beginning the replacement, gather all necessary tools and materials to guarantee a smooth process. Selecting the correct diverter type is vital; confirm compatibility with your existing faucet system. Use quality components to prevent leaks and assure durability. Follow installation tips meticulously for peak performance.
Essential items include:
- Replacement bathtub faucet diverter compatible with your faucet model
- Adjustable wrench for loosening and tightening fittings
- Plumber’s tape to seal threaded connections
- Screwdrivers (flathead and Phillips) for removing trim and securing parts
Having these materials ready minimizes interruptions and supports precision. Verify the diverter type matches the original to avoid fitment issues. Proper tools and materials streamline installation, making your bathtub faucet diverter replacement efficient and reliable.
How to Remove the Old Bathtub Faucet Diverter
Start by turning off the water supply to the bathtub to prevent leaks while you work. Next, identify the diverter type you’re dealing with, either a tub spout diverter or a three-handle diverter valve.
For tub spout diverters, unscrew the spout by turning it counterclockwise; some require a hex key to loosen a set screw. For valve-type diverters, remove the faucet handle by loosening the retaining screw, then detach the diverter assembly. Use a wrench or pliers carefully to avoid damaging plumbing fixtures.
Keep installation tips in mind: note how the old diverter fits, and inspect for corrosion or debris that may affect removal. Proper removal guarantees a smooth replacement without damaging existing plumbing or finishes.
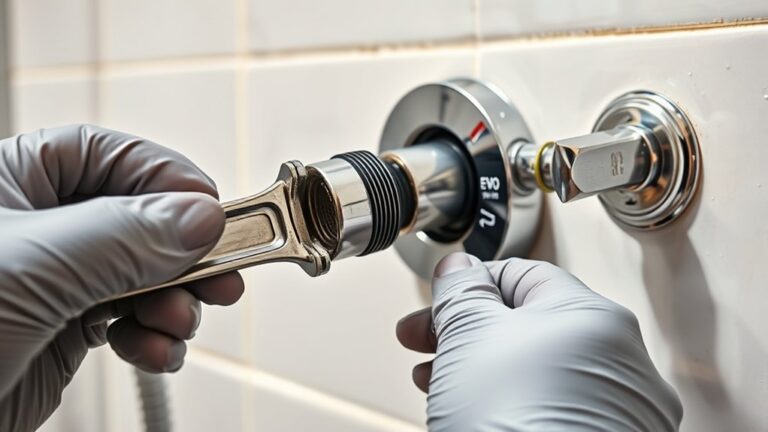
How to Install Your New Bathtub Faucet Diverter
To install your new bathtub faucet diverter, first confirm the water supply remains off to prevent any leaks. Identify the diverter types compatible with your faucet. Common ones include pull-up, push-button, or lever models.
Follow these installation tips for a secure fit:
Ensure a secure fit by following key installation tips for your bathtub faucet diverter.
- Clean the faucet area thoroughly to confirm a tight seal.
- Align the new diverter precisely with the faucet’s valve seat.
- Use plumber’s tape on threaded connections to prevent leaks.
- Tighten components evenly without over-torquing to avoid damage.
Insert the new diverter, confirming it engages smoothly with the internal mechanism. Validate that all parts are seated correctly before restoring water flow. Proper installation confirms efficient water diversion and long-term durability.
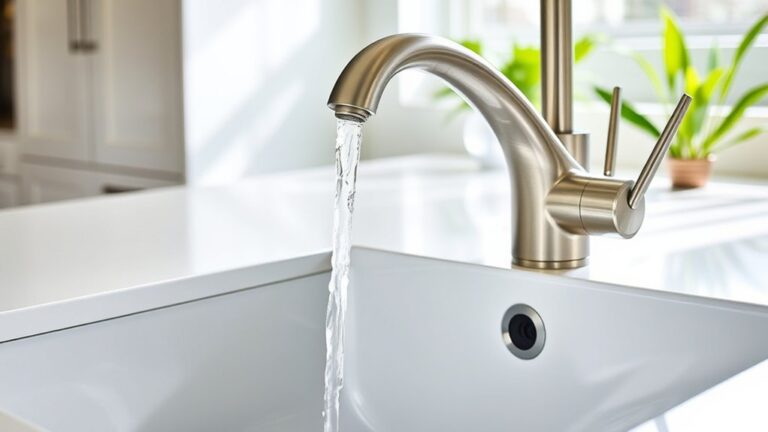
How to Test and Adjust Your New Diverter for Proper Function
Start by turning on the water and observing the flow from both the tub spout and showerhead. If the diverter doesn’t fully redirect water or leaks, adjust its mechanism to guarantee a tight seal and smooth operation.
Repeat testing and fine-tuning until water flow switches cleanly between outlets without drips.
Checking Water Flow
Open the faucet and observe the water flow carefully to verify the new diverter directs water correctly between the tub spout and showerhead. Check for consistent flow consistency and adequate water pressure in both outlets. Make sure the diverter fully redirects water without leakage or partial flow.
When testing, focus on:
- Confirming water pressure remains stable when switching outlets
- Observing no drips or unintended flow from the inactive outlet
- Making certain the diverter engages smoothly without sticking
- Verifying the flow rate matches expected levels for your plumbing system
If the water pressure drops considerably or flow is uneven, the diverter may not be seated properly or could be defective. Thoroughly checking flow at this stage prevents future issues and guarantees peak performance of your bathtub faucet diverter.
Adjusting Diverter Mechanism
Once you’ve confirmed the diverter directs water flow correctly and maintains stable pressure, focus on fine-tuning the mechanism for smooth operation. First, identify your diverter type, whether it’s a rotary, pull-up, or push-button model, since adjustment methods vary.
For rotary diverters, tighten or loosen the retaining nut to control resistance. Pull-up and push-button types may require spring tension adjustments or realignment of internal components.
Test the diverter by switching between tub spout and shower modes multiple times, ensuring it shifts smoothly without leaks or drips. If the mechanism feels stiff, apply silicone-based lubricant sparingly.
As part of ongoing maintenance tips, clean the diverter regularly to prevent mineral buildup, which can impair function. Proper adjustment and routine care extend the diverter’s lifespan and guarantee consistent performance.
Troubleshooting Common Bathtub Faucet Diverter Replacement Issues
Although replacing a bathtub faucet diverter is straightforward, you may encounter issues like leaks, improper water flow, or difficulty engaging the diverter. To troubleshoot common problems, follow these steps carefully:
Check for diverter leaks by tightening connections and inspecting washers. Replace damaged seals promptly.
Address installation difficulties by ensuring the diverter aligns correctly with internal valve components.
Verify that the diverter stem moves smoothly. Clean or lubricate if it sticks, preventing proper water diversion.
Confirm that the cartridge or diverter assembly matches your faucet model to avoid flow problems or operational failures.
Frequently Asked Questions
What Types of Bathtub Faucet Diverters Are Available?
You’ll find diverter types like three-handle, two-handle, and single-handle models. For installation tips, guarantee proper alignment and seal tight connections to prevent leaks. Always shut off water before starting the replacement process.
Can I Replace the Diverter Without Removing the Faucet?
You usually can’t replace the diverter without removing the faucet, as DIY diverter tips highlight. Common diverter issues often require full access, so removing the faucet guarantees proper inspection and replacement for reliable function.
How Long Does a Typical Diverter Replacement Take?
You’ll usually finish diverter replacement within 30 to 60 minutes. Follow diverter installation tips carefully to avoid common diverter issues like leaks or sticking valves, ensuring a smooth, functional faucet operation after the job’s done.
Are There Eco-Friendly Diverter Options?
Think of eco-friendly diverters as the green gears in your plumbing machine. You’ll find options made from sustainable materials that enhance water conservation, precisely controlling flow and reducing waste.
These diverters do all this without sacrificing performance or durability in your bathroom setup.
What Maintenance Keeps a Diverter Working Longer?
You’ll prevent diverter leaks by regularly cleaning mineral deposits and lubricating moving parts. Tighten connections and inspect seals during maintenance.
These maintenance tips guarantee smooth operation and extend your diverter’s lifespan effectively.