How to Assemble Ikea Kitchen Cabinets
To assemble your Ikea kitchen cabinets, start by clearing a flat workspace and gathering tools like a screwdriver, drill, and level.
Sorting and labeling all parts and hardware will help you stay organized throughout the process.
Begin assembling the cabinet frames carefully, using dowels and cam locks to ensure everything stays square.
Next, align and attach the doors and drawers, making sure they operate smoothly. Secure all hardware properly to maintain durability.
Finally, mount the cabinets to the walls, verifying that each cabinet is level before securing it firmly.
Keep following for tips on troubleshooting and perfect finishing touches.
Prepare Your Workspace and Gather Essential Tools
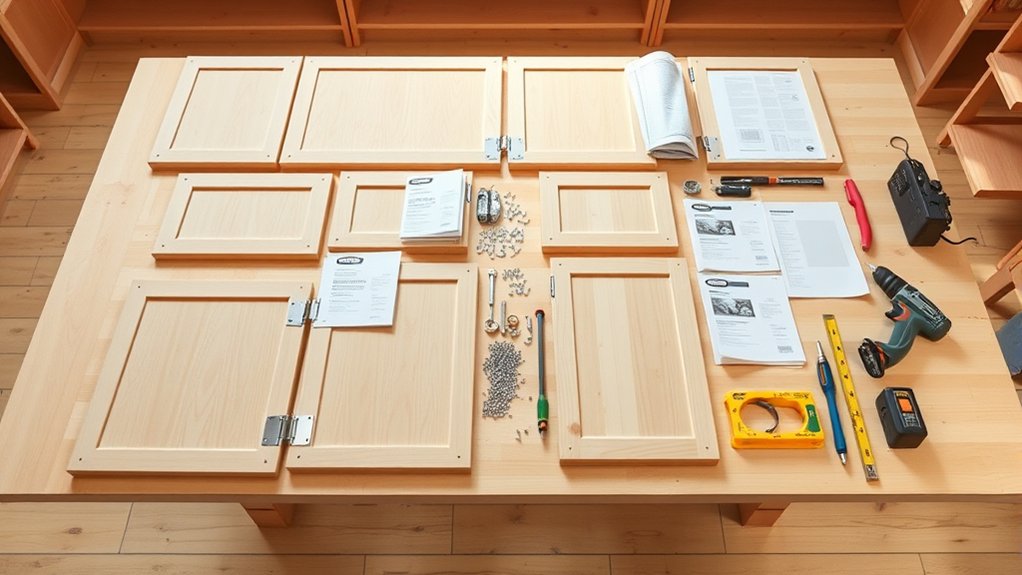
A well-organized workspace sets the foundation for assembling your Ikea kitchen cabinets efficiently. Begin by clearing a spacious, flat surface where you’ll handle all components. Guarantee good lighting to spot any imperfections or alignment issues.
Your workspace setup should include a sturdy table or workbench, and enough room to move around comfortably.
Next, gather your tool essentials: a Phillips screwdriver, a hammer, a drill with screwdriver bits, a tape measure, and a level. Having these tools within reach prevents interruptions.
Gather essential tools like a Phillips screwdriver, hammer, drill, tape measure, and level for smooth assembly.
Also, keep a pencil handy for marking measurements. Avoid clutter; organize tools and parts separately to maintain focus and speed. This precise preparation minimizes errors and streamlines your assembly process.
How to Sort and Organize Your Ikea Cabinet Pieces
Start by separating all cabinet pieces into distinct groups based on their type and size. This step guarantees you won’t waste time searching for parts during assembly. Use piece labeling to clearly mark each group. Sticky notes or masking tape work well.
Next, implement effective storage solutions to keep everything organized:
- Use shallow bins or trays for small hardware like screws and hinges.
- Stack larger panels vertically to prevent warping.
- Keep related pieces together to streamline the build process.
- Label each bin or stack with clear identifiers.
Assemble Ikea Cabinet Frames Step-by-Step
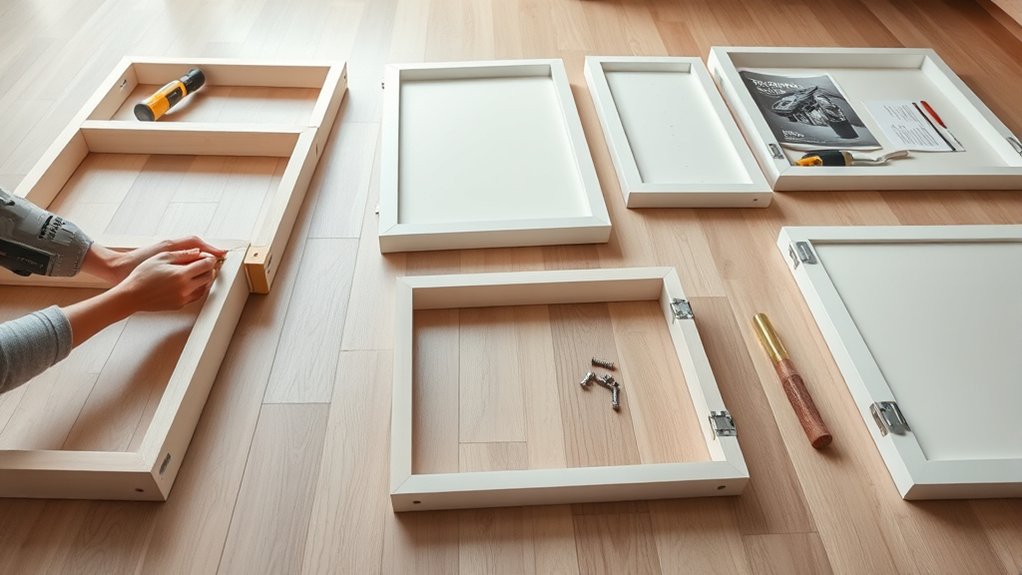
With your cabinet pieces neatly sorted and labeled, you can now focus on assembling the cabinet frames. Start by gathering essential tools: a screwdriver, hammer, and a level.
Follow these cabinet assembly tips: align panels carefully, insert dowels, and secure with cam locks. Work on a flat surface to guarantee square frames.
| Step | Action | Tip |
|---|---|---|
| 1 | Lay side panels flat | Check for defects |
| 2 | Insert dowels into holes | Use gentle pressure |
| 3 | Attach bottom panel | Confirm alignment |
| 4 | Secure with cam locks | Tighten firmly, not too much |
| 5 | Verify frame is square | Use a level |
Following these steps guarantees sturdy, well-aligned cabinet frames, streamlining your assembly process.
Install Doors, Drawers, and Hardware Properly
You’ll want to align the doors so they sit perfectly flush and open smoothly without gaps. Next, install the drawers carefully to guarantee they slide in and out without sticking.
Finally, attach all hardware securely to keep everything stable and functional.
Align Doors Perfectly
Perfectly aligned doors not only enhance your kitchen’s appearance but also secure smooth operation and longevity. To achieve this, focus on door alignment techniques and perfect hinge placement. Start by loosely attaching the hinges, allowing adjustments.
Then, follow these steps:
- Use a level to confirm the doors are straight vertically and horizontally.
- Adjust the hinges incrementally to close any gaps evenly between doors and cabinet frames.
- Check that doors open and close without resistance or rubbing against adjacent surfaces.
- Tighten all screws securely once the doors sit perfectly aligned.
Install Drawers Smoothly
Slide each drawer carefully into its designated cabinet slot, guaranteeing the runners align smoothly without forcing. Check that the drawer glide mechanisms are clean and free from debris, as this will prevent sticking or uneven movement.
Make sure the drawer sides are parallel to the cabinet frame to avoid binding. Confirm the drawer weight limits specified by Ikea; exceeding these can damage the glide mechanisms and reduce drawer lifespan.
Test each drawer by pulling it out fully and pushing it back in to confirm smooth, quiet operation without wobbling. If the drawer feels stiff or misaligned, remove it and inspect the runners for damage or improper installation.
Adjustments to the glide mechanism tension or alignment screws may be necessary for peak performance.
Attach Hardware Securely
Before securing any hardware, guarantee all door and drawer components are correctly aligned and positioned. This guarantees smooth operation and prevents misalignment issues later.
When attaching hardware, consider these installation tips to handle various hardware types effectively:
- Identify hardware types, such as hinges, handles, and knobs, to match the correct screws and placement.
- Use a level and measuring tape to mark precise screw holes, guaranteeing uniformity.
- Pre-drill holes if needed, especially for handles and knobs, to avoid wood splitting.
- Tighten screws firmly but avoid over-tightening, which can damage the cabinet or hardware.
Following these steps helps you install doors, drawers, and hardware properly. Attention to detail at this stage secures functionality and a professional finish in your Ikea kitchen cabinets.
Secure Ikea Kitchen Cabinets to Walls and Level Them
Begin by positioning the cabinets against the wall where they will be installed, guaranteeing the base cabinets rest on the floor and the wall is clean and free of debris. Use a level to check that the cabinets sit perfectly horizontal.
Adjust cabinet legs or shim under the base if needed to achieve proper leveling. Next, secure the cabinets to the wall using appropriate wall anchors, especially if studs aren’t available. These anchors provide essential cabinet stability and prevent shifting over time.
Drill pilot holes through the cabinet backs, align with the wall anchors or studs, and fasten with screws. Double-check alignment and level after tightening. Proper securing and leveling not only enhance durability but also assure your countertop will sit evenly on the cabinets, preventing future issues.
Troubleshoot Common Ikea Cabinet Assembly Issues
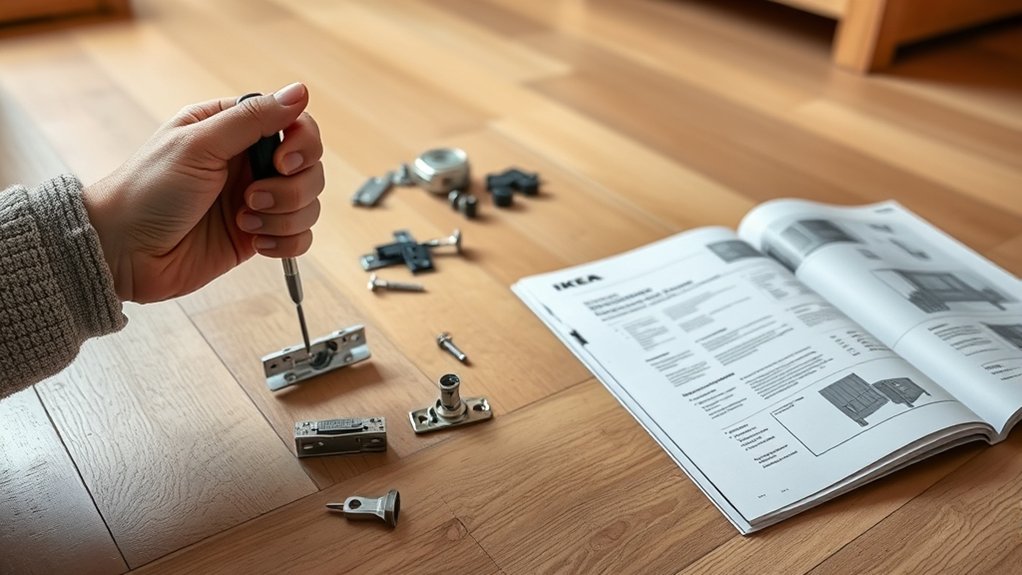
Although Ikea kitchen cabinets come with clear instructions, you might encounter common assembly issues that can slow down your progress. To troubleshoot effectively, focus on these assembly tips and avoid common mistakes:
Ikea kitchen cabinet assembly can be tricky—follow key tips to avoid delays and common mistakes.
- Misaligned holes: Double-check panel orientation before drilling or screwing to guarantee holes line up perfectly.
- Loose fittings: Use the recommended screwdriver size; overtightening can strip screws, while under-tightening causes instability.
- Damaged parts: Inspect all components before assembly to catch defects early and request replacements if necessary.
- Incorrect hardware use: Match each screw and connector to its corresponding step in the manual to prevent mix-ups.
Frequently Asked Questions
Can I Customize Ikea Kitchen Cabinets With Non-Ikea Parts?
You can customize Ikea kitchen cabinets using alternative hardware and other non-Ikea parts, expanding your customization options.
Just guarantee compatibility with Ikea’s design to maintain cabinet functionality and avoid compromising structural integrity during installation.
What Is the Best Way to Dispose of Packaging Materials?
You should sort packaging materials by type: cardboard, plastic, foam. Use local recycling options to reduce waste.
Check your community’s waste management guidelines to verify proper disposal and maximize environmental benefits.
How Do I Care for and Clean Ikea Kitchen Cabinet Surfaces?
You’ll protect cabinet surfaces best by using mild cleaning agents; harsh chemicals damage finishes. Studies show 70% of wear stems from improper cleaning.
Wipe spills immediately with a soft cloth, avoiding abrasives for lasting cabinet surface protection.
Are Ikea Kitchen Cabinets Suitable for Humid Environments?
Ikea kitchen cabinets offer moderate moisture resistance but aren’t fully waterproof. Since cabinet materials like particleboard can swell, you should avoid excessive humidity and guarantee proper ventilation.
This will help keep them durable in humid environments.
Can I Install Ikea Cabinets on Uneven or Sloped Floors?
You can install Ikea cabinets on uneven floors by using leveling techniques like adjustable feet or shims. Combine these with proper flooring solutions to guarantee stability and alignment.
This approach prevents gaps and ensures a professional, secure cabinet installation.