How to Install a Kitchen Cabinet Base
To install a kitchen cabinet base, start by leveling your floor with a long or laser level. Use shims or leveling compound if needed to ensure a flat surface. This step is crucial for a sturdy and even installation.
Next, locate the wall studs, pre-drill holes, and fasten the cabinets securely with 3-inch screws. When working with multiple cabinets, align them carefully using clamps.
Drill pilot holes, then join the cabinets with screws and connectors for added stability.
Finally, measure and attach toe kicks, making any final leveling adjustments to guarantee a precise fit. Following these steps will help you achieve a professional-looking kitchen cabinet base installation. Keep going to master each step in detail.
Gather Your Tools and Materials
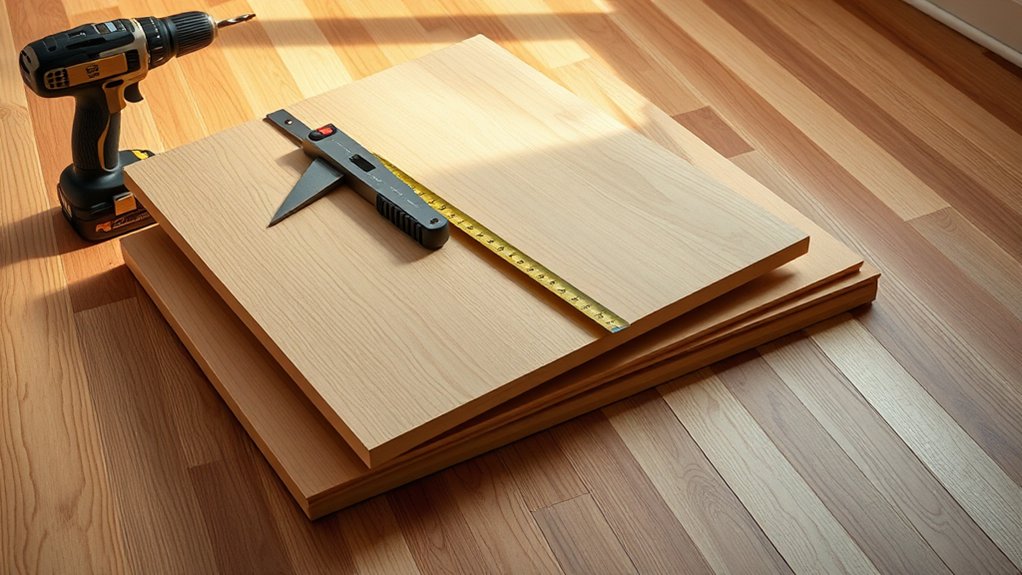
Before you begin installing your kitchen cabinet base, gather all necessary tools and materials to guarantee a smooth workflow. Start by selecting quality cabinet materials, such as plywood or MDF for durability and stability.
Confirm you have the proper tool essentials: a power drill with various bits, a tape measure, a level, a stud finder, clamps, and a screwdriver set. You’ll also need screws, shims, and construction adhesive. Organize these items within reach to streamline the process.
Double-check that your cabinet materials match your design specifications and are free from defects. Having every tool and material on hand prevents interruptions and maintains accuracy throughout the installation.
Preparing thoroughly at this stage sets the foundation for a precise and efficient kitchen cabinet base installation.
Check and Level Your Kitchen Floor Before Installing Cabinets
With your tools and materials ready, the next step is to check and level your kitchen floor to secure a stable base for your cabinets. Begin by identifying your flooring types, as materials like tile, hardwood, or concrete affect your leveling approach.
Use a long level or laser level to assess the floor’s flatness, placing it in multiple spots along the cabinet layout. Note any high or low areas exceeding 1/8 inch over an 8-foot span.
Check floor flatness with a long or laser level across multiple spots, noting deviations over 1/8 inch in 8 feet.
For minor unevenness, apply shims or a self-leveling compound following manufacturer instructions. For significant irregularities, consider grinding or adding a plywood underlayment. Proper leveling techniques guarantee your cabinet base sits evenly, preventing installation issues and structural stress.
Take your time here. Accuracy now saves headaches later.
Attach Base Cabinets to Wall Studs Securely
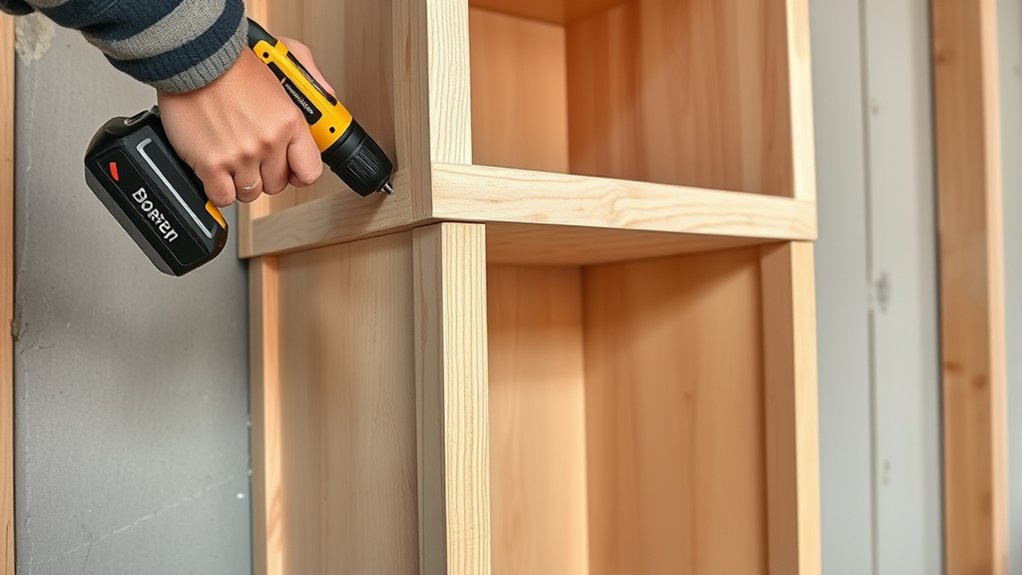
Securely attaching your base cabinets to wall studs guarantees stability and prevents shifting over time. First, locate and mark the wall studs using a stud finder. Verify their positions with a level to confirm accuracy.
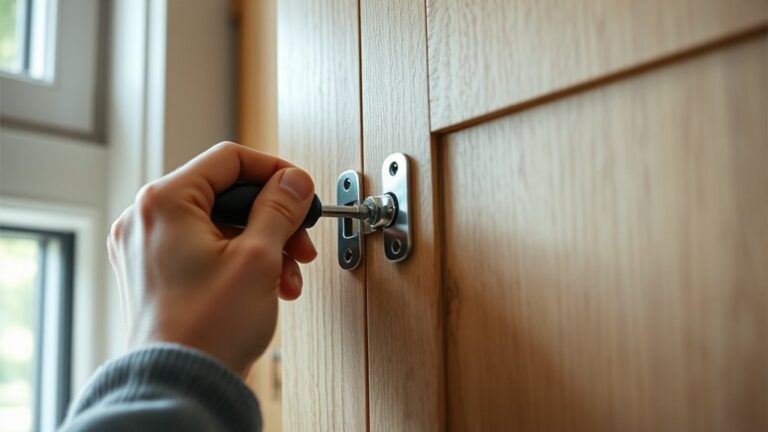
Pre-drill pilot holes through the cabinet’s mounting rail at stud locations to avoid wood splitting. Use 3-inch construction screws to fasten the cabinets directly into the wall studs, assuring firm engagement.
This direct attachment provides essential wall reinforcement, increasing cabinet safety by supporting weight and resisting lateral forces. Avoid relying solely on drywall anchors, as they compromise stability.
Double-check the cabinet’s level after each screw to maintain proper alignment. Proper fastening not only enhances safety but also guarantees your kitchen cabinet base remains secure and durable for years.
Align and Join Multiple Kitchen Cabinet Bases
Two or more base cabinets can be joined seamlessly by carefully aligning their edges and securing them together. Begin by positioning the cabinets with consistent cabinet spacing to guarantee uniform gaps between units. Use clamps to hold the cabinets tightly in place, preventing any movement during fastening.
Drill pilot holes through the adjoining cabinet faces to avoid splitting the wood. Insert screws to connect the cabinets, maintaining flush edges for a smooth shift. For joint reinforcement, apply corner brackets or specialized cabinet connectors inside the joint to enhance stability and prevent shifting over time.
Double-check alignment with a level and adjust as necessary before final tightening. Proper alignment and joint reinforcement guarantee a strong, cohesive base cabinet assembly ready for countertop installation.
Install Toe Kicks and Make Final Leveling Adjustments
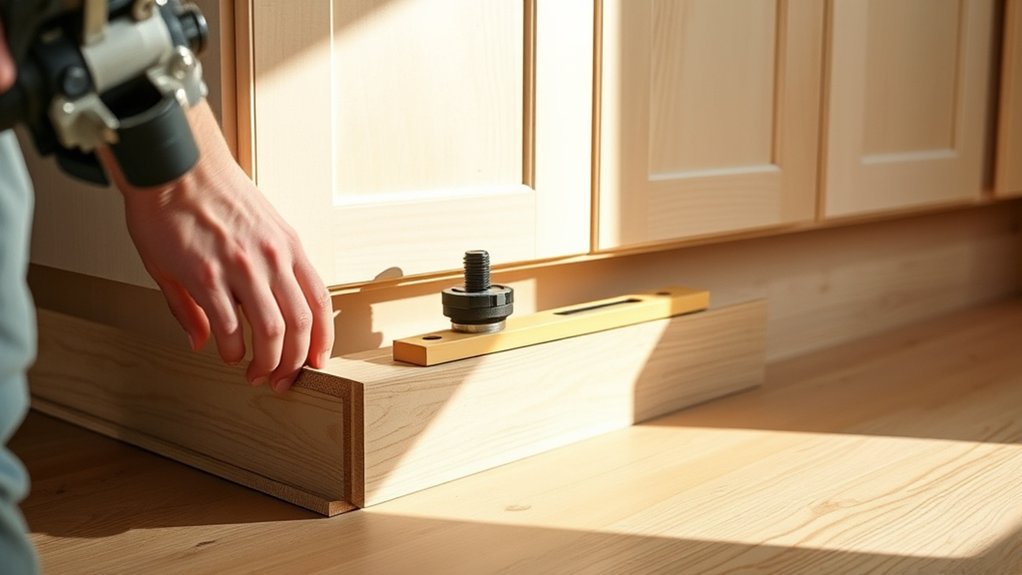
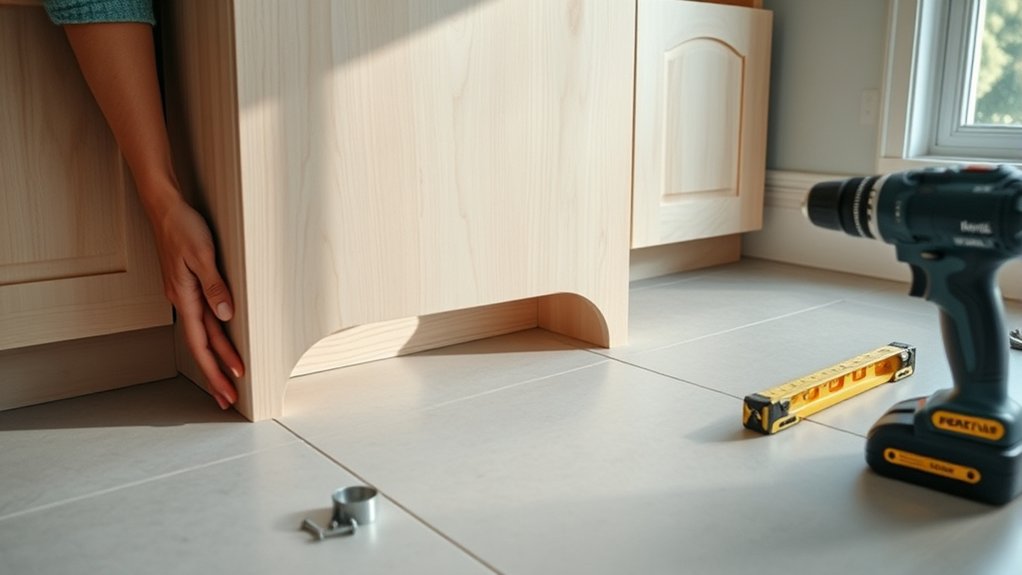
Three key steps will guide you through installing toe kicks and making final leveling adjustments to guarantee your base cabinets sit perfectly. First, select the appropriate toe kick styles that match your cabinet design for a seamless look.
Next, measure and cut the toe kicks precisely to fit the cabinet bases without gaps. Then, attach the toe kicks securely using screws or construction adhesive, ensuring they are flush with the cabinet fronts.
Finally, perform final leveling adjustments by checking the cabinets with a level and shim as needed to correct any unevenness. These finishing touches not only enhance stability but also create a polished, professional appearance.
Follow these steps carefully to complete your kitchen cabinet base installation with accuracy and durability.
- Choose and cut toe kick styles accurately
- Secure toe kicks flush to cabinet bases
- Check cabinet level and adjust with shims
- Apply finishing touches for stability and aesthetics
Frequently Asked Questions
Can I Install Base Cabinets Without Removing the Old Flooring?
You’ve got to be a flooring ninja if you skip removing old flooring during cabinet installation! For precise cabinet installation tips, consider flooring height and stability carefully to avoid misalignment and future issues.
Always prioritize flooring considerations.
What Is the Best Type of Wood for Kitchen Base Cabinets?
You’ll want solid wood or high-grade plywood options for cabinet durability and wood maintenance ease. Avoid particle board and MDF choices since they lack strength and resist moisture poorly, reducing your kitchen base cabinets’ lifespan.
How Do I Handle Plumbing and Electrical Outlets During Installation?
You’ll coordinate plumbing considerations by marking pipe locations, allowing clearance in cabinet backs. Guarantee electrical safety by turning off power, using proper outlet boxes, and maintaining code-required spacing before securing cabinets in place.
Can I Install Base Cabinets on Uneven or Sloped Floors?
Uneven floors symbolize challenges; you can install base cabinets by using leveling techniques like shims or adjustable legs. These flooring solutions guarantee stability and precision, allowing your cabinets to stand firm despite slopes or irregularities beneath them.
What Finish Options Are Recommended for Kitchen Base Cabinets?
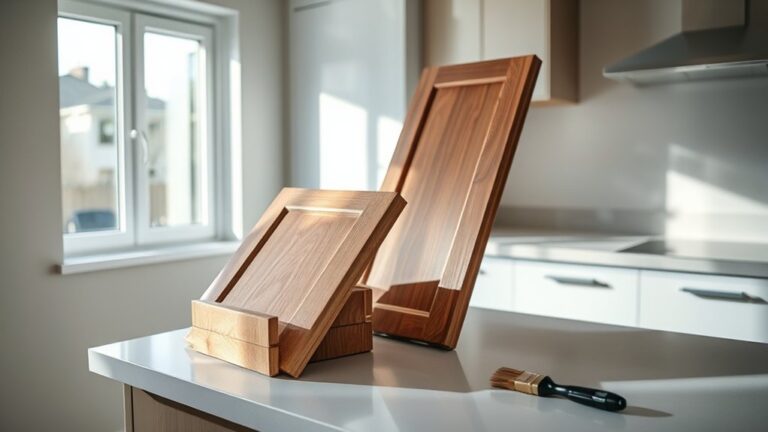
You’ll want to choose paint finishes like semi-gloss or satin for durability factors, or stain options that highlight wood grain.
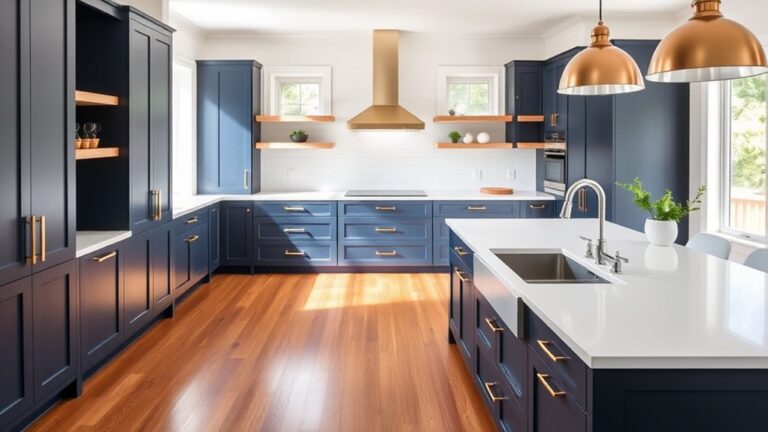
Consider current color trends such as muted blues or grays to balance aesthetics and long-lasting performance.