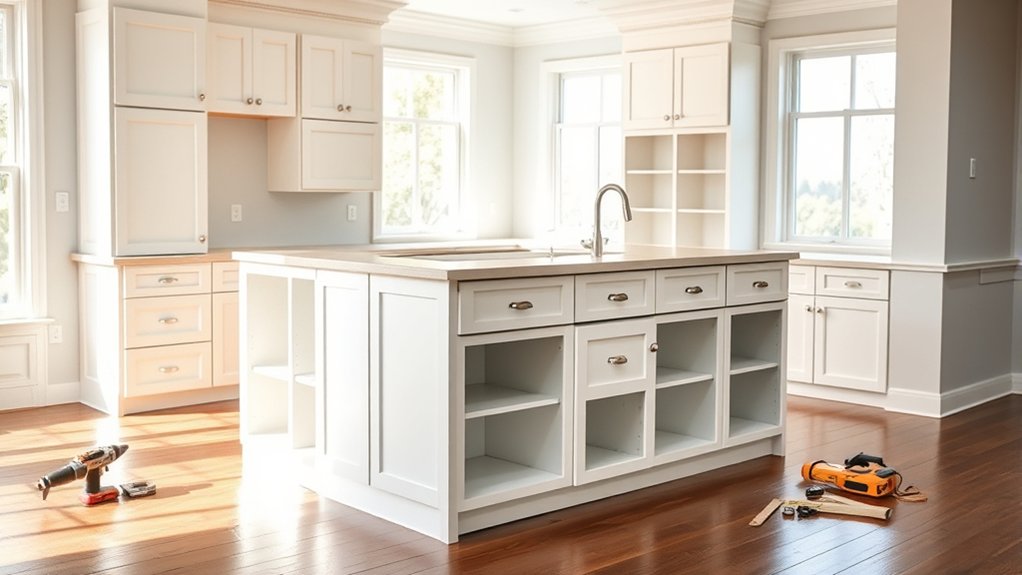
How to Build a Kitchen Island With Cabinets
To build a kitchen island with cabinets, start by measuring your space to allow 36-48 inches of clearance.
Position the island to support your kitchen’s workflow effectively. This ensures both functionality and comfort while cooking or entertaining.
Design the cabinet layout for maximum storage, choosing materials like solid wood or plywood for durability.
Assemble a sturdy frame and install well-aligned doors and drawers.
Next, select and secure a durable countertop that complements your kitchen style.
Finish the project with hardware and trim to add both style and function.
Keep exploring to master installation details and ergonomic tips for the best results.
Choose the Best Location and Size for Your Kitchen Island
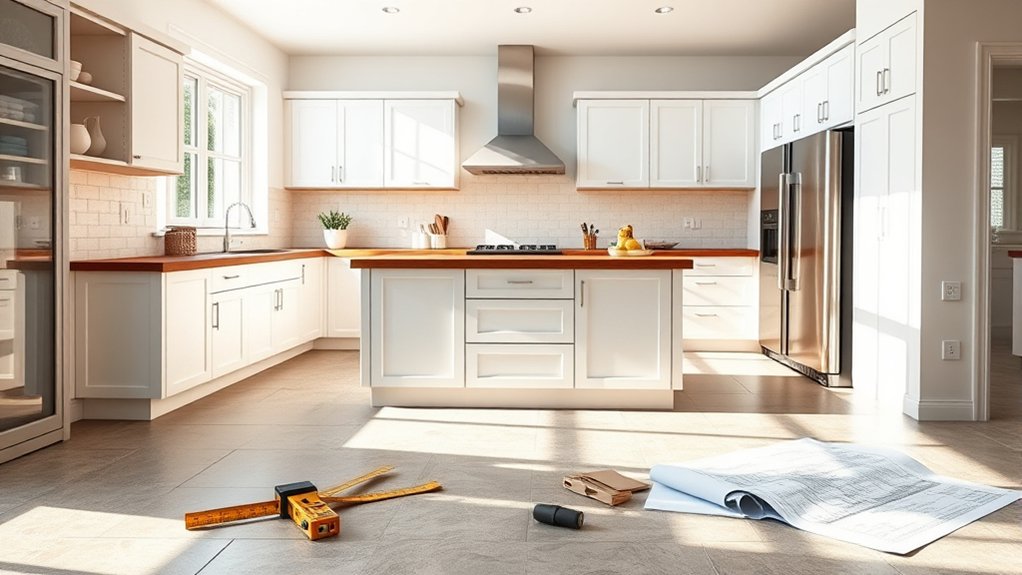
When choosing the best location and size for your kitchen island, start by measuring your kitchen’s available space carefully. You want to guarantee there’s at least 36 to 48 inches of clearance around the island to maintain smooth kitchen flow and avoid disrupting traffic patterns.
Place the island in a spot that complements your work triangle between the sink, stove, and refrigerator so it enhances efficiency. Avoid areas that block doorways or create bottlenecks.
Consider the island’s footprint; too large, and it’ll crowd your space, too small, and it won’t be functional. Keep in mind your kitchen’s shape and layout, whether it’s open-plan or galley style, to select a size and location that supports ease of movement and daily use.
Design Kitchen Island Cabinets for Maximum Storage
You’ll want to plan your cabinet layout to make the most of every inch inside your kitchen island. Incorporate functional storage options like pull-out drawers, lazy Susans, or deep shelves to keep items organized and accessible.
Thoughtful design guarantees your island provides maximum storage without sacrificing style or workspace.
Optimize Cabinet Layout
Although designing a kitchen island often focuses on aesthetics, optimizing the cabinet layout is essential for maximizing storage and functionality. You’ll want to balance cabinet spacing with island dimensions to guarantee you don’t sacrifice storage for style.
Focus on layout efficiency by arranging cabinetry styles that complement your workflow and enhance storage accessibility.
Consider these key points:
- Measure island dimensions carefully to determine cabinet size and spacing.
- Choose cabinetry styles that suit your kitchen’s design aesthetics.
- Plan cabinet spacing to allow easy access without crowding the workspace.
- Group frequently used items in the most accessible cabinets.
- Incorporate varied cabinet depths to maximize storage without overwhelming the island.
Select Functional Storage Options
A well-designed kitchen island maximizes storage by incorporating functional options tailored to your needs. Start by evaluating your daily kitchen tasks to determine which storage solutions will improve kitchen organization.
Incorporate deep drawers for pots and pans, pull-out shelves for easy access, and vertical dividers for baking sheets or cutting boards. Use cabinets with adjustable shelving to accommodate various item sizes and optimize space.
Consider adding specialized compartments for utensils, spices, or recycling bins to keep essentials within reach yet out of sight. Incorporate soft-close hinges and full-extension slides to enhance usability.
Selecting these functional storage options guarantees your kitchen island not only looks great but also streamlines workflow, making cooking and cleaning more efficient and enjoyable. Prioritize versatility to adapt as your storage needs evolve.
Choose Materials for Your Kitchen Island
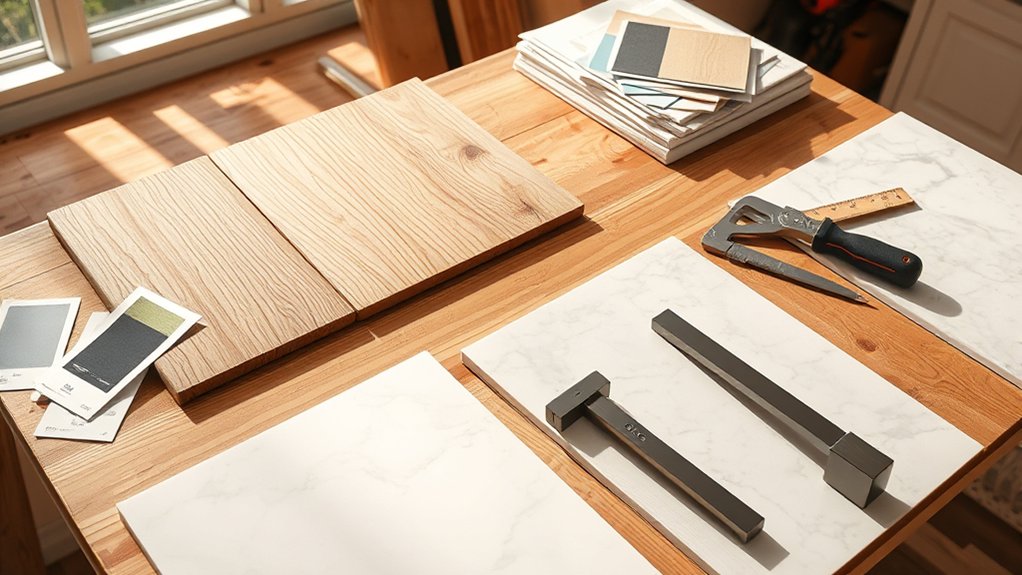
Selecting the right materials for your kitchen island shapes its durability, functionality, and style. You’ll want to balance cabinet styles with material durability to guarantee your island stands up to daily use while complementing your kitchen’s look. Reflect on materials that offer strength and aesthetic appeal.
Here are five practical options to reflect on:
- Solid wood: Classic, sturdy, and refinishes easily, ideal for traditional cabinet styles.
- Plywood: Strong core material, resists warping, perfect for painted finishes.
- MDF (Medium-Density Fiberboard): Smooth surface great for modern cabinet styles, less expensive but less durable.
- Stainless steel: Durable and sleek, suits industrial-style islands.
- Butcher block countertops: Adds warmth and functionality, pairs well with various cabinet styles.
Choose materials based on your kitchen’s use, style preferences, and long-term durability needs.
Gather Tools and Materials for Building
Before you start building your kitchen island, gather all essential tools and materials to streamline the process and avoid interruptions. Focus on tool types like a circular saw for precise cuts, a drill for fastening, clamps to hold pieces steady, and a level for accuracy.
Have measuring tape and a carpenter’s square on hand to guarantee exact dimensions. For material selection, choose sturdy plywood or hardwood for the frame and cabinet boxes, ensuring durability. Select quality cabinet doors and drawer fronts that match your design.
Don’t forget screws, wood glue, and sandpaper for assembly and finishing. Organizing these tools and materials beforehand saves time and prevents workflow delays, keeping your project efficient and professional from start to finish.
Build Your Kitchen Island Frame and Cabinets
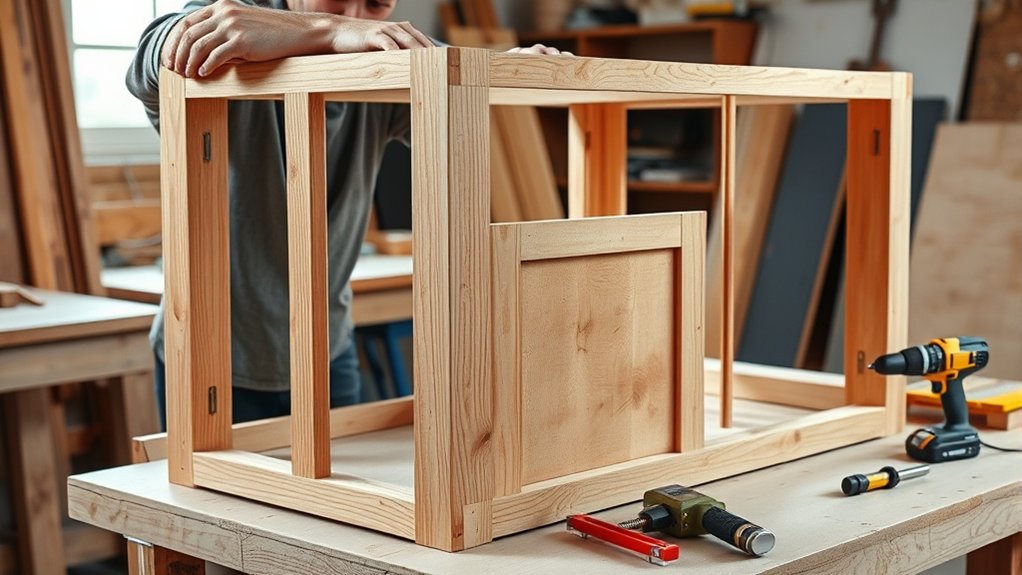
With all your tools and materials ready, you can now focus on assembling the kitchen island frame and cabinets. Start by cutting your frame materials, typically plywood or solid wood, to size for a sturdy base. Choose cabinet styles that complement your kitchen’s design, whether shaker, flat-panel, or inset.
Assemble the frame first, guaranteeing all corners are square and secure with screws or wood glue. Then, attach the cabinet boxes, aligning them precisely with the frame.
Remember to:
- Measure twice before cutting frame materials
- Use clamps to hold parts steady during assembly
- Pre-drill holes to prevent wood splitting
- Check cabinet styles for compatibility with your hardware
- Keep the frame level to avoid installation issues later
This foundation guarantees a durable, functional kitchen island.
Install Cabinet Doors and Drawers
Start by aligning the cabinet doors carefully to guarantee even gaps and smooth operation.
Next, attach the drawer slides securely, making sure they’re level for easy movement.
Finally, install the handles firmly, double-checking their placement for both function and style.
Align Doors Properly
Carefully position each cabinet door and drawer front to guarantee even gaps and smooth operation. Perfect door alignment relies on precise door alignment techniques and hinge adjustment methods.
Start by loosely attaching hinges, then adjust screws to fine-tune height, depth, and side-to-side positioning. Check door gaps with a ruler or feeler gauge to verify consistency. Keep these tips in mind:
- Use a level to verify doors sit perfectly vertical.
- Adjust hinges incrementally for minor corrections.
- Test door swings to avoid rubbing or misalignment.
- Tighten screws only after confirming ideal positioning.
- Repeat checks after tightening to maintain alignment.
Attach Drawer Slides
Install the drawer slides by securing them to both the cabinet frame and the drawer box, guaranteeing smooth and reliable operation. First, choose the appropriate slide mechanisms based on your drawer types: side-mount, under-mount, or center-mount, each requiring specific positioning.
Measure carefully to align the slides parallel, maintaining consistent spacing to avoid binding. Attach the cabinet portion of the slides inside the frame using screws, then fix the drawer portion to the drawer box sides or bottom, depending on the slide type.
Test the drawer movement before final tightening, adjusting as needed for smooth gliding. Proper installation of drawer slides is essential for durability and ease of use, so take your time to verify each component fits perfectly and operates without resistance.
Install Handles Securely
Secure the handles firmly onto your cabinet doors and drawers to guarantee both functionality and a polished look. Choose handle types that complement your design aesthetics and hardware finishes.
Use precise installation techniques: pre-drill holes, align handles consistently, and tighten screws securely. Focus on ergonomic placement to affirm comfortable use while considering safety. Avoid sharp edges or protrusions.
- Measure twice for accurate alignment tips
- Opt for hardware finishes that resist fingerprints and corrosion
- Use a level to maintain straight handle placement
- Periodically check and tighten screws as part of maintenance advice
- Select handles with smooth contours to enhance safety considerations
Choose and Install Your Kitchen Island Countertop
Select a countertop material that balances durability, style, and maintenance to suit your kitchen island’s function. Popular countertop materials include granite, quartz, butcher block, and laminate. Each offers distinct countertop styles, from sleek, polished stone to warm, natural wood, so choose one that complements your kitchen’s design and usage needs.
Measure your island’s surface accurately to guarantee the countertop fits perfectly. When installing, apply a bead of waterproof adhesive to the cabinet top, then carefully set the countertop in place, aligning it with the edges. Secure it using screws from inside the cabinets, avoiding visible fasteners.
Finally, seal any gaps with silicone caulk for moisture protection. This approach guarantees your kitchen island countertop is both attractive and built to last.
Finish Your Kitchen Island With Paint, Hardware, and Trim
Once your countertop is firmly in place, it’s time to enhance your kitchen island’s appearance and functionality by adding paint, hardware, and trim. Start by selecting paint techniques that suit your style and complement your kitchen’s color combinations. Consider matte or semi-gloss for durability.
Next, choose hardware styles, such as brushed nickel or matte black, which align with current design trends. For trim options, decide between crown molding or simple baseboards to add sophistication and cover seams.
Select hardware like brushed nickel or matte black and trim such as crown molding or baseboards for a refined look.
Don’t forget the finishing touches like installing soft-close hinges or adding decorative corbels for extra charm. Here’s what to focus on:
- Paint techniques for smooth, durable finishes
- Hardware styles matching your kitchen’s aesthetic
- Trim options that enhance structure and style
- Color combinations that create visual harmony
- Finishing touches for polished, professional results
Troubleshoot Common Kitchen Island Problems
Why does your kitchen island sometimes feel less functional than expected? Start by checking your island height; too tall or short disrupts comfort. Review plumbing considerations if you notice leaks or inadequate water flow.
Electrical outlets should be conveniently placed. Too few or poorly located outlets limit appliance use. Assess the countertop overhang to guarantee sufficient legroom for seating without compromising stability.
Evaluate traffic flow around the island; cramped paths hinder movement. The island shape matters too. An awkward design can reduce workspace or seating capacity.
Reconsider your seating arrangement to maximize comfort and accessibility. Finally, analyze lighting placement. Poor lighting diminishes usability and ambiance.
Fixing these key issues improves your kitchen island’s function and enhances your cooking and social experience.
Frequently Asked Questions
Can I Add Electrical Outlets to My Kitchen Island?
You can add electrical outlets to your kitchen island, but first, check outlet placement carefully. Make certain you follow local safety codes to avoid hazards.
Proper planning guarantees convenience and keeps your island both functional and safe.
What Lighting Is Best for a Kitchen Island Workspace?
You’ll want island pendant lighting combined with bright workspace task lighting. Choose adjustable, focused fixtures that provide ample illumination without shadows, ensuring your kitchen island workspace stays well-lit for prep, cooking, and detailed tasks.
How Do I Childproof Kitchen Island Cabinets?
You’ll want to install cabinet locks and safety latches to keep curious hands out, add corner cushions for sharp edges, and use drawer guards to secure drawers. These simple steps guarantee your kitchen island stays childproof and safe.
Can a Kitchen Island Accommodate a Built-In Appliance?
Yes, your kitchen island design can accommodate built-in appliances like microwaves or wine coolers. Plan for proper ventilation, electrical access, and sufficient space to guarantee functionality.
This will help maintain a streamlined, practical workspace.
What Is the Average Cost to Build a Kitchen Island?
Building a kitchen island costs around $1,200 to $5,000, depending on material choices and design styles. You’ll want to balance quality and style carefully, ensuring your investment doesn’t sink like a stone.