How to Install Pur Water Filter on Faucet
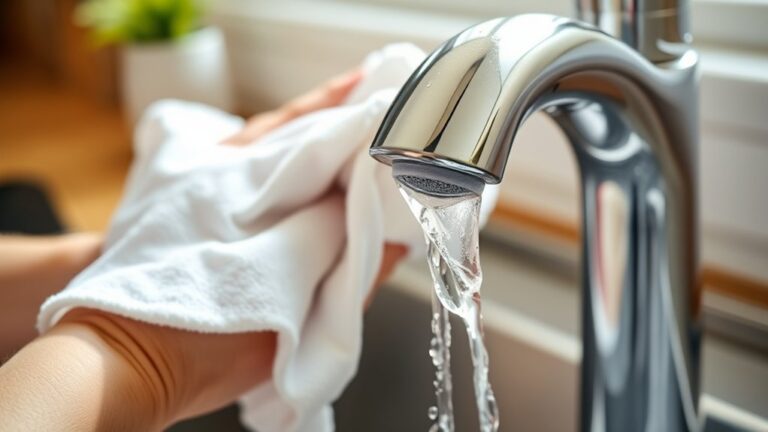
To install your PUR water filter on faucet, first remove the faucet’s aerator and confirm compatibility.
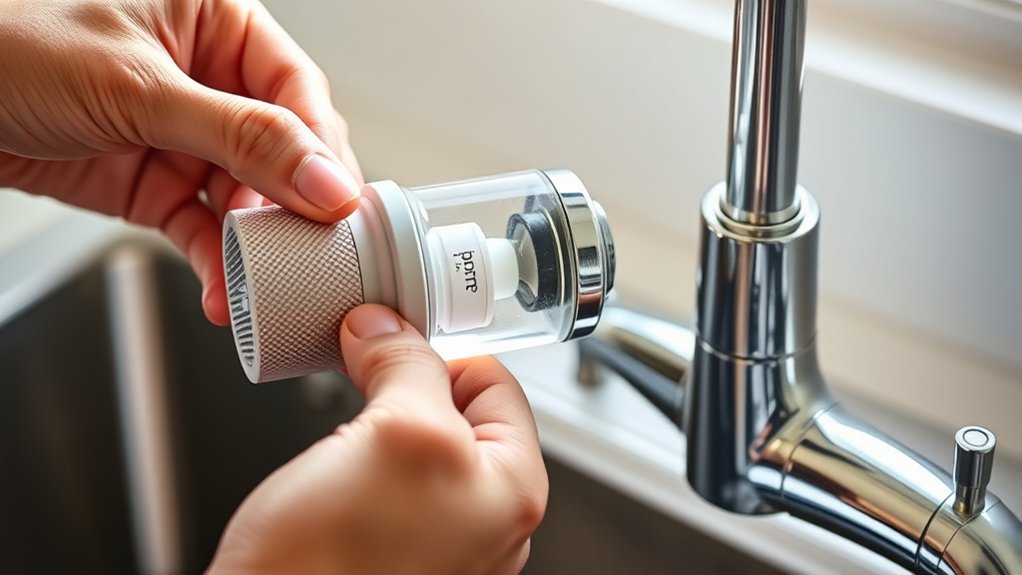
Rinse the new cartridge under cold water for 15 seconds, then insert it firmly into the filter housing.
Align the filter connector with the faucet threads and screw it on by hand—avoid overtightening.
Run water through the filter to flush carbon particles, then check for leaks and proper flow.
Keeping your installation precise guarantees safe, great-tasting water; you can explore additional tips to optimize your setup.
Why Choose a PUR Water Filter for Your Faucet
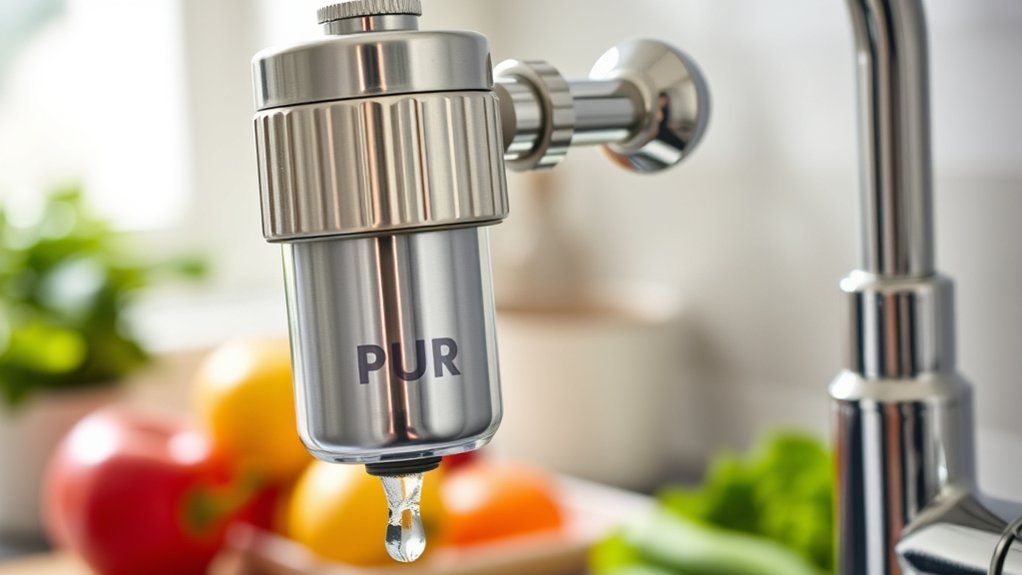
Many homeowners choose a PUR water filter for their faucet because it combines advanced filtration technology with easy installation. You’ll benefit from the filter’s ability to reduce contaminants like lead, chlorine, and mercury, improving water taste and safety.
The compact design fits most standard faucets without requiring tools, making setup straightforward. When considering filter benefits, note PUR’s multi-stage carbon filtration that efficiently traps impurities while maintaining water flow.
Compact, tool-free design with multi-stage carbon filtration ensures easy setup and effective impurity removal.
For installation tips, make sure you align the filter housing correctly to avoid leaks and check that the aerator adapter fits your faucet type. The filter’s indicator alerts you when it’s time for replacement, simplifying maintenance.
Choosing PUR means you get reliable filtration with minimal effort, optimized for everyday use.
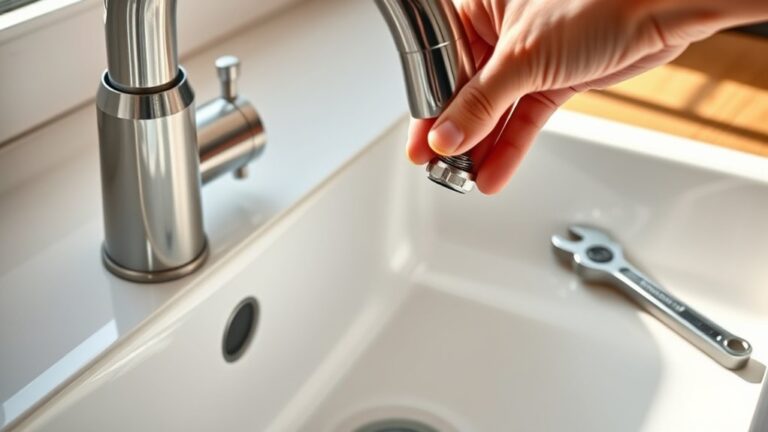
What You Need Before Installing Your PUR Water Filter
Before installing your PUR water filter, gather all necessary tools and components to guarantee a smooth process. You’ll need the correct PUR filter type compatible with your faucet model. Check the product specifications carefully.
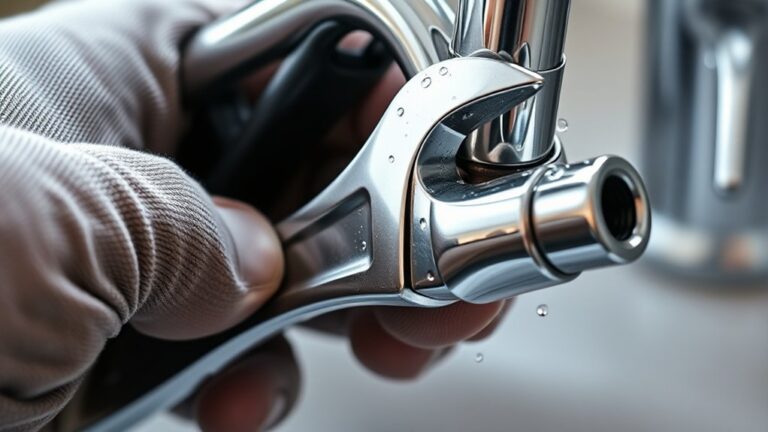
Common filter types include standard faucet-mount and advanced multi-stage cartridges. Confirm you have a clean, dry workspace, a wrench or pliers for tightening fittings, and a towel to catch any water drips.
Review installation tips to avoid common errors like over-tightening or incorrect alignment, which can cause leaks or poor filtration. Having the adapter pieces and any sealing washers on hand is essential to secure a proper fit.
Being prepared with these materials speeds up installation and confirms your water filter functions efficiently from the start.
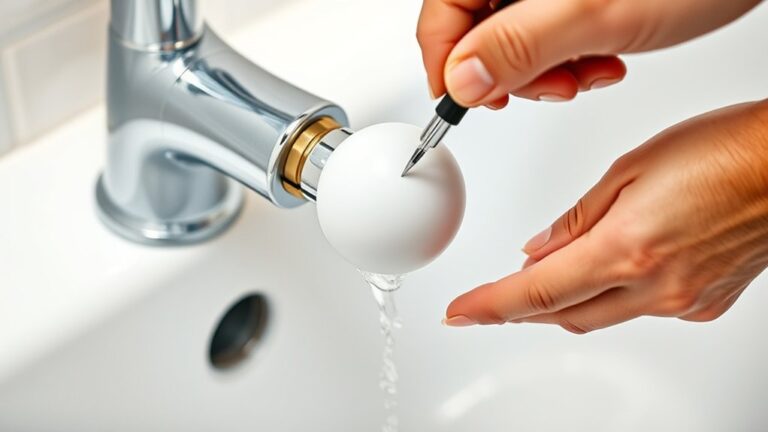
How to Prepare and Activate Your Filter Cartridge
To prepare your filter cartridge, remove any protective covers and rinse it under cold water for 15 seconds.
Next, insert the cartridge firmly into the filter housing to guarantee a secure fit.
Finally, activate the filter by running water through it for several minutes to flush out any loose carbon particles.
Preparing The Filter Cartridge
Although the filter cartridge arrives sealed and ready for use, you need to activate it properly to guarantee peak filtration performance. First, verify cartridge compatibility with your specific PUR faucet model to confirm a suitable fit and function. Using an incompatible cartridge can reduce filter lifespan and compromise water quality.
Remove the cartridge from its packaging and inspect it for any damage or defects. Avoid touching the filter membrane to prevent contamination. Next, flush the cartridge by running water through it briefly to eliminate any loose carbon particles. This step prepares the cartridge for activation and extends its effective lifespan.
Proper preparation guarantees your filter operates efficiently, delivering clean, safe water throughout its designated filter lifespan without premature clogging or failure.
Activating The Water Filter
Begin activating your PUR water filter by firmly inserting the prepared cartridge into the faucet filter housing, making sure it clicks securely into place.
Next, turn on the cold water and allow it to run through the filter for 5 minutes to flush out carbon dust and activate the cartridge. This step is critical in filter activation methods to guarantee peak performance.
If water flow is weak or taste and odor issues persist, consult troubleshooting activation issues by checking cartridge alignment and water pressure.
Avoid using hot water during activation, as it can damage the filter. Finally, reset any filter life indicators according to your model’s instructions.
Following these precise steps ensures your PUR water filter functions effectively from the start.
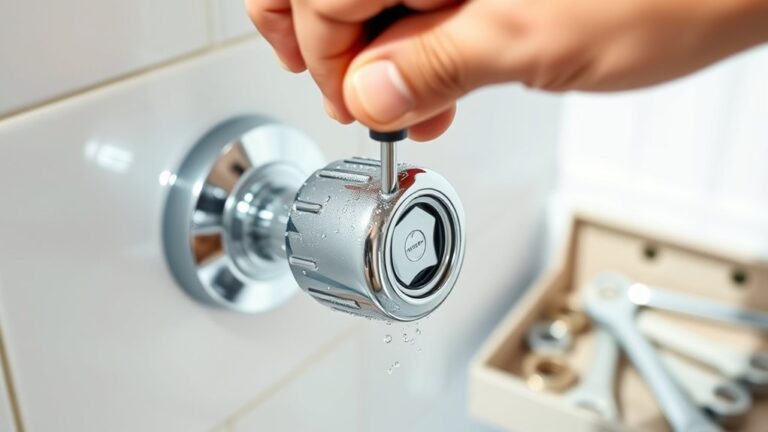
How to Attach the PUR Water Filter to Your Faucet
Attaching the PUR water filter to your faucet requires careful alignment and secure fitting to guarantee a leak-free connection. Begin by removing your faucet’s aerator, then align the filter’s connector with the faucet threads.
Screw the filter on by hand, making sure it’s snug but not over-tightened to avoid damage. Use these installation tips to avoid common mistakes:
- Confirm the adapter fits your faucet model perfectly
- Avoid cross-threading by starting the connection carefully
- Don’t use excessive force when tightening
- Check the rubber washer is properly seated to prevent leaks
- Ascertain the filter’s lever or switch moves freely for proper water flow
Following these steps guarantees a secure attachment, maximizing filter efficiency and durability.
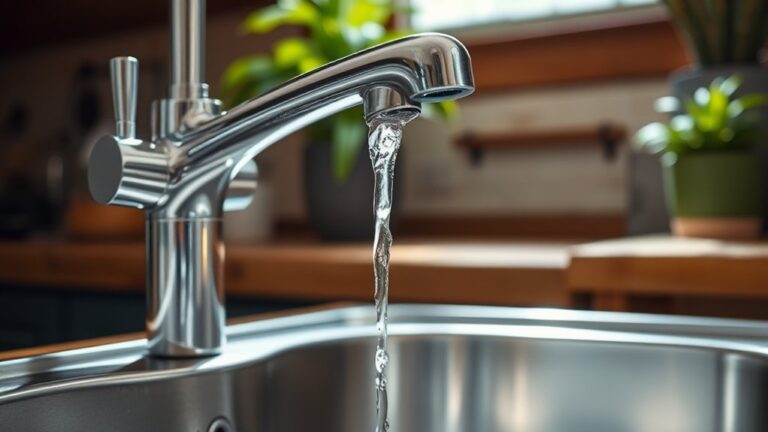
How to Test Your PUR Water Filter After Installation
After installing your PUR water filter, start by visually inspecting the unit for any leaks or loose connections.
Next, check the water flow rate to guarantee it’s steady and consistent.
Finally, perform a taste and odor test to confirm the filter is effectively improving water quality.
Visual Inspection Of Filter
A thorough visual inspection confirms your PUR water filter is properly installed and functioning as intended. After installation, closely examine the filter components to verify all parts are securely connected without gaps or misalignments.
Follow these installation tips to affirm ideal setup:
- Check the filter housing for cracks or damage that could cause leaks.
- Verify the O-ring is seated correctly to maintain a tight seal.
- Confirm the filter cartridge is fully inserted and locked in place.
- Look for any water drips around connection points indicating a faulty seal.
- Confirm the diverter valve operates smoothly without resistance or blockage.
Water Flow Rate Check
To guarantee your PUR water filter functions efficiently, you’ll need to measure the water flow rate immediately after installation. Start with a water pressure assessment to confirm your faucet compatibility is ideal. Low pressure can reduce flow rate, indicating a need to check connections or filter alignment.
Use a stopwatch and a measuring cup to time how long it takes to fill one liter of water. Compare this to manufacturer specifications. If the flow is markedly below expected, recheck installation or filter condition.
| Step | Action |
|---|---|
| 1. Initial Flow Check | Measure water output per minute |
| 2. Water Pressure Check | Use gauge to verify pressure |
| 3. Compatibility Check | Confirm faucet fits filter |
| 4. Re-test Flow Rate | Repeat measurement if needed |
| 5. Troubleshoot | Adjust filter or replace if low |
Taste And Odor Test
Although your PUR water filter may look properly installed, you’ll want to verify its effectiveness by conducting a taste and odor test. This guarantees the filter removes common odor sources such as chlorine and sulfur compounds, aligning with your taste preferences.
Start by rinsing the filter for 2-3 minutes. Then, compare filtered water against unfiltered water to detect differences in taste and smell. If the filtered water has no off-putting odor and tastes clean, the filter works as intended.
To perform the test effectively:
- Use a clean glass to avoid contamination
- Conduct the test in a neutral environment free of strong odors
- Test water at room temperature for accurate taste perception
- Note any residual chemical or metallic tastes
- Repeat periodically to monitor filter performance over time
How to Maintain, Replace, and Troubleshoot Your PUR Water Filter
Regularly maintaining your PUR water filter guarantees consistent performance and safe drinking water. Adhere to the maintenance schedule by replacing the cartridge every 2-3 months or after filtering 100 gallons, which defines the filter lifespan.
Monitor flow rate and taste; decreased flow or off-flavors indicate it’s time for cartridge replacement. For troubleshooting, start by checking for leaks at the connection points and confirm the filter is securely attached.
If water flow is sluggish, remove the cartridge and flush it with clean water to clear debris. Reset the filter indicator after each cartridge replacement to track usage accurately.
Following these steps ensures ideal filtration and prolongs the filter’s operational life while maintaining water quality.
Frequently Asked Questions
Can PUR Filters Remove Lead and Chlorine From Water?
When it comes to water safety, Pur filters effectively reduce lead exposure and chlorine levels. You won’t find a better guard at the gate; their activated carbon and ion exchange technologies work precisely to improve your water quality.
Is the PUR Filter Compatible With All Faucet Types?
Pur filters aren’t compatible with all faucet types; check faucet compatibility before buying. For smooth installation, verify your faucet has a standard aerator and follow installation tips like using adapters if needed to secure a tight fit.
How Long Does a PUR Filter Cartridge Last?
You’ll get about 2 to 3 months of filter longevity from a Pur cartridge, depending on water usage.
Regular cartridge maintenance, like timely replacement, guarantees peak filtration and prevents clogging or reduced flow performance.
Are Replacement Filters Widely Available and Affordable?
Yes, replacement filters are widely available and affordable. You should track filter maintenance tips and perform filter cost comparison regularly to optimize expenses and guarantee consistent water quality without unexpected costs or downtime in your filtration system.
Does Using a PUR Filter Affect Water Pressure?
Think of water flowing through a narrow garden hose. Using a Pur filter slightly narrows flow, causing minimal pressure drop.
With proper faucet installation and high filter efficiency, you won’t notice any significant water pressure change during use.