How to Update Oak Kitchen Cabinets
To update your oak kitchen cabinets, start by thoroughly cleaning and sanding them to create a smooth surface. This preparation is essential for the new finish to adhere properly.
Choose a finish—paint, stain, or glaze—that suits your style and offers durability.
Apply a primer before painting or staining, using thin, even coats that follow the wood grain. This ensures a professional, lasting look.
Don’t forget to refresh cabinet hardware to add a modern touch and enhance the overall appearance.
Finally, protect your work with a sealant for lasting results.
Keep going to uncover expert tips and tools for a flawless update.
Why Update Your Oak Kitchen Cabinets?
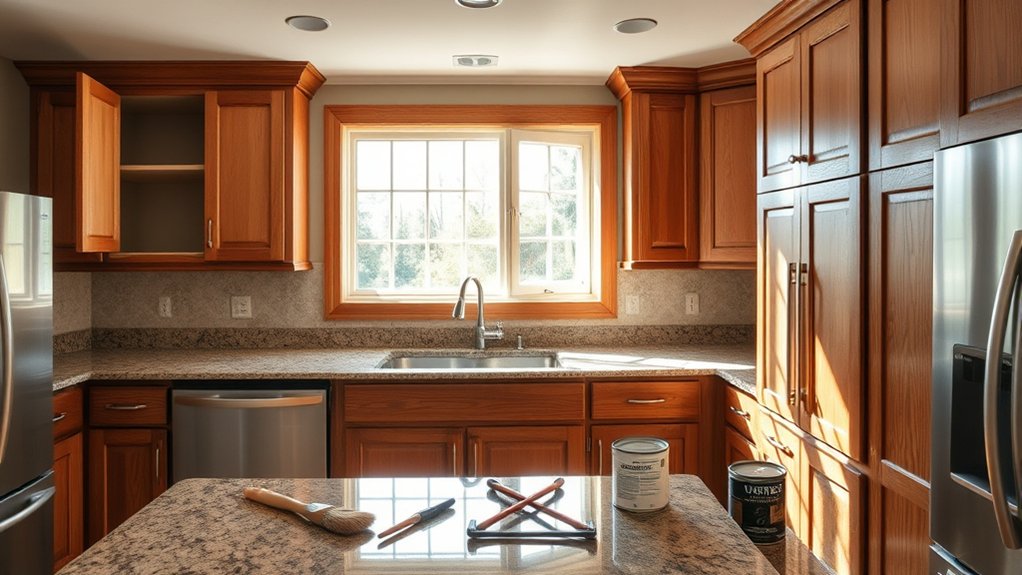
Although oak cabinets are durable and timeless, updating them can instantly refresh your kitchen’s look and increase your home’s value. When you update oak cabinets, you enhance their aesthetic appeal by modernizing colors, hardware, or styles that better match your current taste and trends.
Additionally, you’ll enjoy sustainability benefits by extending the life of existing materials instead of replacing cabinets entirely, reducing waste and environmental impact. To maximize these benefits, focus on refinishing or repainting rather than discarding your cabinets.
This approach saves money and supports eco-friendly practices. By updating oak cabinets thoughtfully, you not only boost your kitchen’s visual appeal but also contribute to a greener home improvement process. It’s a smart, practical step toward a refreshed kitchen space.
How to Choose the Perfect Finish for Oak Cabinets
When choosing the perfect finish for your oak cabinets, consider the types of finishes available, such as stain, paint, or glaze. Match the finish to your kitchen’s style to create a cohesive look.
Also, think about durability and how much maintenance you’re willing to handle to keep your cabinets looking great.
Types Of Cabinet Finishes
Since the finish you choose affects both the look and durability of your oak cabinets, it’s essential to understand the different types available. You want a finish that complements your style and protects the wood.
Here are common options to take into account:
- Glossy finishes offer a shiny, reflective surface that’s easy to clean.
- Matte finishes provide a subtle, modern look without glare.
- Distressed looks add character with intentional wear marks.
- Natural stains highlight oak’s grain while preserving its warmth.
- Color washes and chalk paint create soft, muted hues with texture.
Additionally, eco-friendly options reduce environmental impact, and metallic accents can add a unique, stylish touch. Choose a finish based on your maintenance preferences and desired aesthetic to guarantee your cabinets stay beautiful for years.
Matching Finish To Style
Choosing the perfect finish for your oak kitchen cabinets requires balancing your personal style with the room’s overall design. Start by identifying the design trends that appeal to you, whether modern, rustic, or traditional.
For a sleek, contemporary look, consider smooth, matte finish types like painted or lacquered surfaces. If you prefer a warm, classic vibe, oil-based stains that highlight the oak’s grain work well.
You can also opt for distressed or glazed finishes to complement farmhouse or vintage themes. Pay attention to the cabinet hardware and surrounding elements, ensuring the finish you choose enhances the entire space.
Durability And Maintenance Considerations
While selecting a finish that matches your style is important, you also need to evaluate how it will hold up over time. Durability testing helps you choose finishes that resist scratches, stains, and moisture, essential in a busy kitchen.
Consider finishes like polyurethane or lacquer for their long-lasting protection. Follow these maintenance tips to keep your oak cabinets looking fresh:
- Wipe spills immediately to prevent stains
- Use mild cleaners to avoid damaging the finish
- Avoid abrasive scrubbing pads that cause scratches
- Reapply finish periodically based on wear
- Keep humidity levels stable to prevent wood warping
How to Prepare Oak Cabinets for Painting or Staining
Start by thoroughly cleaning your oak cabinets to remove grease, dirt, and grime that can prevent paint or stain from adhering properly. Use mild detergent and warm water for effective surface cleaning.
After cleaning, sand the cabinets lightly to create a smooth surface and remove the existing finish. This step is essential in prep techniques to guarantee better adhesion. Wipe down with a tack cloth to remove dust before applying primer or stain.
| Step | Tip |
|---|---|
| Cleaning | Use mild detergent and water |
| Sanding | Lightly sand with fine-grit |
| Dust Removal | Use tack cloth for best results |
| Inspection | Check for damage or holes |
Following these steps guarantees your oak cabinets are perfectly prepped for painting or staining.
The Tools and Materials You Need to Update Oak Cabinets
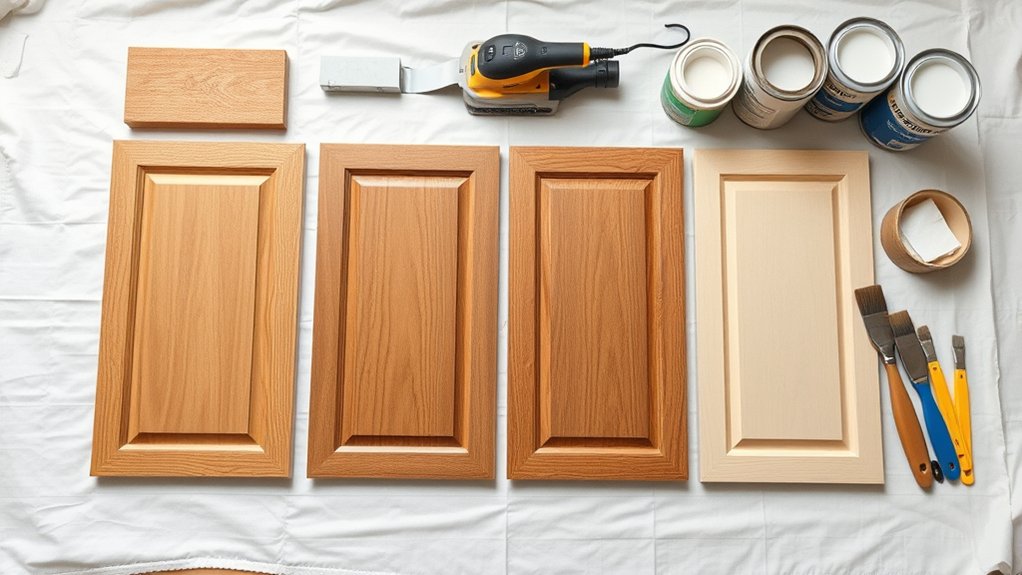
Updating oak cabinets requires a specific set of tools and materials to guarantee a smooth and lasting finish. Before you start, gather everything you’ll need to efficiently apply your chosen primer options and use proper sanding techniques later.
Here’s a list to get you started:
- Fine and medium-grit sandpaper or sanding blocks
- High-quality wood primer suited for oak
- Paintbrushes and foam rollers for even application
- Painter’s tape to protect edges and hardware
- Clean, lint-free cloths for dust removal
Having these on hand assures you’re prepared for each step of the process. Selecting the right primer options will help seal oak’s grain, while using correct sanding techniques will prepare the surface for better adhesion and a flawless finish.
How to Sand Oak Cabinets for a Smooth Finish
Once you’ve gathered your tools and chosen the right primer, sanding your oak cabinets properly sets the foundation for a smooth, durable finish. Start with the correct grit selection: begin with 120-grit sandpaper to remove old finishes, then progress to 220-grit for smoothing. Use consistent sanding techniques. Always sand with the grain to avoid scratches. A sanding block or orbital sander guarantees even pressure and better results.
| Step | Tip |
|---|---|
| Start with 120-grit | Removes old finish efficiently |
| Follow with 220-grit | Smooths the surface for priming |
| Sand with the grain | Prevents visible scratches |
After sanding, wipe down the cabinets to remove dust before priming. Proper sanding prepares your oak cabinets for a flawless finish.
Creative Color Ideas for Modern Oak Cabinets
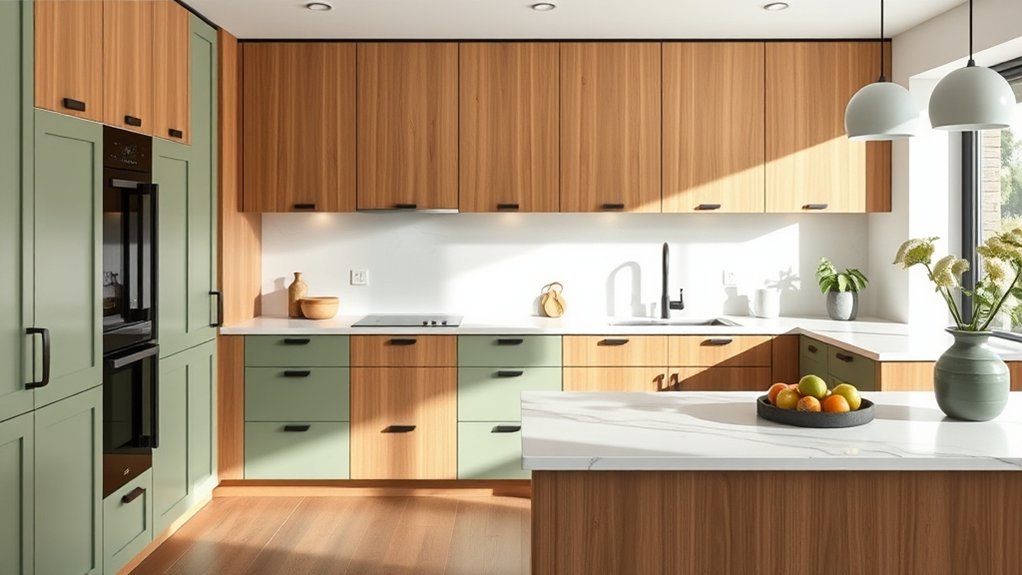
How can you refresh your oak cabinets to fit a modern aesthetic? Start by exploring creative color ideas that balance bold color choices with subtle tone options. This approach lets you personalize your kitchen while maintaining a sleek, updated look.
Consider these ideas:
- Deep navy or charcoal for a dramatic, contemporary feel
- Soft greys or muted greens for a calming, understated vibe
- Bright white to enhance natural oak grain and brighten the space
- Warm taupe or beige for a neutral, cozy atmosphere
- Two-tone cabinets combining bold lower units with subtle upper ones
How to Apply Paint or Stain to Oak Cabinets
Start by thoroughly cleaning and sanding your oak cabinets to guarantee the surface is smooth and ready for paint or stain.
Choose a product that suits your desired look and the wood’s natural grain. Apply your finish evenly with a brush or sprayer, working in thin coats to avoid drips and achieve a professional result.
Preparing Cabinet Surfaces
Begin by thoroughly cleaning the oak cabinet surfaces to remove grease, dirt, and dust that can interfere with paint or stain adhesion. Proper surface preparation guarantees your finish lasts longer and looks professional. Use effective cleaning techniques like a degreasing solution or a trisodium phosphate (TSP) cleaner to break down stubborn buildup.
After cleaning, lightly sand the surfaces to smooth imperfections and open the wood grain for better absorption.
Focus on these steps:
- Remove cabinet doors and hardware
- Wipe down with a degreaser or TSP
- Rinse with clean water and dry thoroughly
- Sand with fine-grit sandpaper (220 grit)
- Remove sanding dust with a tack cloth
Following these cleaning techniques and preparation steps sets the stage for a flawless paint or stain application.
Choosing Paint Or Stain
Once your oak cabinets are clean and sanded, deciding between paint or stain will shape the entire look of your kitchen update. Consider your color selection carefully. Paint offers vibrant hues, while stains enhance the wood’s natural grain.
A finish comparison helps you choose the best option for durability and style.
| Aspect | Paint | Stain |
|---|---|---|
| Color Selection | Wide range, solid colors | Limited shades, wood tones |
| Finish | Opaque, smooth, hides grain | Transparent, highlights grain |
| Durability | Resistant to scratches, easy to clean | Penetrates wood, less protective |
Choose paint for a modern look or stain for a classic, warm feel. Your choice influences the kitchen’s final aesthetic and maintenance.
Applying Finish Evenly
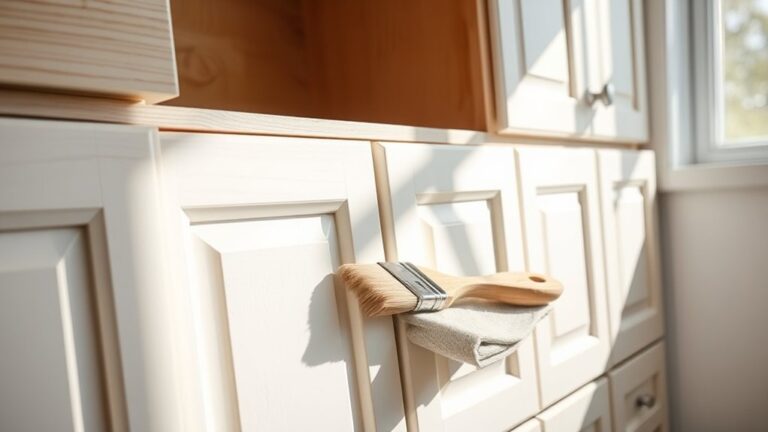
Achieve a smooth, even finish by applying paint or stain with consistent, deliberate strokes. Start by applying primer evenly to seal the oak surface and enhance adhesion. Use high-quality brushes designed for your chosen finish, synthetic for paint and natural bristles for stain.
Work in manageable sections, following the wood grain to avoid brush marks and streaks. Maintain a wet edge to prevent lap marks, and avoid over-brushing, which can cause uneven texture.
Dip the brush lightly, tapping off excess. Apply thin coats rather than thick layers. Blend each stroke seamlessly into the previous one.
Allow sufficient drying time between coats. Sand lightly between coats for a smooth surface.
How to Protect and Seal Your Updated Oak Cabinets
Although you’ve refreshed the look of your oak cabinets, protecting and sealing them is vital to maintain their beauty and durability. Start by choosing the right sealing technique. Polyurethane offers strong protection, while varnish highlights wood grain. Always clean surfaces thoroughly before sealing to guarantee proper adhesion.
| Step | Tip |
|---|---|
| 1. Clean | Remove dust and grease completely |
| 2. Sand | Lightly sand between coats |
| 3. Choose Sealant | Pick based on durability needs |
| 4. Apply Sealant | Use smooth, even strokes |
| 5. Dry & Cure | Allow full drying before use |
Regular cabinet maintenance includes wiping spills promptly and avoiding harsh chemicals. Following these sealing techniques will keep your oak cabinets looking fresh for years.
How to Update Oak Cabinet Hardware for a Fresh Look
Give your oak cabinets an instant facelift by updating the hardware. Swapping out old knobs and pulls can transform the entire kitchen’s look without a major overhaul. Start by exploring different hardware styles that complement oak’s warm tones. Consider sleek modern handles, vintage brass knobs, or matte black pulls for contrast. Don’t hesitate to try knob alternatives like cup pulls or bar handles to add visual interest.
Refresh your oak cabinets instantly by swapping hardware with stylish knobs, pulls, and contrasting finishes.
To update your cabinet hardware effectively:
- Choose finishes that contrast or blend with oak’s natural grain
- Mix knobs and pulls for variety and function
- Replace screws and mounting hardware for a secure fit
- Test hardware samples on one cabinet before committing
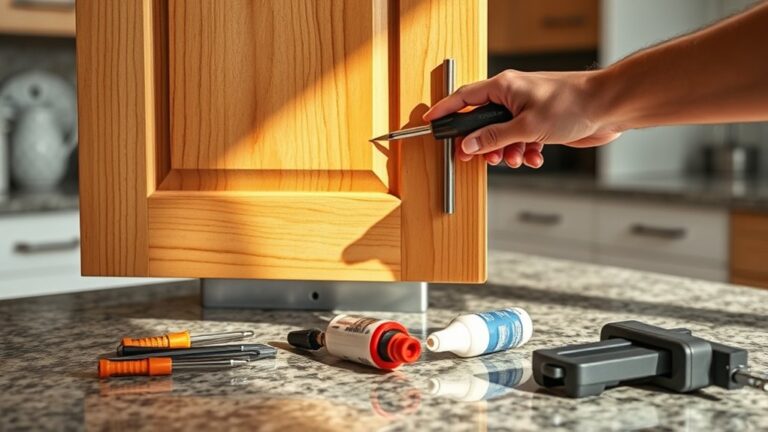
- Use a screwdriver or drill for efficient removal and installation
This simple upgrade refreshes your cabinets with minimal effort and maximum impact.
Budget-Friendly Ways to Refresh Your Oak Cabinets
Revitalizing your oak cabinets doesn’t have to break the bank. You can use simple budget tips and DIY techniques to give your kitchen a fresh look without costly renovations. Start by cleaning and lightly sanding the surface to prep for paint or stain.
Consider swapping out outdated hardware or adding peel-and-stick wallpaper inside cabinet doors for a pop of color.
| Budget-Friendly Update | Description |
|---|---|
| Paint or Stain | Use affordable, quality products |
| Replace Hardware | Update knobs and handles cheaply |
| Add Decorative Accents | Use adhesive backsplashes or decals |
| Deep Clean & Polish | Restore shine with household items |
These steps save money and let you personalize your oak cabinets with ease.
Frequently Asked Questions
How Long Does It Take for Paint or Stain to Fully Dry on Oak Cabinets?
You’ll find drying time varies by paint types; latex paint usually dries in 1-2 hours, while oil-based paint takes 6-8 hours. Stain can take 4-6 hours.
Always follow manufacturer’s guidelines for best results.
Can I Update Oak Cabinets Without Removing Them From the Kitchen?
Yes, you can update oak cabinets without removing them. Use cabinet refinishing techniques like sanding and painting in place.
Follow color selection tips to choose shades that brighten your kitchen and complement existing decor for a fresh look.
Are There Eco-Friendly Paints Suitable for Oak Kitchen Cabinets?
You can choose eco-friendly options like low-VOC or water-based paints for oak cabinets. They offer excellent paint durability while reducing toxins.
Always prep the surface well to guarantee long-lasting, smooth, and professional results.
How Do Temperature and Humidity Affect Cabinet Finishing?
Like a dance between nature and craft, temperature and humidity impact finishing techniques by causing wood expansion or contraction. You’ll want to control moisture carefully to avoid warping, ensuring smooth, durable cabinet finishes every time.
What Are Common Mistakes to Avoid When Updating Oak Cabinets?
Don’t skip proper prep techniques like sanding and cleaning. Avoid poor color selection that clashes with your kitchen. Don’t rush. Take time to test colors and guarantee smooth surfaces for a lasting, professional finish.