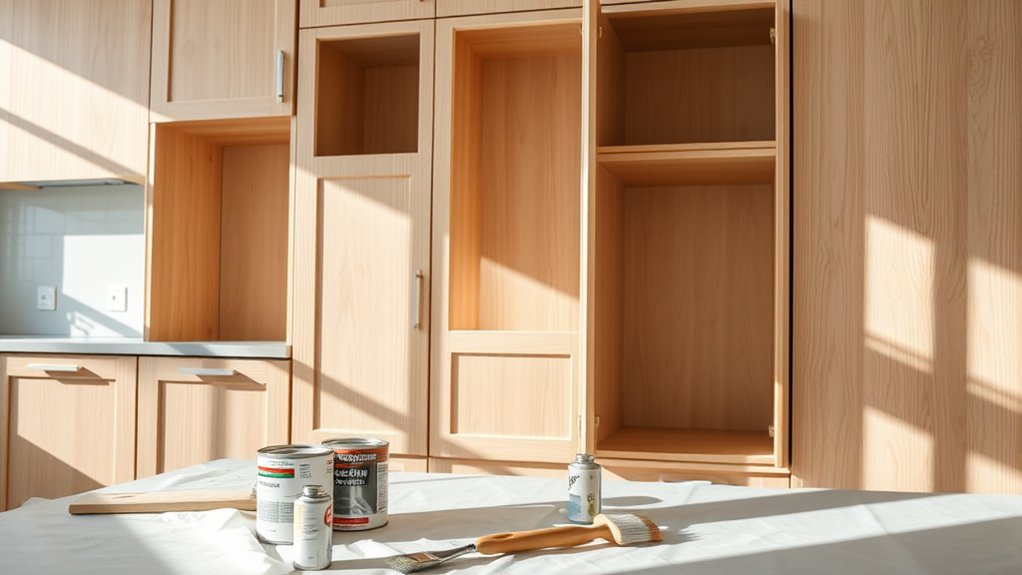
How to Finish Unfinished Kitchen Cabinets
To finish your unfinished kitchen cabinets, start by removing all hardware and thoroughly cleaning the surfaces. This ensures a smooth base for your finish.
Next, sand the cabinets using 120-grit sandpaper, followed by 220-grit for a finer smoothness. Wipe away all dust with a tack cloth to prepare for finishing.
Decide whether you want to paint or stain your cabinets. Paint provides full color and protection, while stain highlights the natural wood grain. Apply your chosen finish evenly to avoid streaks or blotches.
Finally, seal the cabinets with a clear topcoat. Polyurethane offers durability, making it ideal for high-traffic areas. Lacquer, on the other hand, delivers a glossy finish for a polished look.
Applying thin coats with the proper tools guarantees a flawless result.
You can explore detailed preparation, finishing techniques, and maintenance next for a professional outcome.
Tools and Materials Needed for Finishing Kitchen Cabinets
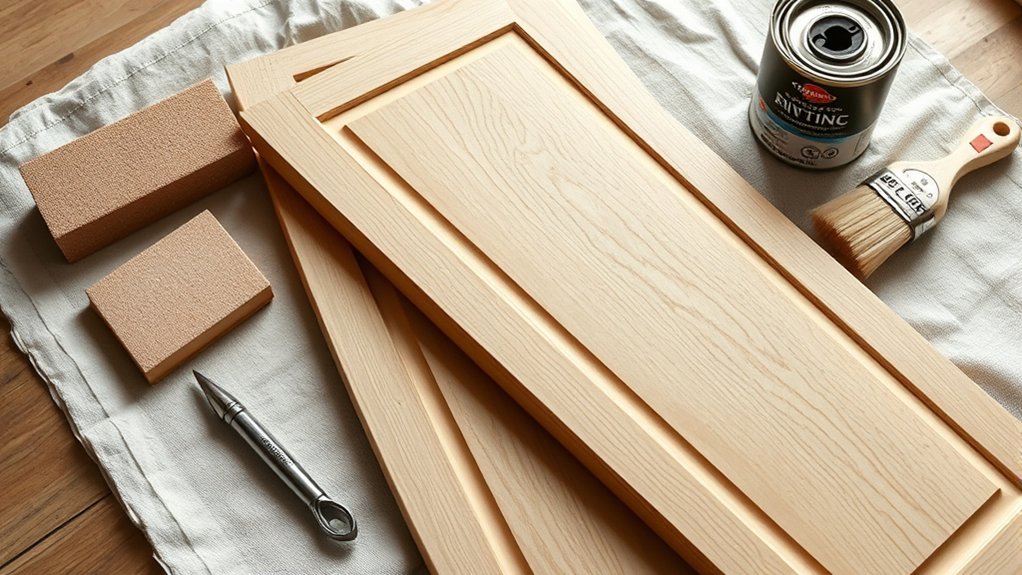
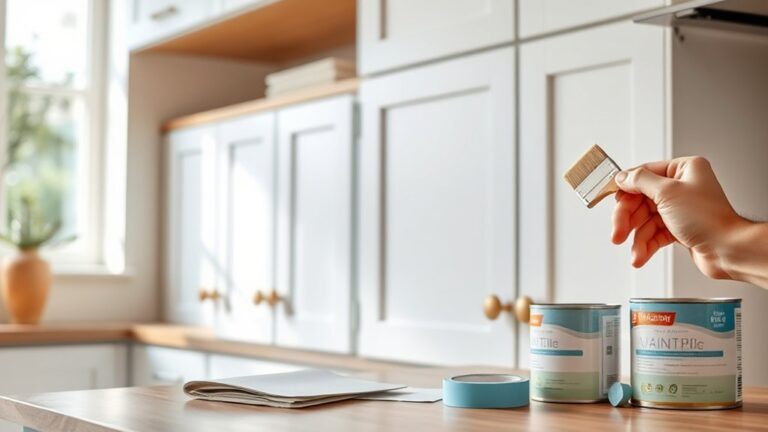
To finish your kitchen cabinets effectively, you’ll need a specific set of tools and materials that assure a smooth, durable result. Start with high-quality brushes and foam rollers designed for fine finishes, which are essential for both staining techniques and painting methods.
Effective cabinet finishing requires quality brushes and foam rollers for smooth, durable staining and painting results.
You’ll also require sanding blocks or an orbital sander with varying grits (120 to 220) to guarantee proper surface texture. Use painter’s tape for clean edges and drop cloths to protect surrounding areas.
Select appropriate stains or paints formulated for cabinetry, plus a clear protective topcoat like polyurethane or lacquer to seal your work. Additionally, clean rags and tack cloths help remove dust between coats.
Having these precise tools and materials ready lets you apply finishes accurately and professionally.
How to Prepare Unfinished Kitchen Cabinets for Staining or Painting
Before applying stain or paint, you must thoroughly prepare your unfinished kitchen cabinets to guarantee proper adhesion and a flawless finish. Start by removing all hardware and cleaning surfaces with a degreaser to eliminate oils and dirt.
Sand cabinets using 120-grit sandpaper, then follow with 220-grit for a smooth texture. Wipe off sanding dust with a tack cloth to avoid imperfections. When prepping surfaces, make sure all edges and corners are evenly sanded to prevent blotching.
Select high-quality brushes suited to your finish type: natural bristle brushes work best for oil-based stains, while synthetic brushes excel with water-based paints. Proper prepping surfaces combined with choosing brushes designed for your finish will enhance durability and achieve the professional results you want.
Paint vs. Stain: Choosing the Right Cabinet Finish
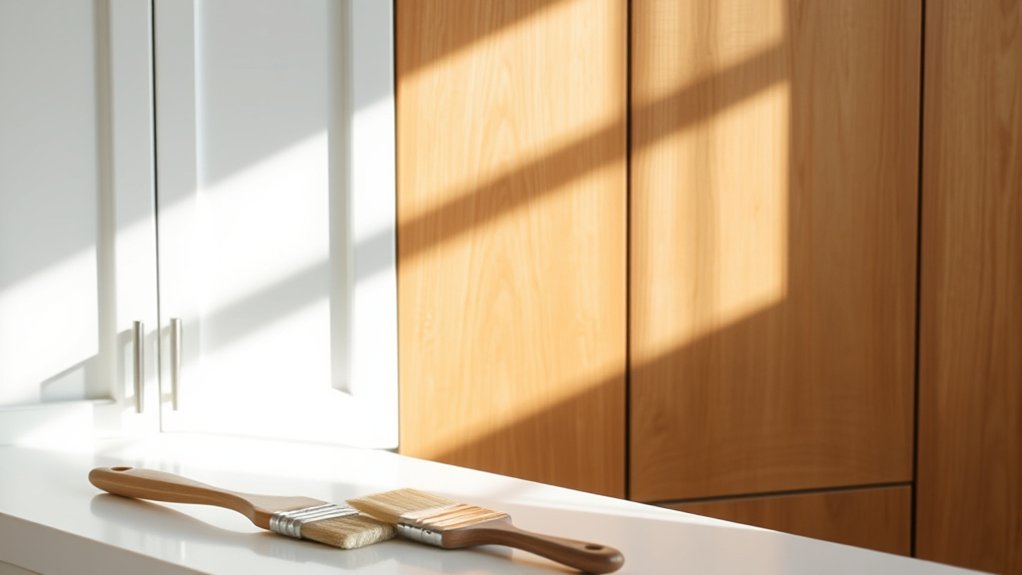
How do you decide between paint and stain for your kitchen cabinets? Start by considering color selection and finish durability. Paint offers an extensive color palette, allowing you to match any design scheme precisely.
It creates a solid, opaque layer, hiding wood grain but providing superior protection against moisture and wear. Stain, however, penetrates the wood, enhancing natural grain and texture while offering a more limited range of colors, usually in wood tones.
Stain’s finish durability depends on the topcoat applied; without a protective sealant, it’s less resistant to scratches and stains than paint. Ultimately, choose paint if you want vibrant color and robust durability.
Opt for stain if you prefer a natural wood look with moderate protection, ensuring you apply an appropriate clear finish to extend longevity.
How to Avoid Common Cabinet Finishing Mistakes
You’ll want to start by thoroughly sanding and cleaning every cabinet surface to guarantee proper adhesion and a smooth finish.
Next, select a finish compatible with your cabinet material and usage conditions to prevent peeling or discoloration.
Taking these steps seriously will help you avoid the most frequent finishing errors.
Surface Preparation Tips
Three essential steps will set the foundation for a flawless cabinet finish: thorough cleaning, proper sanding, and dust removal. Start by wiping down the cabinets to eliminate oils and dirt that interfere with adhesion.
Next, sand the wood surface evenly, following the wood grain to avoid scratches and guarantee a smooth texture. Use progressively finer grit sandpaper, ending with 220 grit for ideal smoothness. Pay close attention to corners and edges to prevent uneven surfaces.
After sanding, remove all dust with a vacuum and tack cloth; even tiny particles can create imperfections. Finally, apply a surface sealing product to the bare wood to stabilize the wood grain, preventing blotching and ensuring uniform finish absorption.
This meticulous preparation will help you avoid common finishing mistakes and achieve professional results.
Choosing The Right Finish
Selecting the right finish plays a critical role in both the durability and appearance of your kitchen cabinets. Focus on color selection to complement your kitchen’s style while ensuring the finish sheen matches your desired gloss level, from matte to high gloss. Avoid common mistakes like choosing an incompatible sheen or neglecting proper curing time, which can cause peeling or uneven texture.
| Finish Type | Best Use Case |
|---|---|
| Oil-Based Polyurethane | High durability, warm tone |
| Water-Based Polyurethane | Quick drying, clear finish |
| Lacquer | Smooth, high gloss, fast drying |
Test samples before application to confirm color and sheen compatibility with your cabinet material and lighting conditions.
Fixing Cabinet Imperfections Before Finishing
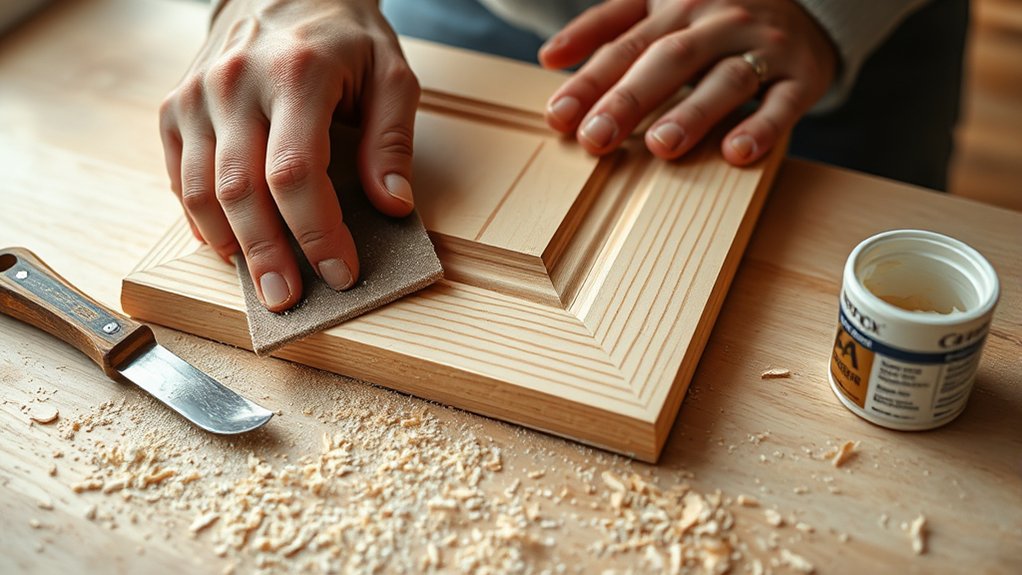
Before you apply any finish, carefully inspect your cabinets for dents, scratches, and gaps. Choose fillers that match the wood type and grain to guarantee seamless repairs.
Then, use progressive sanding techniques to create a perfectly smooth surface ready for finishing.
Identifying Surface Flaws
A thorough inspection of your cabinet surfaces reveals imperfections that could compromise the final finish. Conduct a detailed flaw assessment to catalog surface imperfections such as dents, scratches, and uneven grain.
Use proper lighting and tactile evaluation to detect subtle defects. Document these flaws systematically to prioritize repairs.
| Flaw Type | Detection Method | Impact on Finish |
|---|---|---|
| Dents | Visual and tactile scan | Can cause paint pooling |
| Scratches | Angled light inspection | May show through finish |
| Grain Irregularities | Touch and sight | Affects stain absorption |
| Gouges | Close-up examination | Requires filling |
| Raised Wood Fibers | Sanding test | Leads to rough texture |
Identifying each flaw precisely guarantees targeted corrections and a flawless cabinet finish.
Selecting Suitable Fillers
Once you’ve mapped out the imperfections on your cabinet surfaces, the next step involves choosing the right filler materials to correct those defects. Selecting appropriate filler types guarantees a durable, seamless finish. Consider these factors:
- Wood Putty Ideal for small holes and scratches; apply with a putty knife, then smooth.
- Epoxy Fillers Best for deep gouges or structural repairs; mix components precisely and use a spreader for even application.
- Latex or Acrylic Caulk Suitable for gaps between joints; apply with a caulking gun and smooth with a damp finger.
Match filler types to the defect size and wood type. Proper application methods prevent shrinkage or cracking. Choose fillers compatible with your cabinet material and finishing products for maximum adhesion and longevity.
Sanding Techniques For Smoothness
Three key sanding techniques guarantee your kitchen cabinets achieve a flawless, smooth surface ready for finishing. First, start with coarse grit types (80-100) to remove excess filler and level uneven areas. Use a sanding block or orbital sander, applying consistent pressure to avoid gouges.
Second, shift to medium grit (120-150) to refine the surface, eliminating scratches left by coarser grits. Third, finish with fine grit (220-320) for a silky smooth finish that promotes ideal adhesion of primers or paints.
Employ sanding methods like circular motions combined with light passes along the wood grain to prevent swirl marks. Throughout, clean dust with a tack cloth before progressing to finer grits, ensuring each sanding step removes imperfections without over-sanding the wood.
Step-by-Step Guide to Staining Kitchen Cabinets
Five essential steps will guide you through staining your kitchen cabinets to achieve a professional finish. Begin with proper color selection, choosing a stain that enhances the wood grain and complements your kitchen’s style.
Next, prepare the surface by sanding thoroughly to guarantee an even absorption of the stain. Then, apply the stain using consistent staining techniques, such as brushing with the grain or wiping with a cloth, to avoid blotches.
Follow these steps:
- Prep and sand cabinets smoothly to open the wood pores.
- Apply stain evenly with a brush or cloth, maintaining a wet edge.
- Allow drying, then apply a protective clear topcoat for durability.
Following this method guarantees a uniform, durable, and visually appealing stained finish.
How to Paint Unfinished Kitchen Cabinets Like a Pro
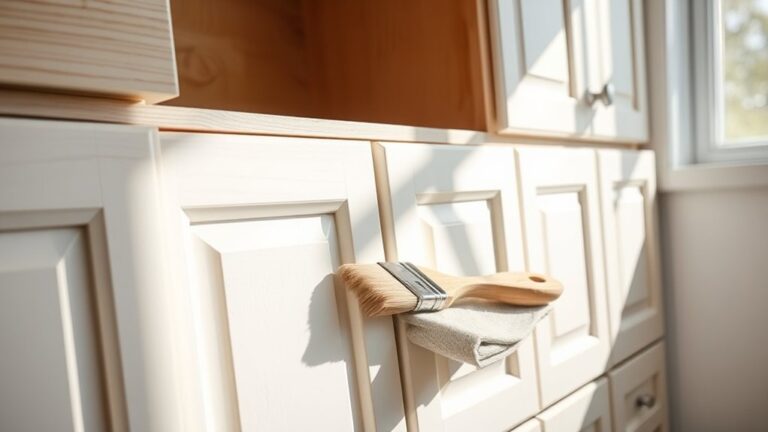
After you’ve mastered the technique of staining, painting unfinished kitchen cabinets presents a different set of challenges and opportunities. Start with careful color selection; opt for hues that complement your kitchen’s lighting and style while affirming durability.
Prepare the surface meticulously by sanding to create an even texture and removing dust with a tack cloth. Use a high-quality primer to promote adhesion and prevent blotching.
For application, employ a synthetic bristle brush for edges and a foam roller for flat surfaces to achieve a smooth, professional finish. Apply thin, even coats, allowing adequate drying time between layers to avoid drips and brush marks.
Maintain a wet edge during painting to guarantee uniform coverage. Following these application tips ensures a flawless, long-lasting painted finish on your cabinets.
Choosing and Applying the Best Topcoat for Kitchen Cabinets
You’ll need to select a topcoat based on the type of finish: polyurethane, lacquer, or water-based, each offering different durability and sheen levels. Apply your topcoat with the right technique, such as using a high-quality brush or spray, to guarantee even coverage and avoid bubbles or streaks.
Understanding maintenance requirements will help you keep your cabinets protected and looking fresh over time.
Types Of Topcoat
When selecting a topcoat for your kitchen cabinets, you must consider factors such as durability, finish type, and application method to guarantee long-lasting protection and aesthetic appeal. Understanding topcoat types and finish comparisons will help you make an informed choice.
- Polyurethane: Offers excellent durability and chemical resistance; available in oil- and water-based formulas. Water-based dries faster with less odor but may raise the grain slightly.
- Lacquer: Dries quickly to a hard, glossy finish. It’s less durable than polyurethane but provides superior clarity and smoothness.
- Varnish: Provides robust protection with a slightly amber hue, ideal for traditional wood tones. It’s slower to dry and requires careful application to avoid brush marks.
Choose based on your kitchen’s use and desired look, balancing protection with finish characteristics.
Application Techniques
Selecting the right topcoat only sets the foundation; applying it correctly guarantees maximum durability and finish quality. Begin by choosing between brush techniques and roller methods based on your cabinet’s surface texture. Use high-quality synthetic bristle brushes for smooth, detailed edges to avoid streaks and bubbles.
For flat surfaces, employ a fine-nap roller to distribute the topcoat evenly, minimizing texture inconsistencies. Always apply thin, even coats and maintain a wet edge to prevent lap marks. Allow adequate drying time between coats, lightly sanding with fine-grit sandpaper for ideal adhesion.
Work in a dust-free environment to avoid imperfections. Combining precise brush techniques with roller methods guarantees a professional, uniform finish that highlights the cabinet’s craftsmanship and protects its surface effectively.
Durability And Maintenance
Although choosing the right topcoat is essential, ensuring its durability and ease of maintenance requires understanding the specific demands kitchen cabinets face daily. To maximize cabinet lifespan and minimize maintenance frequency, focus on these three key factors:
- Topcoat Type: Use a polyurethane or conversion varnish with high chemical and abrasion resistance to withstand spills, heat, and frequent cleaning.
- Application Method: Apply thin, even coats with proper curing times. Multiple layers enhance durability and protect against moisture penetration.
- Regular Maintenance: Clean gently with mild detergents and avoid harsh abrasives that degrade the topcoat. This prolongs the finish’s integrity and reduces recoating needs.
Adding Hardware to Your Finished Kitchen Cabinets
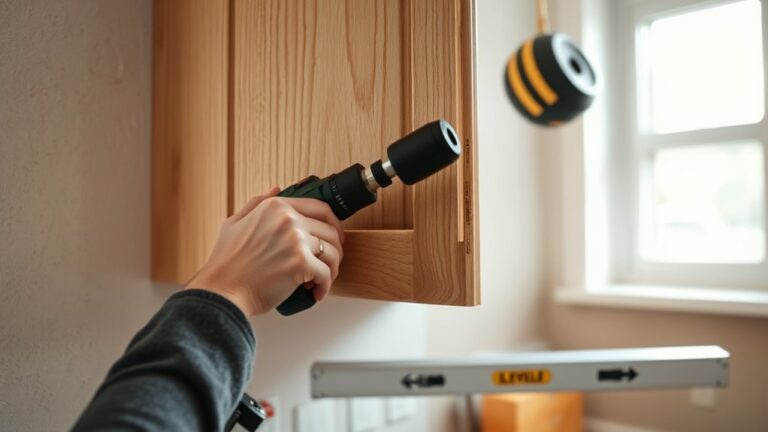
Adding hardware to your finished kitchen cabinets involves precise measurements and careful alignment to guarantee functionality and aesthetics. Begin by selecting hardware styles that complement your cabinet design. Consider knobs, pulls, or handles with finishes matching your kitchen’s theme.
Use a template or jig to mark drill points accurately, ensuring consistent placement across all doors and drawers. Measure twice to avoid misalignment. When installing, pre-drill holes to prevent wood splitting, then screw in hardware securely without overtightening to maintain integrity.
Pay attention to door and drawer spacing to allow smooth operation. Following these installation tips will help you achieve a professional, polished look while enhancing usability. Properly installed hardware not only elevates style but also extends your cabinets’ practical lifespan.
Maintaining and Refreshing Your Kitchen Cabinet Finish
Once your hardware is properly installed, keeping your kitchen cabinets looking their best requires routine maintenance and timely rejuvenation. Proper cabinet care guarantees finish longevity and preserves aesthetic appeal. Follow these steps:
- Regular Cleaning: Use a soft cloth with a mild detergent solution to remove dirt and grease without harming the finish. Avoid abrasive cleaners that can erode the protective layer.
- Inspect and Repair: Periodically check for chips or scratches. Lightly sand damaged spots and apply a matching finish to prevent moisture infiltration and further deterioration.
- Apply Protective Coatings: Every 1-2 years, apply a thin layer of furniture wax or a clear polyurethane finish to reinforce the surface protection and extend finish longevity.
Frequently Asked Questions
Can Unfinished Cabinets Be Refinished Multiple Times?
You can refinish unfinished cabinets countless times, practically forever, if you use proper refinishing techniques. Each careful layer enhances cabinet longevity.
But remember, excessive sanding or poor prep can reduce durability and weaken the wood’s structure.
How Long Does It Take for Cabinet Finishes to Fully Cure?
You’ll find curing time varies by finish types: oil-based stains need 24-72 hours, lacquer dries in hours but cures up to a week, while polyurethane can take 30 days for full hardness and durability.
Are Unfinished Cabinets More Affordable Than Pre-Finished Ones?
You’ll find unfinished cabinets are typically 20-30% cheaper than pre-finished ones, offering initial cost savings.
However, consider resale value; pre-finished cabinets often retain value better due to factory-applied durable finishes and consistent quality control.
Can I Finish Cabinets Myself or Should I Hire a Professional?
You can finish cabinets yourself using DIY techniques, saving money compared to hiring a professional. However, consider the time, skill level, and tools required to guarantee quality results before deciding.
Balance cost comparison and craftsmanship precision when making your choice.
What Environmental Conditions Affect Cabinet Finishing Quality?
You’ll want to control humidity levels and avoid temperature fluctuations to guarantee even drying times. Proper air circulation reduces dust accumulation, and mastering application techniques helps achieve a smooth finish without imperfections or uneven coatings.