How to Refinish Kitchen Cabinets
To refinish your kitchen cabinets, start by thoroughly cleaning all surfaces and removing any hardware. This preparation is crucial for a smooth and lasting finish.
Next, sand the surfaces until they are smooth. Apply a suitable primer to ensure that paint or stain adheres properly. Choosing the right primer sets the foundation for a professional look.
Decide between paint for vibrant, modern aesthetics or stain to highlight the natural wood grain.
After the finish dries completely, protect your work with a clear topcoat to enhance durability.
Finally, reinstall the hardware carefully, making sure everything aligns and functions correctly.
Follow these precise steps to transform your kitchen cabinets beautifully—and discover how to perfect each phase for lasting results.
Choose the Right Paint or Stain Finish for Kitchen Cabinets
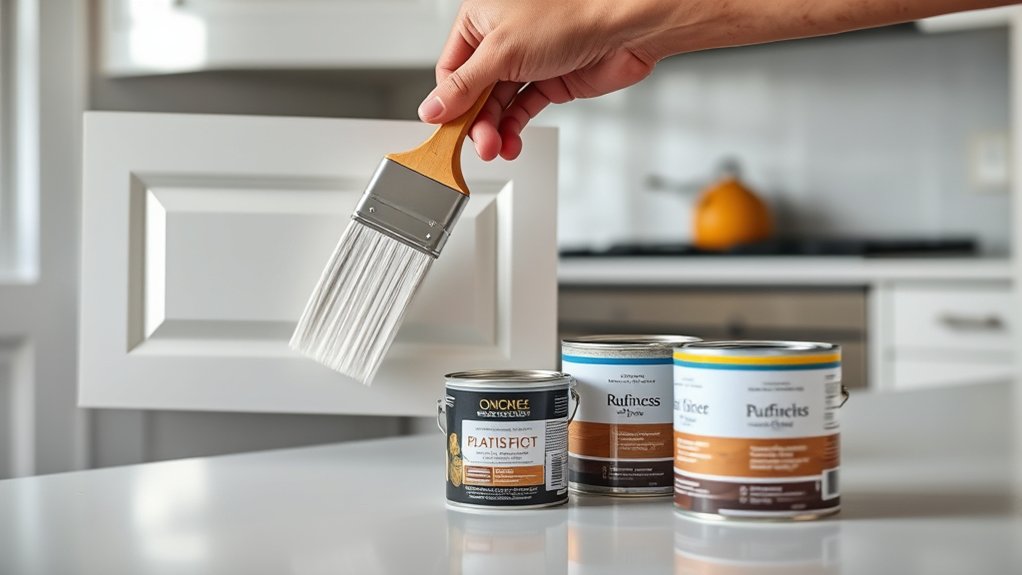
When refinishing your kitchen cabinets, selecting the right paint or stain finish is essential to achieving a durable, attractive result. You’ll want to weigh oil based options against water based alternatives carefully.
Oil based finishes offer superior finish durability and a smooth, rich appearance but require longer drying times and stronger solvents for cleanup. Water based alternatives dry faster, emit fewer odors, and clean up easily with soap and water, making them more user-friendly.
Your color selection also plays a critical role; lighter colors can brighten the space, while darker tones add depth and sophistication. Whichever finish you choose, verify it’s specifically formulated for cabinetry to withstand frequent use, moisture, and cleaning without chipping or peeling.
This choice determines both the longevity and the aesthetic appeal of your refinished cabinets.
Gather Essential Tools and Materials for Refinishing
Before you begin refinishing, make certain you have all the necessary tools, including sandpaper, brushes, and screwdrivers, laid out for easy access. Choose high-quality paints or stains to guarantee a durable finish that withstands kitchen wear.
Don’t forget essential safety gear like gloves, masks, and goggles to protect yourself throughout the process.
Necessary Tools Checklist
A well-organized toolkit sets the foundation for a successful cabinet refinishing project. Start with essential hand tools: screwdrivers for removing hardware, a putty knife for filling dents, and fine-grit sandpaper or a sanding block to prep surfaces.
You’ll also need a power sander for efficient smoothing, especially when stripping old finishes. A quality paintbrush or foam roller guarantees even application of primers and topcoats. Don’t forget tack cloths to remove dust between coats.
To stay current with cabinet color trends, consider tools that support various refinishing techniques, like spray guns for a sleek, modern finish. Safety gear, including gloves, goggles, and a respirator mask, is vital when handling chemicals or sanding. Having these tools ready allows for precise, professional results in your refinishing journey.
Choosing Quality Materials
Since the quality of your materials directly affects the durability and finish of your cabinets, choosing premium primers, paints, and sealants is essential. Start by selecting quality wood or wood-based products if you plan repairs or replacements, prioritizing sustainable options to reduce environmental impact.
When choosing paint, focus on durable finishes that resist chipping and moisture, ensuring long-lasting results. Pay close attention to color matching to maintain a cohesive kitchen aesthetic, considering both hue and sheen.
Texture selection also matters. Opt for smooth or satin finishes for easy cleaning. Compare brands carefully, weighing finish durability against cost considerations to find the best value without sacrificing quality.
Safety Gear Essentials
Although gathering quality materials is essential, protecting yourself during cabinet refinishing is equally important. You’ll work with chemicals and dust that can harm your eyes, skin, and lungs. Equip yourself with the right safety gear before starting.
- Wear protective eyewear to shield your eyes from dust, splinters, and chemical splashes.
- Use a respirator mask designed to filter paint fumes and fine particles; this is critical for indoor work even if you use ventilation fans to improve airflow.
- Put on durable gloves and a work apron to protect your hands and clothing from solvents and stains.
This gear guarantees you stay safe and comfortable throughout the refinishing process, preventing irritation and long-term health risks.
Prepare Kitchen Cabinets by Cleaning and Removing Hardware
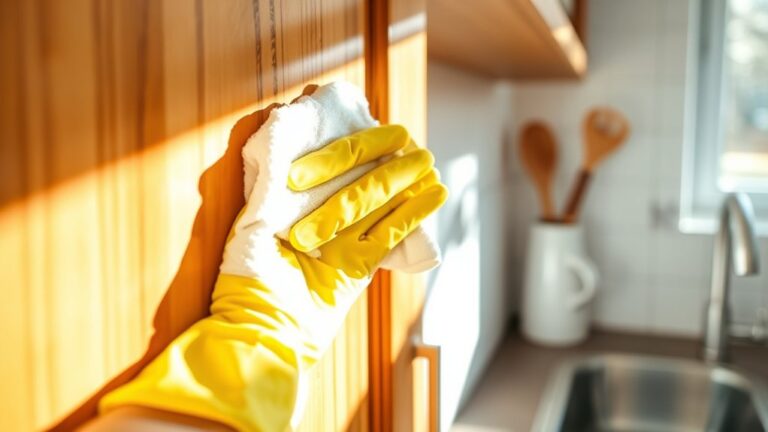
Start by thoroughly cleaning your cabinets with a degreaser to remove dirt and grime that can affect paint adhesion.
Next, carefully remove all hardware, including handles and hinges, using the right screwdriver to avoid damage. Keeping track of each piece will make reassembly smoother once the refinishing is complete.
Effective Cleaning Techniques
Before you begin refinishing, you’ll need to thoroughly clean your kitchen cabinets to remove grease, dirt, and grime that can interfere with paint or stain adhesion. Start with a deep cleaning using eco-friendly solutions like a mixture of white vinegar, water, and a few drops of mild dish soap. Apply this with a soft cloth to avoid damaging the wood.
Follow these steps:
- Wipe down all cabinet surfaces, paying close attention to corners and edges where grease accumulates.
- Use a soft-bristle brush to gently scrub textured or carved areas.
- Rinse with a clean damp cloth to remove residue and let dry completely.
This precise cleaning process guarantees your refinishing will adhere evenly, resulting in a durable, professional finish.
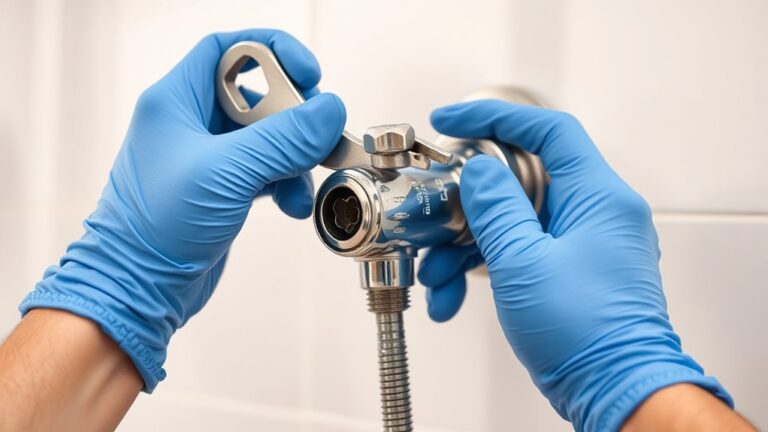
Removing Cabinet Hardware
Remove all cabinet hardware carefully to prepare your kitchen cabinets for refinishing. Begin by identifying the hardware types: knobs, pulls, or hinges, since each requires a slightly different removal method. Use the appropriate screwdriver to avoid stripping screws, and keep a magnetic tray handy to collect fasteners.
With various cabinet styles, such as shaker or raised panel, hardware placement can differ, so inspect each door and drawer thoroughly. After removing hardware, label screws and parts to simplify reinstallation.
If your cabinets have older or painted-over hardware, apply a penetrating oil to loosen stuck screws safely. This precise step guarantees your cabinets are stripped of all attachments, providing a clean, smooth surface for sanding and finishing, critical for achieving a professional, long-lasting refinish.
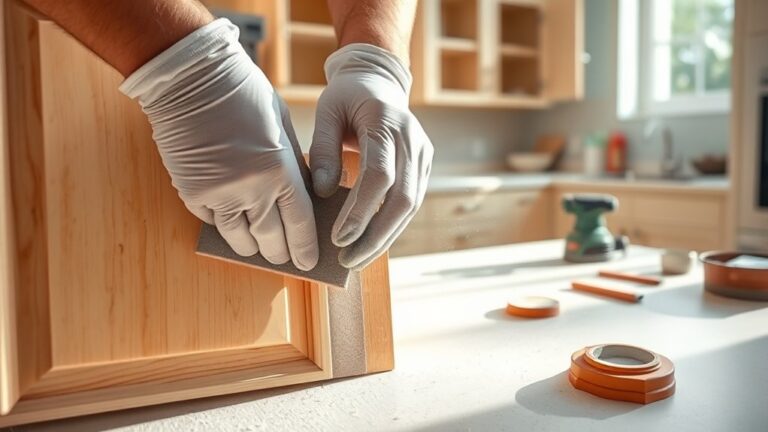
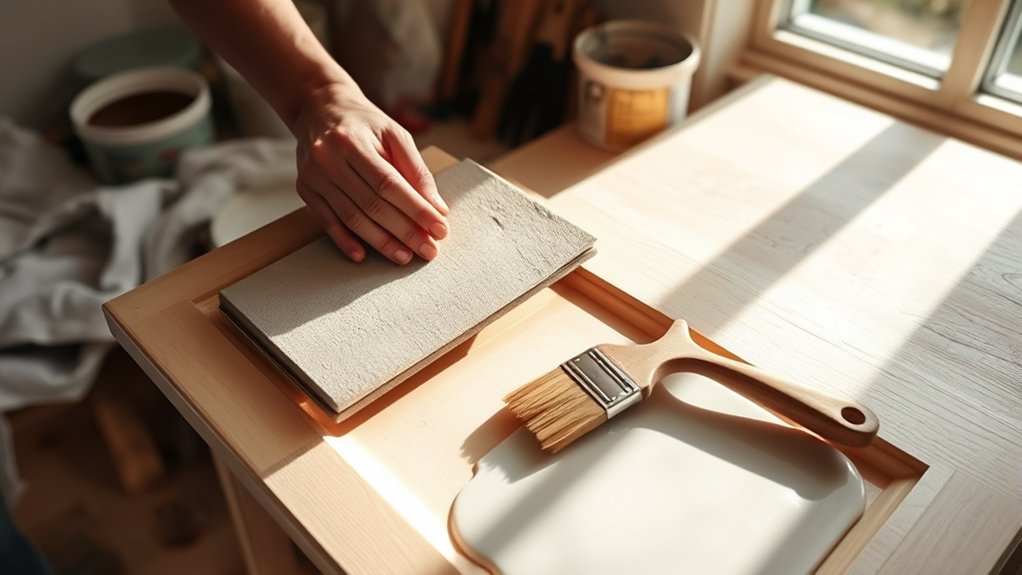
Sand Cabinets for a Smooth, Even Surface

Begin by thoroughly sanding your kitchen cabinets to create a smooth, even surface that guarantees ideal paint or stain adhesion. Proper surface preparation is essential, and mastering the right sanding techniques will make all the difference.
Start with medium-grit sandpaper (120-150 grit) to remove the old finish and smooth any imperfections. Then, switch to fine-grit sandpaper (220 grit) to refine the surface without causing damage. Always sand in the direction of the wood grain to avoid scratches.
- Use a sanding block or orbital sander for flat surfaces to guarantee even pressure.
- Hand-sand intricate details and corners for precision.
- Wipe away dust with a tack cloth to prevent interference with the refinishing process.
Following these steps guarantees a flawless base for your next coat.
Apply Primer Before Painting or Staining Kitchen Cabinets
With your cabinets sanded to a smooth, even surface, applying primer sets the foundation for a durable and professional-looking finish. Choosing the right primer type is essential. Oil-based primers offer excellent adhesion and stain blocking, while water-based primers dry faster and have less odor.
Use a high-quality brush or foam roller for even application. Apply thin, consistent coats, allowing each to dry fully before the next.
| Primer Type | Best For |
|---|---|
| Oil-Based | Stain blocking, adhesion |
| Water-Based | Quick drying, low odor |
| Shellac-Based | Severe stain coverage |
| Bonding Primer | Glossy or laminate surfaces |
Mastering proper application techniques prevents peeling and enhances paint or stain adherence, ensuring your refinishing lasts.
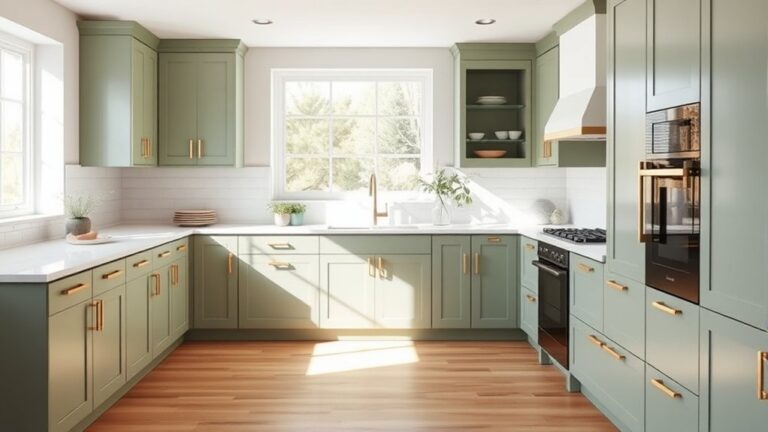
Paint or Stain Kitchen Cabinets for Your Desired Look

Choosing whether to paint or stain your kitchen cabinets depends on the look you want to achieve and the type of wood you’re working with. Paint offers a smooth, uniform finish and allows you to embrace current color trends, such as soft pastels or bold navy, which can modernize traditional cabinet styles.
Deciding to paint or stain cabinets hinges on desired style and wood type, with paint offering a sleek, trendy finish.
Stain enhances the wood grain, ideal for hardwoods, and suits rustic or classic designs.
Consider these factors:
- Paint for vibrant, customizable hues and a sleek, contemporary appearance.
- Stain to showcase natural wood patterns and preserve a warm, organic feel.
- Wood type: softwoods absorb stain unevenly, while hardwoods respond well to both options.
Choose based on your kitchen’s style and the atmosphere you want to create.
Protect Kitchen Cabinets With a Clear Topcoat
Seal your refinished cabinets with a clear topcoat to protect the surface from wear, moisture, and stains. The clear coat benefits include enhanced durability, resistance to scratches, and preserving the underlying paint or stain’s vibrancy.
Before applying, make certain the surface is clean and dry. Use a high-quality brush or foam applicator for smooth topcoat application, working in thin, even layers to prevent drips and bubbles. Allow each coat to dry fully, typically 4 to 6 hours, before lightly sanding with fine-grit sandpaper to promote adhesion between layers.
Apply at least two coats for maximum protection. This precise topcoat application extends the life of your refinished cabinets, maintaining their appearance and shielding them from kitchen wear and tear.
Reinstall Hardware and Add Finishing Touches
Begin by carefully reinstalling all cabinet hardware, including handles, knobs, and hinges, ensuring each piece is securely fastened and aligned properly. Precise hardware placement is essential to maintain functionality and aesthetic appeal.
Next, focus on adding decorative accents that complement your cabinet finish and kitchen style. Consider these final steps:
- Use a level to verify that all knobs and handles are straight and uniformly positioned.
- Tighten hinges to eliminate any door sagging or misalignment.
- Apply felt pads or bumpers inside doors to prevent noise and wear.
Frequently Asked Questions
How Long Does the Entire Refinishing Process Typically Take?
You’ll spend roughly 3 to 5 days on the project timeline, with most homeowners estimating about 20 hours total. This time estimation covers sanding, priming, painting, and drying, ensuring a thorough, professional finish.
Can I Refinish Cabinets Without Removing Them From the Wall?
Yes, you can refinish cabinets without removing them. Focus on thorough surface preparation: clean, sand, and prime directly on the wall. This approach simplifies cabinet painting but requires careful masking to protect surrounding areas.
What Safety Precautions Should I Take When Refinishing Cabinets?
Like armor before battle, wear protective gear: gloves, goggles, and a mask. Confirm ventilation requirements are met by opening windows or using fans to avoid fumes. These steps keep you safe and your workspace healthy.
How Do I Fix Damaged or Rotting Cabinet Wood Before Refinishing?
You’ll start wood repair by removing rotted sections, then apply restoration techniques like wood filler or epoxy to fill gaps. Sand smooth, reinforce weak areas, and guarantee the surface is stable before moving forward with refinishing.
What Are Common Mistakes to Avoid When Refinishing Kitchen Cabinets?
Don’t rush sanding techniques. Uneven sanding ruins finish. Avoid poor color selection; test samples under your kitchen’s lighting.
Also, don’t skip thorough cleaning before painting or neglect proper drying times between coats. Be precise and patient.