Do It Yourself Refacing Kitchen Cabinets
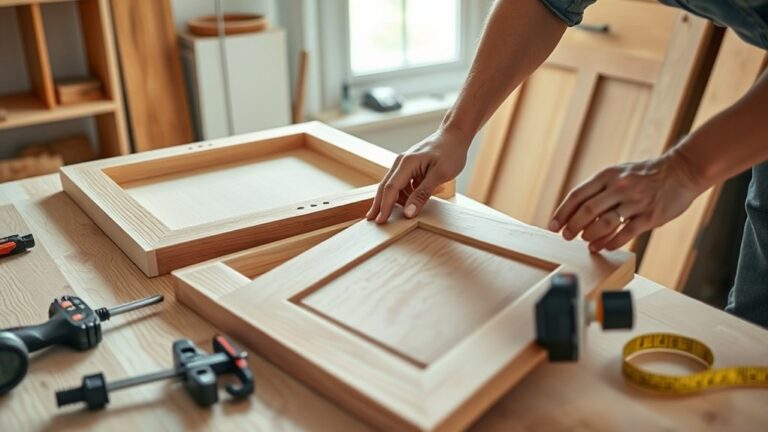
You can efficiently transform your kitchen by doing it yourself refacing kitchen cabinets, updating exterior surfaces while keeping the original framework intact.
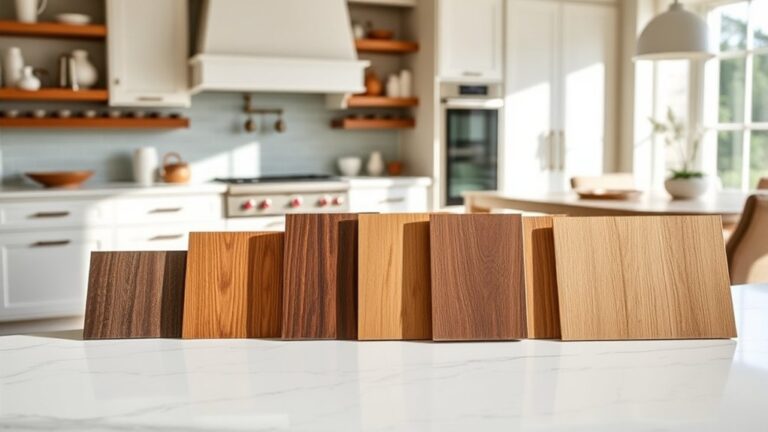
Select durable materials like engineered veneers, thermofoil, or eco-friendly options to balance style and longevity.
Use precise measurements, the right tools, and thorough surface prep to guarantee smooth veneer application or flawless paint finishes.
Avoid common mistakes like poor alignment or rushing drying times.
Explore each detailed step, from removal to maintenance, to achieve professional-quality results.
What Is DIY Kitchen Cabinet Refacing and Why Try It
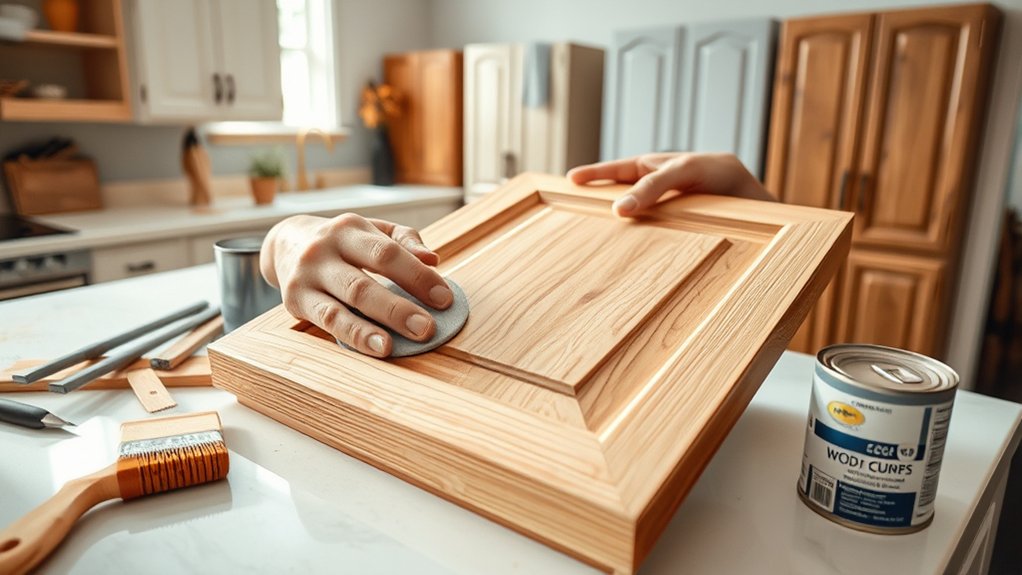
DIY kitchen cabinet refacing involves replacing the exterior surfaces of your existing cabinets, such as doors, drawer fronts, and veneer, while retaining the original cabinet framework. This method aligns with current kitchen trends emphasizing sustainability and cost efficiency.
When you reface, you retain structural integrity but update aesthetics, saving time and materials compared to full replacement. Refacing benefits include reduced waste, minimized disruption, and a fresh look that matches evolving styles.
You can customize finishes and hardware to modernize your kitchen without extensive demolition. By understanding the precise steps—removing old surfaces, prepping frames, and installing new veneers or doors—you guarantee a durable, professional result.
Refacing is ideal if your cabinet boxes remain solid but outdated, offering a practical upgrade aligned with contemporary design preferences.
How to Choose the Right Materials for Cabinet Refacing
You’ll need to select materials that balance durability, style, and cost to guarantee a lasting and visually appealing refacing job. Consider engineered veneers or thermofoil for resilience, while solid wood or MDF offer distinct aesthetic options.
Evaluating budget-friendly alternatives like laminate can help you achieve quality results without overspending.
Durable Material Options
A crucial step in cabinet refacing involves selecting materials that combine durability with aesthetic appeal to guarantee long-lasting performance. You should consider wood veneer for its natural grain and excellent surface durability, though it requires sealing to enhance stain resistance.
Laminate options offer superior resistance to moisture and scratches, making them ideal for high-use kitchens while being budget-friendly. Metal finishes, such as stainless steel or brushed aluminum, provide exceptional robustness and modern appeal but may show fingerprints more easily.
If sustainability matters, eco-friendly materials like bamboo veneer or recycled composites deliver durability without compromising environmental responsibility. Evaluate each material’s resistance to stains, scratches, and daily wear to ascertain your kitchen cabinets maintain their appearance and function over time, minimizing future maintenance needs.
Aesthetic Style Choices
When selecting materials for cabinet refacing, consider how each option aligns with your kitchen’s overall design theme and personal taste. You’ll want materials that complement modern aesthetics or evoke traditional elegance, depending on your preference.
If you favor minimalist designs, choose sleek surfaces and muted palettes. For rustic charm or vintage vibes, textured woods and distressed finishes work best. Bold colors suit contemporary finishes, adding dynamic contrast.
| Style Focus | Material Suggestions |
|---|---|
| Modern Aesthetics | High-gloss laminate, acrylic |
| Traditional Elegance | Solid wood, raised panel doors |
| Minimalist Designs | Flat-panel MDF, muted paint |
| Rustic Charm/Vintage | Reclaimed wood, distressed paint |
Selecting the right materials guarantees your cabinets enhance your kitchen’s character and durability.
Budget-Friendly Alternatives
Three key factors influence your selection of budget-friendly materials for cabinet refacing: cost, durability, and appearance. Start by evaluating affordable materials such as laminate veneers, thermofoil, or plywood, which balance price and longevity.
Incorporate creative finishes like textured laminates or wood grain patterns to achieve stylish upgrades without overspending. Prioritize eco-friendly options, formaldehyde-free MDF or reclaimed wood veneers, that reduce environmental impact while maintaining quality.
Effective budget planning requires comparing prices from local resources, including hardware stores and specialty suppliers, to secure the best deals. Additionally, consider material thickness and surface resilience to guarantee durability under kitchen conditions.
Tools You’ll Need for DIY Cabinet Refacing
Several essential tools will guarantee your DIY cabinet refacing project proceeds smoothly and accurately. To execute precise cabinet design modifications, you’ll need a tape measure for exact dimensions and a carpenter’s square to verify right angles.
A power drill with various bits is vital for attaching new veneer or laminate surfaces using screws or specialized fasteners. For applying refacing techniques like veneer or adhesive films, a fine-tooth utility knife and a laminate roller provide clean cuts and smooth adhesion.
Sandpaper or an electric sander will prep surfaces by removing imperfections, improving bond strength. Finally, clamps hold materials securely during drying phases. Equipped with these tools, you’ll maintain accuracy and efficiency throughout your cabinet refacing, achieving professional-quality results while handling intricate design adjustments confidently.
How to Remove Old Cabinet Doors and Drawers for Refacing
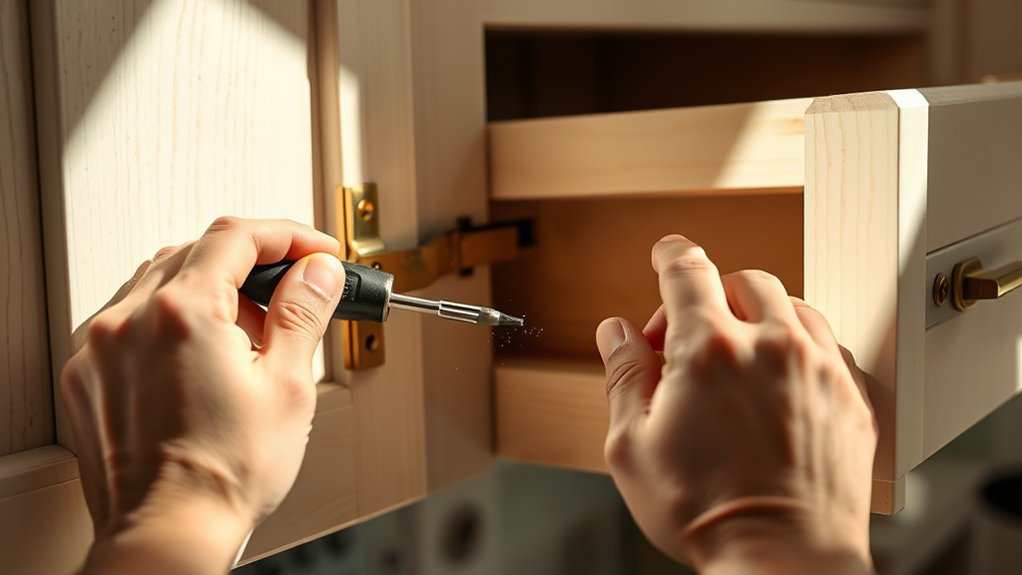
You’ll need a screwdriver, drill, and a putty knife to start removing your cabinet doors and drawers. First, unscrew the hinges carefully, supporting the door to prevent damage or injury.
Then, pull out the drawers by fully extending them and lifting to release from the runners.
Tools Needed for Removal
A few essential tools will streamline the process of removing old cabinet doors and drawers for refacing. Mastering cabinet removal techniques starts with having the right equipment and essential safety gear to protect yourself.
- Screwdriver Set Use both Phillips and flathead screwdrivers to remove screws securing hinges and drawer slides.
- Power Drill with Screwdriver Bits Speeds up screw removal, especially for stubborn or recessed screws.
- Putty Knife or Pry Bar Helps gently pry off trim or stuck components without damaging surrounding surfaces.
- Work Gloves and Safety Glasses Protect your hands from sharp edges and your eyes from dust or debris.
With these tools and safety measures in place, you’ll efficiently prepare cabinets for the next refacing steps.
Step-by-Step Removal Process
Having the right tools on hand, such as screwdrivers, a power drill, and protective gear, sets the stage for efficient cabinet removal. Begin by removing all cabinet doors. Use the screwdriver or drill to carefully unscrew hinges, supporting the door to prevent damage or injury.
Follow removal techniques by labeling each door and its corresponding hinges for easier reinstallation. Next, slide out drawers fully and unscrew the drawer fronts, applying steady pressure to avoid splintering. Throughout the process, observe safety precautions by wearing gloves and safety glasses to protect against sharp edges and debris.
Keep screws organized in labeled containers. Finally, inspect the cabinet boxes for any remaining nails or staples and remove them to prepare the surface for refacing. This methodical approach guarantees a clean, damage-free removal.
How to Prepare Cabinet Boxes for Veneer or Paint
Begin by thoroughly cleaning the cabinet boxes to remove grease, dirt, and dust, ensuring ideal adhesion for veneer or paint. Proper cabinet preparation is essential for a smooth finish and long-lasting results.
Follow these steps for effective surface cleaning and prep:
- Use a degreaser or trisodium phosphate solution to eliminate oils and residues.
- Sand the surfaces with 120-grit sandpaper to create a slight texture for better bonding.
- Wipe down all surfaces with a damp microfiber cloth to remove sanding dust.
- Inspect for any damages or holes, then fill and sand them smooth before proceeding.
This meticulous preparation guarantees that the veneer or paint adheres consistently, preventing peeling or bubbling during application.
How to Apply Veneer Smoothly Without Bubbles
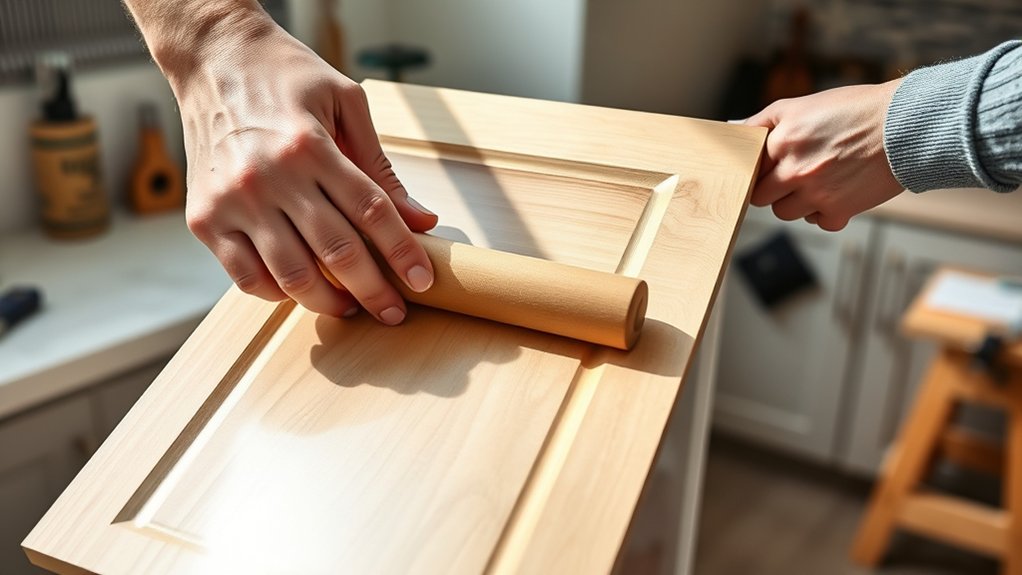
Although applying veneer might seem straightforward, achieving a bubble-free finish requires careful technique and attention to detail. Start veneer application by thoroughly cleaning and sanding the surface to guarantee ideal adhesion.
Apply a uniform, thin layer of adhesive to avoid excess glue, which can trap air and cause bubbles. Position the veneer carefully, then use a roller or a veneer scraper to press it firmly from the center outward, pushing out trapped air.
Work slowly to maintain consistent pressure and avoid wrinkles. For bubble prevention, immediately address any small bubbles by piercing them with a pin and smoothing the area.
Finally, clamp or weight the veneer while drying to maintain contact, preventing new bubbles from forming. Following these precise steps guarantees a smooth, durable veneer application.
Best Colors and Techniques for Painting Cabinet Boxes
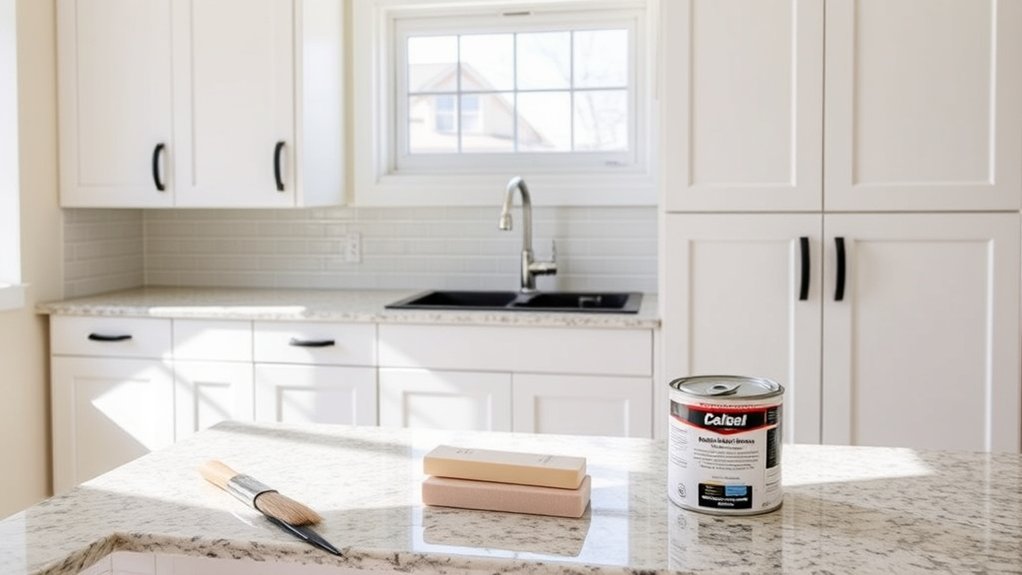
Choosing the right color and applying the proper painting techniques greatly influences the durability and aesthetic of your cabinet boxes. To guarantee a professional finish that aligns with current color trends and technique variations, focus on these steps:
- Select colors with high durability and resistance to fading; muted blues, grays, and whites remain popular.
- Use a high-quality primer to guarantee adhesion and prevent stains from bleeding through.
- Apply paint using a fine-bristle brush or foam roller to achieve a smooth, even coat without brush marks.
- Finish with a protective clear coat to enhance longevity and resist scratches.
DIY Cabinet Refacing Mistakes You’ll Want to Avoid
When you tackle cabinet refacing yourself, overlooking key preparation steps can compromise the final result. One common pitfall is inadequate budget planning; failing to account for all materials, tools, and unexpected expenses often leads to project delays or compromises on quality.
Another mistake is neglecting surface preparation. Skipping cleaning, sanding, or repairing damages reduces adhesive effectiveness and finish durability. Misaligning veneer or laminate sheets is a frequent error that causes bubbles or gaps, undermining aesthetics.
Using incorrect adhesives or hardware can also result in poor adhesion and premature wear. Finally, rushing the curing or drying time shortchanges bonding strength, increasing the likelihood of peeling or warping. Avoid these mistakes by methodically planning your budget, preparing surfaces meticulously, and following manufacturer instructions precisely.
How to Reinstall Cabinet Doors and Hardware After Refacing
Begin by carefully aligning the cabinet doors with their frames to confirm a proper fit before securing hinges. Precise door alignment assures smooth operation and professional appearance.
Next, follow these steps for reinstalling hardware:
- Position hinges accurately on the door edge, matching original screw holes or marking new ones for secure attachment.
- Attach hinges firmly to the cabinet frame, verifying even spacing for consistent door clearance.
- Install handles or knobs, measuring hardware placement to maintain symmetry and ergonomic access.
- Test door swing and adjust hinge screws to fine-tune alignment, preventing binding or gaps.
Maintaining exact door alignment and correct hardware placement is essential for functionality and aesthetics after refacing. This methodical process confirms durable, visually appealing cabinet doors.
How to Maintain and Care for Your Refaced Cabinets
You’ll want to clean your refaced cabinets regularly using a soft cloth and a mild, non-abrasive cleaner to avoid surface damage. Always wipe spills immediately to prevent staining or warping, especially around edges and seams.
Additionally, avoid harsh scrubbing or abrasive tools that can wear down the finish and compromise the cabinet’s integrity.
Cleaning Tips
Although refaced cabinets are designed for durability, regular cleaning guarantees their finish remains intact and vibrant. To maintain ideal appearance, start with proper surface preparation by removing dust and loose debris using a microfiber cloth.
Next, use mild cleaning solutions specifically formulated for laminated or veneered surfaces to avoid damage.
Follow these steps:
- Dampen a soft cloth with a diluted, non-abrasive cleaning solution.
- Gently wipe the cabinet surfaces, focusing on corners and edges.
- Rinse with a clean, damp cloth to remove residue.
- Dry immediately with a lint-free towel to prevent water spots.
Avoid harsh chemicals and excessive moisture, which can degrade adhesives and finishes. Consistent application of these cleaning techniques preserves your cabinets’ longevity and aesthetic appeal.
Preventing Damage
Since refaced cabinets combine multiple materials and adhesives, preventing damage requires careful handling and consistent maintenance. You must apply proper surface protection to avoid scratches and use moisture barriers to prevent swelling or warping caused by humidity. Avoid placing hot items directly on surfaces, and wipe spills promptly.
| Maintenance Task | Recommended Action |
|---|---|
| Surface Cleaning | Use mild detergent, avoid abrasives |
| Moisture Control | Install moisture barriers inside cabinets |
| Scratch Prevention | Use protective pads under objects |
| Hardware Inspection | Tighten hinges and handles regularly |
Frequently Asked Questions
How Much Does DIY Cabinet Refacing Typically Cost?
You’ll typically spend $1,000 to $3,000 on DIY cabinet refacing. Your cost breakdown includes cabinet materials like veneer or laminate, adhesives, hardware, and tools.
Material quality and kitchen size greatly affect total costs.
Can I Reface Cabinets With Damaged or Warped Surfaces?
Think of your cabinets as a canvas. Surface preparation is essential. You can’t reface damaged or warped surfaces without fixing them first.
Choose materials that adhere well, ensuring durability and smooth finishes before applying new veneers or laminates.
How Long Does a DIY Cabinet Refacing Project Usually Take?
Your DIY cabinet refacing project timeline typically spans 2 to 5 days, depending on preparation steps like cleaning, sanding, and removing hardware.
Efficient organization and proper tools will help you complete it precisely and on schedule.
Is It Possible to Reface Cabinets With Intricate Molding or Designs?
You can reface cabinets with intricate molding or designs by carefully applying advanced molding techniques. Design considerations, such as matching profiles and ensuring seamless edges, are essential to maintain the cabinet’s aesthetic integrity throughout the process.
Can I Reface Cabinets if I Live in a Rental Property?
You can reface cabinets in a rental only with temporary solutions like peel-and-stick veneers or removable hardware. This ensures you comply with rental restrictions and avoid permanent alterations that might violate your lease agreement or cause damage.