How to Remove Cartridge From Moen Shower Faucet
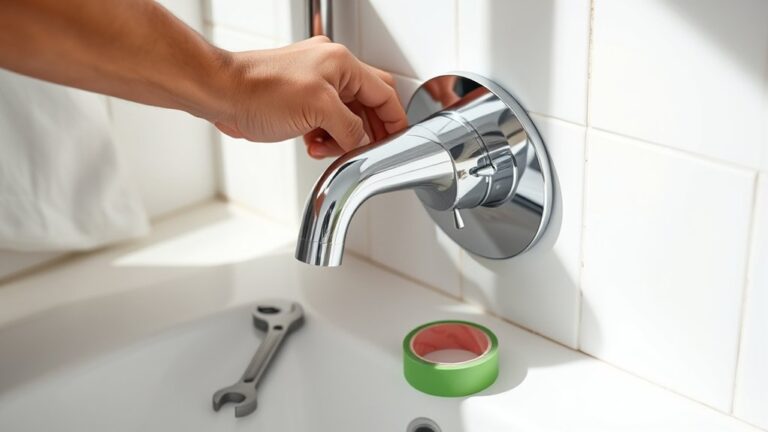
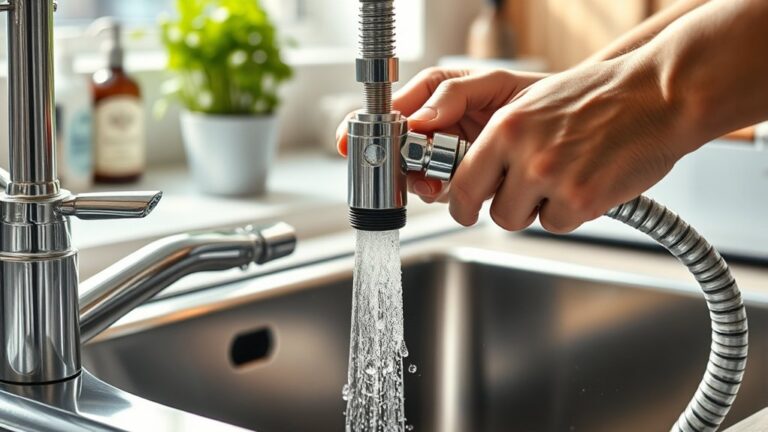
To remove a cartridge from your Moen shower faucet, first turn off the water supply to prevent leaks. This step is crucial to avoid water damage and make the process smoother.
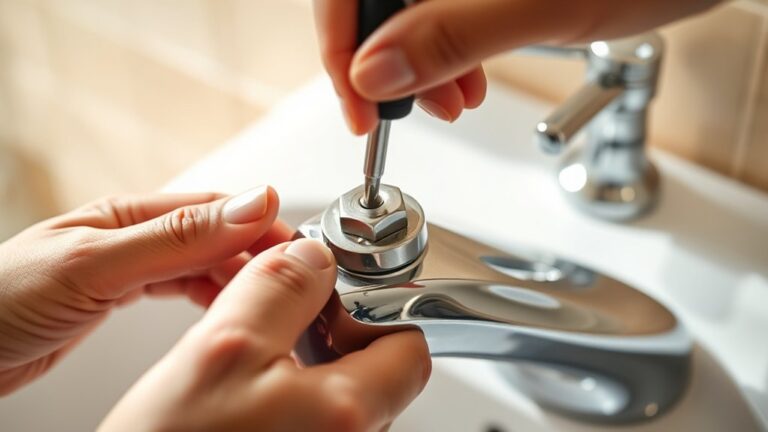
Next, use a screwdriver to remove the handle and trim plate, exposing the cartridge inside.
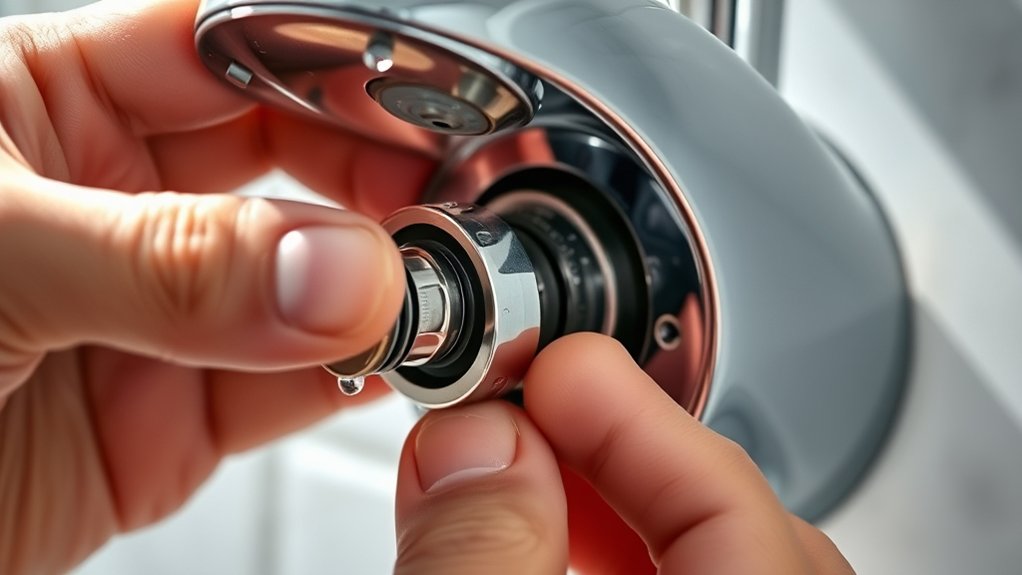
Check for any retaining clips or screws that may be holding the cartridge in place. Once these are removed, gently pull the cartridge straight out.
If it’s stuck, use needle-nose pliers or a cartridge puller to carefully remove it without causing damage.
Handle the cartridge carefully to avoid damaging the seals. After removal, inspect the cartridge for wear or buildup before deciding on a replacement.
For detailed steps and troubleshooting, keep exploring the process further.
Gather Tools for Removing a Moen Shower Cartridge
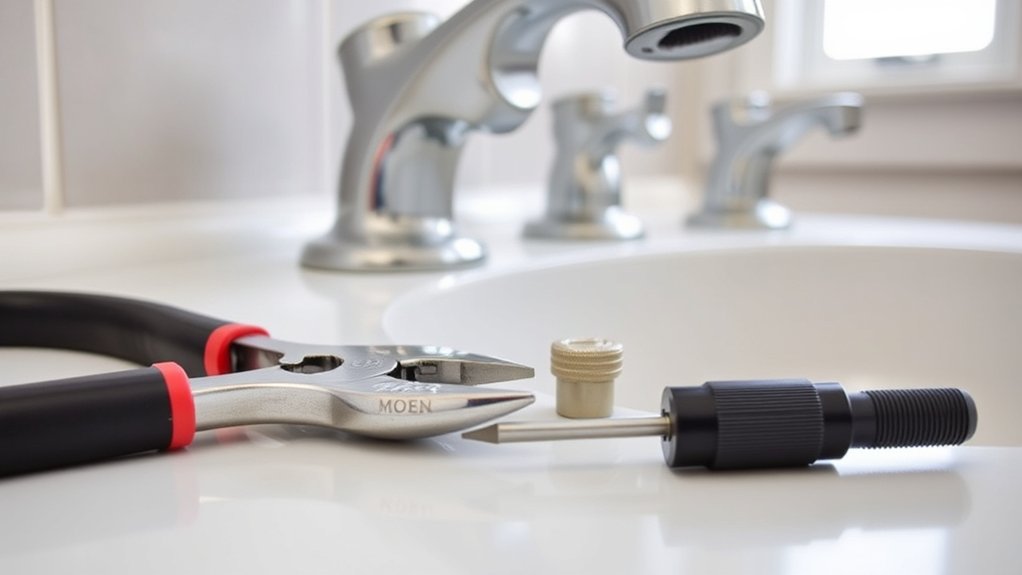
Before you start removing the Moen shower cartridge, gather the essential tools to streamline the process. You’ll need a screwdriver, usually Phillips or flathead, to remove the handle screws.
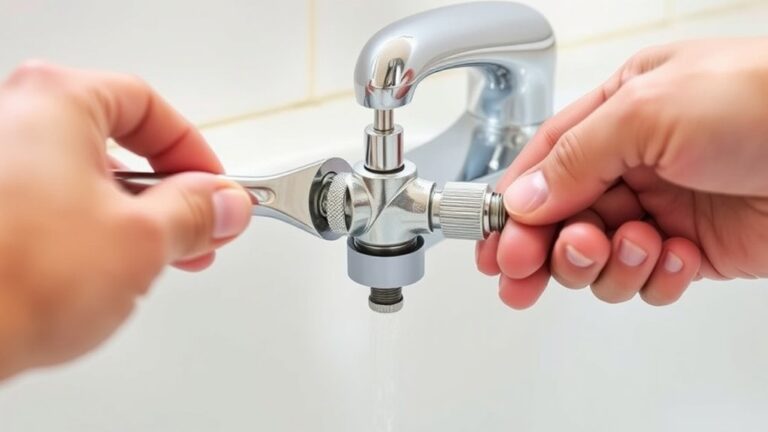
An adjustable wrench or pliers helps loosen retaining nuts, while needle-nose pliers assist in extracting the cartridge itself. A cartridge puller tool is useful, especially for stubborn cartridges.
Understanding cartridge types is vital since Moen uses several, including the 1222, 1225, and 1255 models, each requiring slightly different handling. Common issues such as mineral buildup or worn seals cause leaks or poor water flow, making removal necessary.
Having a replacement cartridge on hand guarantees you can switch it seamlessly after removal. Preparing these tools minimizes frustration and keeps the repair efficient.
Turn Off Water and Access Your Moen Shower Cartridge
Once you have your tools ready, the next step is to shut off the water supply to the shower. Locate the main water valve or the specific shut-off valves for the shower, usually found behind an access panel or near the water heater.
Turn the valve clockwise to stop the water flow completely. This prevents leaks and water damage during faucet maintenance. Next, remove the handle by unscrewing the set screw, often hidden under a decorative cap. Use a screwdriver or Allen wrench as needed.
Once the handle is off, take off the trim plate to expose the cartridge. Be careful not to damage the surrounding tiles or wall. With the water supply off and the cartridge exposed, you’re now prepared for the next steps in cartridge removal.
How to Remove the Moen Shower Cartridge, Step by Step
Start by inspecting the cartridge for any retaining clips or screws that secure it in place. Use a flathead screwdriver or needle-nose pliers to carefully remove these fasteners.
Next, gently wiggle and pull the cartridge straight out of the valve body. If it’s stuck, use a cartridge puller tool designed for your Moen cartridge type to avoid damage.
Be aware that different cartridge types, such as Moen 1225 or 1255, have unique shapes and retention methods, so verify yours before removal. Removing the cartridge allows you to address common issues like leaks, low water pressure, or temperature control problems.
Handle the cartridge carefully to prevent damaging seals or o-rings, which could complicate reinstallation or troubleshooting.
Inspect the Cartridge and Prepare for Replacement or Troubleshooting
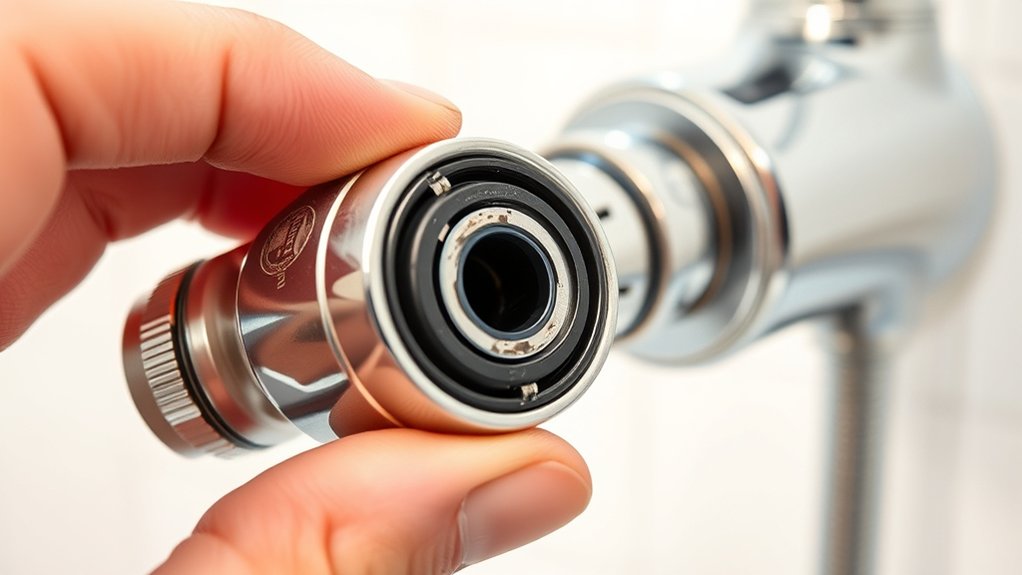
Examine the cartridge closely for signs of wear, mineral buildup, or damaged seals that could affect performance. Identify the cartridge type to determine compatibility with replacements. Common issues include leaks, stiffness, and inconsistent water temperature.
Clean mineral deposits with vinegar or a soft brush. Evaluate seals for cracks or deformation.
| Cartridge Type | Common Issues | Inspection Focus |
|---|---|---|
| Single-handle | Leaking, stiffness | Seal integrity, buildup |
| Two-handle | Dripping, poor flow | Valve seats, corrosion |
| Pressure-balancing | Inconsistent temp | Piston wear, deposits |
| Thermostatic | Temp fluctuation | Cartridge calibration |
| Diverter | Flow diversion failure | Seal and mechanism wear |
Prepare the cartridge for replacement or troubleshooting based on your inspection findings.
Frequently Asked Questions
How Do I Identify My Moen Shower Faucet Model?
You’ll identify your Moen shower faucet model by checking faucet types and cartridge sizes. Look under the handle or behind the escutcheon for model numbers.
Alternatively, compare cartridge dimensions to Moen’s specs to pinpoint your exact model efficiently.
What Are the Signs of a Faulty Moen Shower Cartridge?
You’ll notice cartridge leaks, inconsistent water temperature, reduced water pressure, or difficulty turning the handle. These signs indicate your Moen cartridge’s worn condition, directly impacting your faucet performance and signaling the need for replacement or repair.
Can I Use a Universal Cartridge for My Moen Faucet?
You can’t fit a square peg in a round hole. Universal compatibility for Moen cartridges is limited. Different cartridge types require specific replacements, so always verify your faucet model to guarantee proper fit and function.
How Often Should I Replace My Moen Shower Cartridge?
You should replace your Moen shower cartridge every 6-10 years, depending on water quality and usage.
Regular maintenance tips include cleaning mineral buildup and lubricating O-rings to extend cartridge lifespan and guarantee smooth operation.
Are Moen Shower Cartridges Covered Under Warranty?
Yes, Moen offers warranty coverage on their cartridges, emphasizing cartridge longevity. You’ll want to review specific warranty details for your model, as coverage varies.
Register your product to guarantee you’re protected against defects.