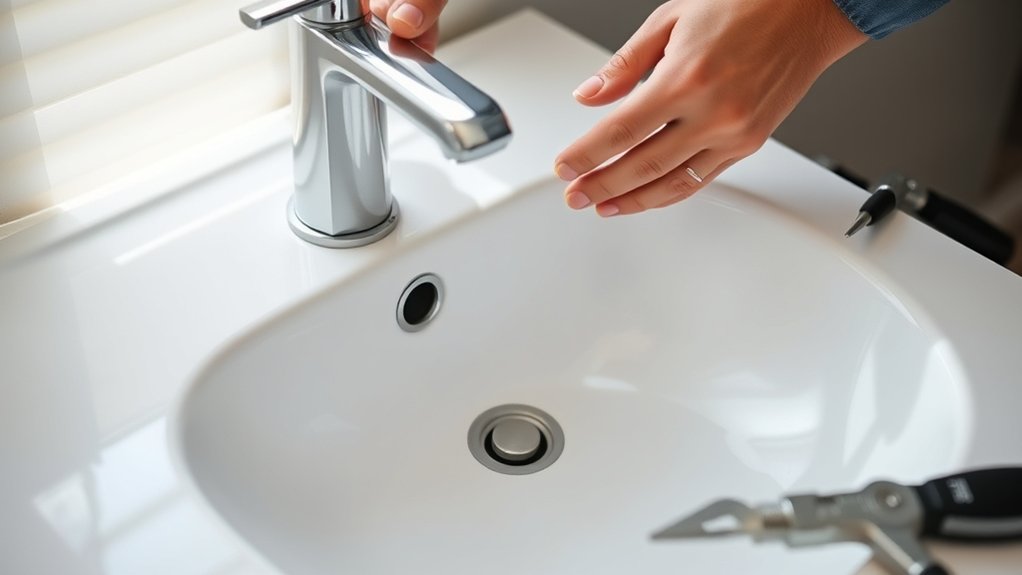
How to Replace Bathroom Faucet 3 Hole
To replace your 3-hole bathroom faucet, first shut off the water supply and relieve pressure by opening the faucet.
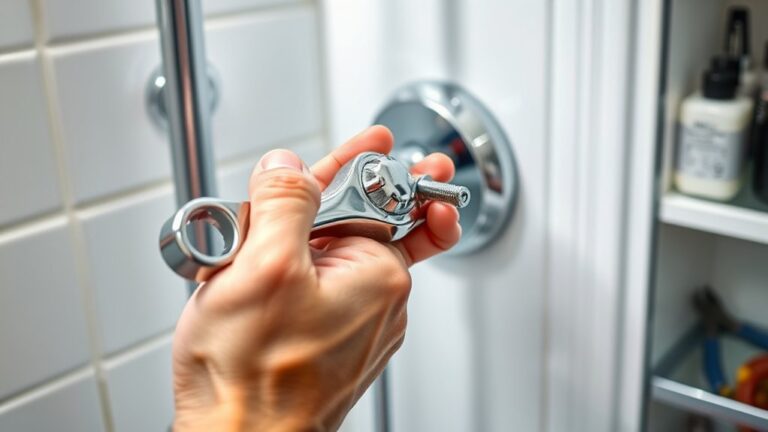
Using a basin wrench, disconnect the supply lines and remove the mounting nuts. Then, carefully lift out the old faucet.
Clean the surface thoroughly before installation. Align the new faucet’s gasket properly, and secure it evenly with the mounting nuts to ensure stability.
Next, connect the supply lines and snug the fittings gently.
Slowly restore water flow while checking for leaks. Keep going to explore tips that guarantee a smooth, leak-free installation.
What You Need to Replace a 3-Hole Bathroom Faucet
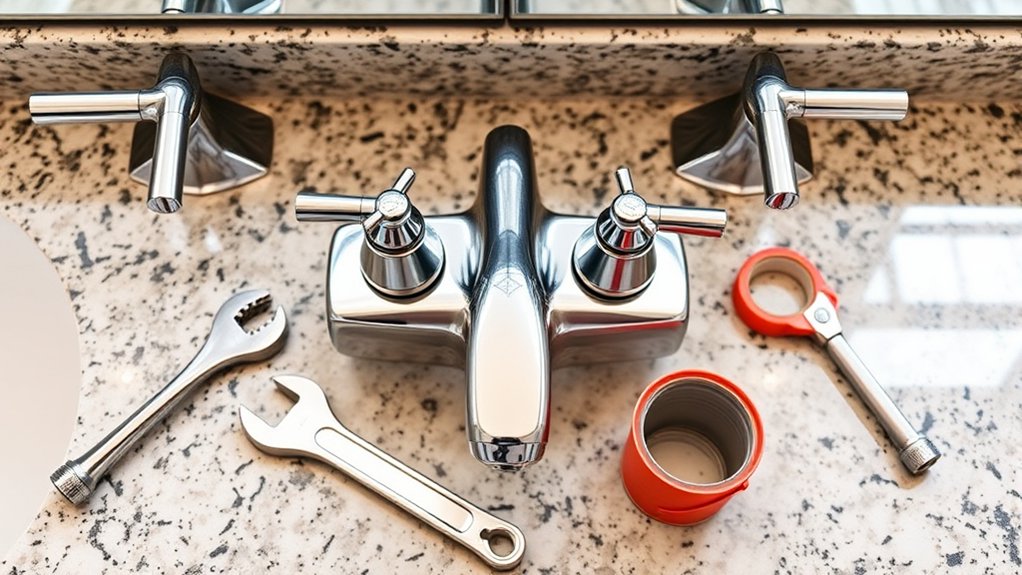
To replace a 3-hole bathroom faucet, you’ll need a few essential tools and materials to guarantee a smooth installation. First, identify the faucet types suitable for your sink configuration: centerset, widespread, or mini-widespread, ensuring compatibility with the 3-hole layout.
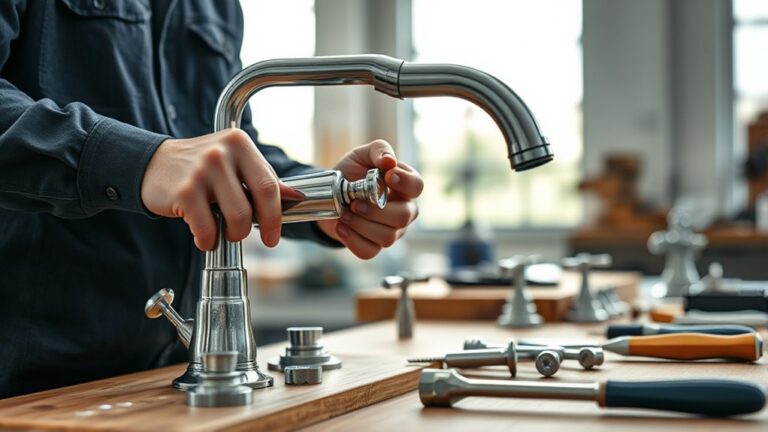
Prepare installation tools including an adjustable wrench, basin wrench, screwdriver, plumber’s tape, and silicone sealant. Additionally, have a bucket and towels ready for water drips. New supply lines might be necessary depending on the faucet type you choose.
Confirm the faucet’s mounting hardware matches the sink holes to avoid alignment issues. By gathering the correct faucet types and installation tools beforehand, you streamline the replacement process, reducing downtime and ensuring a secure, leak-free fit. This preparation sets the foundation for efficient faucet replacement.
Turn Off Water and Prepare Your Sink for Replacement
After gathering the right tools and ensuring compatibility with your new faucet, the next step is to shut off the water supply to prevent leaks during removal. Locate the shutoff valves under the sink and turn them clockwise until fully closed.
Next, open the faucet to relieve any remaining water pressure and drain residual water from the lines. This step is essential for effective sink maintenance and avoiding water damage.
Opening the faucet releases water pressure and drains remaining water, preventing damage during maintenance.
Place a bucket or towels beneath the sink to catch any drips during the replacement process. Inspect the sink area for mineral buildup or corrosion, which may affect faucet installation.
Ensuring the water pressure is fully released and the sink is clean sets a solid foundation for a smooth faucet replacement and long-term sink performance.
Remove the Old 3-Hole Faucet Safely
Start by disconnecting the water supply lines from the faucet using an adjustable wrench, taking care not to damage the connections. Next, remove the mounting nuts securing the faucet to the sink, using a basin wrench if necessary. Keep a firm grip to avoid slipping, which is essential for plumbing safety.
Once nuts are off, carefully lift the faucet and any attached parts out of the holes. Use faucet removal tips like applying penetrating oil if nuts are corroded or stuck. Clean the mounting surface thoroughly to remove old putty or debris.
Throughout the process, wear gloves and make sure the water supply remains off to prevent leaks or injury. Following these steps methodically guarantees a safe, smooth removal of your old 3-hole faucet.
Choose and Install Your New 3-Hole Faucet
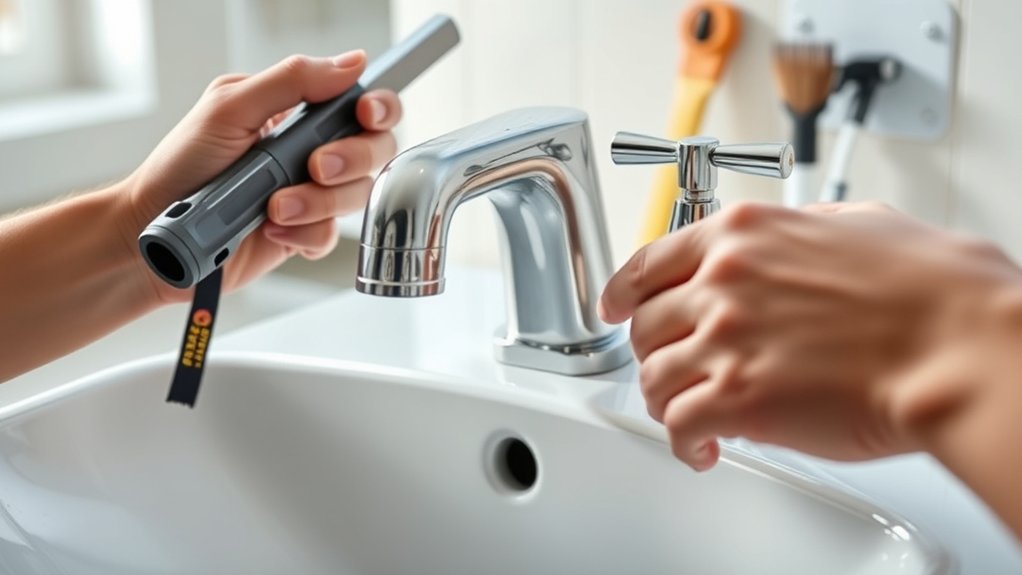
When selecting your new 3-hole faucet, confirm it matches the sink’s hole configuration and your plumbing connections to avoid compatibility issues. Choose faucet styles that complement your bathroom’s design while assuring functional features like separate hot and cold handles align with the existing holes.
Ensure your new 3-hole faucet fits your sink and plumbing while matching your bathroom’s style and functionality.
Begin installation by placing the faucet through the sink holes, aligning the gasket or trim plate to prevent water leakage. Secure the faucet from underneath using mounting nuts, tightening them evenly to avoid stress on the sink or faucet base.
Follow manufacturer installation tips precisely, such as applying plumber’s putty or silicone sealant if recommended, to guarantee a watertight seal. Double-check that all components are aligned and tightened properly before proceeding to connect water lines.
This careful selection and installation process guarantees a secure, functional faucet setup.
Connect Water Lines and Check for Leaks
Connect the water supply lines to the faucet’s inlet valves, verifying each line corresponds to the correct hot and cold side. This step is essential for faucet compatibility and proper function. Follow these steps to confirm a secure connection and avoid leaks:
- Hand-tighten the water lines onto the faucet inlets, then use an adjustable wrench to snug them without overtightening.
- Turn on the main water supply slowly to avoid sudden water pressure surges that could damage connections.
- Inspect all joints carefully for leaks, using a dry cloth to detect moisture over several minutes.
If you notice any drips, tighten connections slightly. Properly connecting water lines guarantees ideal water pressure and prevents costly water damage.
Fix Common Problems When Replacing a 3-Hole Faucet
After confirming your water lines are securely connected and leak-free, you may encounter specific challenges unique to replacing a 3-hole faucet. First, verify faucet compatibility with your sink’s hole spacing; mismatched dimensions cause improper sealing and water leaks. Use a template or measure carefully before installation.
Installation tips include securing the faucet base with even pressure to prevent gaps and tighten mounting nuts without overtightening, which can damage components. If your faucet doesn’t align perfectly, consider using an escutcheon plate to cover extra holes.
Also, check that supply lines aren’t kinked or twisted during installation to maintain water flow. Following these practical steps guarantees a smooth replacement without common setbacks, improving functionality and durability of your new 3-hole faucet.
Frequently Asked Questions
Can I Replace a 3-Hole Faucet Without Professional Plumbing Help?
Yes, you can replace a 3-hole faucet yourself by following faucet installation tips. Make sure you have plumbing tools essentials like a basin wrench and plumber’s tape.
Work carefully, and double-check connections to avoid leaks.
How Do I Know if My Sink Supports a 3-Hole Faucet?
You’ll know if your sink supports a 3-hole faucet by measuring the distance between holes and overall sink measurements. Check faucet compatibility specs to confirm spacing matches your sink’s holes before purchasing to avoid installation issues.
What Is the Average Cost of a 3-Hole Faucet Replacement?
You’ll find average prices for a 3-hole faucet replacement range from $150 to $350, depending on cost factors like faucet quality, labor rates, and additional plumbing needs. Budget accordingly for precise installation expenses.
Are There Eco-Friendly 3-Hole Faucet Options Available?
Yes, you’ll find eco-friendly 3-hole faucets made from sustainable materials like recycled brass. Choose low flow options to reduce water usage efficiently, ensuring both environmental benefits and compliance with modern plumbing standards.
How Long Does It Typically Take to Replace a 3-Hole Faucet?
You’ll typically spend 1-2 hours replacing a 3-hole faucet. Use faucet installation tips like tightening connections evenly to avoid leaks, and avoid common mistakes like overtightening or misaligning holes to guarantee a smooth, precise install.