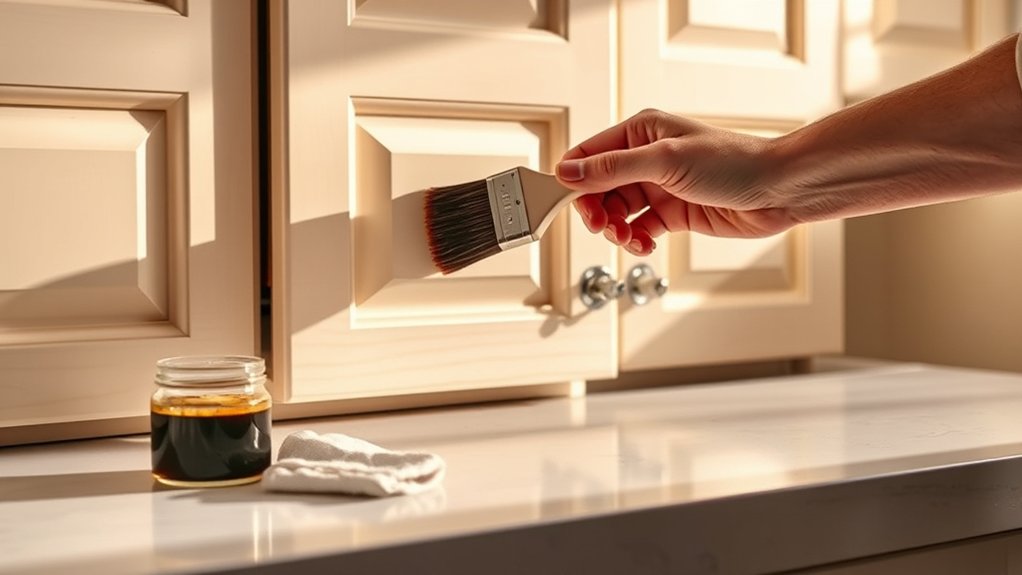
How to Glaze Kitchen Cabinets
To glaze your kitchen cabinets, start by removing all hardware and cleaning the surfaces thoroughly. This ensures the glaze adheres properly and provides a smooth finish.
Next, sand the wood to create an even surface, then apply a suitable primer.
Choose an oil- or water-based glaze that matches your cabinet’s finish and color. Apply the glaze in thin, controlled layers using angled brushes, wiping off any excess immediately to prevent pooling. This technique helps achieve a consistent and attractive look.
After glazing, apply a compatible sealer in even coats to protect the finish. Allow proper drying time between each layer to ensure durability.
Following these steps will help you achieve a polished, professional look with lasting protection.
Gather Supplies for Glazing Kitchen Cabinets
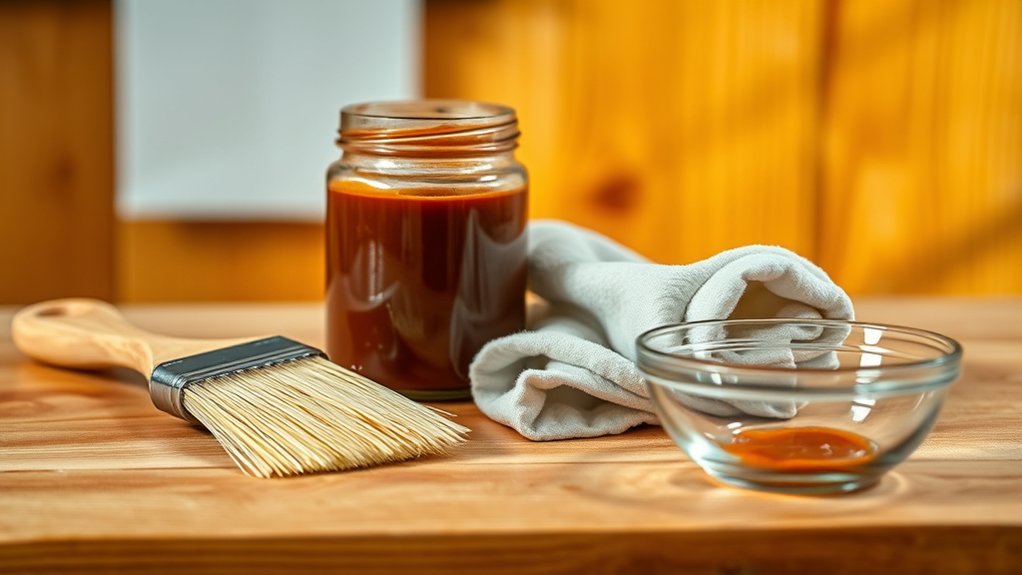
Before you begin glazing your kitchen cabinets, gather all the necessary supplies to guarantee a smooth process. Start by selecting the appropriate glaze types, oil-based or water-based, each offering distinct drying times and finishes.
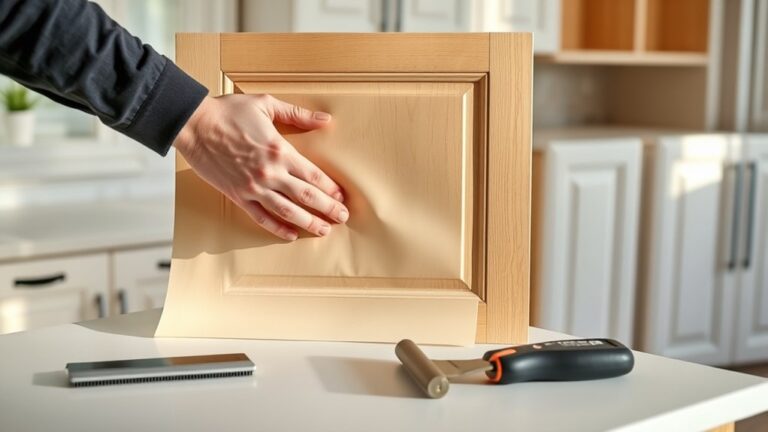
You’ll need high-quality application tools, including angled brushes for detailed areas, foam brushes for broad surfaces, and lint-free cloths for wiping excess glaze. Additionally, prepare fine-grit sandpaper to smooth surfaces before glazing and painter’s tape to protect adjacent areas.
Use disposable gloves and a respirator mask for safety. Make certain you have clean containers for mixing glaze if required. Having these precise supplies on hand prevents interruptions and guarantees a professional finish.
This preparation phase is critical before moving on to selecting the right glaze for your kitchen cabinets.
Choose the Right Glaze for Your Kitchen Cabinets
With your supplies ready, the next step is selecting the glaze that best suits your kitchen cabinets’ material and desired finish. Consider glaze finishes carefully. Options include satin, matte, and semi-gloss, each affecting the final look and durability.
Your choice depends on the cabinet wood type and how much texture or sheen you want. Equally critical is color compatibility; the glaze must complement or enhance the existing cabinet color without overpowering it.
Test small areas to verify the glaze interacts well with the base stain or paint. Remember, a glaze with poor color compatibility can muddy or clash with your cabinetry’s tone.
How to Prepare Kitchen Cabinets for a Smooth Glaze
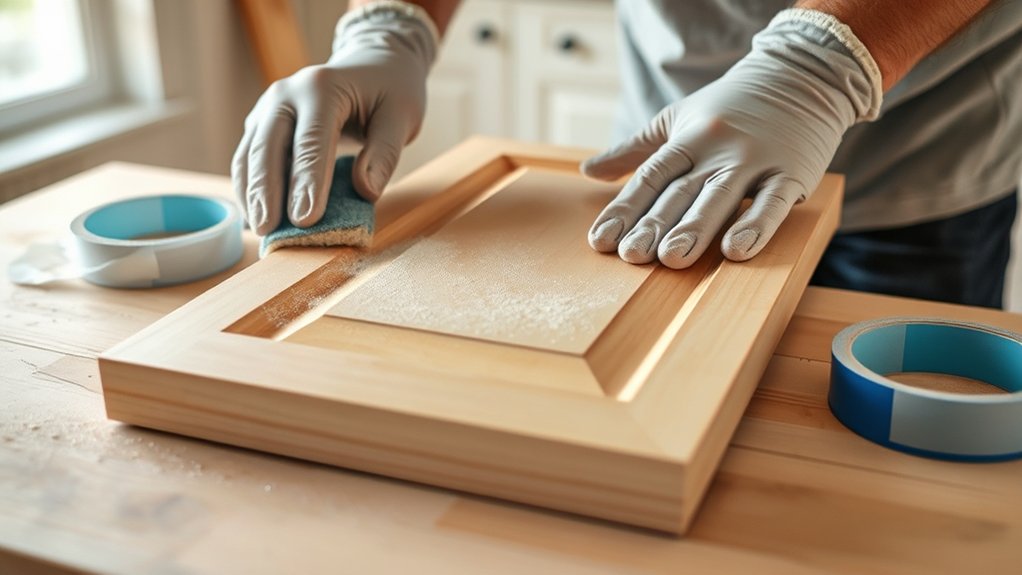
Preparing your kitchen cabinets for glazing requires thorough cleaning, sanding, and priming to guarantee a smooth, even surface. Begin by removing all hardware and cabinet doors. Use a high-quality cleaning solution to eliminate grease, dirt, and residues; this promotes proper glaze adhesion.
After drying, apply sanding techniques starting with 120-grit sandpaper to remove the existing finish and smooth imperfections. Progress to 220-grit for a finer surface that encourages glaze uniformity. Always sand in the direction of the wood grain to avoid scratches.
After sanding, vacuum and wipe surfaces with a tack cloth to remove dust particles completely. Finally, apply a suitable primer designed for cabinetry to seal the wood and create a suitable base for the glaze, promoting longevity and a professional finish.
How to Apply Glaze Step-by-Step
Start applying the glaze by stirring it thoroughly to confirm an even consistency. Use a high-quality brush or a lint-free cloth for precise glaze application.
Begin in a small section, working along the grain of the wood to guarantee uniform coverage. Apply a thin layer, avoiding excess glaze that can pool or drip. Immediately wipe off surplus glaze with a clean cloth, controlling the depth of color and texture.
Allow the glaze to settle for several minutes before gently blending with a dry cloth to enhance cabinet aesthetics smoothly. Repeat this process section by section, maintaining consistent pressure and speed.
Proper glaze application accentuates the cabinetry’s details, delivering a professional finish that elevates your kitchen’s overall visual appeal.
Fix Common Glazing Mistakes on Kitchen Cabinets
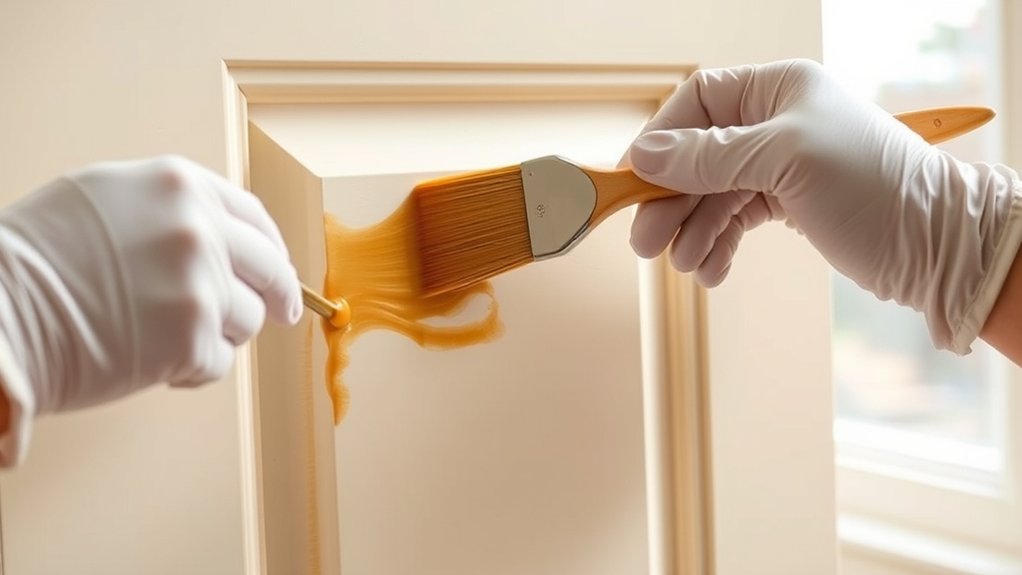
If you notice uneven glaze buildup or streaks on your cabinets, addressing these flaws promptly guarantees a flawless finish. Correcting common errors in glazing techniques secures your cabinets look professionally done. Here’s how to fix typical glazing mistakes:
- Uneven Application: Use a clean, damp cloth to gently wipe excess glaze, blending streaks immediately before drying.
- Glaze Pooling: Lightly sand affected areas with fine-grit sandpaper, then reapply glaze sparingly.
- Blotchy Appearance: Apply glaze in thin, consistent layers with a brush or rag, maintaining uniform pressure.
- Overworking the Glaze: Avoid excessive brushing; once glazed, let it set before lightly feathering edges if needed.
Following these steps corrects errors while preserving your cabinetry’s texture and color depth.
Highlight Wood Grain and Painted Kitchen Cabinets
To highlight natural wood grain, apply a glaze that enhances texture without obscuring it, selecting colors that complement the wood’s tone. For painted cabinets, choose glaze shades that add depth and dimension while maintaining a smooth finish.
Use controlled brush or rag techniques to guarantee even application and accentuate details effectively.
Enhancing Natural Wood Texture
A well-executed glaze can emphasize the natural wood grain on your kitchen cabinets, adding depth and character without obscuring the underlying texture. To enhance natural wood texture effectively, follow these glazing techniques:
- Prepare the Surface: Sand cabinets smoothly to expose the wood grain clearly, ensuring ideal glaze adherence.
- Apply Base Coat: Use a semi-transparent or light base coat to maintain visible grain patterns.
- Use Thin Glaze Layers: Apply thin, controlled glaze coats with a brush or rag, allowing the wood grain to show through.
- Wipe Excess Glaze: Immediately wipe off excess glaze to prevent buildup, preserving the texture and enhancing contrast.
Choosing Glaze Colors
How do you select the perfect glaze color to enhance both natural wood grain and painted kitchen cabinets? Start by applying glaze color theory, which emphasizes contrast and harmony. For wood grain, choose glaze colors that deepen the natural hues, such as warm browns or subtle amber tones, to accentuate texture without overpowering it.
When working with painted cabinets, consider color combinations that complement the base paint. Darker glazes on lighter bases create depth, while tinted glazes add subtle complexity. Avoid glaze colors that clash or obscure details. Test small sections to observe how light interacts with the glaze.
This methodical approach guarantees your glaze enhances architectural elements and style consistently, providing a professional finish that elevates both wood and painted surfaces with precision.
Techniques for Painted Cabinets
Selecting the right glaze color sets the foundation for applying techniques that bring out the best in painted cabinets. To enhance color variations and depth, follow these glazing techniques:
- Highlight Raised Panels: Apply glaze with a brush, then wipe off excess on flat surfaces to emphasize contours.
- Dry Brushing: Use a dry brush with minimal glaze to create subtle texture and enhance wood grain hints beneath paint.
- Layering Glazes: Build multiple thin glaze layers for controlled color variations and richer detail.
- Selective Application: Focus glaze on edges and recesses, replicating natural wear and adding dimension.
Seal and Protect Glazed Cabinets
You’ll need to select a sealer that complements your glaze type and cabinet material to guarantee durable protection. Apply the sealer evenly using a high-quality brush or sprayer, following manufacturer guidelines for best results.
Allow adequate drying and curing time to achieve a resilient, long-lasting finish.
Choosing The Right Sealer
Because a proper sealer not only protects your glazed cabinets but also enhances their durability, choosing the right one is critical. Sealer types vary in compatibility with glaze finishes, so you need to select a product that preserves the look while providing robust protection.
Consider these factors:
- Compatibility: Match the sealer with your glaze finishes to prevent discoloration or peeling.
- Durability: Opt for sealers with high resistance to moisture, heat, and abrasion common in kitchens.
- Finish: Choose between matte, satin, or glossy sealers based on your desired aesthetic effect.
- Application Method: Verify the sealer’s application method aligns with your skill level and tools available.
Selecting the right sealer guarantees your glazed cabinets maintain their beauty and withstand daily wear effectively.
Application Techniques For Protection
After choosing the appropriate sealer, applying it correctly guarantees your glazed cabinets receive maximum protection and a flawless finish. Begin by using a high-quality brush or a lint-free cloth to spread the protective finishes evenly.
Work in thin, consistent layers to avoid drips and pooling, which can compromise glaze durability. Maintain a wet edge and follow the grain of the wood to guarantee uniform coverage. Avoid overworking the sealer, as this can cause streaking or cloudiness.
Apply multiple coats if necessary, allowing each layer to settle before the next. Proper ventilation during application also enhances the sealer’s performance. By adhering to these techniques, you’ll preserve the distinctiveness of your glaze while greatly extending the cabinetry’s lifespan and resistance to wear.
Drying And Curing Times
Although applying the sealer correctly is essential, understanding the drying and curing times is equally important to confirm a durable finish on your glazed cabinets. Properly managing these phases guarantees the glaze remains protected and resists wear.
Follow these critical steps for best results:
- Allow initial drying times of at least 2-4 hours between sealer coats to avoid tackiness.
- Maintain a dust-free environment to prevent surface imperfections during drying.
- Complete the curing process by waiting 7-14 days before heavy use, ensuring chemical bonds fully stabilize.
- Control humidity and temperature, as high moisture or low temps can prolong drying times and compromise the finish.
Adhering to these guidelines confirms your glazed cabinets will have a resilient, long-lasting protective layer.
Maintain and Refresh Your Glazed Kitchen Cabinets
To preserve the appearance and durability of your glazed kitchen cabinets, you need to implement a consistent maintenance routine. Focus on cabinet maintenance by following cleaning tips that avoid harsh chemicals, ensuring glaze longevity.
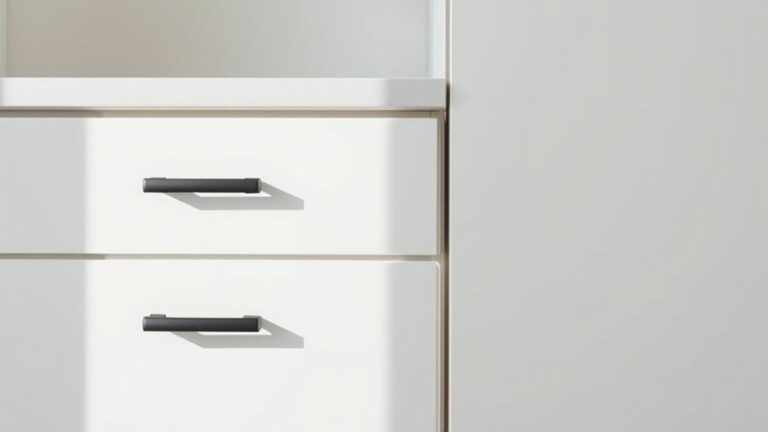
Regularly update style elements like hardware selection and consider light adjustments to highlight glaze texture. Adapt to seasonal changes and emerging design trends to keep your kitchen visually appealing.
Color coordination plays an essential role in revitalizing your space without repainting.
| Maintenance Aspect | Recommended Action |
|---|---|
| Cleaning Tips | Use mild detergents; avoid abrasives |
| Style Updates | Change hardware; adjust lighting |
| Seasonal Changes | Revitalize color accents; align with trends |
Frequently Asked Questions
Can Glazing Kitchen Cabinets Increase Home Resale Value?
Yes, glazing kitchen cabinets can increase your home’s resale value by enhancing cabinet aesthetics. It aligns with current resale trends favoring updated, visually appealing kitchens, making your property more attractive and competitive in the real estate market.
How Long Does the Glazing Process Typically Take?
When Sarah glazed her kitchen cabinets, the entire glazing process took about three days. Using advanced glazing techniques, you’ll spend hours applying and waiting during drying time, ensuring each layer cures properly for a flawless, durable finish.
Is Glazing Safe for Cabinets With Lead-Based Paint?
You shouldn’t glaze cabinets with lead paint hazards directly; instead, guarantee safe removal or encapsulation by certified professionals first. This prevents toxic exposure and complies with safety regulations, protecting your health and preserving cabinet integrity effectively.
Can I Glaze Cabinets Made From Laminate or MDF?
You can glaze cabinets with laminate finishes, but you’ll need proper surface prep for adhesion.
MDF compatibility is limited; glazing requires sealing and priming to prevent moisture damage and guarantee the glaze bonds effectively to the smooth surface.
What Are the Environmental Impacts of Cabinet Glazing Products?
You’ll face sustainability concerns due to product toxicity in many glazing materials, which release volatile organic compounds (VOCs). Opt for low-VOC or water-based glazes to reduce environmental harm and improve indoor air quality effectively.