How to Install Kitchen Cabinet Pulls
To install kitchen cabinet pulls, start by measuring and marking precise placement on doors or drawers using a level and pencil. Accurate measurement ensures your pulls are aligned and visually appealing.
Next, drill pilot holes with a bit slightly smaller than your screws, holding the drill perpendicular to avoid damaging the surface. Attach the pulls using screws matched to your cabinet thickness, tightening them evenly to prevent damage.
Using templates can help maintain consistent alignment across all doors and drawers. Adjust your techniques depending on the material type of your cabinets for the best results.
Proper maintenance will keep your pulls secure and looking great over time.
Keep going to explore detailed tips and troubleshooting.
Choose Kitchen Cabinet Pulls by Size and Style
When choosing kitchen cabinet pulls, start by measuring your cabinet doors and drawers to determine the appropriate pull size. Accurate measurements guarantee the pulls fit securely and align with your cabinetry’s scale.
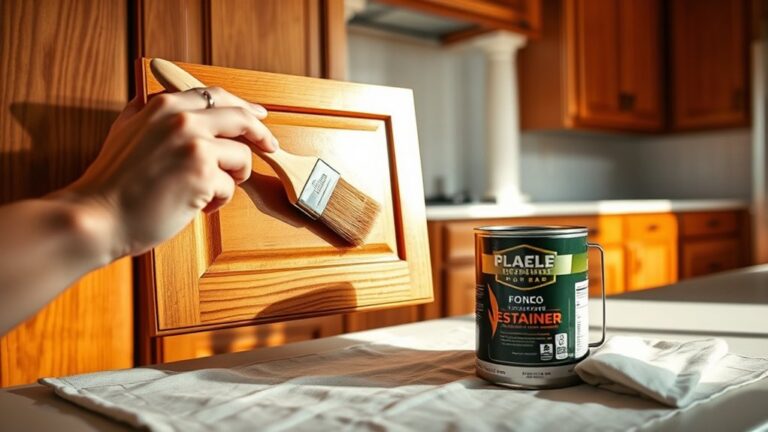
Next, evaluate pull finish options to complement your kitchen’s aesthetic and resist wear, considering finishes like brushed nickel, matte black, or polished chrome. Your pull material choices impact durability and style; common materials include stainless steel for strength, brass for a classic look, or zinc alloy for cost-effectiveness.
Select pulls that balance form and function, matching your kitchen’s design while providing a comfortable grip and ease of use. Prioritize consistency in size and finish across all pulls to maintain a cohesive, professional appearance. This approach guarantees your cabinet pulls enhance both utility and visual appeal.
Gather the Tools and Materials You’ll Need
After selecting the right cabinet pulls by size, style, and finish, you’ll need to gather the necessary tools and materials to install them accurately. Start with essential tool types: a drill with appropriate drill bits, a screwdriver matching your pull’s screws, a tape measure, a pencil for marking, and a level to guarantee alignment.
Material selection is vital; use screws that match the pull’s finish and length suitable for your cabinet door thickness. Additionally, consider protective pads to prevent cabinet surface damage during installation. Having a template or jig can improve drilling accuracy.
Organize these tools and materials before beginning to streamline the process and avoid interruptions. Proper preparation guarantees precise, secure installation and a professional finish for your kitchen cabinets.
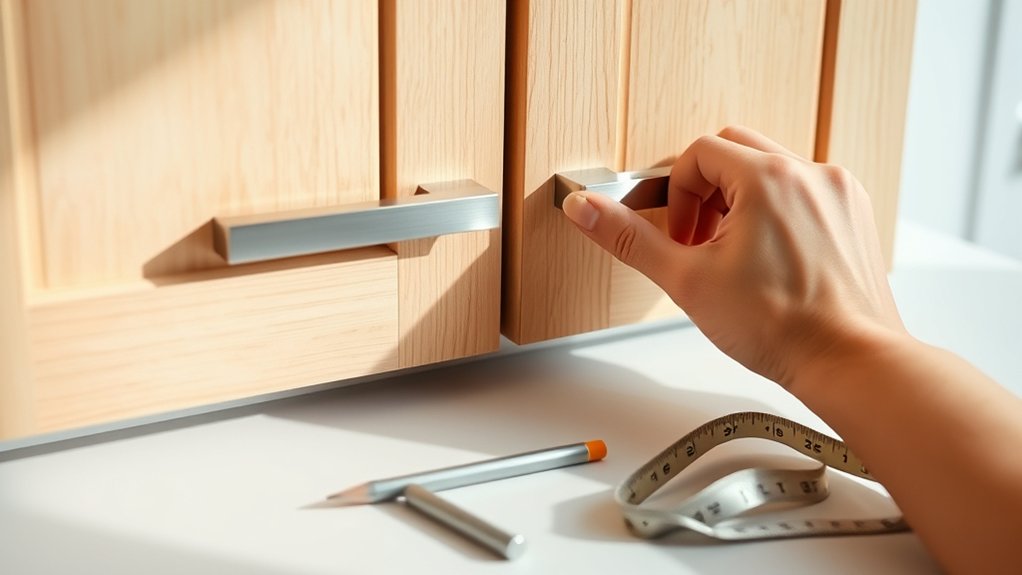
Measure and Mark Cabinet Pull Placement
Start by determining the ideal pull height based on your cabinet style and personal preference. Use a ruler or tape measure to mark exact drill points for each pull.
Confirm your measurements are consistent to achieve a professional, aligned look.
Determine Pull Height
A cabinet pull’s height greatly impacts both functionality and aesthetics. To determine the ideal pull height, focus on consistent pull placement aligned with your cabinet’s design and your ergonomic height.
For drawers, position pulls centered vertically and horizontally for balanced access. For doors, place pulls about 2 to 4 inches from the edge, matching your natural hand reach to reduce strain.
Measure from the cabinet bottom or top edge to guarantee uniformity across all pulls. Prioritize an ergonomic height that fits your average hand position to maximize comfort and efficiency during use.
Accurately determining this height prevents awkward grips and enhances cabinet usability, ensuring pulls are both practical and visually harmonious with your kitchen layout. This step sets the foundation before marking drill points.
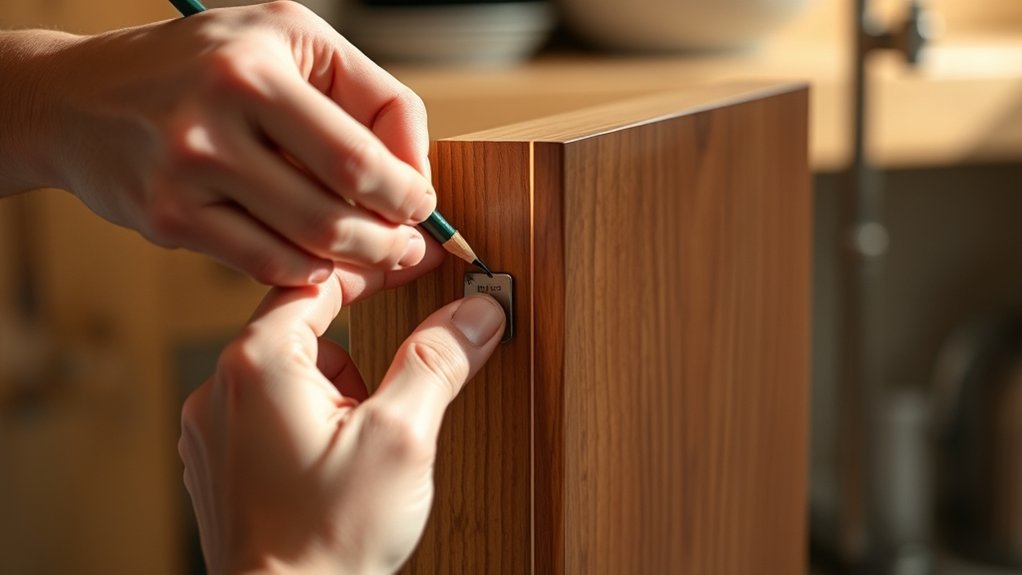
Mark Drill Points
Two measurements are essential when you mark drill points for cabinet pulls: the distance from the cabinet edge and the center-to-center spacing for the screw holes. Start by measuring the pull height and then use marking techniques to transfer these measurements accurately onto the cabinet surface.
Use a pencil and a straight edge to draw light guide lines for consistent alignment. Alignment tips include double-checking that your marks are level and evenly spaced to avoid crooked pulls.
Mark the screw hole positions clearly, ensuring they correspond precisely to your pull’s mounting holes. Avoid guessing. Precise marking prevents misaligned pulls and unnecessary corrections.
Once marked, you’re ready to drill with confidence, knowing each hole aligns perfectly with your cabinet pulls for a professional finish.
Use Measuring Tools
Measuring tools play an essential role in guaranteeing your cabinet pulls are placed accurately and consistently. Begin by selecting appropriate tools, typically a tape measure, combination square, and pencil, for precise layout work.
Use consistent measuring techniques by determining pull placement relative to cabinet edges or drawer centers. Measure twice to avoid errors, marking drill points clearly with a sharp pencil.
Employ a combination square to verify perpendicular alignment and maintain uniform distances across multiple pulls. Consistent tool selection and measurement methods prevent misalignment and guarantee a professional finish.
Properly marked locations guide drilling and installation, minimizing adjustments. By applying disciplined measuring techniques, you ensure that each pull sits perfectly, enhancing both function and aesthetics in your kitchen cabinetry.
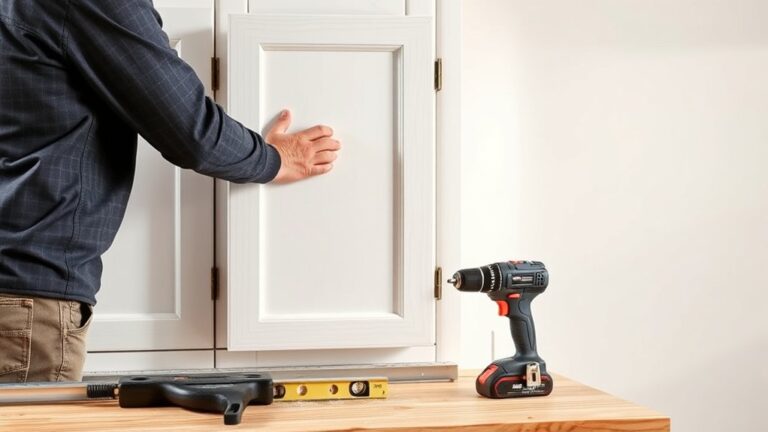
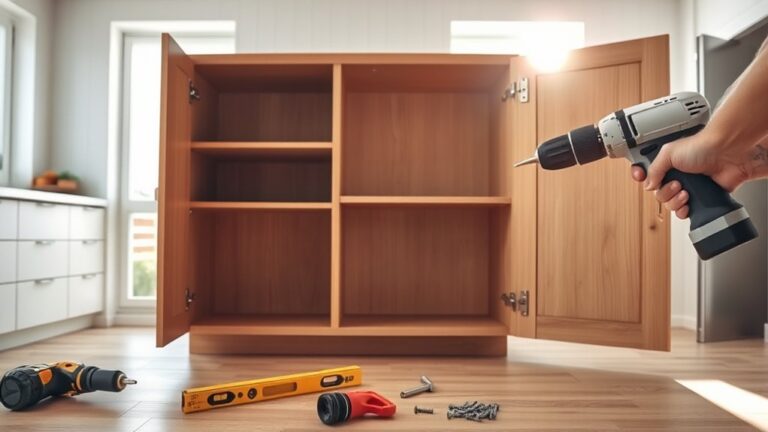
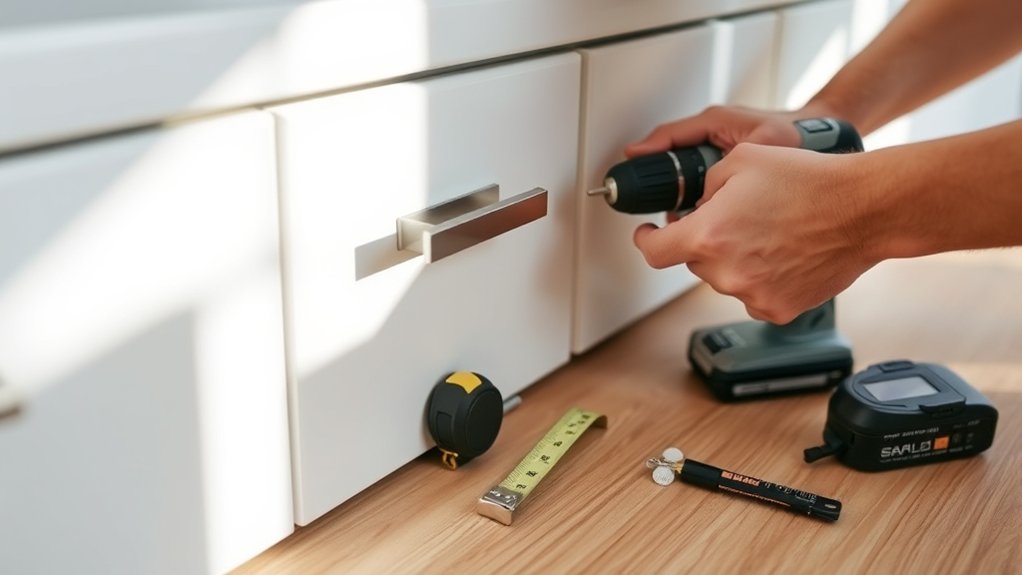
Drill Pilot Holes Carefully for Each Pull
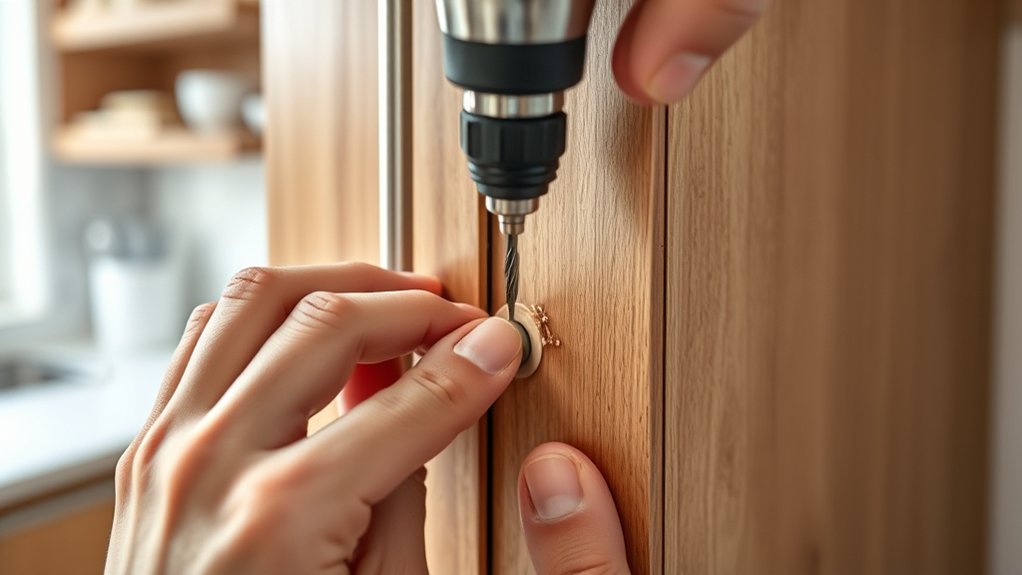
Start by marking the exact positions for your pilot holes on each cabinet door or drawer front. Use a ruler or template to guarantee uniform spacing and alignment. Select a drill bit slightly smaller than the screw diameter to create a precise pilot hole, which prevents wood splitting and assures a secure fit.
Set your drill’s depth stop or use tape on the bit to control drill depth accurately, avoiding damage to the cabinet surface or backing. Hold the drill perpendicular to the surface to maintain straight holes. Drill slowly and steadily at each marked spot, verifying depth consistency throughout.
This careful approach secures clean pilot holes, facilitating easier screw insertion and prolonging the cabinet’s integrity without cosmetic or structural issues.
Attach Cabinet Pulls Securely With Screws
Choose screws that match the thickness of your cabinet door to guarantee a secure fit. Align the pull’s holes exactly with the pilot holes you drilled to prevent misplacement.
Tighten the screws evenly to avoid stripping and keep the pulls flush against the surface.
Choose Correct Screw Length
Selecting the correct screw length is essential to securely attach your cabinet pulls without damaging the door or drawer. Choose screws that penetrate the cabinet material fully without protruding inside. Consider these key factors:
- Measure the cabinet door or drawer thickness accurately to determine appropriate screw length.
- Match the screw gauge to the pull’s threaded holes to guarantee a tight fit.
- Verify thread type compatibility between screws and pulls to prevent stripping.
- Opt for screws slightly longer than the thickness but short enough to avoid hitting the inner cabinet structure.
Using screws that are too short risks a loose pull; too long can damage the interior. Always test fit with a screw gauge and confirm the thread type before installation. This precision guarantees a secure, durable attachment for your kitchen cabinet pulls.
Align Holes Precisely
Although measuring screw length is essential, aligning the holes precisely secures your cabinet pulls fit perfectly and function smoothly. Use hole alignment techniques such as marking hole centers with a template or jig to guarantee uniformity.
Employ precise drilling methods by selecting the correct drill bit size and maintaining steady pressure to avoid angled holes. Double-check measurements before drilling to prevent misalignment.
| Step | Tool Needed | Tip |
|---|---|---|
| Mark hole centers | Template or ruler | Use pencil for clear marks |
| Select drill bit | Drill bit set | Match bit diameter to screws |
| Drill holes | Power drill | Hold drill perpendicular |
| Verify hole spacing | Tape measure | Measure between holes twice |
Following these steps guarantees your pulls attach securely without gaps or wobble.
Tighten Screws Evenly
Start by inserting the screws through the cabinet pull and into the pre-drilled holes, then tighten them evenly using a screwdriver or drill with a clutch setting. Proper screw alignment is essential to avoid damaging the cabinet or pull.
Use these tightening techniques to guarantee a secure fit:
- Alternate tightening screws gradually to maintain even pressure.
- Avoid over-tightening to prevent stripping the screws or cracking the wood.
- Use a clutch setting on your drill to control torque precisely.
- Check screw alignment continuously to keep pulls flush against the surface.
Align Pulls on Drawers and Doors Consistently
Consistent alignment of pulls on drawers and doors guarantees a professional, cohesive look throughout your kitchen. Start by establishing reference points using a measuring tape or a jig to apply pull alignment techniques uniformly. Confirm each pull is centered horizontally on doors and vertically on drawers, adjusting for any variations in drawer spacing.
Use drawer spacing adjustments to compensate for inconsistent gaps, maintaining even visual spacing between pulls. Mark drill holes precisely with a pencil or template before installation. Double-check your measurements across multiple cabinets to prevent cumulative errors.
Aligning pulls consistently not only enhances aesthetics but also improves functionality by creating predictable, ergonomic access. Taking these precise steps will result in a polished, streamlined appearance that elevates your kitchen’s overall design.
Fix Common Kitchen Cabinet Pull Installation Mistakes
Making sure your cabinet pulls are aligned sets the foundation, but even careful installers can encounter common mistakes that affect both function and appearance. During installation troubleshooting, watch for these common errors:
- Misaligned holes causing uneven pulls; use a template for precise drilling.
- Screws that are too long or short, compromising grip and durability.
- Over-tightening hardware, which can damage cabinet surfaces or pulls.
- Ignoring the pull orientation, leading to awkward hand positioning and discomfort.
Address these issues promptly by double-checking measurements, selecting the correct screw size, and applying consistent torque. Proper installation troubleshooting not only improves aesthetics but also extends the hardware’s lifespan and usability. By avoiding these frequent pitfalls, you make sure your kitchen cabinet pulls function smoothly and look professionally installed.
Adjust Installation for Different Cabinet Door Materials
When installing cabinet pulls, you’ll need to adjust your approach based on the door material, as different surfaces require specific fasteners and techniques to guarantee secure attachment and prevent damage. For solid wood doors, standard screws work well, but pre-drilling pilot holes is essential to avoid splitting.
MDF or particleboard demands shorter screws and sometimes anchors to prevent material crumbling. Glass or acrylic cabinet doors require specialized mounting hardware, such as clamps or adhesive-backed pulls, maintaining cabinet material compatibility without drilling.
Consider pull design options that complement the material’s thickness and texture; for example, sleek metal pulls suit modern laminate doors, while classic knobs enhance wood finishes. By selecting the right fasteners and pull designs for your cabinet material, you assure durability and aesthetic harmony in your kitchen installation.
Maintain and Clean Kitchen Cabinet Pulls
Although cabinet pulls are small hardware pieces, they require regular maintenance to preserve their appearance and function. Proper care extends the life of pulls made from durable materials like stainless steel, brass, or zinc alloy. Use effective cleaning methods tailored to the material to avoid damage.
Regular maintenance preserves the look and function of durable cabinet pulls like stainless steel and brass.
To maintain and clean your kitchen cabinet pulls, follow these steps:
- Wipe pulls weekly with a soft cloth dampened in mild soap and water.
- Avoid abrasive cleaners or pads that can scratch finishes.
- For metal pulls, apply a protective wax or polish designed for that specific material.
- Tighten screws periodically to guarantee pulls remain securely attached.
Consistent upkeep keeps your cabinet pulls looking sharp and functioning smoothly without premature wear.
Tips for Choosing Cabinet Pulls to Match Your Kitchen Style
You’ll want to choose cabinet pulls that complement your kitchen’s overall theme for a cohesive look. Match the pull finishes with your existing fixtures to maintain visual consistency.
Also, prioritize functionality and comfort to guarantee your pulls are practical for everyday use.
Consider Your Kitchen Theme
Choosing cabinet pulls that complement your kitchen theme enhances both functionality and aesthetics. To maintain design harmony and elevate kitchen aesthetics, consider these key factors:
- Identify your kitchen style: modern, traditional, farmhouse, or industrial, as each calls for specific pull designs.
- Match pull shapes and lines with cabinetry details to reinforce visual consistency.
- Opt for materials that align with your kitchen’s character, such as brushed nickel for modern or oil-rubbed bronze for rustic.
- Evaluate scale and proportion; oversized pulls suit large cabinets, while smaller ones fit compact spaces.
Match Finish With Fixtures
After pinpointing your kitchen theme and the ideal pull shapes, focus on matching the finish of your cabinet pulls with existing fixtures. Finish compatibility guarantees a cohesive look, so compare your pulls’ metal tones to faucets, lighting, and appliances.
For example, pair brushed nickel pulls with stainless steel fixtures for a seamless blend. Avoid mixing warm finishes like oil-rubbed bronze with cool tones such as chrome, as this disrupts fixture harmony.
If your kitchen features multiple finishes, choose pulls that complement the dominant one to maintain visual consistency. This technical alignment enhances your kitchen’s style and elevates its overall design integrity.
Prioritize finishes that reflect your kitchen’s character while coordinating precisely with your hardware for a professional, unified appearance.
Prioritize Function and Comfort
Function and comfort play essential roles when selecting cabinet pulls that complement your kitchen style. You want a functionality focus that guarantees ease of use every day. Prioritize ergonomic design to reduce strain and enhance grip, especially in busy kitchens.
Consider these key points:
- Choose pulls with smooth edges and comfortable contours for natural hand placement.
- Opt for sizes and shapes that fit your hand size and cabinet dimensions.
- Select materials that provide a secure grip, even with wet or greasy hands.
- Confirm pulls are mounted at a height and angle that minimize wrist strain during use.
Frequently Asked Questions
Can I Install Cabinet Pulls Without Drilling Holes?
You can install cabinet pulls without drilling holes by using adhesive options like strong double-sided tape or epoxy.
Alternatively, magnetic pulls offer a no-drill solution, attaching firmly while preserving your cabinet surfaces.
What Are the Best Cabinet Pulls for Accessibility?
You’ll find 70% of users prefer ergonomic designs for comfort and efficiency. Choose user-friendly options like D-shaped or bar pulls with textured grips. They provide better leverage and accessibility, especially for those with limited hand strength or dexterity.
How Do I Remove Old Cabinet Pulls Without Damage?
You’ll use cabinet pull tools like a screwdriver or drill for pull removal techniques. Unscrew gently, avoiding force to prevent damage.
Support the cabinet face while removing pulls to maintain surface integrity and guarantee a clean removal.
Are There Cabinet Pulls Suitable for Outdoor Kitchens?
Think of cabinet pulls as armor for your outdoor kitchen; you’ll want outdoor materials like stainless steel or brass with weather resistance. These metals withstand moisture, UV rays, and temperature changes, ensuring durability and long-lasting performance.
Can I Use the Same Pulls on Cabinets and Drawers?
Yes, you can use the same pull styles on cabinets and drawers, but guarantee pull materials suit both. Consider size and grip comfort, as drawers often need sturdier pulls for frequent use, while cabinets may require lighter options.