How to Fix a Leaky Delta Faucet
To fix your leaky Delta faucet, start by turning off the water supply to prevent any spills.
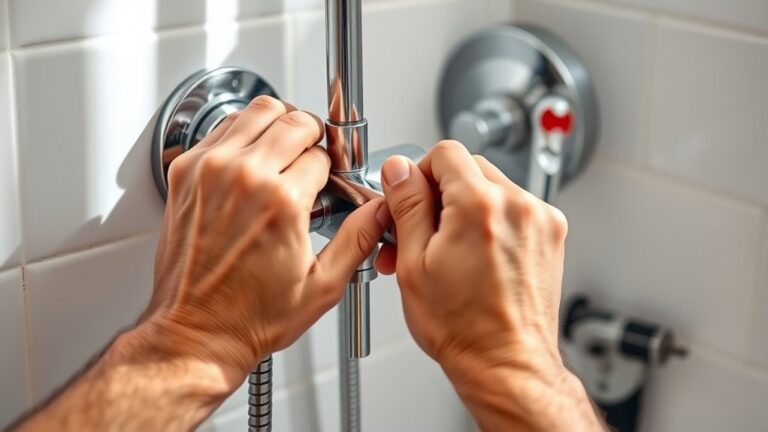
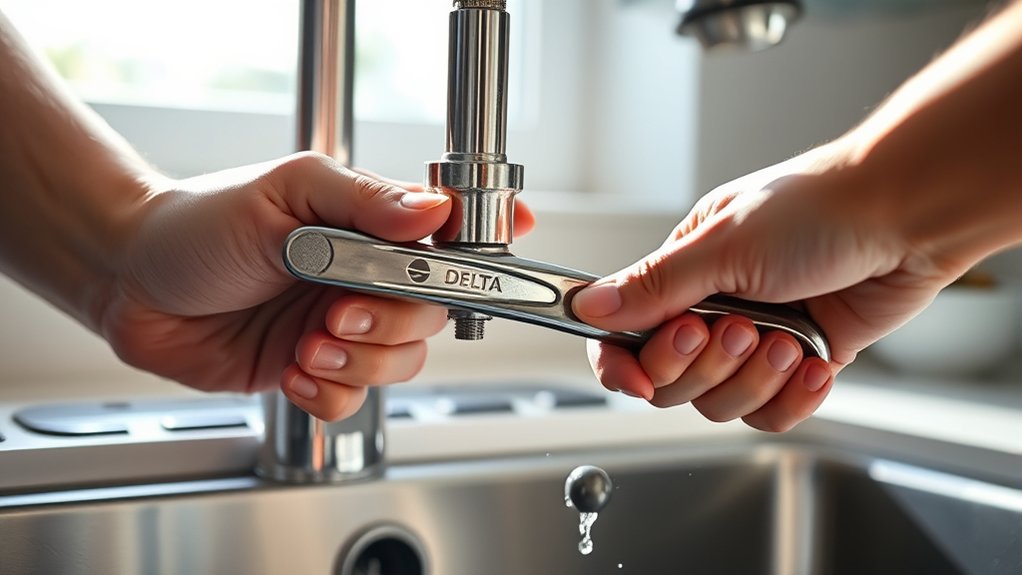
Next, inspect the faucet for worn O-rings, cartridges, or seals that might be causing the drip. Use an adjustable wrench and screwdrivers to carefully disassemble the handle and remove the cartridge.
Replace any damaged parts with exact matches to ensure a proper fit.
Then, reassemble the faucet, making sure all components are properly aligned and tightly connected.
After turning the water back on, test the faucet thoroughly for leaks.
For detailed steps on disassembly, part replacement, and maintenance to prevent future leaks, keep exploring proven techniques.
Identifying the Cause of Your Delta Faucet Leak
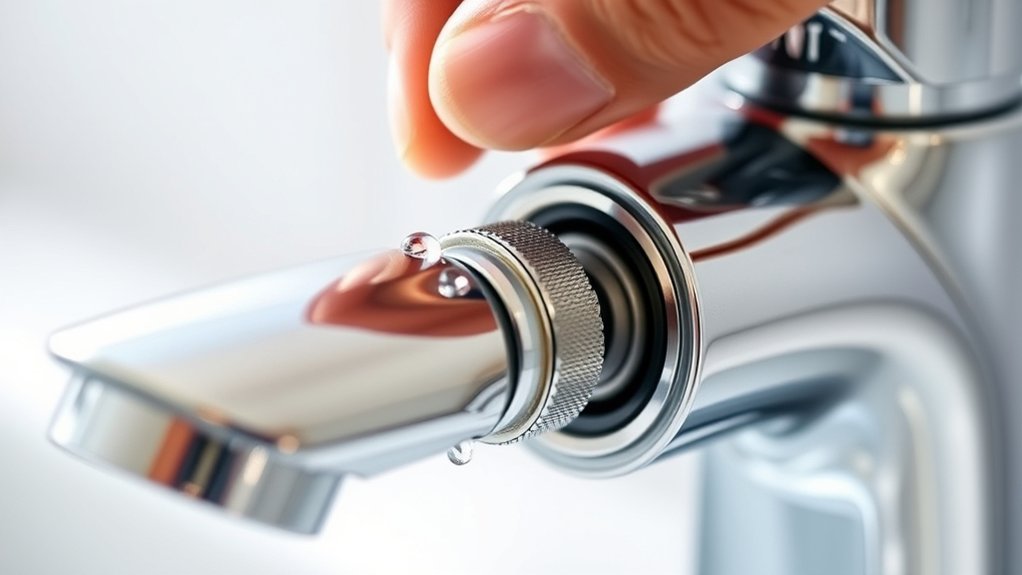
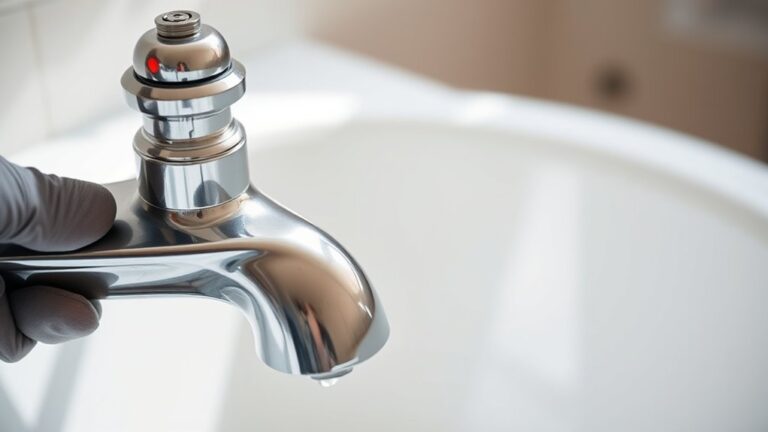
Before you can fix your Delta faucet leak, you need to pinpoint the exact cause. Start with a thorough leak detection process: check for visible drips, moisture accumulation, and water stains around the faucet base and handles.
Identifying the exact cause is crucial before fixing your Delta faucet leak—start by checking for drips and moisture.
Perform a detailed faucet inspection by turning the water supply off and disassembling the faucet components. Examine the O-rings, cartridge, and seals for wear or damage, as these are common leak sources.
Also, inspect the aerator for clogs or debris that can cause pressure buildup and leakage. Pay close attention to the connections and mounting hardware to verify they’re securely tightened.
Accurate leak detection and faucet inspection help you identify whether the issue stems from worn parts, improper installation, or mineral buildup, enabling you to address the root cause efficiently.
Tools You Need to Fix a Delta Faucet Leak
To fix a Delta faucet leak effectively, you’ll need a specific set of tools that allow precise disassembly and repair. Having the right tools streamlines faucet repair and supports leak prevention by ensuring components are handled carefully and reassembled correctly.
Essential tools include:
- Adjustable wrench: for loosening and tightening nuts
- Phillips and flathead screwdrivers: to remove screws without damage
- Allen wrench set: necessary for hex screws common in Delta faucets
- Needle-nose pliers: to grip small parts and remove O-rings
- Replacement parts kit: includes washers, O-rings, and seals tailored for your faucet model
Equipped with these tools, you can efficiently address leaks and maintain faucet integrity, reducing future repair needs and water waste.
How to Take Apart Your Delta Faucet
Start by gathering the necessary tools like an Allen wrench and screwdriver. Carefully remove the faucet handle to expose the internal components.
This will give you access to the parts you need to inspect and repair.
Gather Necessary Tools
Several essential tools are required to effectively take apart your Delta faucet without causing damage. Proper faucet maintenance hinges on having the right equipment to address common leaks and internal issues efficiently.
Before you begin, gather these tools:
- Adjustable wrench: for loosening nuts and bolts securely
- Phillips and flathead screwdrivers: to remove screws from handles and plates
- Allen wrench set: essential for hex screws on Delta faucets
- Needle-nose pliers: for gripping small components and springs
- Replacement O-rings and plumber’s grease: to guarantee a tight seal and smooth reassembly
Having these tools ready guarantees you can dismantle the faucet precisely, preventing further damage and facilitating a smooth repair process. This preparation is key to resolving common leaks and maintaining faucet functionality.
Remove Faucet Handle
Loosen the set screw securing the faucet handle using the appropriate Allen wrench or screwdriver from your toolset. This is a vital first step in handle removal techniques for your Delta faucet.
Once loosened, gently pull the handle straight off the faucet stem. Avoid excessive force to prevent damage. If the handle is stuck, apply a small amount of penetrating oil and wait a few minutes before retrying.
| Step | Tip |
|---|---|
| Loosen Set Screw | Use correct Allen wrench size |
| Pull Handle | Wiggle gently to loosen |
| Apply Penetrating Oil | For stubborn handles |
| Check Replacement Fit | Match handle replacement options |
Following these steps guarantees safe handle removal and prepares you for handle replacement options.
Access Internal Components
After removing the handle, carefully detach the retaining clip or bonnet nut that secures the internal cartridge. This step exposes the faucet’s internal components, allowing you to inspect and replace worn parts effectively. Depending on your Delta faucet model, you might encounter different cartridge types, so identify yours before proceeding.
To access internal components:
Use needle-nose pliers to remove the retaining clip gently
Unscrew the bonnet nut with an adjustable wrench
Pull the cartridge straight out without twisting
Inspect internal seals for cracks or wear
Clean debris from the valve body before reassembly
Handling internal seals carefully prevents leaks and guarantees a proper fit. Knowing the cartridge type helps you source the correct replacement part.
How to Replace Worn Parts in Your Delta Faucet
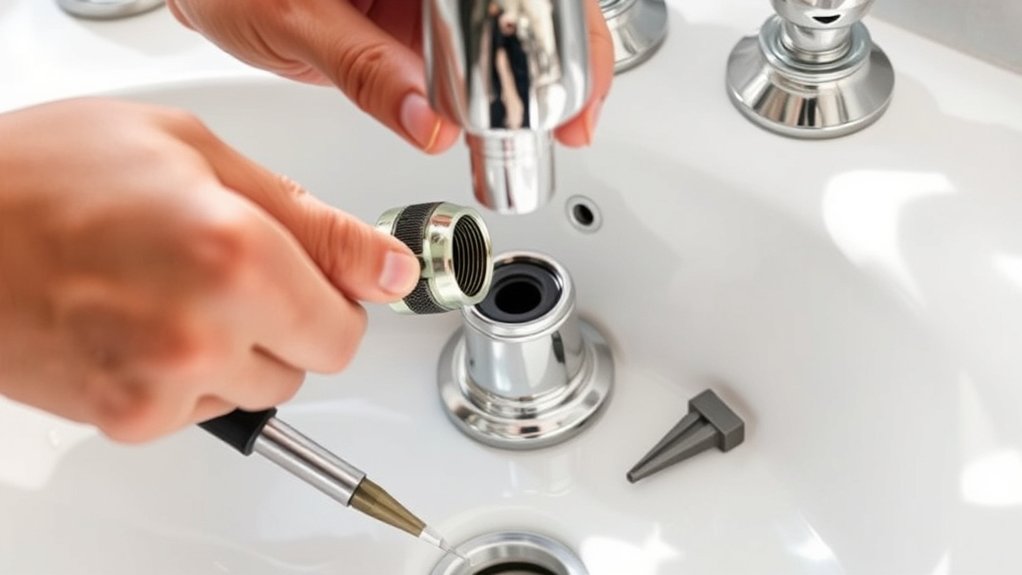
Start by identifying which parts of your Delta faucet show wear or damage, such as seals, cartridges, or O-rings. Carefully remove the old components using the appropriate tools to avoid damaging the faucet body.
Then, install the exact replacement parts, ensuring they fit snugly to restore proper function and stop leaks.
Identifying Worn Components
When your Delta faucet begins to drip despite being fully closed, it’s a clear sign that some internal parts have worn out and need replacing. To identify worn components, inspect for:
- Worn washers causing persistent leaks at the spout
- Damaged cartridges that hinder smooth water flow
- Old O rings that dry out or crack over time
- Corroded seals resulting from mineral buildup or improper installation
- Faulty valves or loose connections weakening water tightness
Mineral buildup can accelerate wear, so check parts carefully. Improper installation may also cause premature failure. By pinpointing these specific issues, you’ll know exactly which elements require replacement, ensuring your repair is efficient and effective.
Removing Old Faucet Parts
Loosen and remove the faucet handle by unscrewing the retaining screw, exposing the internal components. Next, carefully detach the cartridge or valve assembly, depending on your Delta faucet model. Use pliers or a cartridge puller if necessary, but avoid excessive force to prevent damage.
Inspect the O-rings, washers, and seals for wear or mineral buildup. These are common sources of leaks and other faucet issues. Drain any residual water before removing parts to minimize mess.
Keep track of each component’s position to aid reassembly. Following these faucet maintenance tips helps guarantee you address the root cause of leaks efficiently. Removing old faucet parts properly sets the stage for successful repair and prevents common faucet issues from recurring.
Installing Replacement Pieces
After removing the worn components and inspecting them for damage or buildup, you’re ready to install the replacement parts in your Delta faucet. Start by selecting the appropriate items from your faucet repair kits, including replacement cartridges and seals.
Follow these steps to guarantee proper installation and prevent future leaks:
- Insert the new replacement cartridge carefully, aligning it with the faucet body.
- Secure the cartridge with retaining clips or screws as specified.
- Perform seal replacement by fitting new O-rings or washers precisely in their grooves.
- Reassemble the faucet handle and tighten all fasteners to manufacturer torque specs.
- Turn on water supply and test for leaks, troubleshooting leaks immediately if detected.
This methodical approach guarantees a durable fix and restores your faucet’s function efficiently.
How to Reassemble and Test Your Delta Faucet Repair
Start by carefully aligning all the internal components of your Delta faucet in the reverse order of disassembly. Verify each part seats properly to avoid misalignment, which can cause leaks. Tighten screws and bolts to manufacturer specifications using appropriate tools to maintain integrity without overtightening.
After reassembly, turn the water supply back on slowly to monitor for leaks. Perform leak detection by observing all joints and seals under normal water pressure. If leaks persist, revisit faucet troubleshooting steps such as checking O-rings and cartridge placement.
Operate the faucet handles to confirm smooth movement and proper water flow. This systematic reassembly and testing process verifies your repair is successful and helps identify any remaining issues before finalizing the job.
Preventing Future Leaks: Cleaning and Maintenance Tips
To prevent future leaks, you’ll need to regularly clean and maintain your faucet’s key components, including the aerator, cartridge, and O-rings. Implementing preventive measures guarantees longevity and reduces costly repairs. Perform regular inspections to catch wear or buildup early. Follow these practical steps:
Remove and soak the aerator in vinegar to clear mineral deposits. Inspect and replace worn O-rings to maintain tight seals. Clean the cartridge with a mild solution to prevent debris buildup. Lubricate moving parts with plumber’s grease to reduce friction. Check for corrosion or cracks during inspections and address immediately.
Consistent maintenance and timely cleaning help you avoid leaks and maintain peak faucet performance.
Fixing It When Your Delta Faucet Still Leaks
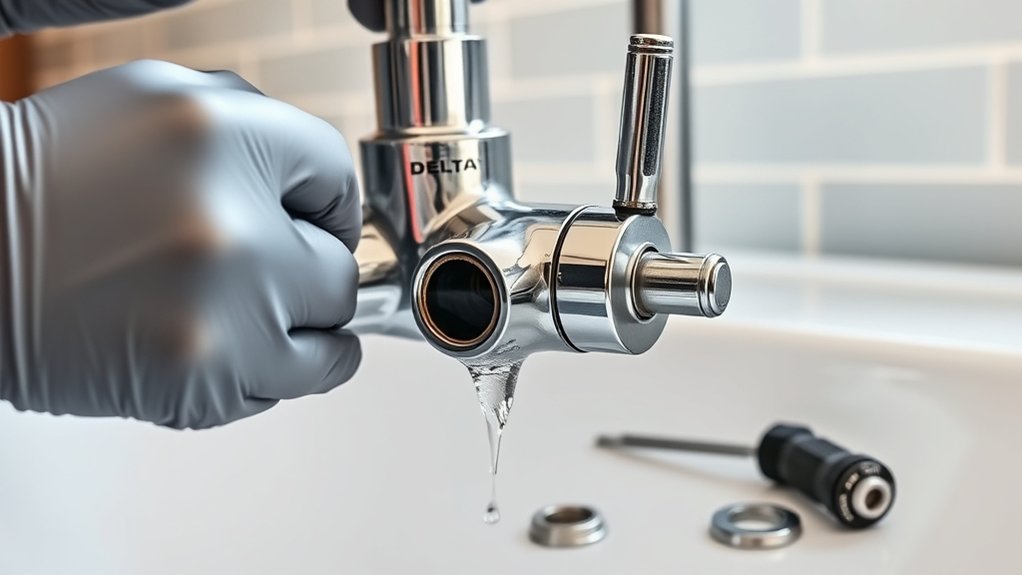
If one or more leaks persist despite regular maintenance, you’ll need to troubleshoot specific Delta faucet components. Begin with thorough leak detection by inspecting the cartridge, O-rings, and seals for wear or damage. Remove the handle and cartridge carefully, noting any mineral buildup or cracks.
Test the water pressure; excessive pressure can cause persistent leaks, so make sure it stays within the manufacturer’s recommended range. Replace faulty components with genuine Delta parts to maintain compatibility. After reassembly, test the faucet by slowly turning on the water to check for leaks under normal pressure.
If leaks continue, consider consulting Delta’s technical support or a professional plumber, as internal valve issues might require specialized tools or expertise beyond routine repair.
Frequently Asked Questions
Can I Use Plumbing Tape on a Delta Faucet Leak?
Measure twice, cut once: you can use plumbing tape for faucet maintenance, but only on threaded connections. For a Delta faucet leak, tape won’t fix cartridge issues. Proper part replacement is essential for lasting repair.
Are Delta Faucet Parts Covered Under Warranty?
Yes, Delta faucet parts typically come with warranty coverage. If your faucet has defects, you can request a faucet replacement or repair under this warranty.
Always check specific terms for eligibility and claim procedures.
How Long Do Delta Faucet Cartridges Typically Last?
You’d think Delta faucet cartridges last forever, but their typical cartridge lifespan is around 6-10 years. With regular faucet maintenance, you can extend performance, preventing leaks and ensuring smooth operation much longer than expected.
Can a Leaky Delta Faucet Cause Water Damage?
Yes, a leaky Delta faucet can cause water damage if unnoticed. You should use leak detection techniques regularly and prioritize water damage prevention by inspecting seals and connections.
This helps avoid costly repairs and structural issues.
Is It Safe to Fix a Faucet Leak Without Shutting off Water?
No, you shouldn’t attempt DIY plumbing or faucet maintenance without shutting off the water first. It prevents flooding, protects your tools, and guarantees a safe, efficient repair process, avoiding further damage or injury.