How to Stop Outside Faucet From Dripping
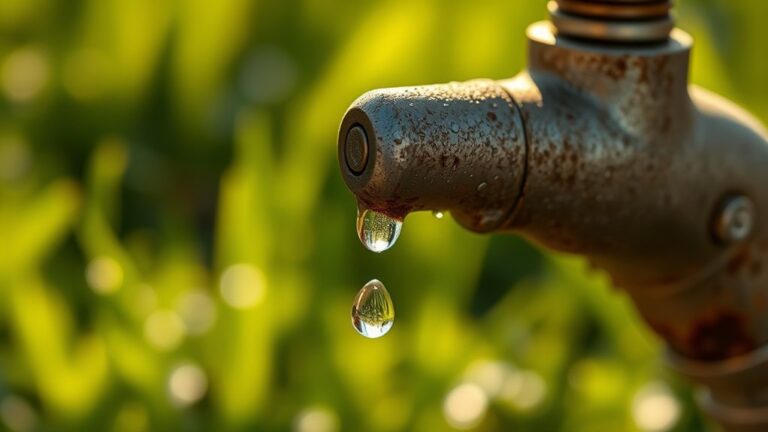
To stop your outside faucet from dripping, start by identifying worn washers, damaged seals, or loose packing nuts that may be causing leaks. These common issues are often the root cause of a dripping faucet.
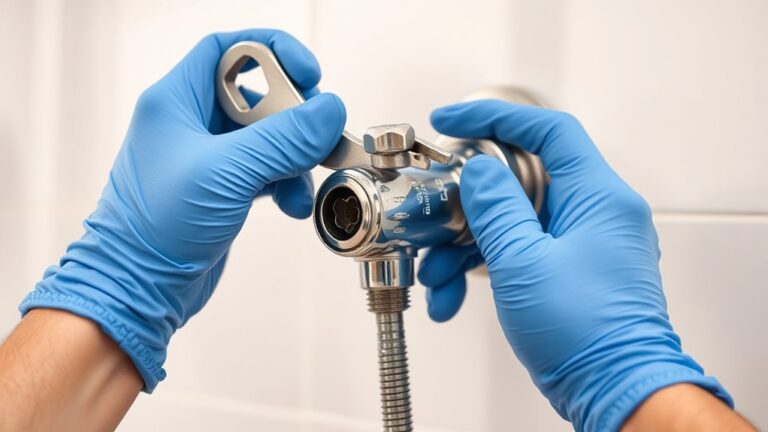
Next, turn off the water supply completely at the indoor shutoff valve. Then, carefully disassemble the faucet to inspect all parts. Replace any faulty components with exact matches to ensure a proper fit.
Clean all components thoroughly and apply plumber’s grease before reassembling the faucet. This helps create a reliable seal that prevents future drips.
Finally, insulating pipes and performing regular maintenance can help prevent your outside faucet from dripping again. Keep following for detailed steps to fix and maintain your faucet efficiently.
Find Out Why Your Outdoor Faucet Is Dripping
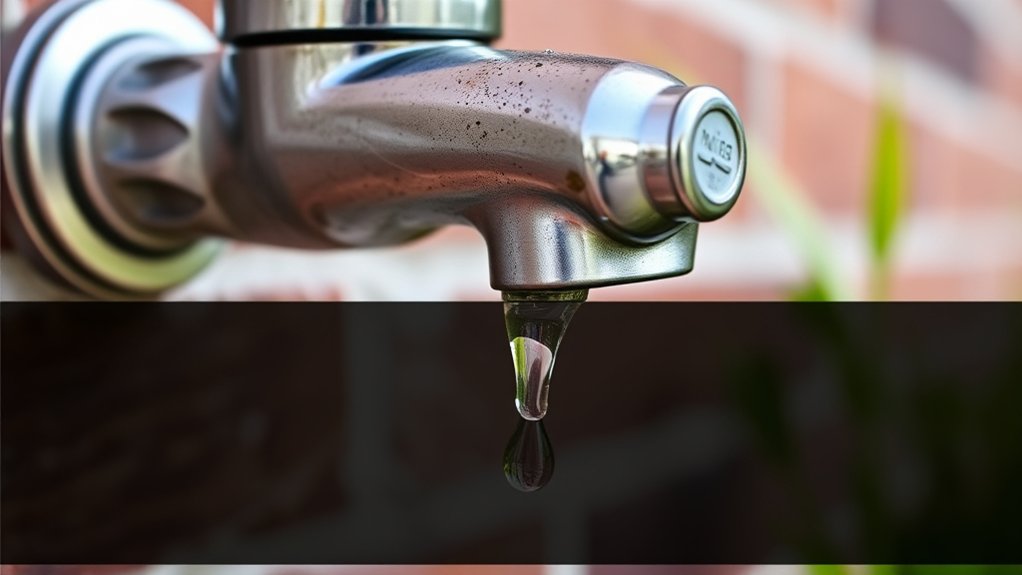
Before you can fix a dripping outdoor faucet, you need to identify the root cause. Start by inspecting the faucet for visible wear or corrosion, common culprits in faucet maintenance issues. Pay close attention to the washer and valve seat, as deterioration here often leads to leaks.
Next, assess water pressure; excessive pressure can strain faucet components, causing drips. Use a pressure gauge to guarantee it stays within recommended limits, typically 40-60 psi.
Check water pressure with a gauge to prevent faucet damage and leaks, ideally keeping it between 40-60 psi.
Check the packing nut, too, since a loose or damaged packing can allow water to seep through. Systematically testing each part helps you pinpoint the exact failure, enabling targeted repairs.
Proper diagnosis prevents unnecessary replacements and guarantees your outdoor faucet operates efficiently without wasting water.
Turn Off Water Supply to Your Outside Faucet
First, locate the indoor shutoff valve that controls your outside faucet’s water supply. Turn the valve clockwise until it’s fully closed to stop water flow.
Then, check the outdoor faucet to confirm the dripping has stopped.
Locate Indoor Shutoff Valve
Anyone looking to stop a dripping outdoor faucet needs to locate the indoor shutoff valve that controls its water supply. Start by examining your indoor plumbing near where exterior pipes exit the house, commonly found in basements, crawl spaces, or utility rooms.
The valve location is typically close to the main water line or near the pipe leading outside. It might be a ball valve with a lever handle or a gate valve with a round wheel. Identifying this valve is essential because it allows you to isolate the outside faucet without affecting the entire home’s water supply.
Use a flashlight if needed and trace the pipe from the exterior faucet backward inside. Once found, mark the valve for easy access during future maintenance or emergencies.
Turn Valve Clockwise
Turn the indoor shutoff valve clockwise to stop the water flow to your outdoor faucet. This precise action isolates the faucet from your home’s main water supply, preventing any further dripping while you perform necessary repairs or maintenance.
Confirm you rotate the valve fully until it resists turning, verifying it’s completely closed. Proper valve maintenance includes periodically exercising these valves to avoid stiffness or leaks, especially important after any recent faucet installation.
Neglecting this step can result in incomplete shutoff, leading to persistent drips or water wastage. If the valve feels stuck, apply penetrating oil carefully or consult a professional to avoid damage.
Test Faucet for Drips
How can you confirm that your outdoor faucet is fully shut off and no longer dripping? Start by turning off the water supply valve connected to your outside faucet, usually located inside your home or basement.
After closing the valve, open the outdoor faucet to release any remaining water and relieve pressure. Watch carefully for any signs of water droplets or persistent moisture, which indicates incomplete shutoff.
Use drip detection techniques such as placing a dry tissue or paper towel under the spout to catch any subtle leaks. Monitoring this helps you identify hidden drips early, preventing water waste and potential damage.
Regular faucet maintenance includes this step to verify valves function correctly and seals remain intact. Testing your faucet for drips after shutting off supply is essential for effective faucet maintenance and drip detection.
How to Fix Common Faucet Drip Problems
To fix a dripping faucet, start by identifying the specific cause, such as worn washers or damaged seals. You’ll need to carefully disassemble the faucet and inspect each component for wear or buildup.
Replacing faulty parts with exact matches will restore a proper seal and stop the drip effectively.
Identifying Drip Causes
Several factors can cause your faucet to drip, and pinpointing the exact issue is essential for an effective repair. First, identify the drip types: steady drips often indicate worn washers or seals, while intermittent drips may signal pressure fluctuations or loose parts.
Next, consider faucet materials. Brass faucets tend to corrode differently than plastic or stainless steel ones, affecting wear patterns. Inspect the faucet body and handle for visible damage or mineral buildup, which can disrupt valve seating.
Also, examine the valve stem and packing; deterioration here frequently causes leaks. Understanding these variables helps you target the root cause rather than simply addressing symptoms. By systematically evaluating drip types and faucet materials, you’ll gather the precise information needed before moving on to component replacement or adjustment.
Replacing Worn Components
Once you’ve identified the specific cause of your faucet’s drip, the next step involves replacing worn components that compromise the seal and function. Start by shutting off the water supply and removing the faucet handle to access internal parts.
Inspect the washers closely; worn washers often cause leaks and should be replaced with exact matches. Check the valve seats for corrosion or damage. Grinding or replacing faulty valve seats is essential to restoring a proper seal.
Don’t overlook O ring replacement, as deteriorated O rings frequently cause drips around the stem. Use faucet maintenance best practices: clean all components thoroughly before reassembly, and apply plumber’s grease to moving parts to extend their lifespan.
After reassembling, turn the water back on and test for leaks to confirm the drip is resolved.
Prevent Drips From Frozen or Damaged Outdoor Pipes
When outdoor pipes freeze or sustain damage, they can cause persistent drips that waste water and risk further harm. To prevent drips from frozen pipes, insulate exposed pipes with foam sleeves or heat tape.
For damage prevention, inspect pipes regularly for cracks or corrosion and apply protective coatings. Shut off water supply and drain pipes before winter to avoid freeze-induced damage.
| Prevention Step | Recommended Material | Benefit |
|---|---|---|
| Insulate Pipes | Foam Sleeves, Heat Tape | Prevents freezing |
| Regular Inspection | Visual, Moisture Check | Detects early damage |
| Winter Preparation | Shutoff Valve, Drain | Avoids freeze pressure buildup |
Taking these precise measures helps you maintain drip-free, functional outdoor plumbing during cold weather.
When to Replace Your Outside Faucet
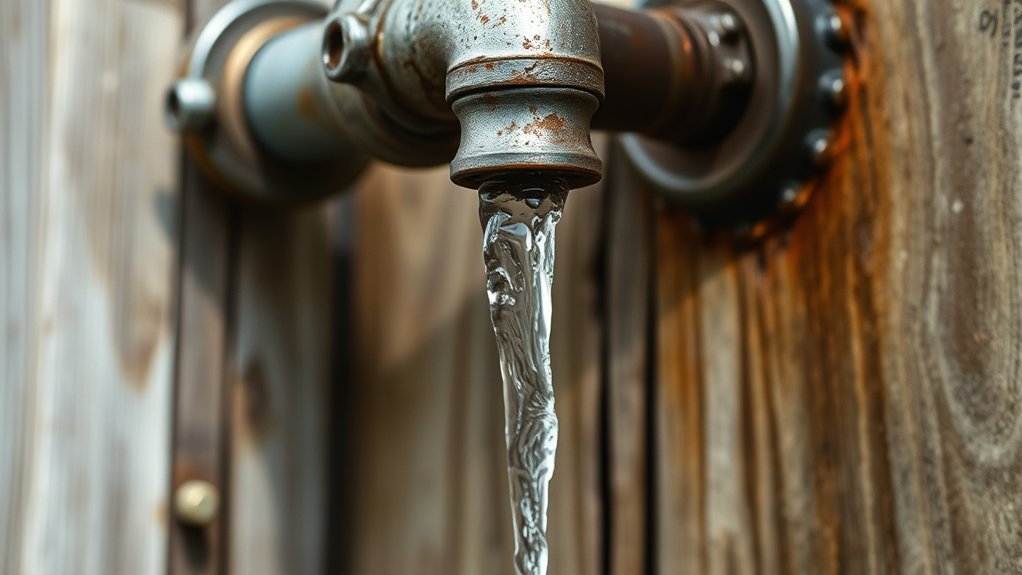
Although outdoor faucets are built to endure harsh conditions, you’ll need to replace them if they show signs of persistent leaks, corrosion, or mechanical failure that regular maintenance can’t fix.
The typical outdoor faucet lifespan ranges from 10 to 15 years, but exposure to freezing temperatures and mineral buildup can shorten this. Key signs replacement needed include continuous dripping despite tightening, visible rust or cracks on the valve body, and difficulty turning the handle.
If water pools around the faucet base or pressure drops noticeably, internal damage might be present. Replacing the faucet promptly prevents water waste and potential pipe damage. Make sure you select a durable, freeze-resistant model to extend service life and maintain efficient water flow in your outdoor plumbing system.
How to Maintain Your Outside Faucet to Prevent Drips
To prevent your outside faucet from dripping, you need to perform regular maintenance that addresses common causes like worn washers, damaged seals, and mineral buildup. Start with seasonal checks: inspect the faucet before winter and summer for leaks or corrosion.
Tighten any loose packing nuts and replace washers when you notice wear. Flush the faucet to remove mineral deposits that can degrade seals and obstruct valves.
Apply plumber’s grease to the stem and seals during faucet care to maintain smooth operation and extend part life. Disconnect hoses after use to avoid pressure buildup, which can cause leaks.
Consistently conducting these preventive measures guarantees your faucet remains drip-free, conserves water, and reduces the risk of costly repairs. Regular faucet care is essential for long-term functionality and efficiency.
Frequently Asked Questions
Can a Dripping Outdoor Faucet Increase My Water Bill Significantly?
Imagine a steady drip like tiny coins falling into a drain; that water waste can add up over time.
You’ll notice a cost impact on your bill, though it’s usually gradual, not drastically significant.
Is It Safe to Use a Heat Lamp to Thaw Frozen Outdoor Pipes?
You shouldn’t use a heat lamp to thaw frozen outdoor pipes due to heat lamp safety risks like fire hazards. Instead, use safer thawing techniques such as warm towels or a hairdryer for controlled, even heat application.
What Type of Plumber Should I Call for Outdoor Faucet Repairs?
Think of your outdoor faucet like a car; you’d call a specialist for specific issues. For outdoor faucet repairs, hire a licensed plumber skilled in faucet types and plumbing maintenance. This guarantees precise, lasting fixes without guesswork.
Are There Eco-Friendly Products to Help Fix Faucet Drips?
Yes, you can use sustainable sealants and biodegradable lubricants to fix faucet drips. These eco-friendly products provide durable sealing and reduce environmental impact, ensuring your outdoor faucet repair is both effective and environmentally responsible.
Can a Dripping Faucet Cause Mold or Mildew Outside My Home?
Like a hidden leak in the Ark, a dripping faucet can foster mold growth and complicate mildew prevention outside your home. Addressing drips promptly guarantees moisture doesn’t create ideal conditions for these unwelcome fungi.