How to Tighten Kitchen Faucet
To tighten your kitchen faucet, start by turning off the water supply at the shut-off valves located under the sink. This step helps prevent any leaks while you work on the faucet.
Make sure you have the necessary tools ready, such as an adjustable wrench, pliers, and a flashlight for better visibility.
Next, identify the type of faucet you have and inspect it carefully for any loose handles, mounting nuts, or connections. Use a basin wrench to reach and tighten the nuts beneath the sink.
Also, secure any loose screws on the handles or spouts to ensure everything is firmly in place.
Once all parts are tightened, turn the water supply back on and test the faucet for leaks and stability. Following these steps guarantees an efficient fix and helps maintain your faucet’s long-term performance.
Signs Your Kitchen Faucet Needs Tightening
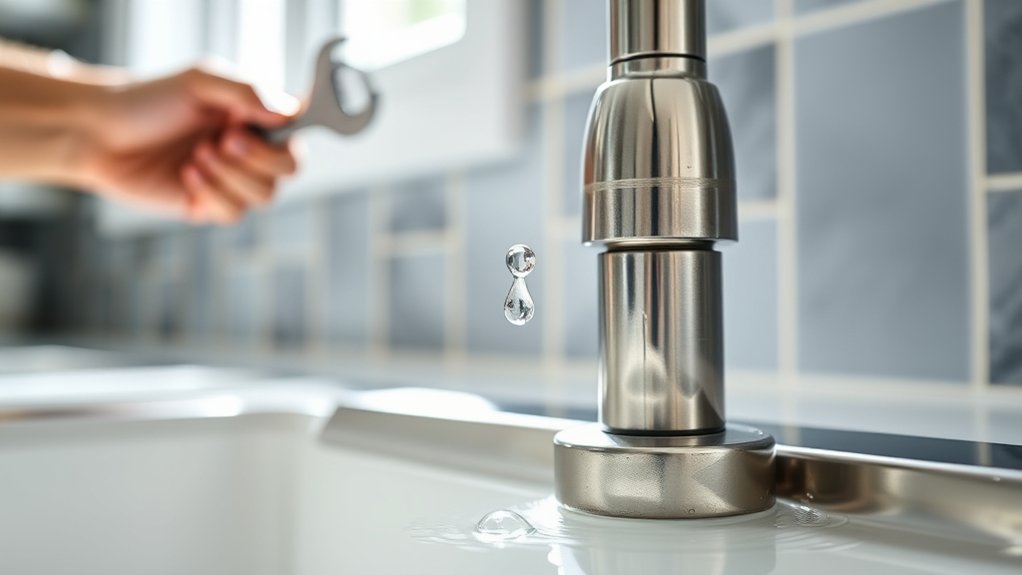
When your kitchen faucet starts to wobble or leaks around its base, it’s a clear sign you need to tighten it. Faucet wobbling often indicates loose mounting nuts or worn-out washers, which can cause dripping water and compromise water pressure.
You might also notice noise issues, such as rattling or humming, signaling unstable components. Following maintenance tips from your installation guide guarantees you address these problems promptly, preventing further damage.
Understanding plumbing basics helps you identify whether tightening alone suffices or if additional repairs are needed. DIY repairs are manageable if you spot these early signs.
Ignoring them can worsen leaks and noise, escalating repair costs. Monitoring these indicators regularly supports faucet longevity and ideal water flow.
Prepare Tools and Workspace for Faucet Tightening
Start by gathering essential tools like an adjustable wrench, pliers, and a flashlight.
Clear the under-sink area to give yourself enough room to work comfortably. Make sure the workspace is well-lit to avoid mistakes during the tightening process.
Gather Essential Tools
To tighten a kitchen faucet effectively, you’ll need to gather a handful of essential tools before you begin. Start with an adjustable wrench, as it provides the versatility required to handle various nut sizes commonly found in faucet assemblies. A basin wrench is also invaluable for reaching tight spaces under your sink.
Include a screwdriver set, both flathead and Phillips, to remove any screws securing the faucet. Have plumber’s tape on hand to guarantee leak-proof connections during reassembly. A flashlight will help illuminate dark areas, improving visibility.
These tools address common faucet issues like loose fittings and leaks. Following these faucet maintenance tips assures you’re well-prepared, reducing the risk of damage or additional repairs. Gathering the right tools upfront streamlines the tightening process and ensures a secure, long-lasting fix.
Clear Under-Sink Area
Before tightening your kitchen faucet, make certain the under-sink area is completely cleared and organized. This step is essential for unrestricted access to the faucet connections and guarantees safety during the process.
Begin by removing all items stored beneath the sink. Use effective cleaning techniques to eliminate dust, grime, and moisture, preventing slips or contamination. Implement practical storage solutions to optimize space and maintain order after the task.
Focus on:
- Clearing out cleaning supplies, buckets, or trash bins
- Wiping surfaces with a damp cloth and mild detergent
- Using stackable bins or adjustable shelves for future organization
A tidy workspace not only improves visibility but also reduces the risk of damage or injury during faucet tightening.
Ensure Adequate Lighting
Proper lighting plays a critical role in ensuring you can accurately identify and tighten all faucet connections without errors. Before starting, evaluate your workspace lighting and apply effective lighting techniques to eliminate shadows and enhance visibility.
Use adjustable LED task lights or headlamps positioned to illuminate under-sink areas clearly. Pay close attention to fixture placement, setting lights at angles that minimize glare and highlight the tight spots around nuts and bolts.
Avoid relying solely on overhead lighting, which often creates dark zones. If necessary, secure portable clamps or magnetic lights to cabinets or pipes, maintaining steady illumination throughout the tightening process.
Adequate lighting reduces mistakes, speeds your work, and prevents overlooked loose fittings, ensuring your kitchen faucet repair is efficient and precise.
Identify Your Kitchen Faucet Type
How do you determine the type of kitchen faucet you have? Start by examining its design and components carefully. Faucet types generally fall into three categories:
Single-handle faucets control both temperature and flow with one lever. Double-handle faucets have separate controls for hot and cold water. Pull-out or pull-down faucets feature a retractable spray head.
Next, identify the faucet materials, as tightening methods may vary. Common materials include brass, stainless steel, and plastic. Brass faucets often have threaded connections, while plastic may use snap-on fittings. Stainless steel faucets require specific tools to avoid damage.
Turn Off Your Water Supply Safely
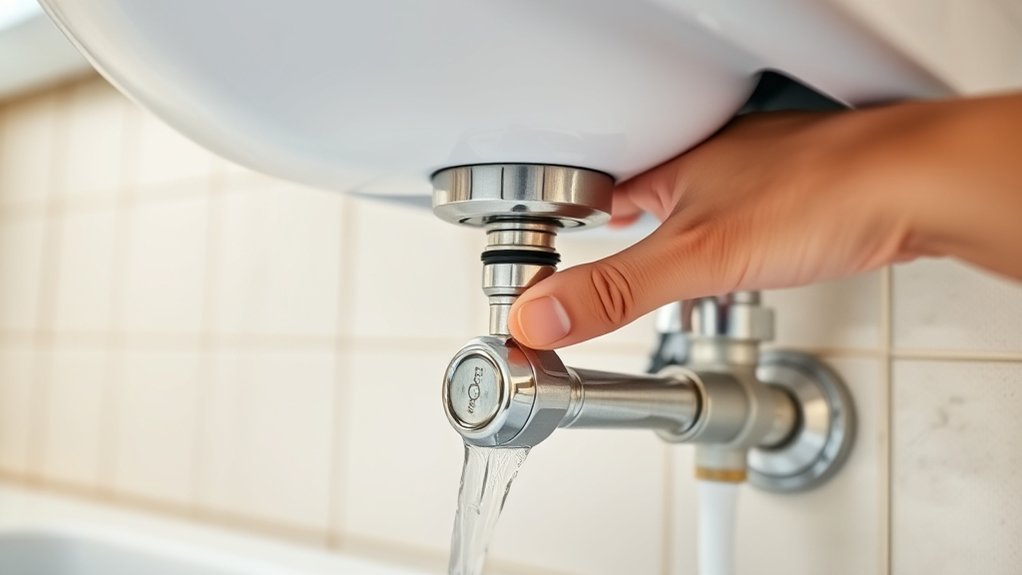
Two main valves control the water supply to your kitchen faucet: the shut-off valves under the sink and the main water supply valve for your home. To turn off your water supply safely, first locate the individual shut-off valves beneath the sink. Turn each valve clockwise to close them, stopping water flow directly to the faucet.
If these valves are damaged or stuck, proceed to shut off the main water supply at its primary location, usually near the water meter. Always confirm the water is fully off by turning on the faucet and observing no flow.
Follow safety precautions by wearing gloves and having towels handy to manage residual water. Properly shutting off the water supply prevents leaks and water damage while you tighten your kitchen faucet.
Tighten Loose Faucet Handles and Connections
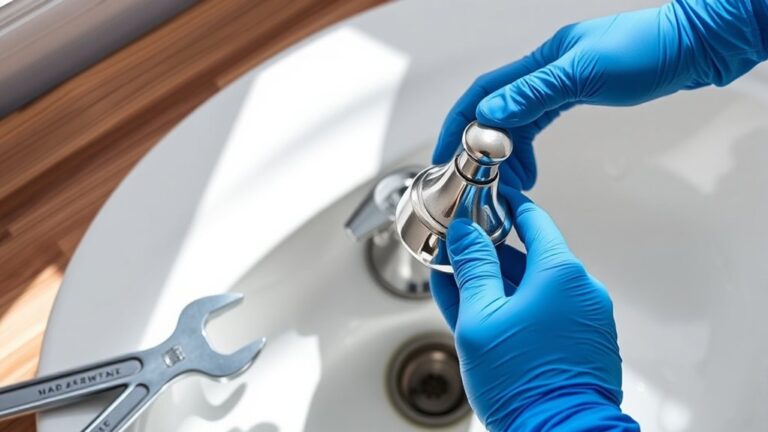
Once you’ve confirmed the water supply is off, inspect the faucet handles and connections for looseness. For effective handle maintenance and to guarantee connection stability, start by locating the set screws or caps on the handles.
Use an appropriate screwdriver or Allen wrench to tighten these screws carefully without stripping them. Next, check the base connections under the sink; tighten any loose nuts using a basin wrench to maintain stable water flow and prevent future wobbling.
Finally, examine the spout connection for any play, tightening retaining nuts or clips as needed. Visualize these steps:
Check the spout connection carefully, tightening any retaining nuts or clips to ensure a secure, wobble-free fit.
- Tightening handle set screws with precise torque
- Securing mounting nuts beneath the sink
- Stabilizing the spout connection for solid fit
This methodical approach guarantees your faucet handles and connections remain firmly secured.
Check for Leaks and Secure Faucet Fit
Start by inspecting the faucet base for any signs of water leaks or movement. If you notice looseness, tighten the mounting nuts underneath the sink to secure the faucet firmly in place.
This guarantees a stable fit and helps prevent future leaks.
Inspect Faucet Base
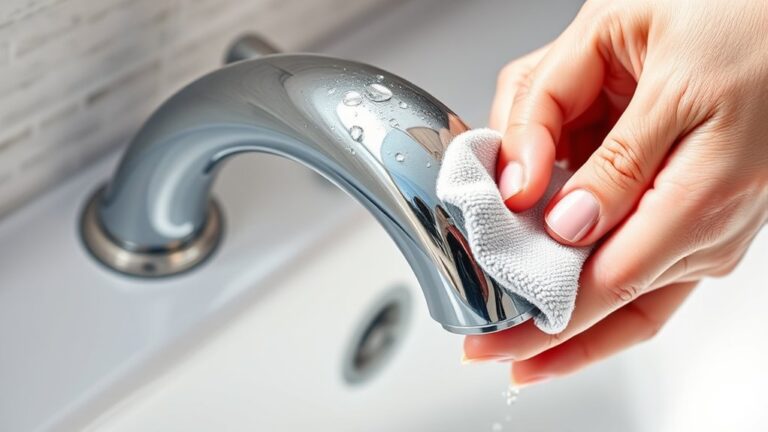
The faucet base serves as the critical junction between the fixture and the sink, making it essential to inspect closely for leaks and guarantee a secure fit. Ensuring faucet stability not only prevents water damage but also extends the faucet’s lifespan.
Start by examining the base for any visible signs of water accumulation or corrosion. Next, gently wiggle the faucet to detect any looseness indicating a compromised seal. Finally, assess the condition of the gasket or putty beneath the base, as deterioration can cause leaks.
- Look for water pooling or mineral buildup around the base
- Test for movement indicating instability
- Check gasket integrity and replace as needed
Regular attention to these maintenance tips will keep your faucet secure and leak-free.
Tighten Mounting Nuts
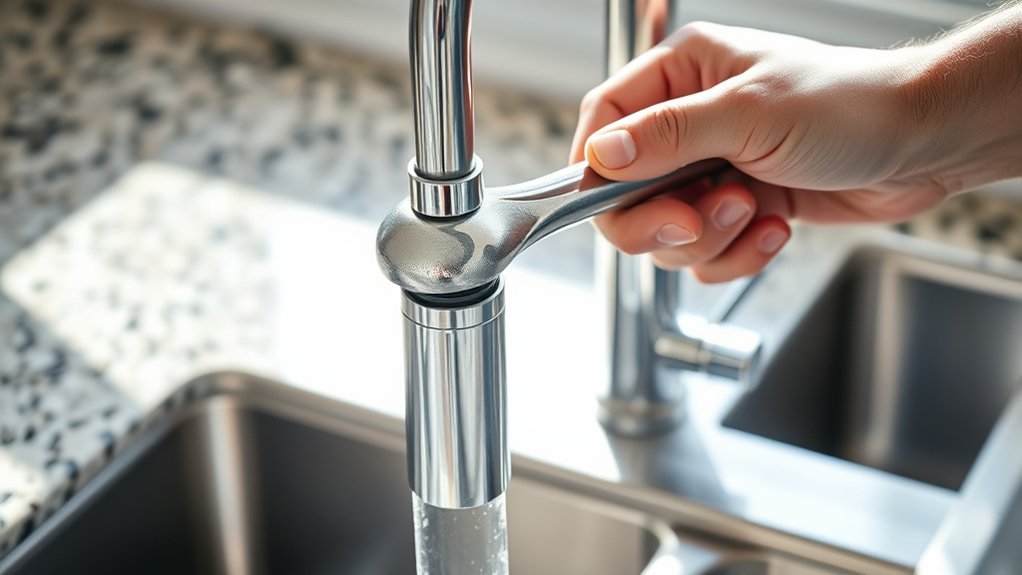
Tighten the mounting nuts beneath your sink to secure the faucet firmly in place and prevent leaks. Locate the nuts that anchor the faucet to the sink or countertop, usually accessible from underneath.
Use a basin wrench or adjustable wrench to tighten them evenly, ensuring the faucet sits flush without wobbling. Avoid over-tightening, which can damage components.
After tightening, turn on the water supply and check for leaks around the base and connections. Address any seepage immediately to uphold plumbing best practices.
Regularly inspecting and tightening mounting nuts is an essential step in faucet maintenance tips, ensuring long-term stability and leak prevention. Following these procedures helps maintain your kitchen faucet’s integrity and performance efficiently.
Frequently Asked Questions
Can I Tighten a Kitchen Faucet Without Turning off the Water?
You shouldn’t tighten your kitchen faucet without turning off the water first. Following faucet maintenance tips and plumbing safety precautions prevents water damage and injury.
These steps also ensure safe, effective repairs during faucet adjustments or replacements.
What Causes Kitchen Faucets to Become Loose Over Time?
Loose faucets result from vibration, water pressure, and movement. During faucet installation, improper tightening or misalignment accelerates wear.
Over time, worn materials like washers and seals degrade, causing looseness and requiring periodic inspection and maintenance.
How Often Should I Tighten My Kitchen Faucet?
You should tighten your kitchen faucet every 6-12 months as part of regular faucet maintenance tips. This prevents leaks and guarantees stability, aligning with kitchen plumbing basics to maintain peak function and avoid costly repairs.
Are There Specific Tools Best Suited for Different Faucet Brands?
You’ll find specific tools suit different faucet types due to brand differences. For example, Moen often requires an Allen wrench, while Delta might need a specialized cartridge puller. Always check your brand’s manual for precision tools.
Can Tightening a Faucet Affect Water Pressure?
Tightening a faucet usually won’t affect water flow or pressure regulation directly. However, over-tightening can restrict internal components, causing reduced flow or pressure issues.
Adjust carefully to maintain ideal water performance.