How to Remove a Delta Shower Faucet
First, to remove a Delta shower faucet, start by turning off the main water supply and opening a faucet to relieve pressure. This step ensures no water flows while you work on the faucet.
Remove the handle by locating and unscrewing the set screw. If the handle is stuck, apply penetrating oil or use a handle puller to loosen it safely.
Next, unscrew and carefully pry off the trim plate. Then, remove the retaining clip or nut to extract the valve cartridge straight out with a cartridge puller or pliers.
Finally, inspect and clean all components before reassembly. Following these core steps will help ensure a smooth removal process, and you can uncover tips to ease each stage.
Turn Off Water Supply and Prepare Your Shower Area
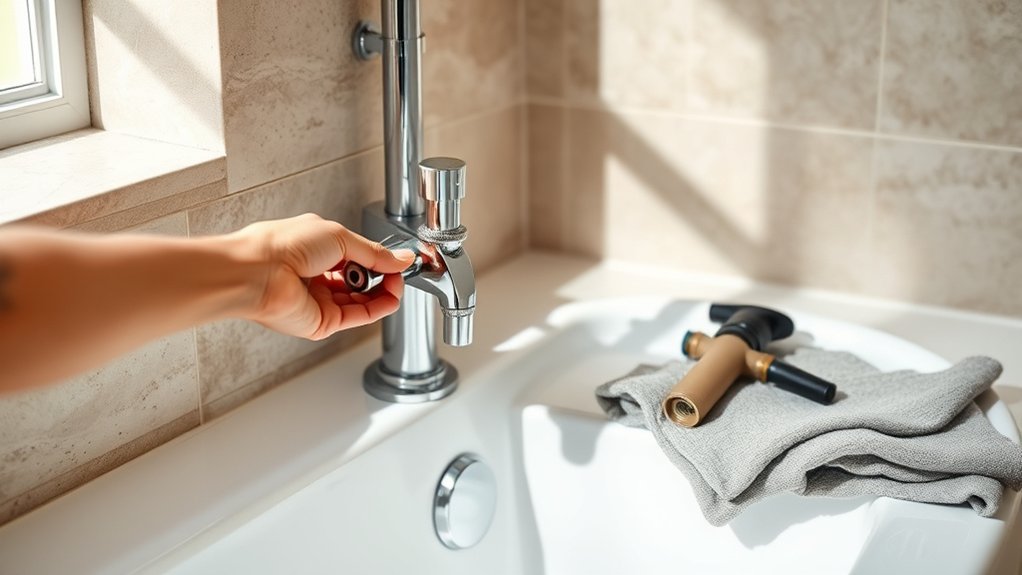
Before you begin removing your Delta shower faucet, make sure to turn off the water supply to prevent leaks or flooding. Locate the main water valve for your home or the dedicated shutoff valve for the shower area. Turn the valve clockwise until it stops to fully cut off the water supply.
Next, open the faucet to drain any remaining water from the pipes. This step reduces pressure and prevents water from spraying when you remove the faucet.
Clear the shower area of any personal items and cover the drain with a cloth or stopper to avoid losing small parts. Ensuring the shower area is dry and free from obstructions helps you work safely and efficiently throughout the removal process.
Proper preparation here saves time and prevents potential water damage.
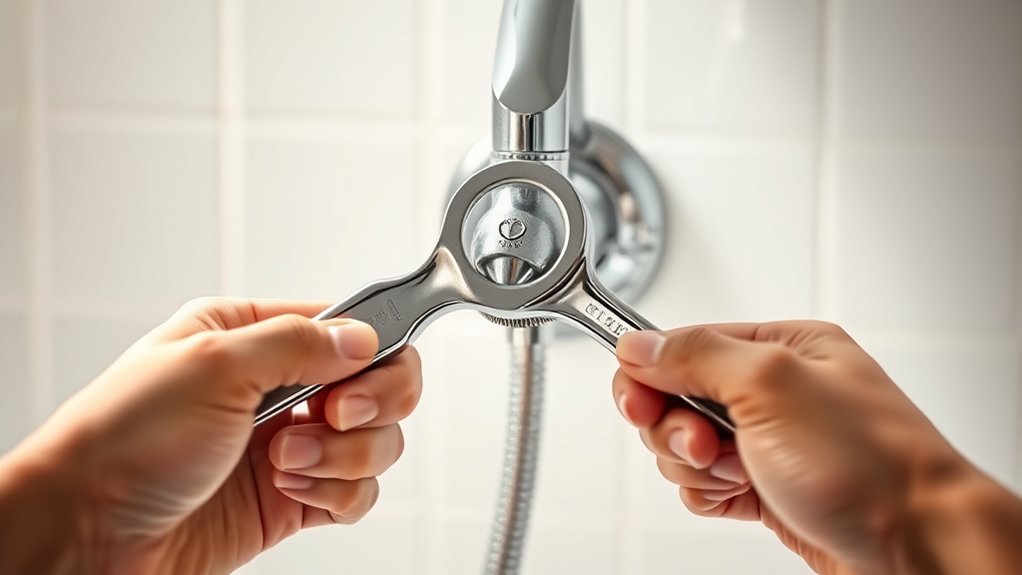
Gather Tools to Remove Your Delta Shower Faucet
You’ll need a few essential tools like an Allen wrench, screwdriver, and adjustable wrench to remove your Delta shower faucet efficiently. Clear your workspace to prevent losing small parts and to work safely. Having everything ready guarantees a smooth and organized removal process.
Essential Removal Tools
Gathering the right tools is essential for efficiently removing your Delta shower faucet. Proper faucet maintenance and smooth shower upgrades depend on having these tools at hand. You’ll need precise instruments to avoid damage and guarantee a swift process.
| Tool Name | Purpose | Tips for Use |
|---|---|---|
| Phillips Screwdriver | Remove handle screws | Use the correct size |
| Adjustable Wrench | Loosen nuts and fittings | Protect finishes with tape |
| Allen Wrench Set | Remove set screws on handles | Match size exactly |
| Pliers | Grip and twist stubborn parts | Use adjustable pliers gently |
| Utility Knife | Cut caulk and sealant | Score carefully to avoid damage |
Having these tools ready simplifies faucet maintenance and supports efficient shower upgrades.
Preparing Your Workspace
Having the right tools on hand streamlines the removal process, but an organized workspace keeps everything efficient and safe. Before starting, clear your work area of unnecessary items to prevent accidents and improve workflow.
Prioritize workspace organization by designating a spot for each tool and component you remove. Follow safety precautions to protect yourself and your plumbing system.
Gather these essentials:
- Adjustable wrench and screwdriver set
- Utility knife and Allen wrench
- Towels or rags to catch drips
- Container for screws and small parts
Keep your workspace well-lit and dry. Double-check that the water supply is shut off before proceeding. Staying organized and cautious minimizes errors and damage during the removal of your Delta shower faucet.
Remove the Delta Shower Faucet Handle (Tips for Stuck Handles)
A stuck Delta shower faucet handle can complicate removal, but using the right techniques makes the process manageable. First, locate the handle’s set screw, typically hidden under a decorative cap. Remove the cap with a flathead screwdriver.
If the handle resists, apply handle lubrication tips by spraying a penetrating oil around the base and letting it sit 10–15 minutes. Gently wiggle the handle back and forth to loosen it.
For stubborn handles, use a handle puller tool to avoid damage. Avoid excessive force, which can break components. Once loosened, use an Allen wrench or screwdriver to remove the set screw, then carefully pull the handle off.
These stuck handle solutions guarantee safe removal without harming the faucet assembly.
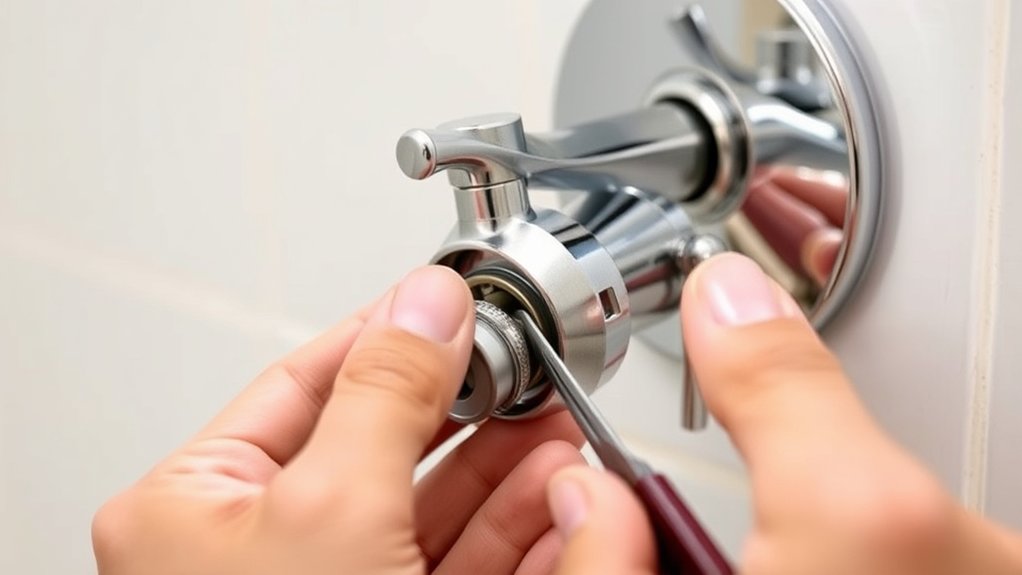
Take Off the Trim Plate to Access the Valve Cartridge
Locate the screws securing the trim plate and remove them carefully. Use a flat tool to gently pry the plate away from the wall without damaging the surrounding surface. This will expose the valve cartridge for the next steps.
Locate and Remove Screws
Start by identifying the screws that secure the trim plate to your Delta shower faucet. Locating screws is critical, as different screw types may be used depending on the model. Common screw types include Phillips, flathead, hex, and Torx. Use the appropriate screwdriver or bit to avoid stripping.
Follow these steps to locate and remove the screws:
Inspect around the trim plate’s perimeter for visible screws.
Check behind decorative caps or plugs that may hide screws.
Use a flashlight for better visibility in tight spaces.
Confirm screw type before removal to verify you have the correct tool.
Once identified, carefully unscrew and store the screws to prepare for removing the trim plate and accessing the valve cartridge.
Gently Pry Off Plate
After removing the screws securing the trim plate, you’ll need to gently pry it off to access the valve cartridge beneath. Use a flathead screwdriver or a trim removal tool to carefully insert between the plate and the wall.
Apply steady, even pressure to avoid damaging the plate or surrounding surfaces. Work your way around the plate using proper plate removal techniques, lifting it gradually and evenly.
If the plate resists, double-check for any hidden screws or adhesive that may still be holding it in place. Removing the trim plate correctly is essential for effective shower faucet maintenance and prevents unnecessary damage.
Once the plate is off, you’ll have clear access to the valve cartridge for inspection, repair, or replacement.
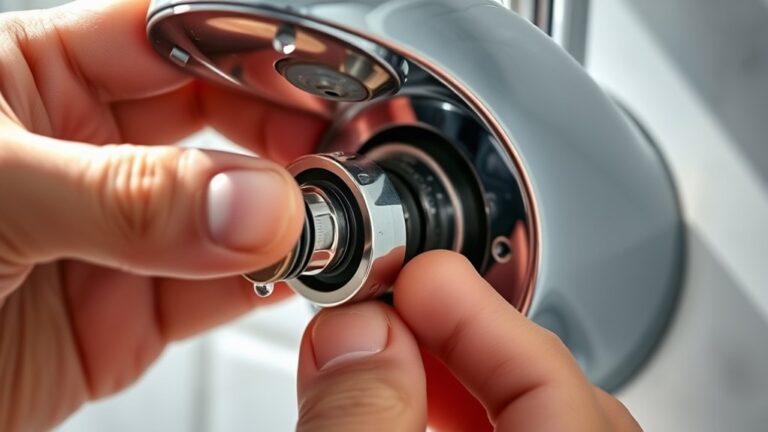
Extract the Delta Shower Faucet Valve Cartridge Safely
Begin by turning off the water supply to prevent leaks during cartridge removal. Identifying the cartridge type is vital for proper valve maintenance and replacement. Use these steps to extract the Delta shower faucet valve cartridge safely:
Remove the retaining clip or nut securing the cartridge. Use a cartridge puller tool or grip the cartridge firmly with pliers. Pull straight out to avoid damaging the valve body. If the cartridge is stuck, apply penetrating oil and wait before retrying.
Different cartridge types may require specific extraction methods; consult your model’s manual. Avoid forcing the cartridge, which can cause valve damage. Proper removal guarantees effective valve maintenance and extends the faucet’s lifespan.
Inspect and Clean the Valve Cartridge and Surrounding Parts
Carefully examine the valve cartridge and surrounding components for mineral buildup, corrosion, or damage. Use a soft brush and vinegar solution to remove mineral deposits without harming the parts.
During cartridge inspection, check the rubber O-rings and seals for cracks or wear, which can cause leaks. If you find any damaged components, replace them promptly to guarantee proper valve function.
Clean the valve housing with a damp cloth, removing debris that could hinder valve operation. Proper valve maintenance extends the lifespan of your Delta shower faucet and prevents future malfunctions.
After cleaning and inspection, lubricate the cartridge seals with plumber’s grease to facilitate smooth movement. Reassemble the valve carefully, confirming all parts are seated correctly before reinstalling the handle and trim.
Frequently Asked Questions
Can I Replace a Delta Shower Faucet Cartridge Without Professional Help?
Yes, you can handle DIY faucet replacement by carefully following cartridge maintenance steps. Turn off water, remove the handle, extract the cartridge, and install the new one.
Use proper tools and consult manufacturer instructions for best results.
How Do I Identify the Model of My Delta Shower Faucet?
You identify your Delta faucet model by examining its design and model features, like handle shape or finish. Check the faucet’s backside or inside the handle for stamped numbers, then match these with Delta’s online catalog or manual.
What Are Common Signs That My Delta Shower Valve Cartridge Needs Replacement?
You’ll notice cartridge wear when water leaks or drips persist despite tightening. Performance issues like inconsistent temperature or reduced water flow also signal it’s time to replace your Delta shower valve cartridge promptly to avoid damage.
Are There Eco-Friendly Delta Shower Faucet Options Available?
Yes, Delta offers eco-friendly shower faucets using sustainable materials and advanced water conservation technology. You’ll reduce water usage without sacrificing performance by choosing models specifically designed for efficiency and environmental responsibility.
How Do I Prevent Leaks After Reinstalling a Delta Shower Faucet?
You’ll prevent leaks by ensuring proper water pressure and using plumber’s tape on threads. Tighten connections without overdoing it.
Regular maintenance tips include checking seals and cleaning aerators to keep your Delta shower faucet leak-free.