How to Install an Outside Faucet
To install an outside faucet, start by choosing a spot near your main water line that offers easy access in your yard and good insulation. This location will help ensure optimal function and protection from freezing.
Next, turn off your water supply and drain the existing pipe to prevent any water flow during installation. Prepare all necessary tools and materials, including the appropriate faucet type, pipe fittings, and sealant.
Wrap plumber’s tape around the pipe threads to create a watertight seal. Then, screw on the faucet securely and mount it to the wall for stability.
Finally, restore the water flow and carefully check for any leaks. Following these steps guarantees a reliable setup. More detailed guidance is available to help you through the process if needed.
Choose the Best Spot for Your Outdoor Faucet
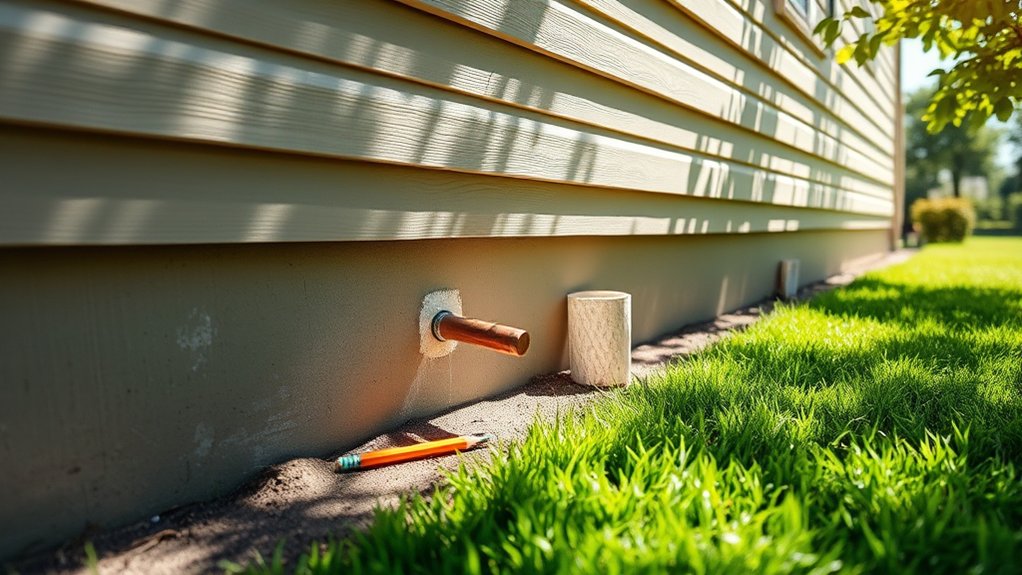
Before installing your outdoor faucet, you need to select a location that provides easy access to your water supply line while minimizing exposure to extreme weather. Start by identifying where the main water line runs close to your home’s exterior walls.
Choose a faucet location that allows for straightforward pipe connections and easy shutoff access. Consider yard accessibility to guarantee you can comfortably attach hoses or perform maintenance without obstruction.
Select a faucet spot with easy pipe connections and convenient access for hose attachment and maintenance.
Avoid positioning the faucet in low spots prone to flooding or where it will be exposed to harsh winter winds, which can increase the risk of freezing. Ideally, place the faucet on a sheltered wall or near a foundation where insulation is better.
This careful selection optimizes durability and functionality, making sure your outdoor faucet serves you efficiently year-round.
Get Your Tools and Materials Ready for Installation
Gather all the necessary tools and materials to guarantee a smooth installation process for your outdoor faucet. First, select the appropriate faucet type, either frost-free or standard, based on your climate and usage needs.
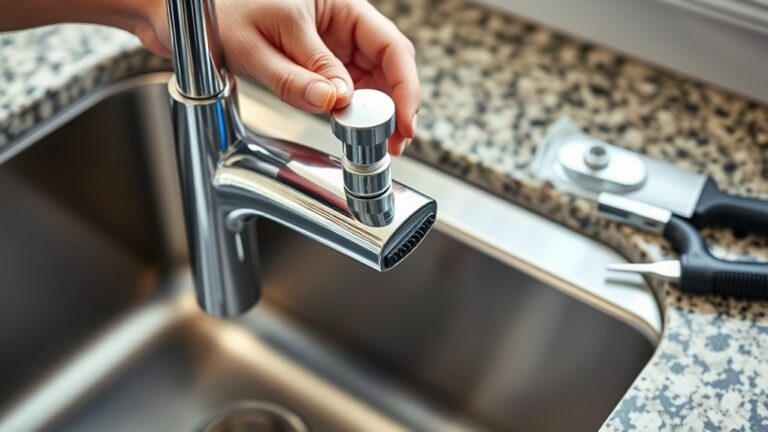
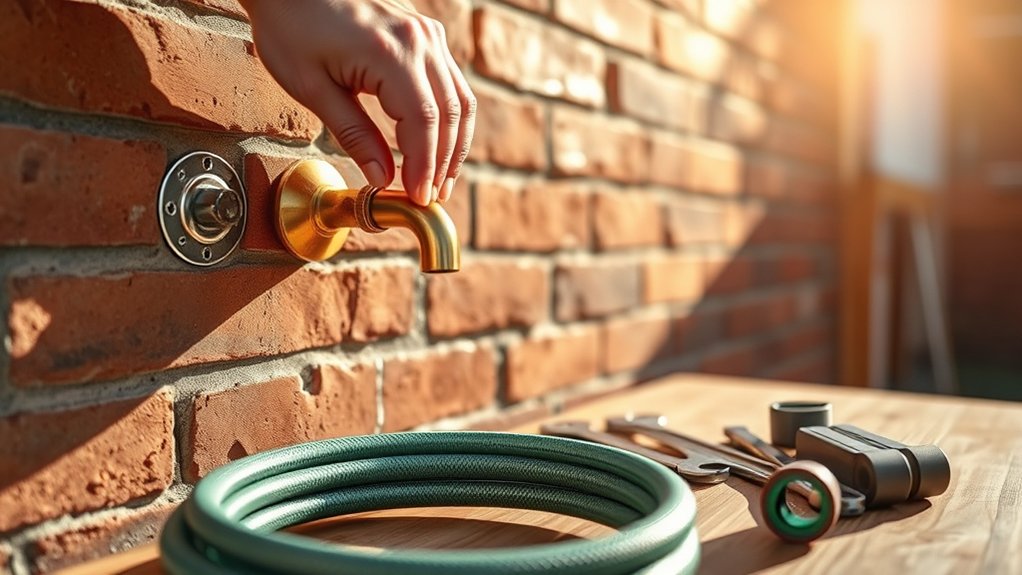
You’ll need a pipe wrench, adjustable wrench, Teflon tape, pipe cutter, and possibly a drill with masonry bits if mounting on a brick or concrete surface. Prepare copper or PVC pipes, fittings, and a shut-off valve compatible with your plumbing system.
Installation tips include verifying pipe sizes and confirming all connections are leak-proof. Keep pipe dope or thread sealant on hand to reinforce joints.
Having these tools and materials ready prevents delays and guarantees a professional, durable installation. Organize everything before you start to maintain efficiency throughout the process.
Turn Off Water and Prep the Plumbing
Once you have all your tools and materials organized, shut off the main water supply to the area where you’ll install the outdoor faucet. Next, open an existing outdoor faucet or hose bib to drain residual water from the pipes. This step prevents water pressure from causing leaks during installation.
Identify the type of faucet you’re replacing or installing, such as compression, frost-free, or ball valve, as this affects how you prep the plumbing. Remove any old faucet carefully, inspecting the pipe for damage or corrosion. Clean the pipe threads thoroughly before proceeding.
For winterization tips, confirm the new faucet is frost-resistant or install a frost-proof model to avoid freezing and bursting pipes. Proper prep here guarantees a secure, long-lasting installation.
Install Your Outdoor Faucet Securely
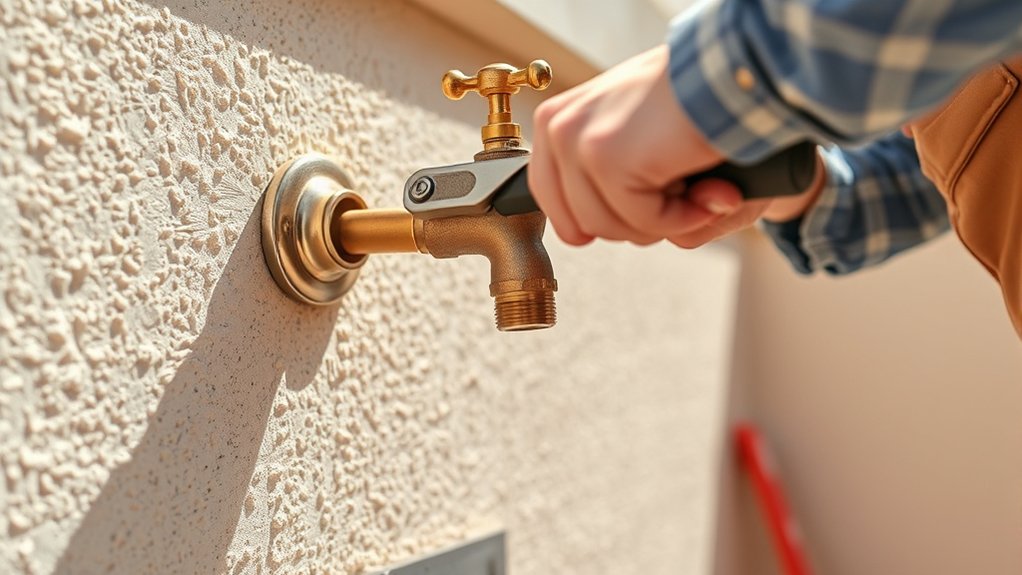
Start by applying plumber’s tape tightly around the threaded end of the pipe to guarantee a watertight seal. When installing your outdoor faucet, selecting the right faucet type, such as frost-free or standard, is essential for durability.
Use proper installation techniques to secure a fit and prevent leaks. Follow these steps:
- Thread the faucet onto the taped pipe end, turning clockwise until snug. Avoid overtightening to prevent damage.
- Position the faucet so the handle faces outward for easy access and aligns with your water source.
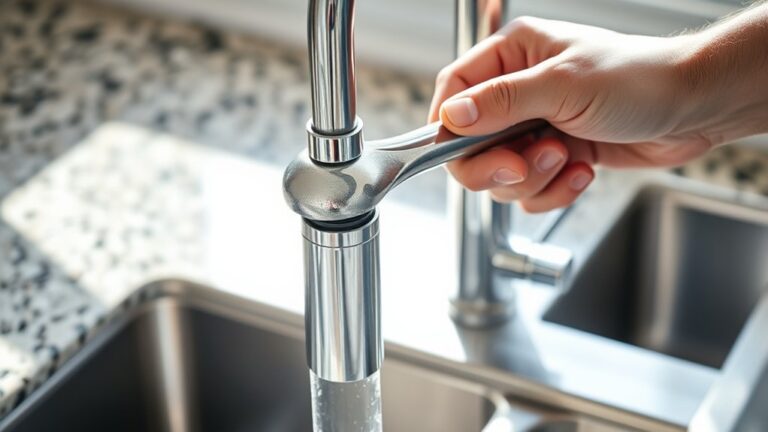
- Secure the faucet to the exterior wall using mounting screws and brackets, providing stability and reducing stress on the plumbing.
These precise steps help you install your outdoor faucet securely, promoting efficient water flow and longevity.
Test Your Outside Faucet and Troubleshoot Issues
After securing your outdoor faucet, you’ll want to test it thoroughly to verify proper installation and identify any leaks or malfunctions. Turn the water supply back on slowly and observe the faucet for steady water flow. Use faucet maintenance tips like checking all connections for drips.
Employ plumbing leak detection methods by inspecting the valve, spout, and hose bib for moisture or water pooling. If you notice leaks, tighten fittings or replace washers as needed. Test the faucet by opening and closing it several times to guarantee smooth operation without dripping.
Also, check for any unusual noises indicating internal issues. Consistent faucet maintenance tips, such as regular leak inspections, will prolong your faucet’s lifespan and prevent costly repairs.
Frequently Asked Questions
Can I Install an Outside Faucet Myself Without Plumbing Experience?
Of course, you can master DIY plumbing without experience. Just grab faucet tools and hope for the best!
Seriously, follow precise steps, use proper tools, and consult guides to install an outside faucet safely and effectively yourself.
What Type of Outdoor Faucet Is Best for Cold Climates?
You’ll want a frost-free outdoor faucet made from durable materials like brass or stainless steel. These materials resist corrosion and provide freeze protection by shutting off water inside your heated home, preventing pipe bursts in cold climates.
How Do I Winterize My Outdoor Faucet to Prevent Freezing?
You might think just shutting off water stops frozen pipes, but it’s not enough. Drain the faucet, apply insulation techniques like foam covers or heat tape, and seal gaps to guarantee your outdoor faucet stays freeze-proof all winter.
Are There Any Local Codes or Permits Needed for Installation?
You’ll need to check local plumbing codes and installation regulations before starting. Many areas require permits for outdoor faucet installation to guarantee compliance with safety and water standards.
Contact your local building department first to avoid violations.
What Maintenance Is Required to Keep an Outdoor Faucet in Good Condition?
Don’t worry, regular faucet cleaning and leak prevention are simple. You should inspect seals, tighten connections, and clear debris monthly.
In winter, drain and insulate the faucet to avoid freezing damage and guarantee lasting performance.