How to Change Kitchen Cabinet Color
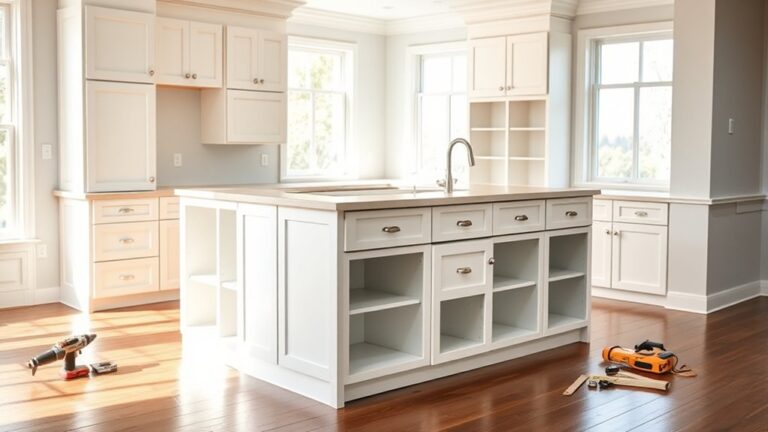
To change your kitchen cabinet color, start by removing the doors, drawers, and hardware. This makes the process easier and ensures a more even finish.
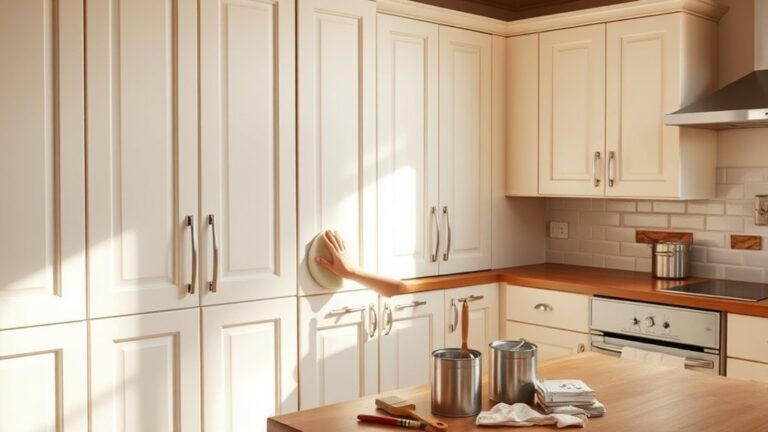
Next, clean and sand all surfaces thoroughly to guarantee proper paint adhesion.
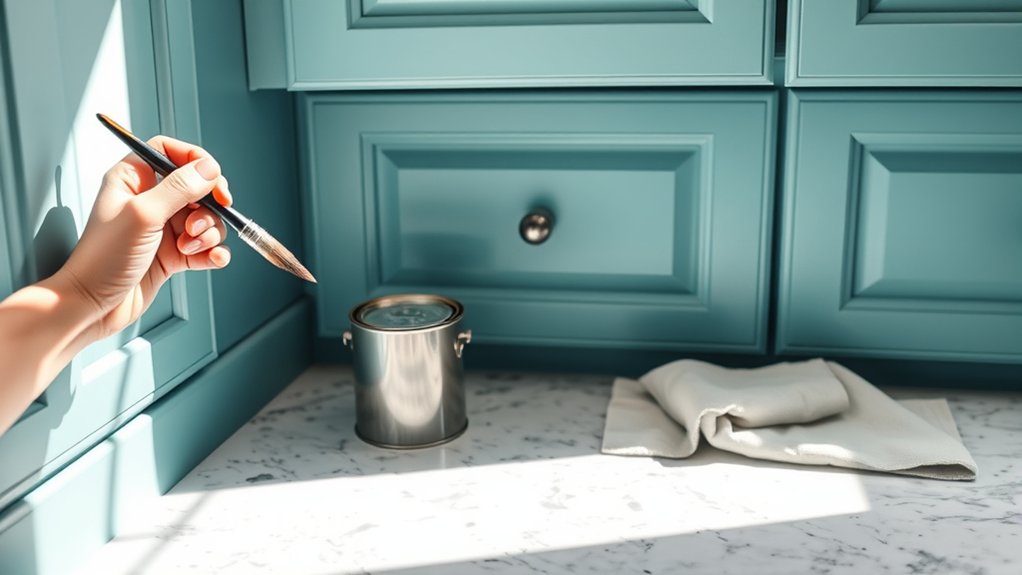
Choose a color that matches your style and mood, while also considering current trends and the lighting in your kitchen. Using quality brushes and foam rollers will help you apply the paint smoothly.
Opt for semi-gloss or satin paint for durability and a polished look. Before painting, apply a primer to create a smooth base and enhance the paint’s longevity.
After painting, maintain your cabinets by cleaning them gently and touching up any chips or scratches as needed.
Keep following each step carefully to master the process and achieve a flawless kitchen cabinet color transformation.
Why Change Your Kitchen Cabinet Color?
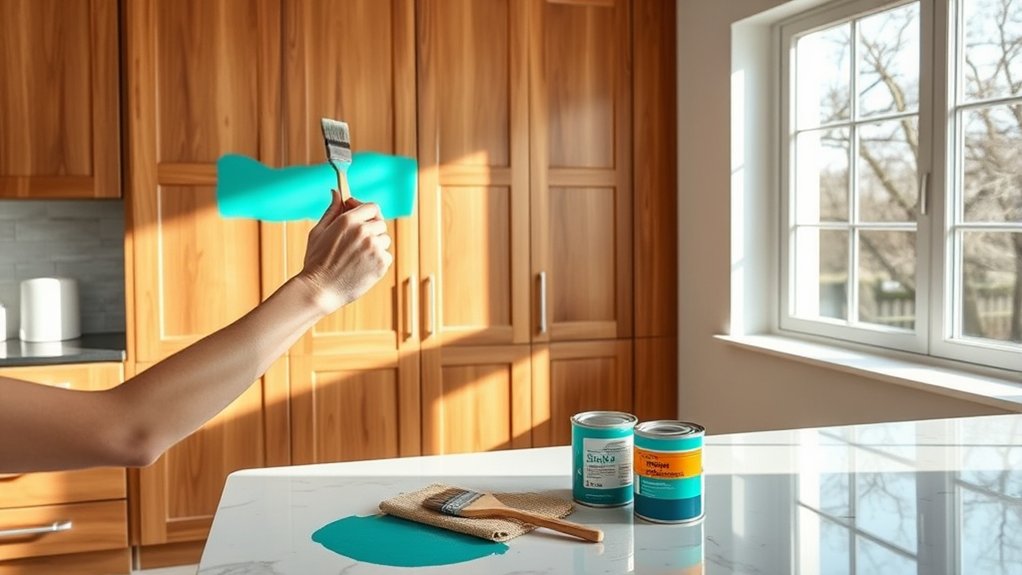
Although your kitchen cabinets might still function well, changing their color can dramatically reinvigorate your space without the cost of a full renovation. You’ll find that updating cabinet color aligns with evolving cabinet trends, allowing you to modernize your kitchen’s look efficiently.
Color psychology plays an essential role here. Choosing the right hue can influence how you feel in the room, from calm blues that promote relaxation to energetic yellows that boost creativity. Revitalizing cabinet color also helps you personalize your kitchen to match your current style or complement new decor.
How to Choose the Perfect Paint Color for Your Cabinets
How do you select a paint color that perfectly complements your kitchen cabinets? Start by considering color psychology: choose hues that evoke the mood you want in your kitchen. For a calming space, soft blues or greens work well, while warm tones like yellows or reds create energy.
Next, explore trending hues to keep your kitchen stylish and modern. Currently, muted earth tones, deep navy, and classic whites are popular choices. Test color samples on a small cabinet section to see how lighting affects the shade throughout the day.
Gather the Right Tools and Materials for Painting Cabinets
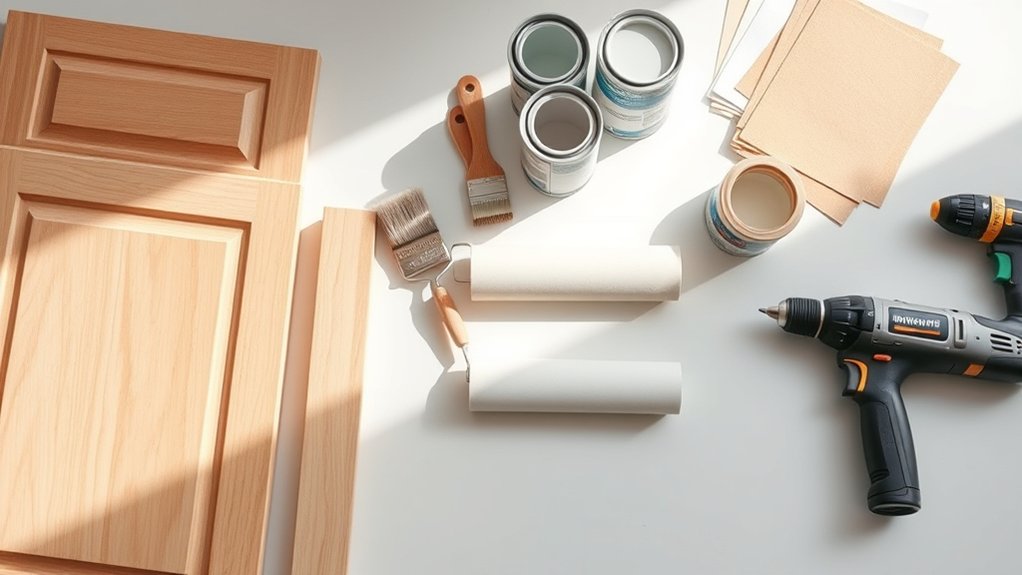
Before you start painting, make certain you have the essential tools like brushes, rollers, sandpaper, and painter’s tape.
Choose high-quality paint and primer designed for cabinets to guarantee a durable, smooth finish. Having the right materials will make the job easier and improve your final results.
Essential Painting Tools
To achieve a smooth, professional finish when painting your kitchen cabinets, you’ll need several essential tools and materials. Start with high-quality brush types: angled brushes are ideal for corners and trim, while flat brushes work well on larger flat surfaces. Use a foam roller for an even coat on cabinet doors and panels.
Select paint finishes that suit your kitchen’s style and durability needs. Semi-gloss or satin finishes are popular for cabinets due to their easy cleaning and resistance to moisture.
Don’t forget painter’s tape to protect hardware and edges, sandpaper or sanding blocks for surface preparation, and a sturdy paint tray. Having these tools ready guarantees you work efficiently and achieve the best possible results with your cabinet painting project.
Choosing Quality Materials
Selecting the right materials is critical for a durable, attractive finish on your kitchen cabinets. Start by choosing paints specifically formulated for cabinetry, as they offer superior material durability and resist chipping or peeling.
Opt for finish types that suit your kitchen’s use and aesthetic. Semi-gloss and satin finishes provide a balance of durability and easy cleaning, while matte finishes offer a subtle look but may show wear faster.
Don’t forget high-quality primers designed for adhesion and stain-blocking, ensuring your topcoat lasts longer. Use fine-grit sandpaper to prepare surfaces properly, improving paint adherence.
Finally, invest in quality brushes or foam rollers made for smooth finishes. By selecting these materials carefully, you guarantee a professional-level result that maintains beauty and resilience over time.
How to Prep Kitchen Cabinets for a Flawless Paint Job
Start by removing all cabinet doors, drawers, and hardware to guarantee you can access every surface evenly. Clean all surfaces thoroughly to remove grease and dirt.
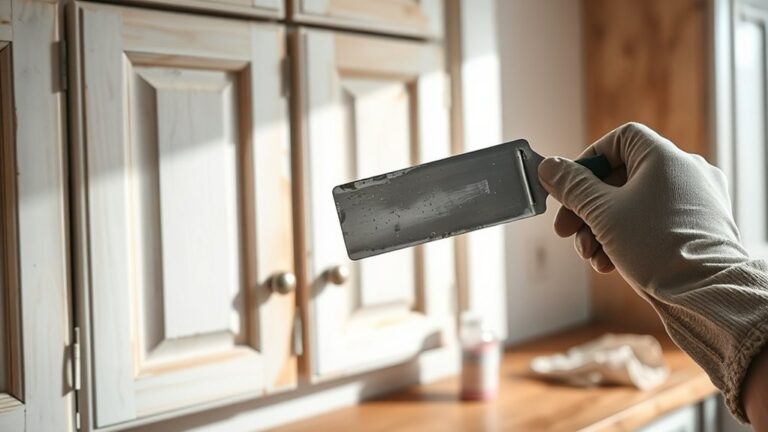
Use proper sanding techniques. Start with medium-grit sandpaper to remove the old finish, then fine-grit to smooth the surface. Choose your primer options carefully; an oil-based primer offers excellent adhesion, while a shellac-based primer blocks stains and odors. Applying primer assures paint adheres well and lasts longer.
| Task | Tool Needed | Tip |
|---|---|---|
| Remove hardware | Screwdriver | Label pieces for reassembly |
| Sand surfaces | Sandpaper (120-220 grit) | Use even strokes |
| Apply primer | Paintbrush or roller | Thin, even coats |
Proper prep sets the foundation for a flawless paint job.
Step-by-Step Guide to Painting and Finishing Your Cabinets
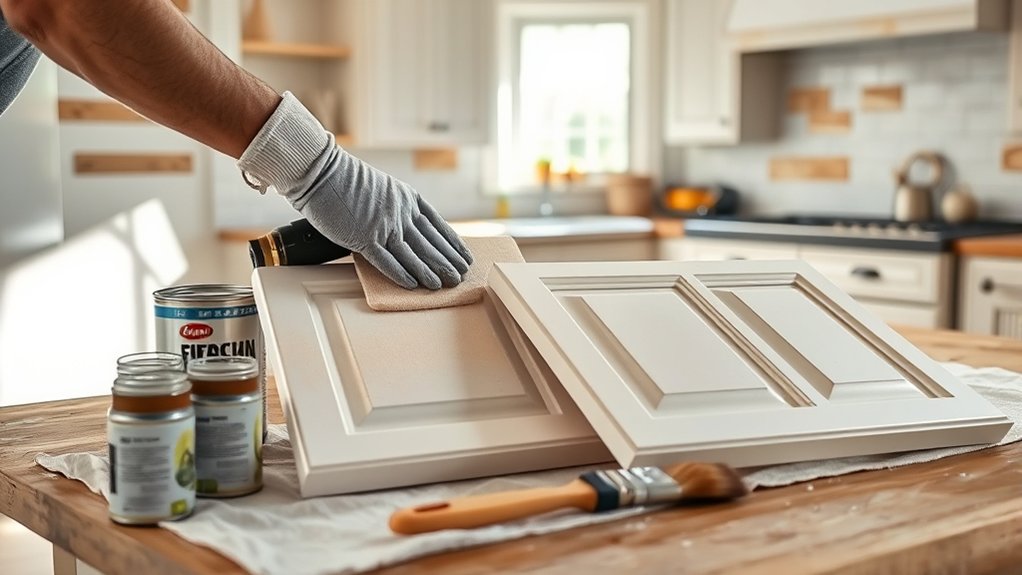
Once your cabinets are prepped and primed, you’re ready to apply the paint with confidence. Start by selecting a paint that complements current color trends, such as muted pastels or bold jewel tones, depending on your cabinet styles.
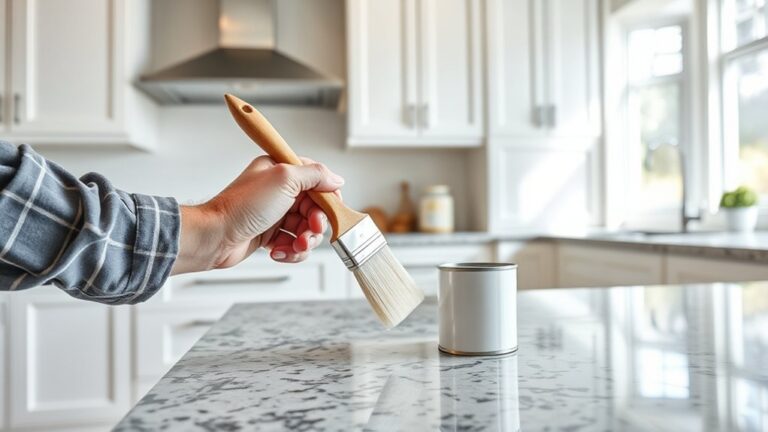
Use a high-quality brush or a foam roller for smooth, even coats. Apply thin layers, allowing each coat to dry fully before adding the next to prevent drips and uneven texture.
After the final coat, let the paint cure for at least 24 hours. Finish with a clear polyurethane topcoat to protect against kitchen wear and enhance durability.
How to Maintain and Touch Up Painted Kitchen Cabinets
You should clean your painted cabinets regularly using a gentle, non-abrasive cleaner to keep the finish looking fresh. When you notice paint chips, sand the area lightly and apply matching paint to restore a smooth surface.
These simple steps will help maintain your cabinets’ appearance and extend their lifespan.
Cleaning Painted Cabinets
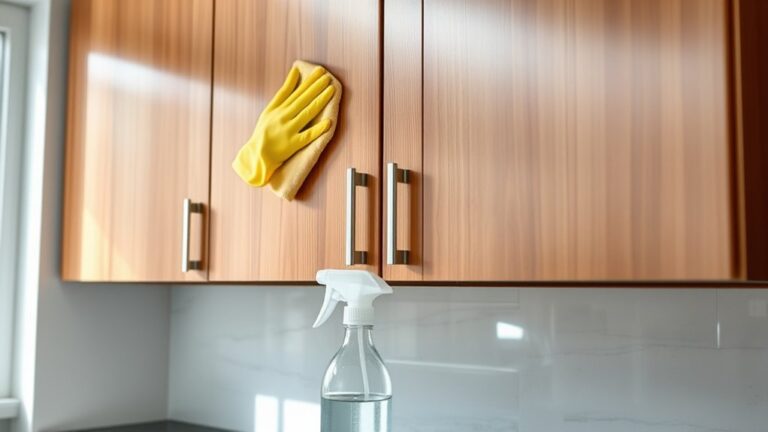
Maintain your painted kitchen cabinets by regularly cleaning them with gentle, non-abrasive cleaners to preserve their finish and prevent buildup. Start by selecting appropriate cleaning solutions. Mild dish soap diluted in warm water works well. Avoid harsh chemicals that can damage the paint or cause discoloration.
When cleaning, use a soft cloth or sponge to gently wipe surfaces, focusing on areas prone to grease or fingerprints. Proper cabinet prep before painting, like sanding and priming, helps the paint adhere better and makes cleaning easier over time.
After cleaning, dry cabinets thoroughly with a microfiber cloth to prevent moisture damage. Following these steps consistently will keep your painted cabinets looking fresh and extend the life of your kitchen’s new color without compromising the finish.
Fixing Paint Chips
Address paint chips promptly to keep your kitchen cabinets looking smooth and fresh. Start by cleaning the chipped area thoroughly to remove grease and dirt.
Use fine-grit sandpaper to smooth edges around the chip, ensuring better paint adhesion. For precise color matching, test paint samples on a hidden spot or use a color-matching app to find the exact shade.
Apply a thin layer of primer if the chip exposes bare wood. Then, using a small brush, carefully apply matched paint in thin coats, allowing each layer to dry before adding the next.
Finish by lightly sanding the repaired spot and applying a clear protective topcoat if your cabinets have a glossy finish. These repair techniques will restore your cabinets’ appearance and extend their lifespan.
Frequently Asked Questions
Can I Change Cabinet Color Without Sanding?
You can skip sanding by embracing spray painting for cabinet refinishing, turning your cabinets into a smooth canvas. Clean thoroughly, use a bonding primer, then spray paint evenly for a fresh, flawless finish without the dusty mess.
What Paint Brand Lasts Longest on Cabinets?
You’ll want to choose Benjamin Moore Advance or Sherwin-Williams ProClassic for paint durability. These brands offer excellent cabinet finishes that resist chipping and wear, ensuring your cabinets stay beautiful longer with minimal maintenance.
How Long Does Cabinet Paint Take to Cure?
Like waiting for a telegram, cabinet paint’s cure time varies, usually 7 days for oils and 2-3 days for acrylics.
You’ll want to avoid heavy use until it’s fully cured to guarantee durability and finish quality.
Are There Eco-Friendly Paints for Cabinets?
Yes, you’ll find eco-friendly options with low VOC products from sustainable brands. Choose paint finishes like satin or semi-gloss, which are durable and eco-conscious.
These finishes ensure your cabinets look great while minimizing environmental impact.
Can I Paint Over Laminate Cabinets?
Yes, you can paint over laminate cabinets. Focus on thorough laminate preparation by cleaning and sanding.
Use primer options like bonding or shellac-based primers to guarantee the paint adheres well and lasts longer on the slick surface.