How to Replace Tub Faucet Knob
To replace your tub faucet knob, start by turning off the water supply. This is an essential first step to prevent water flow while you work.
Use screwdrivers, an adjustable wrench, or an Allen wrench to remove the old knob, making sure to locate and loosen any hidden set screws.
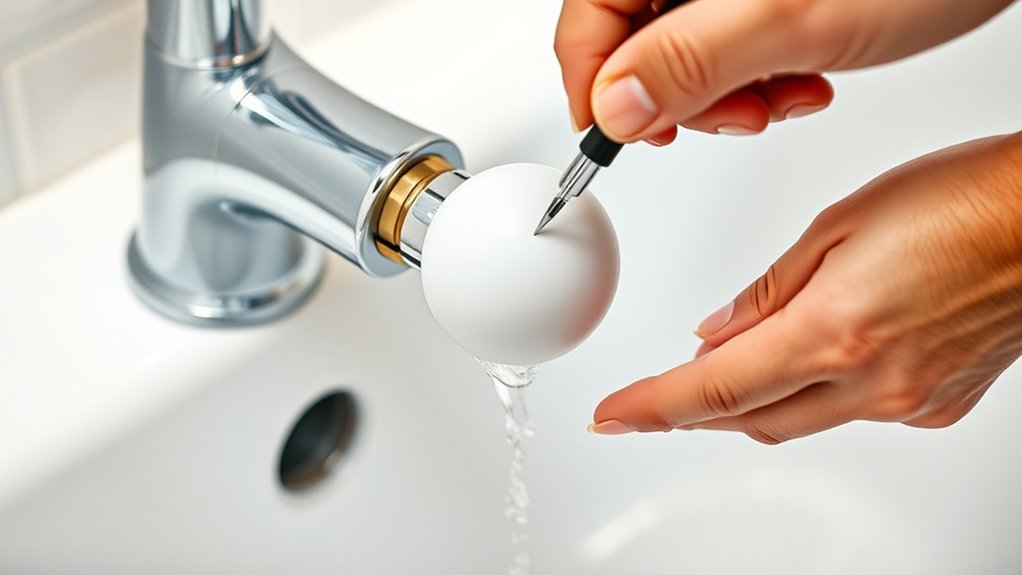
Next, align the new knob with the faucet stem and secure it moderately with screws. Test the knob to ensure smooth operation. If you notice any leaks or corrosion, inspect the washers and apply plumber’s grease as needed.
Following these steps guarantees a tight, smooth fit. Continuing further, you’ll uncover tips for troubleshooting and maintenance to keep your tub faucet knob working flawlessly.
What Tools You’ll Need to Replace a Tub Faucet Knob
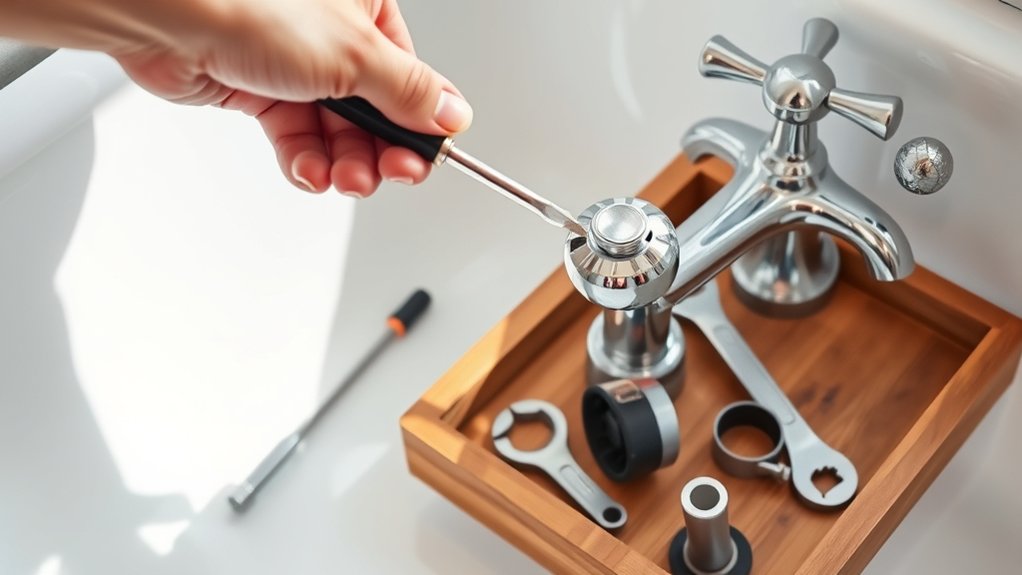
To replace a tub faucet knob, you’ll need a few essential tools on hand. Start with a flathead and Phillips screwdriver to handle different screw types found in various faucet knob types.
An adjustable wrench or pliers will help loosen or tighten nuts during installation techniques. You might also need an Allen wrench set for knobs secured with hex screws.
A utility knife can assist in cutting caulk or sealant around the knob. Additionally, having plumber’s grease on hand guarantees smooth reassembly.
These tools cover most faucet knob types and installation techniques, making the replacement efficient. Organize your workspace and gather these tools before starting to avoid interruptions and guarantee a smooth, precise installation process.
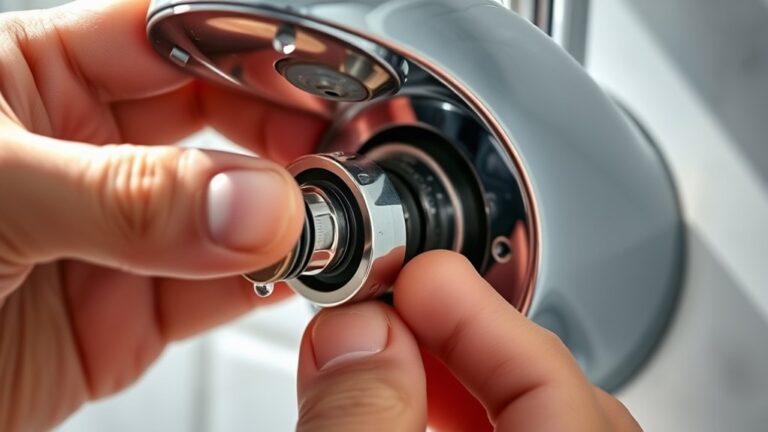
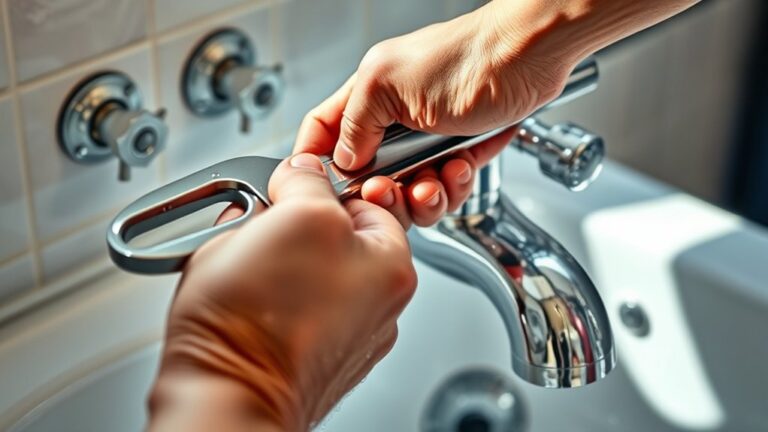
How to Safely Remove Your Old Tub Faucet Knob
Start by turning off the water supply to prevent any leaks during removal. Identifying your tub’s knob style and faucet type is vital before proceeding. Different knob styles such as screw-on, push-on, or set-screw require specific removal techniques. Follow these steps for safe removal:
Locate the set screw, usually hidden under a cap or on the side. Use an appropriate screwdriver or Allen wrench to loosen the set screw gently. For screw-on knobs, turn counterclockwise to unscrew the knob.
If stuck, apply penetrating oil and wait a few minutes before trying again. Carefully pull the knob straight off without forcing to avoid damaging the faucet stem.
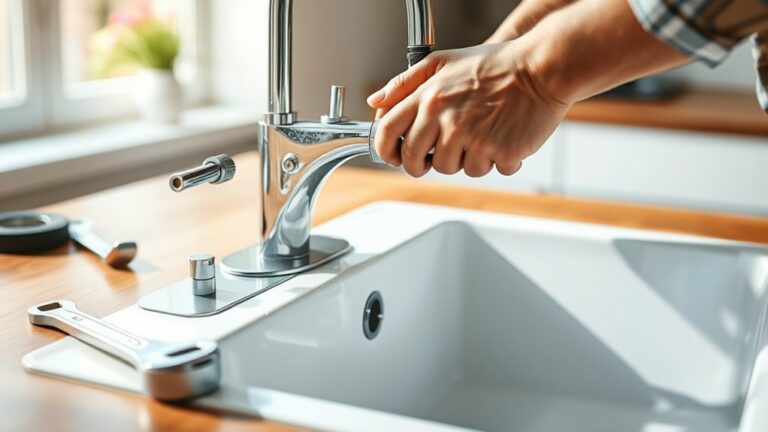
How to Install a New Tub Faucet Knob
Once you’ve carefully removed the old knob without damaging the faucet stem, you can begin installing the new tub faucet knob. First, identify the faucet knob style, whether it’s a screw-on, push-on, or lever type. Match the new knob accordingly.
Align the knob with the stem, guaranteeing a snug fit. Use installation tips like tightening screws firmly but not overtightening to avoid stripping.
| Step | Action | Installation Tip |
|---|---|---|
| 1 | Select correct faucet knob | Confirm compatibility with stem |
| 2 | Align knob on faucet stem | Guarantee proper orientation |
| 3 | Secure knob with screws | Tighten moderately |
| 4 | Test knob for smooth motion | Adjust if stiffness occurs |
| 5 | Clean installation area | Remove debris for longevity |
Troubleshooting Common Faucet Knob Problems
Although installing a new tub faucet knob is straightforward, you might encounter issues like stiffness, leaks, or loose knobs. Troubleshooting these problems quickly guarantees your faucet functions correctly.
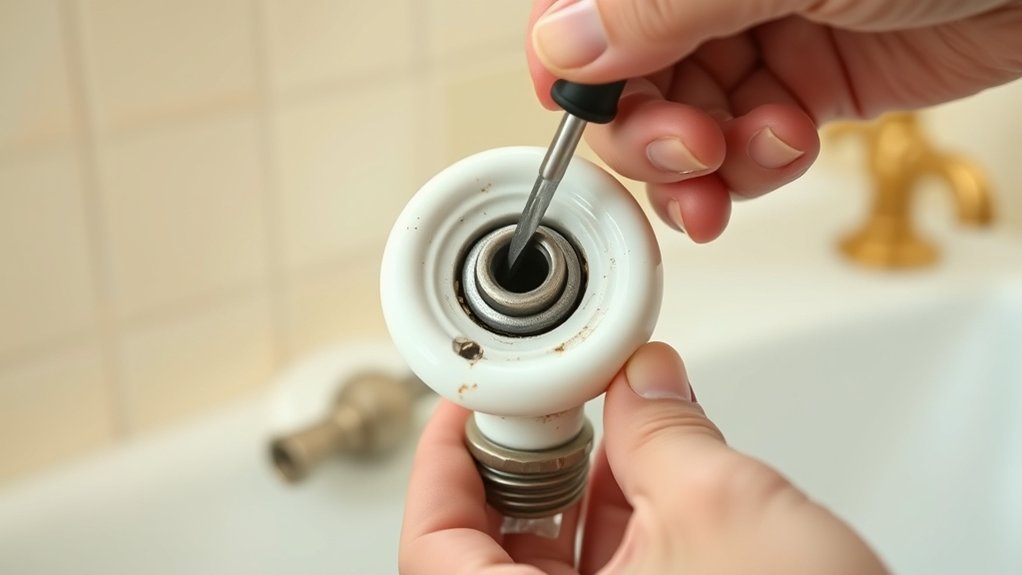
Check for knob leaks by inspecting the washer and O-ring; replace if worn. Address corrosion issues by cleaning or replacing corroded parts, especially in hard water areas.
Tighten loose fittings to prevent wobbling or knob detachment. Remove mineral buildup caused by hard water using vinegar or a descaling solution.
Confirm the stem and cartridge are intact; damaged components can cause stiffness or leaks.
Maintenance Tips to Keep Your Tub Faucet Knob Working Smoothly
Regularly cleaning and lubricating your tub faucet knob prevents buildup and guarantees smooth operation. Begin by removing the knob and inspecting it for mineral deposits caused by poor water quality. Use a mild vinegar solution to dissolve scale without damaging knob materials, especially if they’re plastic or brass.
After cleaning, apply a silicone-based lubricant to moving parts to reduce friction. Avoid petroleum-based lubricants, which can degrade certain knob materials. Check water quality periodically; hard water accelerates wear and may require installing a water softener.
Finally, tighten any loose screws during reassembly to maintain a secure fit. By following these focused maintenance steps, you’ll extend your tub faucet knob’s lifespan and assure consistent, smooth function.
Frequently Asked Questions
Can I Replace a Tub Faucet Knob Myself Without Plumbing Experience?
Yes, you can tackle this DIY plumbing task without experience. With basic faucet maintenance knowledge, you’ll remove the old knob, check for damage, and install the new one carefully.
Make sure to ensure a secure fit and leak-free operation.
What Types of Tub Faucet Knobs Are Available on the Market?
Don’t worry about complexity; you’ll find tub faucet knobs in modern designs and vintage styles. Choose from metal, plastic, or ceramic materials, with single or dual handles. Ensure compatibility with your existing plumbing setup for a smooth replacement.
How Do I Choose the Right Replacement Knob for My Tub Faucet?
You’ll choose the right replacement knob by matching knob styles to your tub’s design and verifying replacement materials for durability and corrosion resistance.
Measure your existing knob’s dimensions to confirm proper fit and function before purchasing.
Are There Eco-Friendly or Water-Saving Tub Faucet Knobs?
Absolutely, you hold the power to save water! Choose tub faucet knobs made from sustainable materials with built-in flow restrictors to boost water conservation.
These eco-friendly options help reduce waste without sacrificing performance or style.
Can a Faulty Tub Faucet Knob Cause Water Damage?
Yes, a faulty tub faucet knob can cause water damage. You’ll prevent leaks by following knob maintenance tips regularly.
Proper upkeep guarantees water leak prevention, avoiding costly repairs and preserving your bathroom’s integrity effectively.