How to Replace a Delta Kitchen Faucet
To replace your Delta kitchen faucet, first gather essential tools like a basin wrench, adjustable wrench, plumber’s tape, and the new faucet kit.
Turning off the water valves is crucial before starting the process. Open the faucet to drain any remaining water from the lines.
Clear the space under the sink to ensure easy access. Next, disconnect the supply lines and remove the mounting nuts to detach the old faucet.
Be careful to keep track of all parts for a smooth reinstallation.
Position the new faucet in place, then tighten the mounting nuts securely. Connect the water supply lines carefully to avoid leaks.
Finally, test the water flow and inspect all connections to ensure there are no leaks.
Following this, you’ll find precise steps to guarantee a smooth, leak-free installation.
Tools and Materials You’ll Need for a Delta Faucet Replacement

To replace a Delta kitchen faucet efficiently, you’ll need a specific set of tools and materials prepared in advance. First, identify the faucet types compatible with your sink, as this dictates installation methods.
Common tools include an adjustable wrench, basin wrench, Phillips and flathead screwdrivers, plumber’s tape, and a bucket to catch water. Materials should include the new Delta faucet kit with all supplied mounting hardware, supply lines if not reusable, and silicone or plumber’s putty for sealing.
Depending on the faucet type, single-handle, double-handle, or pull-out sprayer, installation methods vary, so verify your tools accommodate these differences. Having these precise tools and materials ready will streamline your replacement process and reduce downtime.
Turn Off Water and Prepare Your Kitchen Sink
With all the necessary tools and materials at hand, the next step is to shut off your water supply to avoid leaks during the faucet replacement. Locate the shutoff valves under the sink and turn them clockwise until fully closed. If your valves are stuck or absent, turn off the main water supply to the house.
After shutting off the water supply, open the faucet to drain any remaining water and relieve pressure.
Open the faucet to drain residual water and release pressure after shutting off the supply.
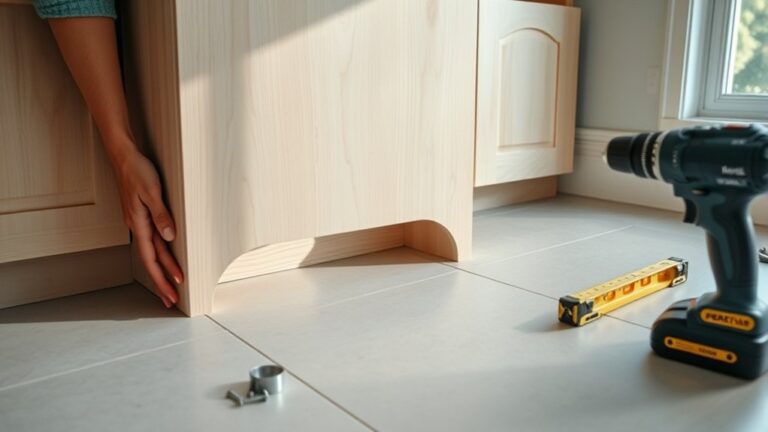
For proper sink preparation, clear the area under your sink, removing stored items to guarantee unobstructed access. Place a bucket or towel beneath the water lines to catch drips.
Inspect the sink surface and surrounding area for damage or buildup, cleaning as needed to create a safe, dry workspace. This guarantees a smooth, efficient faucet replacement process.
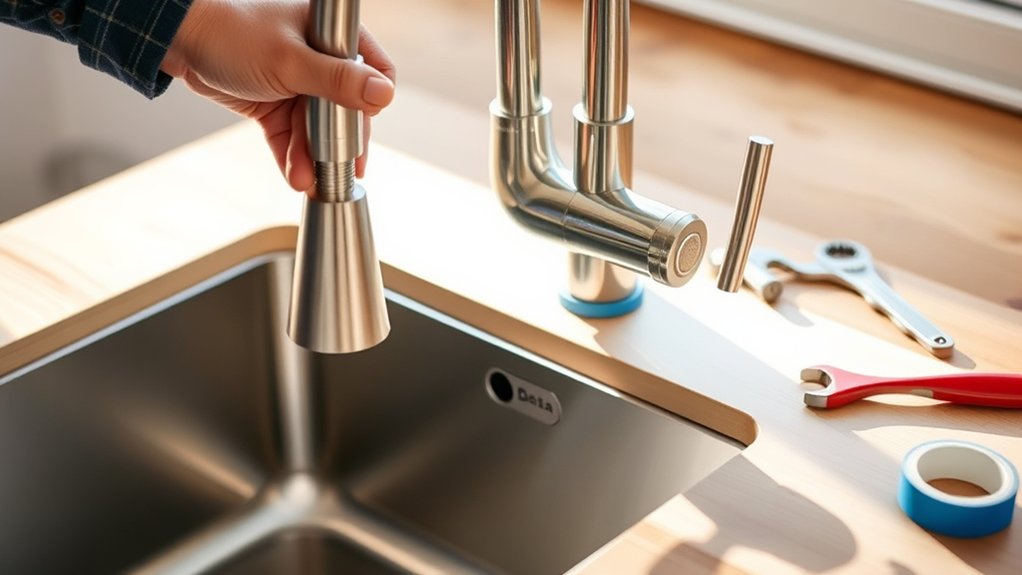
Removing Your Old Delta Kitchen Faucet
Begin by disconnecting the water supply lines from the faucet using an adjustable wrench. Next, remove any mounting nuts or clips securing the faucet to the sink. Depending on your faucet type, you may need to access these from underneath the sink.
Carefully detach the faucet body, making sure you don’t damage the sink surface. Use a putty knife to break any sealant or plumber’s putty around the base.
Key steps to focus on:
- Identify faucet types to reference specific installation guides
- Use proper tools: adjustable wrench, basin wrench, putty knife
- Work in a well-lit, clear workspace
- Handle mounting hardware carefully to avoid damage
- Inspect and clean the sink surface before removal
Following these steps guarantees a smooth removal process, preparing you for the next phase.
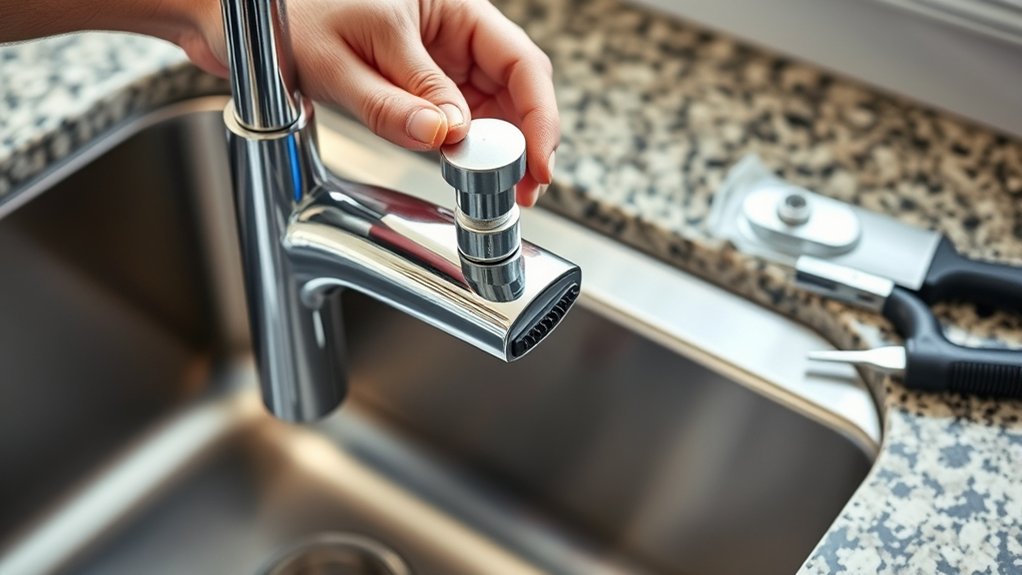
Installing Your New Delta Faucet
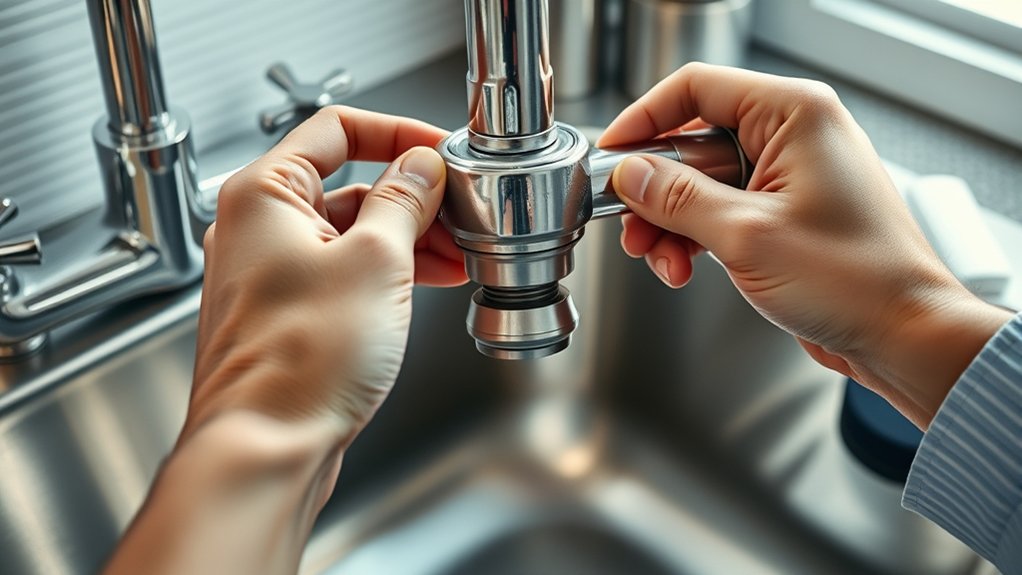
Secure the new Delta faucet to the sink by aligning its base with the mounting holes and tightening the mounting nuts beneath the sink using a basin wrench. Depending on your faucet style, you may need to install a deck plate if your sink has fewer holes than the faucet requires.
Follow the manufacturer’s instructions for proper gasket placement to prevent leaks. Connect the hot and cold water supply lines to their corresponding valves, making sure you use the correct installation techniques such as hand-tightening followed by a quarter turn with a wrench. Avoid overtightening to prevent damage.
If your faucet includes a sprayer or other accessories, attach their hoses securely. Confirm all connections are firmly in place before proceeding to the next step to guarantee a successful installation.
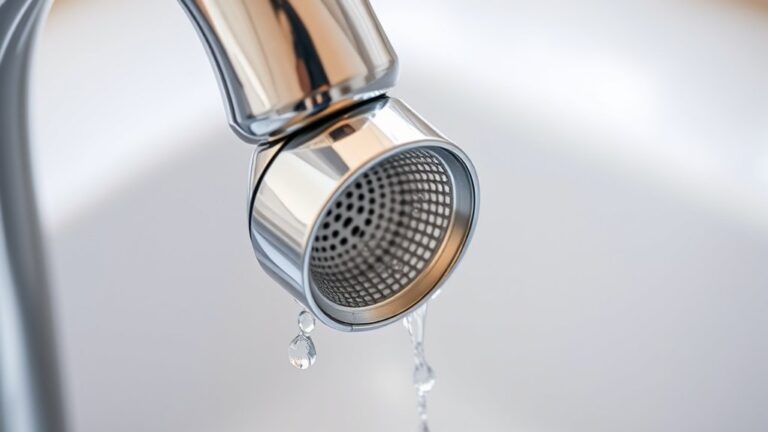
Test Your New Delta Faucet and Check for Leaks
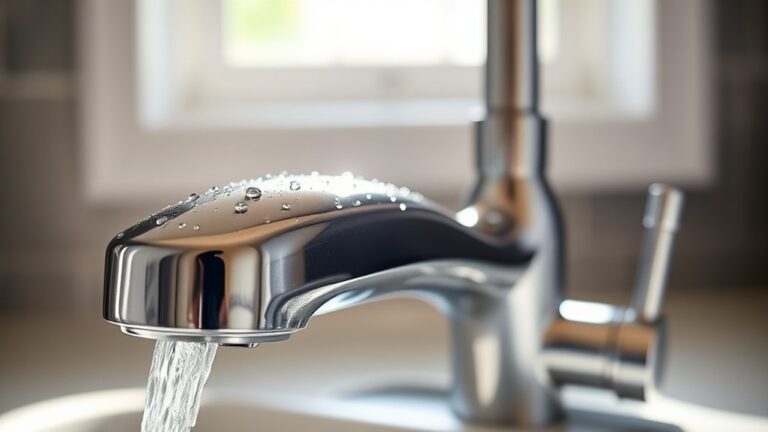
Turn on the water supply valves slowly and activate your new Delta faucet to flush out any debris and check for proper water flow. Observe the faucet functionality carefully, ensuring both hot and cold water operate smoothly without sputtering.
Slowly open water valves and run your new Delta faucet to clear debris and ensure smooth hot and cold water flow.
Perform leak detection by inspecting all connections, including under the sink and around the spout base. Follow these steps:
- Check for steady water pressure and temperature control.
- Inspect supply lines and fittings for drips.
- Examine the faucet base and handles for moisture.
- Look for pooling water beneath the sink.
- Test the spray hose (if applicable) for leaks and proper retraction.
Completing these checks confirms your installation is secure and your faucet functions effectively, preventing future water damage or performance issues.
Troubleshooting Common Installation Issues
Although most installations proceed smoothly, you might encounter a few common issues that require immediate attention to guarantee your Delta kitchen faucet operates correctly. First, verify proper faucet alignment; misalignment can cause leaks or impede handle movement.
Second, monitor water pressure; low pressure often results from trapped debris or improperly tightened connections. Use the table below to quickly identify and resolve typical problems:
| Issue | Solution |
|---|---|
| Faucet alignment off | Loosen mounting nuts, reposition faucet, retighten securely |
| Low water pressure | Check supply valves, clean aerator, clear debris |
| Leaks at connections | Tighten fittings, replace worn washers or O-rings |
Addressing these issues promptly guarantees efficient operation and prevents damage to your Delta kitchen faucet after installation.
Tips to Maintain Your Delta Kitchen Faucet Longer
To extend the lifespan of your Delta kitchen faucet, you should perform regular maintenance that focuses on cleaning, inspection, and timely replacement of worn components. Proper faucet care prevents leaks and maintains peak performance. Use these maintenance tips to keep your faucet in top condition:
Regular maintenance ensures your Delta kitchen faucet stays leak-free and performs at its best.
Clean aerators monthly to remove mineral deposits and guarantee steady water flow.
Inspect O-rings and seals quarterly; replace any showing wear or cracks.
Lubricate moving parts annually with silicone-based grease to reduce friction.
Tighten loose mounting nuts to prevent faucet wobble and leaks.
Flush supply lines periodically to clear sediment buildup that can impair function.
Frequently Asked Questions
What Is the Warranty Period for Delta Kitchen Faucets?
You get lifetime warranty details on Delta kitchen faucets, covering faucet durability against leaks and finish defects. This guarantees long-term performance, letting you trust their quality without worrying about premature failures or material issues.
Can I Replace a Delta Faucet Without Turning off the Main Water Supply?
Don’t jump the gun. Always turn off the water supply valves under the sink before starting. For safe faucet installation tips and DIY plumbing advice, shutting off water prevents leaks and damage during replacement.
Are Delta Kitchen Faucets Compatible With All Sink Types?
Delta kitchen faucets generally offer broad sink compatibility, but you’ll need to verify faucet installation requirements against your sink’s hole configuration and thickness. This ensures proper fit and function during the faucet installation process.
How Do I Choose the Right Delta Faucet Model for My Kitchen?
You’ll choose the right Delta faucet model by evaluating faucet styles that fit your kitchen’s design, checking compatibility with your sink, and reviewing installation tips. This will guarantee proper fit and ease of setup for your plumbing configuration.
What Are the Most Common Causes of Delta Faucet Leaks Over Time?
Isn’t it ironic how your trusty Delta faucet leaks just when you forget faucet maintenance tips? Common leak sources include worn-out cartridges, damaged O-rings, and loose connections. Inspect these regularly to keep your faucet performing flawlessly over time.