How to Replace a Kitchen Faucet With Sprayer
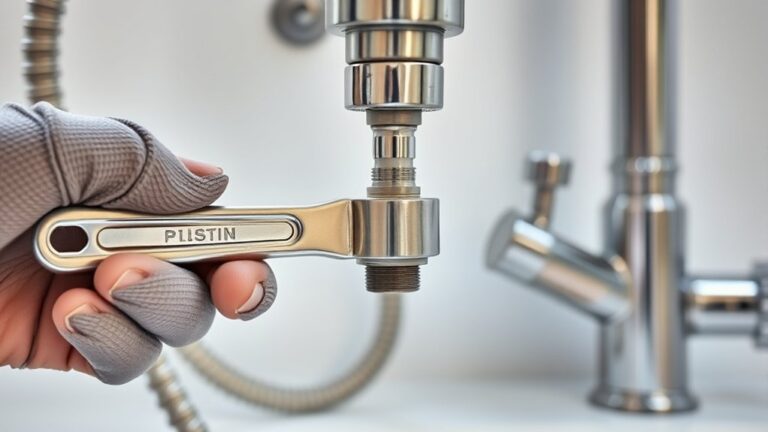
To replace a kitchen faucet with sprayer, start by gathering essential tools such as an adjustable wrench, basin wrench, and plumber’s tape.
Begin the process by shutting off the water supply to avoid any spills or leaks. Next, disconnect the old water lines carefully.
Remove the old faucet from the sink, making sure the area is clear of debris.
Position the new faucet with its sprayer onto the sink. Secure it tightly using the mounting nuts provided.
Connect the water lines properly to the new faucet.
Once everything is in place, turn the water supply back on. Check for any leaks and ensure the sprayer functions correctly.
Following these detailed steps will guarantee a smooth and reliable installation.
Choose and Gather Tools for Your New Sprayer Faucet
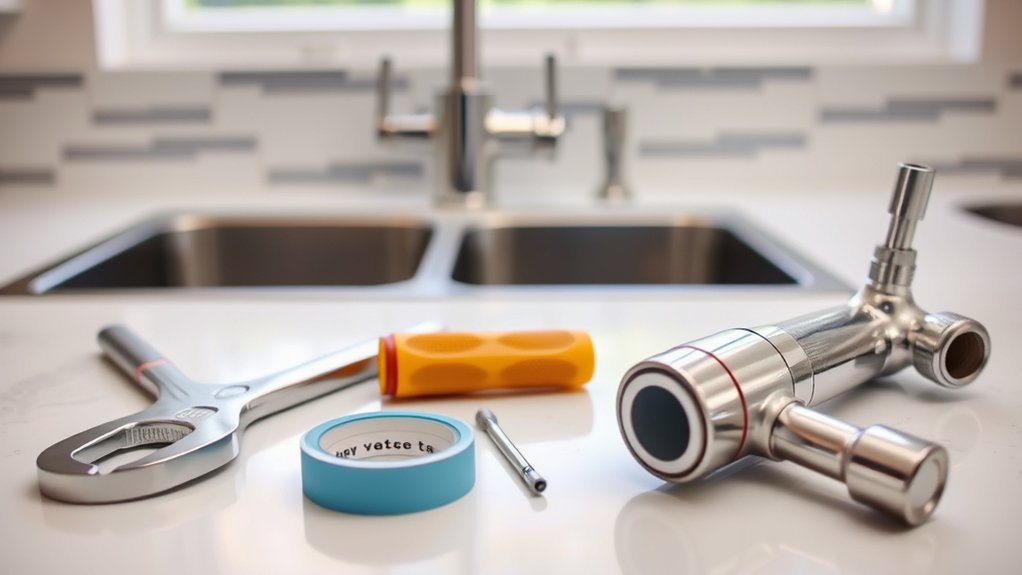
Begin by selecting the right tools to guarantee a smooth installation of your new sprayer faucet. Start with an adjustable wrench, basin wrench, plumber’s tape, and a bucket to catch any water.
Identify the faucet types compatible with your sink, such as single-handle or double-handle, considering sprayer options like side-mount or pull-out models. Gather all necessary plumbing supplies, including flexible supply lines, mounting nuts, and washers.
Choose the right faucet type and sprayer option, then gather essential plumbing supplies for a seamless installation.
Review installation tips specific to your chosen faucet type to avoid common mistakes, such as overtightening connections or misaligning the sprayer hose. Having these tools and supplies ready minimizes downtime and assures a precise fit.
Prepare your workspace by clearing under the sink and having good lighting to facilitate access and visibility during installation.
Remove Your Old Kitchen Faucet Safely
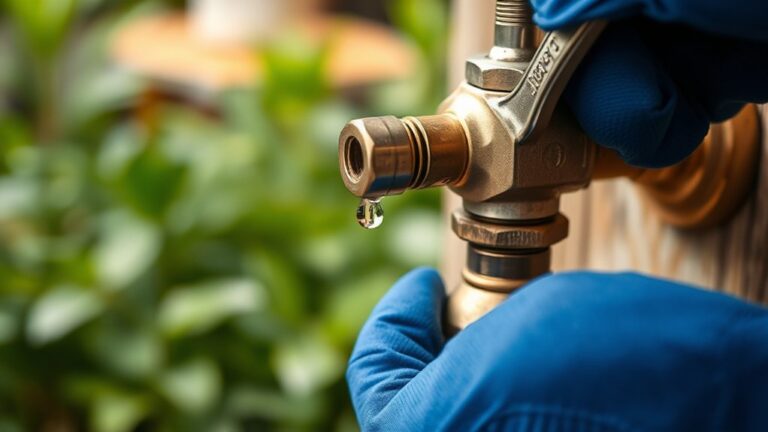
Shut off the water supply valves under the sink and open the faucet to drain any remaining water from the lines. This step is essential for plumbing safety and prevents water damage during faucet maintenance.
Next, disconnect the water supply lines using an adjustable wrench. Place a bucket or towel underneath to catch any residual water.
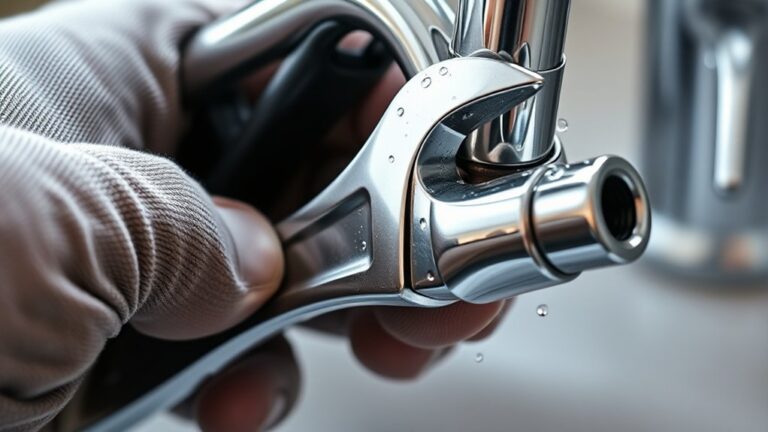
Loosen and remove the mounting nuts securing the faucet to the sink with a basin wrench. Carefully lift the old faucet away, checking for any corrosion or buildup that might affect your new installation.
Inspect the sink area for damage or debris to maintain proper sealing. By following these steps precisely, you guarantee a safe and efficient removal process, minimizing risks and preparing for a smooth installation of your new sprayer faucet.
Install Your New Sprayer Faucet Step-by-Step
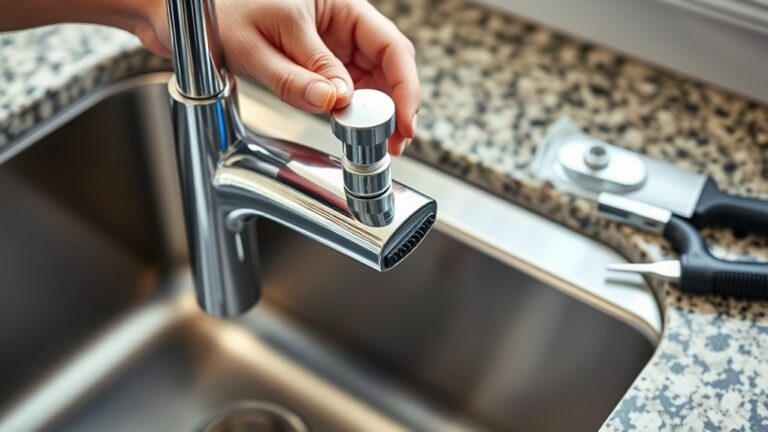
Start by positioning your new sprayer faucet onto the sink’s mounting holes, confirming the gasket or plumber’s putty is properly applied to create a watertight seal. Secure the faucet types’ mounting nuts tightly from underneath, using a basin wrench for hard-to-reach areas.
Position your sprayer faucet carefully, ensuring a watertight seal before securing mounting nuts tightly underneath.
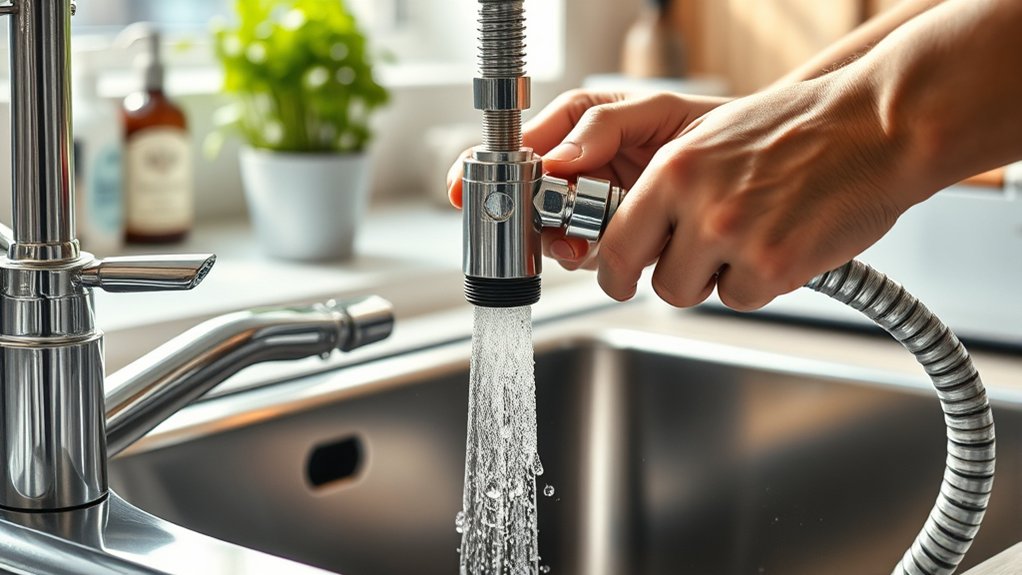
Connect the water supply lines, matching hot and cold correctly, and tighten with a wrench without over-torquing. Attach the sprayer hose to the faucet’s designated port, verifying sprayer options compatibility.
Follow manufacturer instructions closely for specific parts. Use installation tips like checking alignment and clearing debris before tightening connections. Finally, keep maintenance advice in mind: regularly inspect seals and hoses to prevent leaks and prolong functionality.
This precise method guarantees a durable, efficient sprayer faucet installation.
Test and Troubleshoot Your New Faucet
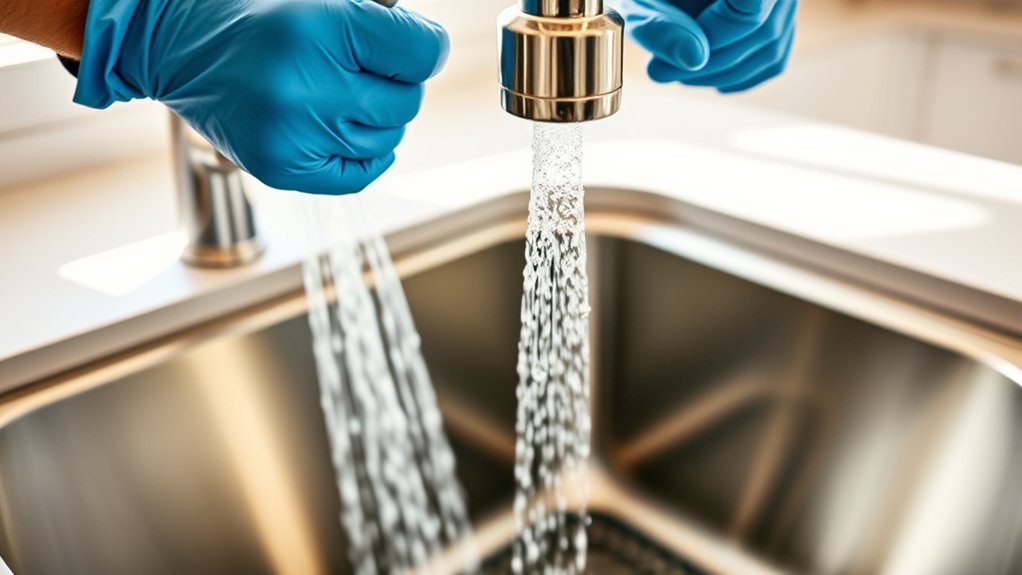
Once your new sprayer faucet is securely installed and all connections are tightened, it’s time to verify its performance and identify any issues. Turn on the water supply slowly and check for leaks around the base, supply lines, and sprayer hose.
Test the faucet functionality by running both hot and cold water, guaranteeing smooth flow and temperature control. Activate the sprayer and observe the sprayer pressure; it should be strong and consistent without sputtering or reduced flow.
If you detect leaks, tighten connections or replace faulty washers. Low sprayer pressure often indicates a clogged aerator or kinked hose. Clean or adjust these components as needed.
Confirm that all handles operate smoothly and the sprayer returns properly to its dock. This thorough testing guarantees reliable operation and prevents future problems.
Frequently Asked Questions
Can I Replace a Kitchen Faucet Without Shutting off the Water Supply?
You can’t replace a kitchen faucet without shutting off the water supply; faucet installation tips always stress this.
Explore water supply options like localized shutoff valves to avoid full house disruption during your replacement for safety and efficiency.
What Type of Faucet Sprayer Is Best for Hard Water Areas?
You’ll want sprayer types with ceramic disc valves and stainless steel or brass components for hard water. These resist mineral buildup and corrosion, ensuring durability and smooth operation despite harsh water conditions.
How Do I Dispose of My Old Kitchen Faucet Responsibly?
Check your local disposal regulations to avoid fines. Many areas accept old faucets at recycling centers or scrap metal facilities.
Utilize faucet recycling options to guarantee metals and components are processed responsibly, reducing environmental impact effectively.
Are There Any Warranty Concerns When Installing a New Sprayer Faucet?
You’ll want to check warranty coverage carefully. Improper installation can void it.
Following installation tips precisely guarantees you don’t risk that. Use manufacturer guidelines, avoid DIY shortcuts, and keep receipts to maintain full warranty protection.
Can I Upgrade to a Touchless Sprayer Faucet During Replacement?
Yes, you can upgrade to a touchless technology sprayer faucet. Focus on installation tips like verifying compatible power sources and sensor placement for ideal performance.
Follow manufacturer guidelines closely to avoid warranty issues and guarantee proper function.