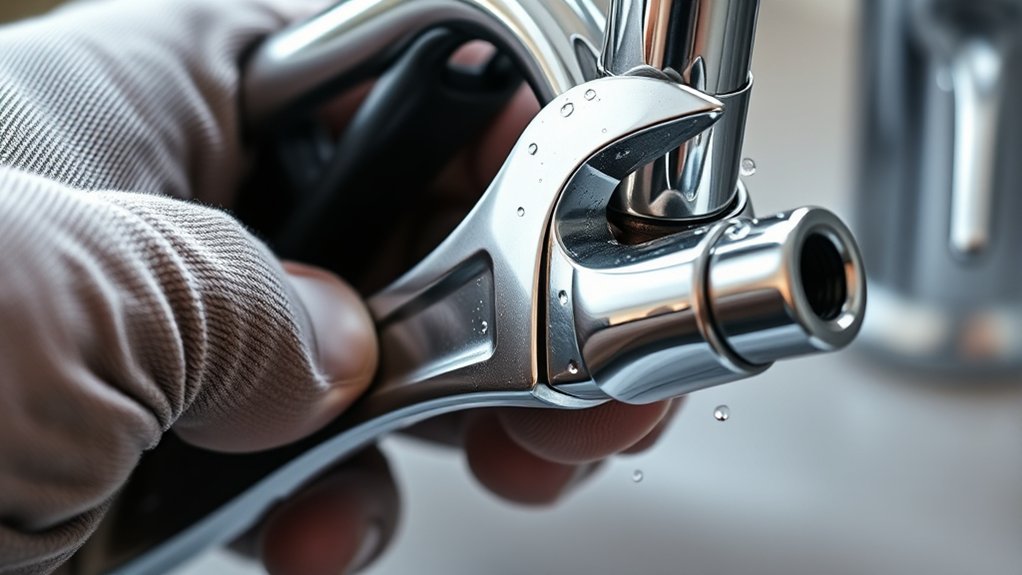
How to Unscrew Faucet
To unscrew a faucet, first identify its type and gather the right tools like an adjustable wrench, basin wrench, and Allen keys.
Turning off the water supply completely is crucial before starting any work. Open the faucet to release any remaining pressure.
Next, remove the handles carefully by loosening the set screws with the appropriate tool.
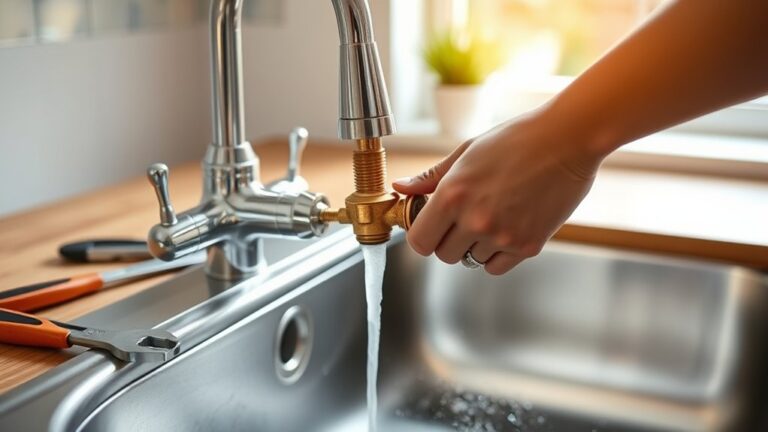
Then, use a basin wrench to loosen the mounting nuts that secure the faucet body.
Keep track of all parts for reassembly.
If you want to master this, there’s more to explore on troubleshooting and proper disassembly steps.
Gather the Right Tools to Unscrew a Faucet

To unscrew a faucet efficiently, you’ll need a specific set of tools prepared in advance. Start by identifying your faucet type: compression, cartridge, ball, or ceramic disk, as each requires different approaches. Tool selection depends on this.
Efficient faucet removal begins with identifying your faucet type to choose the right tools for the job.
For compression faucets, adjustable wrenches and channel-lock pliers work best. Cartridge and ceramic disk faucets often need hex keys or Allen wrenches to remove handle screws. Ball faucets may require specialized ball-valve wrenches.
Additionally, have a screwdriver set (flathead and Phillips) ready for handle screws and retaining clips. A basin wrench is essential for hard-to-reach nuts beneath the sink. Having a cloth or rag helps protect fixtures from scratches during removal.
Preparing these tools aligned with your faucet type streamlines the process, reduces damage, and guarantees you unscrew the faucet correctly on your first try.
Turn Off the Water Supply
Before you start unscrewing the faucet, make certain you turn off the water supply to prevent leaks and water damage. Locate the shutoff valves under the sink, typically connected to the hot and cold water lines. Turn each valve clockwise until fully closed.
If you don’t find individual shutoffs, turn off the main water supply for the building. After shutting off the water, open the faucet to release any residual water and reduce water pressure in the lines. This step guarantees no unexpected water flow during faucet maintenance.
Verifying the water supply is fully off is essential; otherwise, water can spray out and complicate the repair. Properly managing water pressure protects both your workspace and plumbing components during disassembly.
Safely Remove Faucet Handles
Start by locating the set screw that secures each faucet handle in place, typically found under a decorative cap or on the side of the handle. Use the appropriate screwdriver or Allen wrench to loosen this screw carefully. Different handle types require specific tools and techniques based on the faucet design. Avoid forcing the handle to prevent damage.
| Handle Type | Set Screw Location | Recommended Tool |
|---|---|---|
| Lever | Side or under cap | Allen wrench |
| Knob | Under decorative cap | Flathead screwdriver |
| Cross | Center or side | Phillips screwdriver |
Once the screw is removed, gently wiggle the handle and pull it straight off. If stuck, apply penetrating oil and wait a few minutes before trying again.
How to Unscrew the Faucet Body
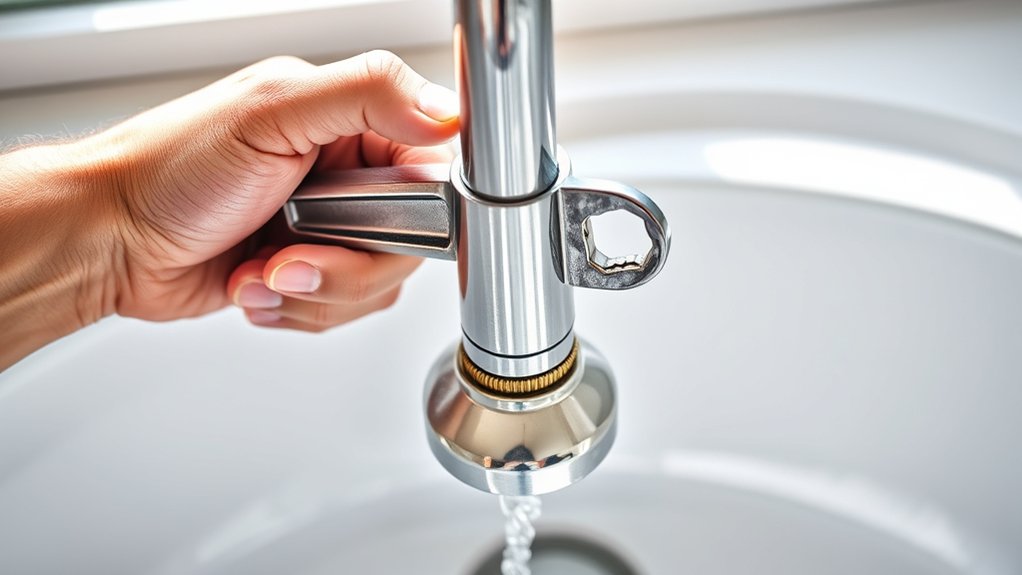
After removing the faucet handles, you’ll gain access to the faucet body, which is secured by mounting nuts or screws beneath the sink or on the faucet base. Start by locating these fasteners, which vary depending on faucet types. Single-hole models often have a single nut, while widespread faucets may require loosening multiple screws.
Use a basin wrench or adjustable wrench to carefully unscrew the mounting hardware, ensuring you apply steady pressure to avoid damaging the sink or faucet finish. Installation tips include keeping track of all parts and noting their orientation for reassembly.
If corrosion is present, apply penetrating oil and allow it to sit before attempting removal. Once the nuts or screws are removed, you can lift the faucet body away for repair or replacement.
Troubleshoot Common Faucet Problems
You’ll encounter several common faucet problems that can affect performance, such as leaks, low water pressure, and noisy operation. Start by inspecting for faucet leaks, which often result from worn washers or corrosion issues inside the faucet body.
Conduct washer inspections to identify degradation or mineral buildup that impedes proper sealing. Corrosion can also cause stiffness or damage, requiring you to clean affected parts or proceed with handle replacements if the handles are seized or cracked.
Low water pressure often stems from clogged aerators or supply line blockages; remove and clean these components to restore flow. Noisy faucets usually indicate air trapped in the lines or loose parts, so tighten connections and flush the system.
Systematic troubleshooting helps maintain faucet functionality and prevents extensive repairs.
Frequently Asked Questions
How Do I Prevent Scratches While Unscrewing a Faucet?
You prevent scratches by carefully selecting the right tool, preferably adjustable wrenches with rubber jaws or soft cloth padding. Always use proper grip techniques and avoid excessive force to guarantee effective scratch prevention during unscrewing.
Can I Unscrew a Faucet Without Turning off the Water?
You can’t safely unscrew a faucet without turning off the water; strong water pressure effects can cause sudden sprays. For faucet maintenance tips, always shut off the supply to avoid damage and guarantee precise, mess-free work.
What Type of Lubricant Is Best for Stuck Faucet Screws?
You’ll want penetrating oils like WD-40 or PB Blaster for stuck faucet screws. Apply with a spray nozzle or dropper, let it soak 10-15 minutes, then gently unscrew.
Repeat application if needed for easier removal.
How Do I Identify the Faucet Model for Replacement Parts?
Oh, sure, just magically know your faucet model! Instead, use faucet identification tips: check brand markings, measure dimensions, and consult the replacement parts guide online. These practical steps guarantee you get the exact parts you need.
Are There Eco-Friendly Tools for Faucet Repair?
Yes, you can find eco-friendly tools made from sustainable materials like bamboo handles and recycled metals. Using these supports DIY repairs while reducing environmental impact, ensuring your faucet repair is both effective and sustainable.