How to Change a Faucet Washer
To change a faucet washer, first turn off the water supply to avoid leaks.
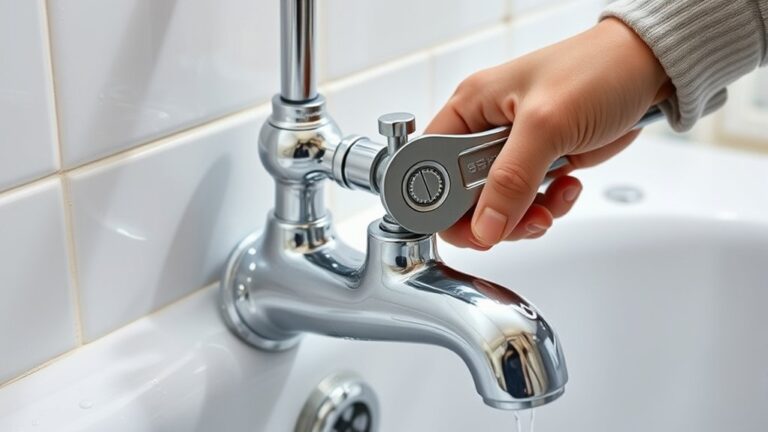
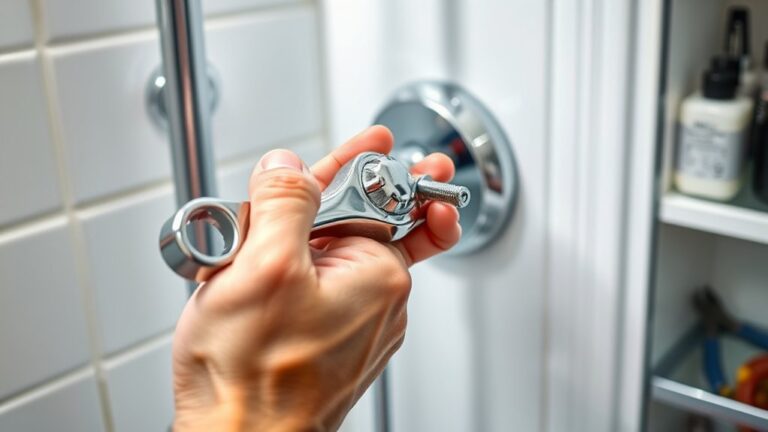
Using the right tools—adjustable wrench, screwdriver, and pliers—dismantle the faucet handle to access the washer.
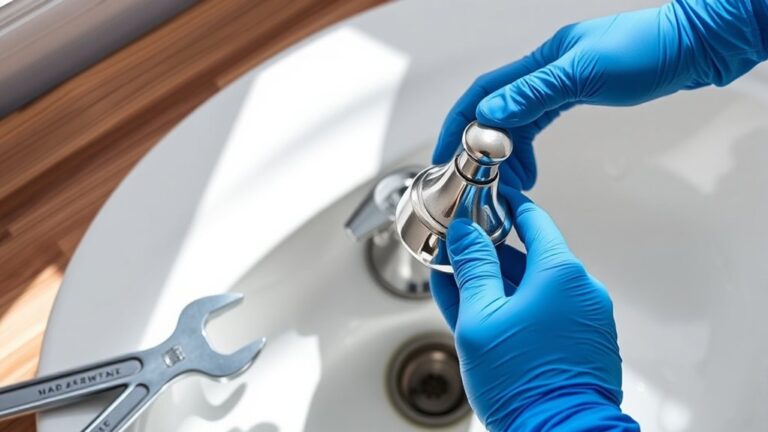
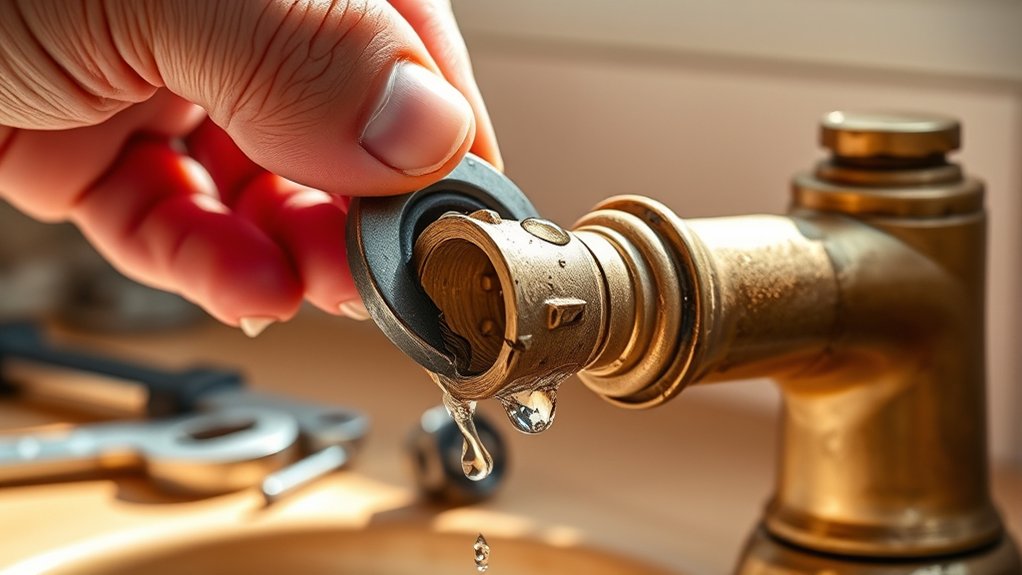
Remove the worn washer carefully and clean the valve seat.
Then, install a compatible new washer securely to ensure proper function.
Reassemble the faucet and test for leaks.
If you encounter issues, checking valve seating and lubrication can help.
Keep following for more detailed troubleshooting and maintenance tips.
Tools and Materials for Faucet Washer Replacement
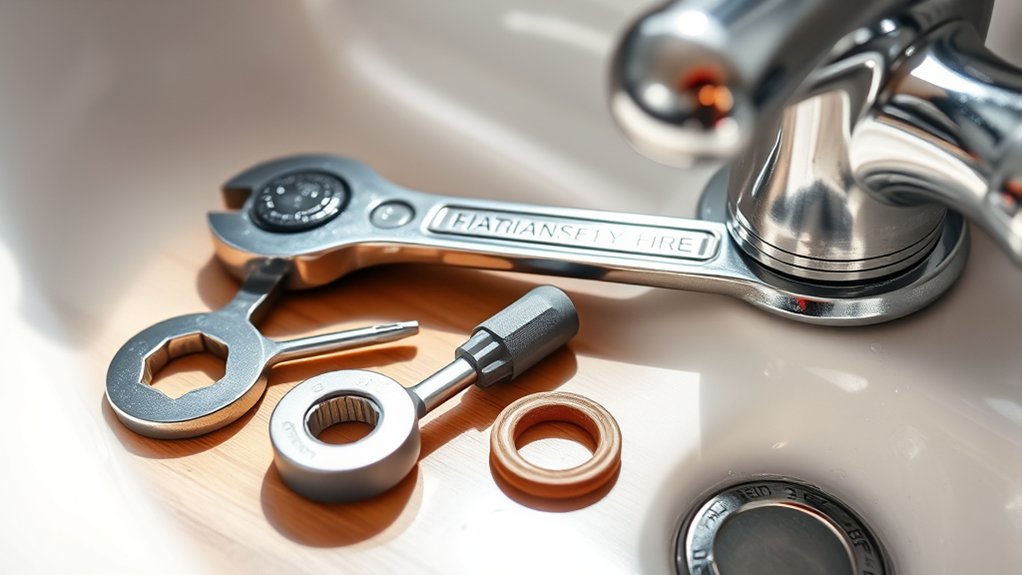
To replace a faucet washer, you’ll need a specific set of tools and materials to guarantee the job goes smoothly. Start by identifying your faucet type: compression, cartridge, ball, or ceramic disc. This determines the washer design you require.
Gather essential tools: an adjustable wrench, screwdriver set, pliers, and a utility knife. For washer materials, select from rubber, silicone, or neoprene, each offering different durability and flexibility suited to various faucet types.
Essential tools include an adjustable wrench, screwdrivers, pliers, and utility knife; choose washers in rubber, silicone, or neoprene.
Have replacement washers matching your faucet’s specifications on hand to avoid compatibility issues. Additionally, keep plumber’s grease for lubricating moving parts and a cloth for cleaning.
Preparing these tools and materials beforehand streamlines the process, ensuring you efficiently address leaks without unnecessary delays or damage.
Step-by-Step: Replacing Your Faucet Washer
Once you’ve gathered the necessary tools and identified the correct washer type, you can begin the replacement process. Start by turning off the water supply to avoid leaks. Next, dismantle the faucet handle. Note that different faucet types require specific removal techniques.
Once exposed, remove the old washer, paying attention to the washer materials to guarantee compatibility with the replacement.
Proceed with these steps:
- Carefully clean the valve seat to remove debris and corrosion.
- Insert the new washer, ensuring it fits snugly and matches the washer materials suitable for your faucet type.
- Reassemble the faucet handle securely.
Finally, turn the water back on and test for leaks. Proper installation guarantees a watertight seal and restores faucet function efficiently.
Signs Your Faucet Washer Needs Replacing
A leaking faucet is often the first sign that your washer needs replacement. If you notice consistent drip sounds or visible water drops at the spout, it indicates worn or damaged washers.
Additionally, irregular water pressure during use can signal washer degradation, as a compromised washer disrupts the water flow. You might also experience difficulty turning the faucet handle smoothly, which results from washer stiffness or buildup.
Irregular water pressure and stiff faucet handles often indicate washer wear or buildup affecting water flow.
Another key indicator is persistent faucet leaks despite tightening connections, pointing to internal washer failure rather than external issues. Regularly inspect the washer when you observe these symptoms.
Addressing these signs promptly prevents water wastage and potential damage to your plumbing system. Replacing the washer restores proper function and eliminates faucet leaks effectively.
Fixing Problems After Changing a Faucet Washer
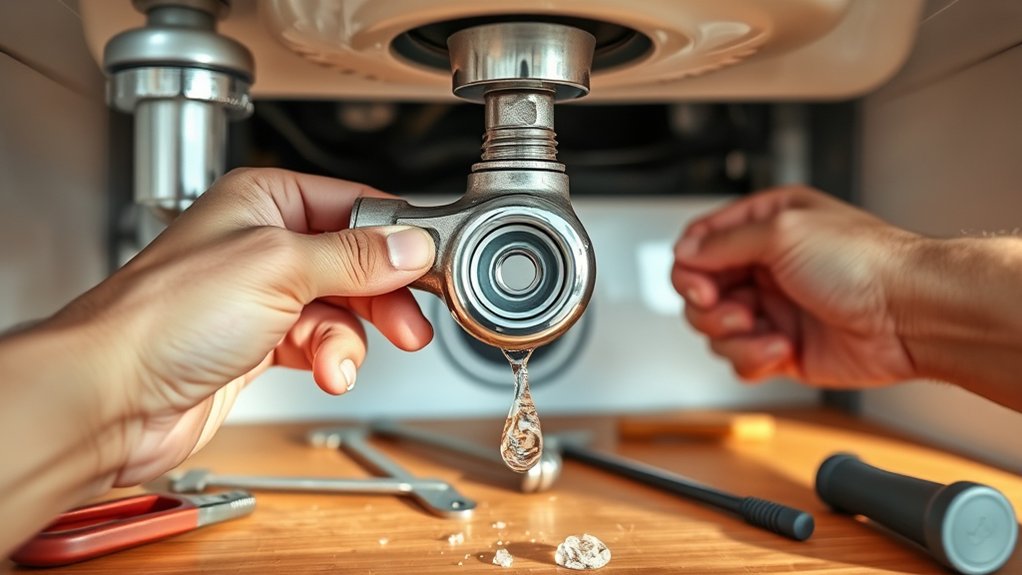
Although replacing the faucet washer usually resolves leaks, you might still encounter issues such as dripping, low water pressure, or handle stiffness. To fix these common leaks and maintain peak faucet function, follow these steps:
Check the washer seating: An improperly seated washer can cause dripping. Remove the handle and verify the washer sits flush against the valve seat.
Inspect the valve seat for corrosion or debris: Damage or buildup can restrict water flow, causing low pressure. Clean or replace the valve seat if needed.
Lubricate moving parts: Handle stiffness often results from dried or damaged packing. Apply plumber’s grease to the stem and packing nut to restore smooth operation.
Regular faucet maintenance prevents recurring leaks and prolongs faucet life.
Frequently Asked Questions
How Often Should Faucet Washers Be Replaced for Maintenance?
You should follow washer replacement frequency of every 1-2 years for ideal faucet maintenance tips. Regularly inspect washers during routine checks to prevent leaks and guarantee smooth operation, adjusting replacement timing based on water quality and usage.
Can I Use Any Type of Washer for My Faucet?
You can’t just toss any washer in like a key in a lock; you need the right washer sizes and washer materials, usually rubber or silicone, matched precisely to your faucet for a proper seal and leak-free performance.
What Causes Faucet Washers to Wear Out Quickly?
You’ll find faucet washers wear out quickly due to abrasive water quality and incompatible faucet materials causing excessive friction. Hard water deposits and corrosion degrade washers faster, so use materials resistant to your water’s mineral content for longer life.
Are There Eco-Friendly Washer Options Available?
Yes, you can choose washers made from biodegradable materials that minimize environmental impact. These options support sustainable plumbing by reducing plastic waste and promoting eco-friendly maintenance.
Always verify compatibility with your faucet model before installation.
How Do I Prevent Faucet Leaks Without Replacing the Washer?
Imagine tight gears aligning perfectly. For leak prevention tips, tighten faucet connections, clean valve seats, and replace O-rings.
Use DIY troubleshooting to spot cracks or corrosion early, preventing leaks without needing to replace the washer.