How Hard Is It to Install Kitchen Cabinets
Installing kitchen cabinets requires precise measurements, careful leveling, and secure fastening to studs. You’ll need the right tools—like a level, drill, and stud finder—and must account for wall irregularities and obstacles.
While it’s manageable with experience, missteps can lead to misalignment and costly fixes. Beginners should focus on accurate prep and steady cabinet placement, but complex layouts might demand professional skills.
Understanding these nuances will help you tackle or plan your installation effectively.
Overview: Steps for Installing Kitchen Cabinets
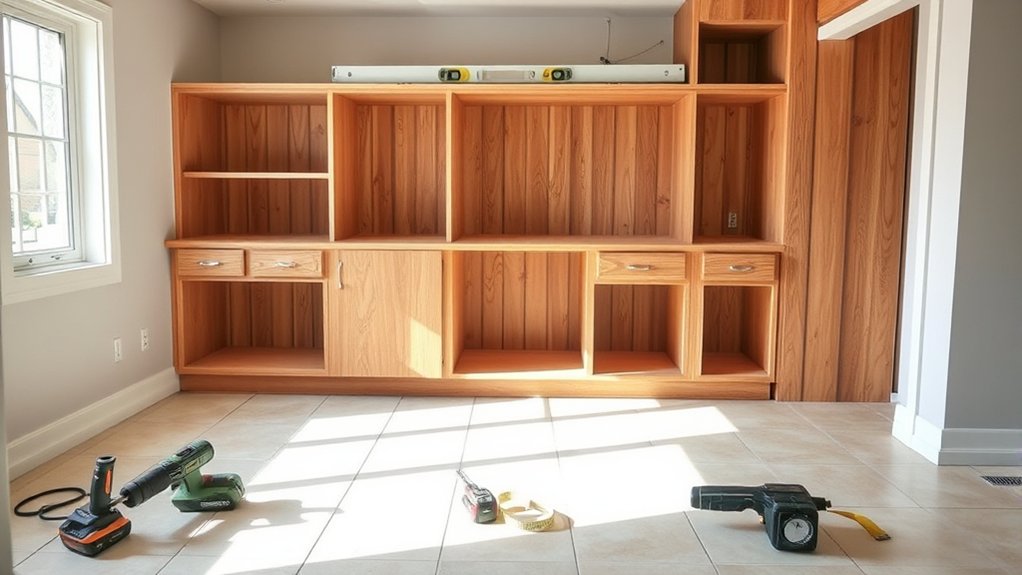
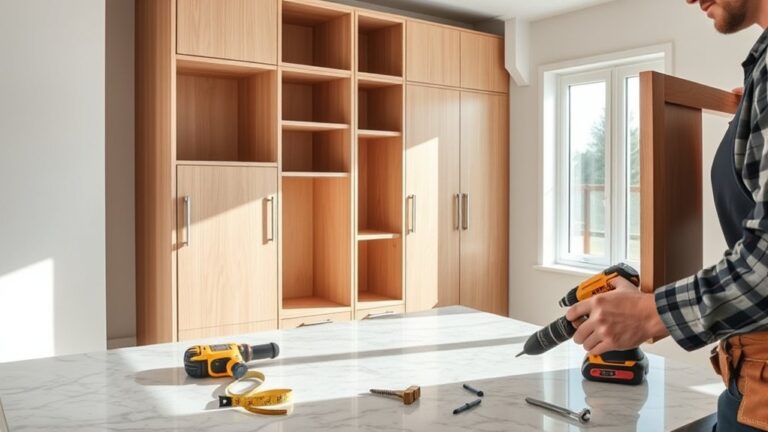
Begin by preparing your workspace and gathering all necessary tools and materials. You’ll need a level, drill, screws, shims, a stud finder, and of course, your cabinets.
First, select the appropriate cabinet styles that suit your kitchen layout and functional needs. Next, identify your preferred installation methods, whether face-frame or frameless, which influence mounting techniques.
Start with the upper cabinets to avoid obstructing your work area, securing them to wall studs for maximum stability. Use shims to adjust for uneven walls precisely.
Afterward, install the base cabinets, ensuring they’re level and aligned with the uppers. Throughout, maintain careful measurement checks to prevent misalignment.
How to Measure and Prepare Your Space Correctly
You need to measure your walls accurately, accounting for any irregularities or obstacles that could affect cabinet placement.
Before installation, clear the area completely and verify the floor and walls are level to guarantee a precise fit. Proper preparation prevents alignment issues and simplifies the entire installation process.
Accurate Wall Measurements
Accurate wall measurements are essential for guaranteeing your kitchen cabinets fit perfectly and function properly. Begin by using precise measurement techniques: measure each wall segment twice to confirm accuracy.
Use a laser distance measurer or a steel tape for consistent results. Account for wall irregularities such as uneven surfaces, bumps, or bulges by measuring at multiple heights and points along the wall. Record the smallest dimensions to avoid fitting issues later.
Don’t overlook corners, electrical outlets, and plumbing fixtures, as these affect cabinet placement. Document all measurements clearly and create a detailed wall elevation sketch.
This approach guarantees you identify potential obstacles and adjust cabinet dimensions or configurations accordingly, preventing costly errors during installation. Meticulous measurement at this stage lays the foundation for a successful kitchen cabinet installation.
Clearing and Leveling Space
Preparing the space for kitchen cabinet installation involves clearing the area completely and ensuring the floor and walls are level. Begin your space preparation by removing all debris and performing thorough surface cleaning to eliminate dust or grease that could affect cabinet positioning.
Use a level to check both floors and walls meticulously; uneven surfaces require correction before installation planning continues. Protect floors with drop cloths or plywood to prevent damage during work.
Organize your tools efficiently within the workspace to maintain workflow and reduce downtime. Accurate cabinet positioning depends on this groundwork, so double-check measurements after leveling.
Efficient debris removal and tool organization directly enhance workspace efficiency, allowing you to install cabinets with precision and confidence. This preparation sets the foundation for a successful, smooth cabinet installation process.
Tools You Need for Smooth Kitchen Cabinet Installation
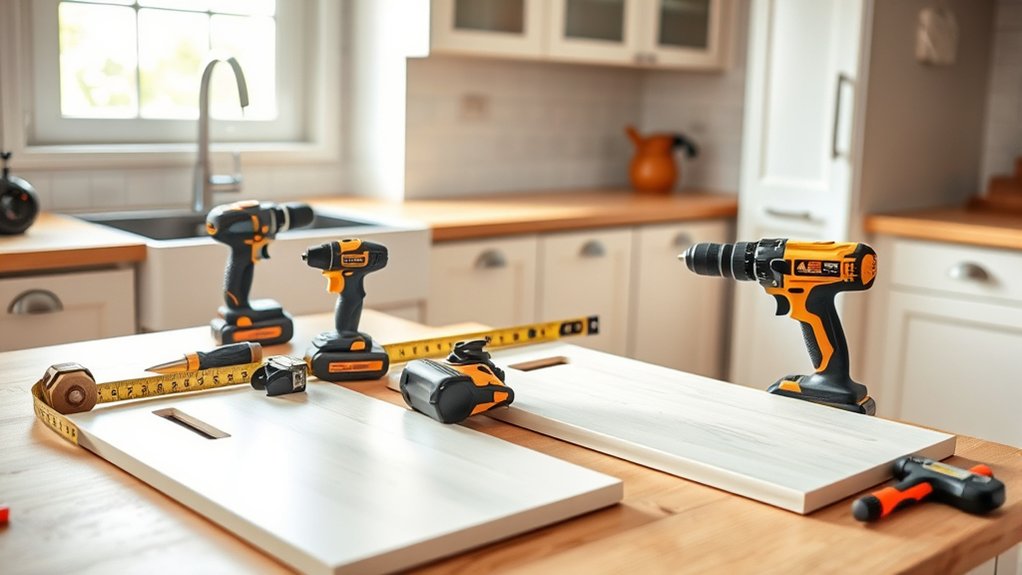
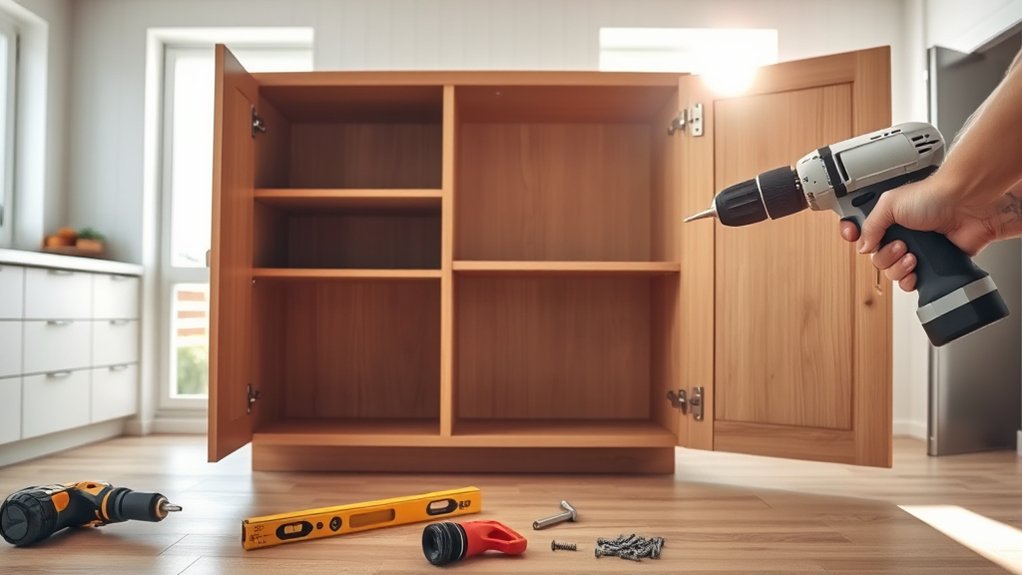
To install kitchen cabinets efficiently, you’ll need a set of essential hand tools like a tape measure, level, and screwdrivers. Power tools such as a drill and circular saw will speed up the process while ensuring accuracy.
Don’t forget basic safety equipment. Goggles and gloves protect you from common hazards during installation.
Essential Hand Tools
Although installing kitchen cabinets might seem straightforward, having the right hand tools is critical for efficiency and precision. Among essential equipment, you’ll need a high-quality tape measure for accurate measurements and a combination square to guarantee perfect alignment.
A sturdy carpenter’s pencil is indispensable for marking cut lines clearly. To secure cabinets, a set of screwdrivers, both Phillips and flathead, is necessary for fastener adjustments. You’ll also want a level to verify cabinets are perfectly horizontal and plumb.
Clamps help hold components steady during installation. Don’t overlook a sharp utility knife for trimming materials and a block plane for fine adjustments. These hand tool types form the backbone of your toolkit, allowing you to work with accuracy and control.
Mastering their use will streamline your installation process considerably.
Power Tools Overview
Five essential power tools can dramatically improve the speed and accuracy of your kitchen cabinet installation. Choosing the right drill types and saw options is vital for precision and efficiency.
A cordless drill with adjustable torque settings handles pilot holes and screw driving effortlessly. For cutting, a circular saw or a miter saw provides clean, straight edges on plywood and trim. Additionally, an impact driver delivers the extra torque needed for tougher fasteners without stripping.
Key power tools to take into account:
- Cordless drill (variable speed)
- Circular or miter saw (for precise cuts)
- Impact driver (for high-torque fastening)
Using these tools properly guarantees your cabinets fit perfectly and your installation proceeds smoothly, minimizing errors and rework.
Safety Equipment Basics
Whenever you handle power tools for kitchen cabinet installation, wearing proper safety equipment is essential to protect yourself from potential hazards. Prioritize safety gear such as safety goggles to shield your eyes from flying debris and dust, and durable work gloves to prevent cuts and abrasions.
Use ear protection to minimize noise exposure from drills and saws, and consider a dust mask to avoid inhaling fine particles. Confirm your footwear offers adequate grip and toe protection to prevent slips and injuries from dropped tools.
Personal protection isn’t optional; it’s critical for a smooth, injury-free installation process. By consistently using the right safety gear, you’ll maintain focus and efficiency, reducing the risk of accidents and confirming the project progresses safely. Safety always comes first in any power tool operation.
How to Level Kitchen Cabinets and Why It Matters
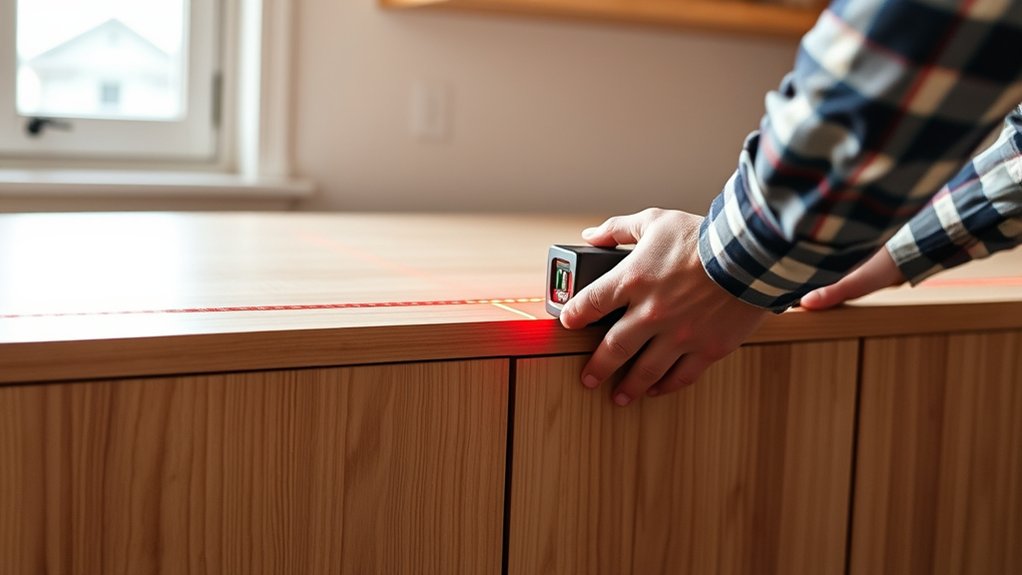
Since uneven kitchen cabinets can cause doors to misalign and countertops to slope, leveling them is an essential step in the installation process. You must verify precise cabinet spacing and apply proper installation techniques to achieve a flawless fit. Start by using a reliable level to check the base and wall surfaces. Shim cabinets where needed to correct any unevenness.
Key points to focus on:
- Verify wall plumb and floor level before placement.
- Adjust cabinet heights with shims for uniform alignment.
- Maintain consistent cabinet spacing to prevent gaps and misalignments.
Proper leveling guarantees smooth operation of doors and drawers, preserves countertop integrity, and supports long-term durability. Skipping this step compromises both function and aesthetics, making your installation look amateurish and causing functional issues down the line.
How to Secure Kitchen Cabinets Safely to Walls and Studs
After leveling your cabinets to confirm proper alignment, the next step is to fasten them securely to the wall studs. Start by locating studs with a reliable stud finder, marking their exact positions.
Use cabinet bracing techniques such as temporary horizontal braces to hold cabinets in place during fastening. Pre-drill holes through the cabinet backs into the studs to prevent splitting.
Employ long, sturdy screws, typically 3-inch cabinet screws, to anchor firmly. For added safety, implement wall reinforcement methods by installing plywood backing between studs if drywall is weak or damaged.
Use 3-inch cabinet screws and add plywood backing for extra wall strength if drywall is compromised.
This guarantees your cabinets bear weight without risk of detachment. Remember, secure fastening combined with proper bracing and reinforcement ensures durability and safety, essential for both wall integrity and cabinet longevity.
How to Align Kitchen Cabinets and Avoid Gaps
Though securing cabinets to studs is essential, aligning them perfectly and eliminating gaps is equally important for a professional finish. To master cabinet alignment strategies and gap prevention techniques, start by ensuring your upper and base cabinets share a consistent reference line. Use a laser level to mark this line on the wall before installation.
Next, shim behind cabinets as needed to correct uneven walls or floors, preventing gaps. Finally, fasten cabinets tightly together, checking for flush edges.
Key steps to align cabinets and avoid gaps:
- Use precise leveling tools (laser level or spirit level)
- Insert shims behind cabinets to compensate for irregular surfaces
- Clamp or screw cabinets together before final fastening to maintain tight seams
Implement these methods to achieve clean, gap-free kitchen cabinetry installation.
Common Cabinet Installation Challenges and Solutions
You’ll often face wall alignment issues that can throw off cabinet placement, so use shims to level surfaces before securing. Make certain to fasten cabinets to studs with the correct hardware to prevent shifting over time.
Addressing these challenges early guarantees a stable, professional installation.
Wall Alignment Issues
When installing kitchen cabinets, uneven or out-of-plumb walls can create significant alignment challenges that affect both function and aesthetics. You’ll need to perform precise wall plumbness adjustments to guarantee your cabinets sit flush and level. Ignoring these issues leads to noticeable gaps and misaligned doors.
To tackle wall alignment issues effectively, focus on:
- Using shims strategically behind cabinets to correct wall irregularities
- Applying cabinet gap solutions such as filler strips or custom trim
- Measuring wall plumbness frequently during installation to maintain consistency
Addressing wall alignment early prevents costly rework and guarantees your cabinets maintain structural integrity and a polished look. With careful adjustments, you’ll achieve a seamless fit despite imperfect walls.
Securing Cabinets Properly
Correcting wall alignment sets the foundation, but securing kitchen cabinets properly guarantees they function safely and last over time. You must apply effective cabinet stability techniques, focusing on solid wall anchoring methods to prevent movement or sagging.
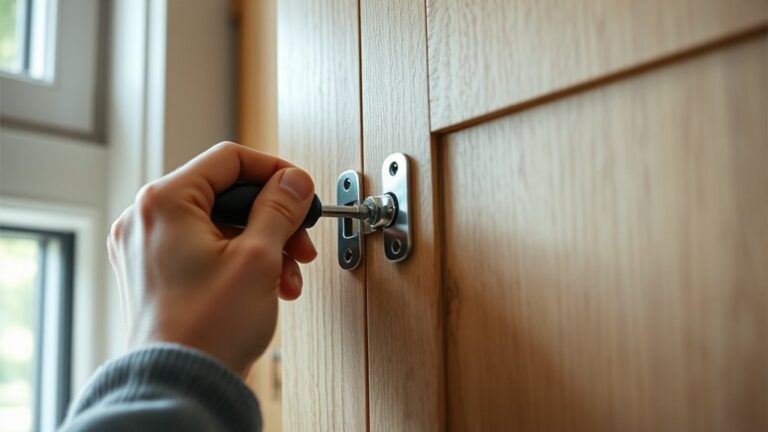
Use screws rated for the cabinet material and wall type, ensuring they penetrate studs or use appropriate anchors. Tighten all fasteners evenly to maintain alignment.
| Challenge | Solution | Tip |
|---|---|---|
| Uneven wall surface | Shim cabinets | Use a level frequently |
| Weak wall material | Toggle bolts or anchors | Verify weight capacity |
| Misaligned cabinets | Adjust mounting screws | Check cabinet-to-cabinet fit |
| Loose fasteners | Re-tighten or replace screws | Use lock washers |
Master these techniques for secure, durable cabinet installations.
How Your Experience Level Affects Kitchen Cabinet Installation
Although installing kitchen cabinets might seem straightforward, your experience level considerably influences the ease and accuracy of the process. If you’re new, you’ll benefit from beginner tips that focus on measuring precisely and securing cabinets levelly to avoid common installation challenges.
More experienced installers apply expert techniques, like efficient time management and anticipating wall inconsistencies, to streamline the process and guarantee durability.
Consider how your skill set affects:
- Time management during layout and fastening
- Handling unforeseen installation challenges
- Applying advanced fastening and alignment techniques
Your familiarity with the tools and materials dictates how quickly you progress, how well you adapt to complications, and ultimately, the quality of the finished installation. Recognizing your experience level helps you set realistic expectations and plan accordingly.
When to Hire a Professional Kitchen Cabinet Installer
Anyone facing complex layouts, structural issues, or lacking specialized tools should consider hiring a professional kitchen cabinet installer. Professionals bring expertise that reduces errors, and their work usually comes with installation warranties for peace of mind.
While professional fees add to your budget, the precision and durability they provide often justify the cost.
| Situation | Reason to Hire | Benefit |
|---|---|---|
| Complex Layouts | Requires precise measurements | Avoids misalignment |
| Structural Challenges | Needs specialized knowledge | Guarantees cabinet stability |
| Lack of Tools | Requires power tools and jigs | Saves time and effort |
| Warranty Needs | Assures work quality | Protects investment |
| Time Constraints | Professionals install efficiently | Meets project deadlines |
Evaluate your skills against these factors before deciding.
Time-Saving Tips to Make Kitchen Cabinet Installation Easier
If you decide to tackle cabinet installation yourself, adopting efficient techniques can greatly reduce the time and effort required. Start by completing a thorough pre-installation checklist to confirm measurements, wall conditions, and plumbing or electrical clearances. Next, factor in cabinet style considerations. Frameless cabinets, for example, demand more precise alignment than framed ones. Organize your workspace and tools before beginning; this minimizes interruptions.
Here are key time-saving tips:
- Label cabinets and hardware clearly to avoid confusion during assembly
- Use clamps and a level consistently for accurate placement
- Assemble base cabinets on the floor before securing them to walls
These steps streamline installation and guarantee professional results, cutting down rework and frustration.
Frequently Asked Questions
What Types of Kitchen Cabinet Materials Are Easiest to Install?
You’ll find particle board cabinets, which weigh up to 30% less than solid wood, easiest to install. Their MDF benefits and laminate finishes offer lightweight, stable plywood options, reducing cabinet weight and simplifying alignment and fastening tasks.
How Do Cabinet Styles Affect Installation Difficulty?
Cabinet design directly impacts installation difficulty since intricate styles require advanced installation techniques. You’ll need precise measurements and specialized tools for custom or frameless cabinets, while simple face-frame designs streamline your installation process considerably.
Can Kitchen Cabinet Installation Impact Home Resale Value?
You’ll find kitchen cabinet installation can make or break resale trends; smart choices increase value, while poor work sinks it. Balancing installation costs with quality guarantees your investment pays off when selling your home.
What Are the Most Common Cabinet Installation Mistakes by Beginners?
You’ll often face spacing issues and neglect proper leveling techniques, leading to misaligned cabinets. Beginners commonly skip precise measurements, fail to secure cabinets firmly, and overlook wall irregularities, compromising both function and aesthetics during installation.
How Do I Maintain Installed Kitchen Cabinets for Longevity?
Think of your cabinets as wooden guardians; you’ll extend their life by regular cabinet cleaning with gentle, non-abrasive products and strict moisture control to prevent warping. This ensures their strength and beauty withstand daily kitchen battles.