How Do You Paint Kitchen Cabinets White
To paint your kitchen cabinets white, start by thoroughly cleaning them with a degreaser to remove grease and grime.
Next, remove any old paint or finish using sanding or eco-friendly strippers. This preparation is essential for a smooth, lasting finish.
Sand the surfaces smoothly to ensure proper paint adhesion.
Then, apply a durable, stain-blocking primer designed specifically for cabinetry. This step helps prevent stains from bleeding through the paint.
Choose a high-quality acrylic enamel or alkyd-based white paint with a satin or semi-gloss finish for durability and easy cleaning.
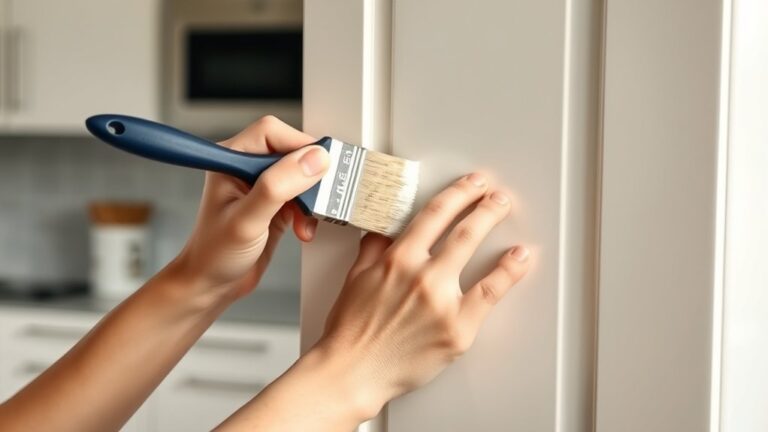
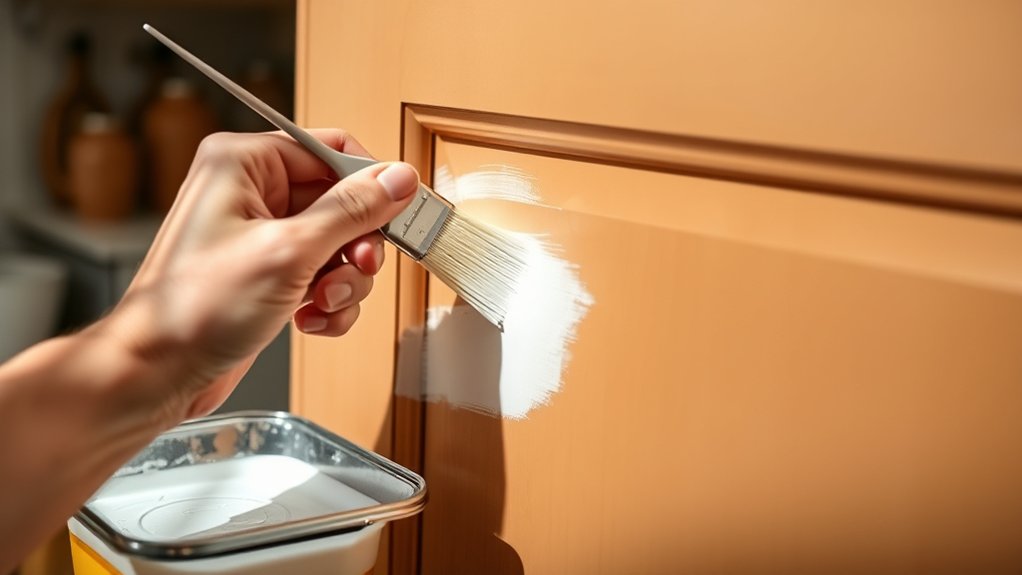
Apply the paint in thin, even coats using angled brushes and foam rollers. Allow each coat to dry completely before applying the next.
For added protection and longevity, apply a clear topcoat. This will help your freshly painted kitchen cabinets maintain their beauty over time.
Follow these tips to perfect your painting technique and achieve professional results.
Gather Essential Tools and Materials for Painting Kitchen Cabinets
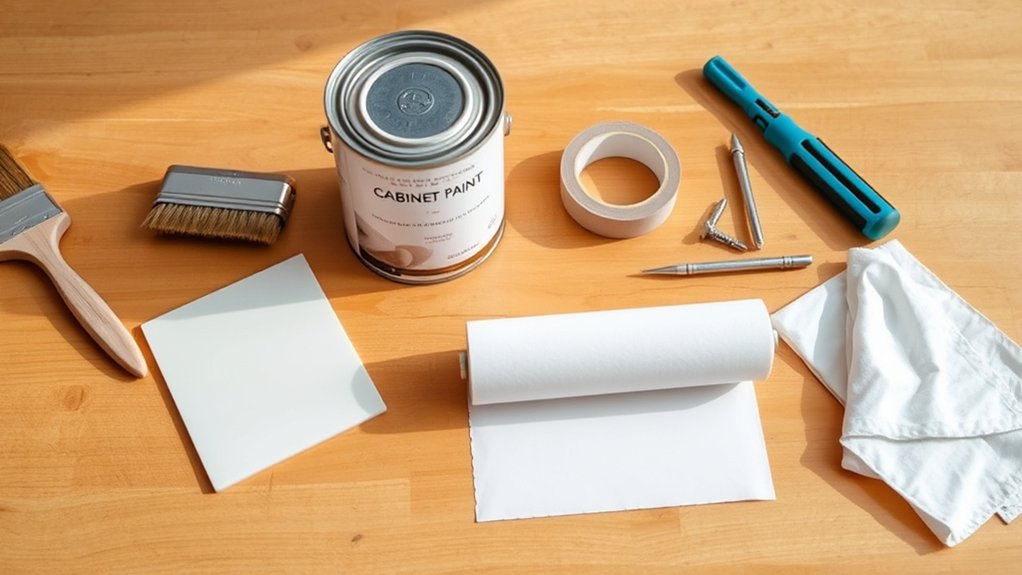
Before you begin painting your kitchen cabinets white, gather all the essential tools and materials to secure a smooth process. Start by prioritizing tool selection: you’ll need high-quality angled brushes, foam rollers designed for smooth finishes, painter’s tape, a sanding block with medium and fine-grit sandpaper, and a sturdy drop cloth.
For material sourcing, choose a durable, stain-blocking primer and a high-opacity, semi-gloss or satin white paint formulated for cabinetry. Opt for water-based acrylic latex paint for easier application and faster drying times.
Additionally, confirm you have cleaning supplies like degreaser and tack cloths to prepare surfaces properly. Sourcing these materials from reputable hardware stores or online suppliers guarantees consistency and quality, which is critical for professional-looking results and long-lasting cabinet paintwork.
How to Remove Old Paint or Finish From Your Cabinets
Start by carefully removing the old paint or finish from your cabinets to guarantee proper adhesion of the new coat. Begin with paint stripping methods such as chemical strippers, sanding, or heat guns.
Chemical strippers effectively dissolve layers but choose eco-friendly options like soy-based or citrus-based strippers to minimize toxic fumes and environmental impact. Apply the stripper evenly, wait as per instructions, then gently scrape off softened paint with a plastic scraper to avoid damaging the wood.
Opt for eco-friendly chemical strippers like soy or citrus-based to safely remove paint without harming the environment.
For sanding, use medium-grit sandpaper to remove surface finishes, followed by fine-grit for smoothness. When using a heat gun, keep it moving steadily to prevent scorching.
Whichever method you select, wear appropriate protective gear and work in a well-ventilated area for safety and ideal results.
How to Clean and Prep Kitchen Cabinets for Painting
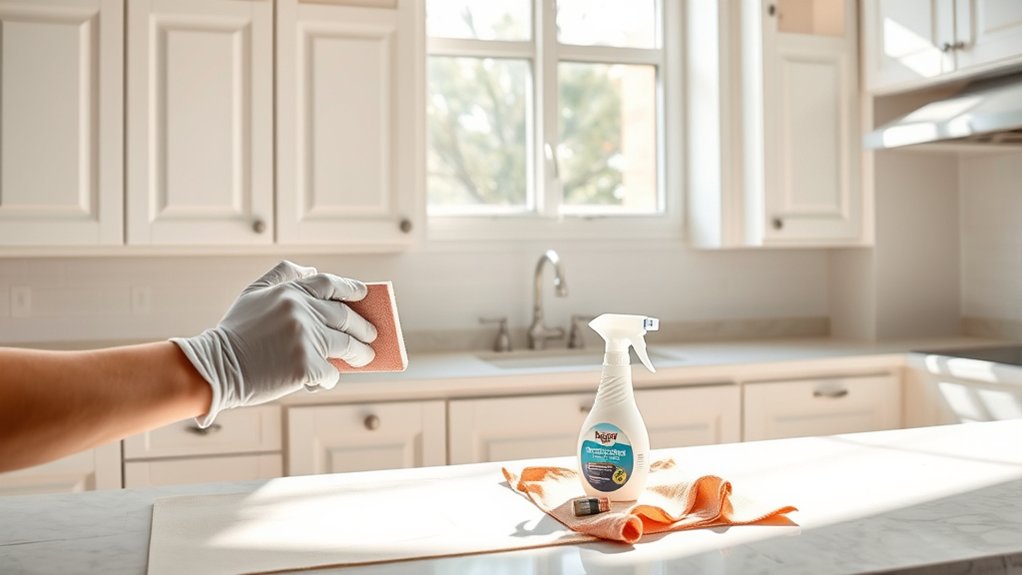
Once you’ve completely removed the old finish, thoroughly clean your kitchen cabinets to eliminate dust, grease, and residues that could interfere with paint adhesion. Start by using a degreasing cleaner, such as trisodium phosphate (TSP), applied with a non-abrasive sponge to break down oils and grime.
Rinse with clean water to remove any chemical residues. For stubborn spots, employ targeted cleaning techniques like gentle scrubbing or using a microfiber cloth dampened with isopropyl alcohol. After cleaning, inspect surfaces for remaining contaminants.
Proper surface preparation is essential; verify cabinets are completely dry before proceeding. This meticulous cleaning process creates an ideal bonding surface, preventing paint peeling and guaranteeing a smooth, durable finish. Skipping this step risks uneven paint application and premature failure.
How to Sand Kitchen Cabinets for a Smooth Finish
Start by selecting the correct sandpaper grit, usually 120 to 150 for initial smoothing, followed by 220 for a fine finish. Use even, circular motions to avoid gouges and maintain consistent pressure across surfaces.
Focus on edges and corners to guarantee every area is properly prepped for paint adhesion.
Choosing The Right Grit
Selecting the correct sandpaper grit is essential for achieving a smooth, professional finish on your kitchen cabinets. Grit selection directly impacts the sanding benefits, such as surface smoothness and paint adhesion.
Start with a coarse grit, typically 80-100, to remove old finishes and imperfections efficiently. Then, progress to medium grit, around 150-180, to refine the surface by eliminating scratches left by the coarse grit.
Finally, use a fine grit, 220 or higher, to create a smooth, paint-ready surface without damaging the wood. Using the proper grits in sequence guarantees even abrasion and ideal surface texture.
Skipping grits or using too coarse sandpaper can lead to uneven surfaces or visible scratches, compromising your paint job’s durability and appearance.
Proper Sanding Techniques
Although sanding may seem straightforward, mastering proper sanding techniques is essential to achieving a smooth, even surface on your kitchen cabinets. Start by selecting the right sanding tools, usually a sanding block or orbital sander with appropriate grit sandpaper. Use consistent, gentle pressure and sand along the wood grain to avoid scratches. Clean dust frequently to assess progress.
| Step | Tool | Technique |
|---|---|---|
| Initial Sand | 80-120 grit | Orbital sander, long strokes |
| Smooth Sand | 150-180 grit | Sanding block, circular motion |
| Final Pass | 220 grit | Light hand sanding, grain-aligned |
| Dust Removal | Vacuum/cloth | Wipe thoroughly between steps |
These sanding techniques prepare your cabinets for primer and paint, ensuring adhesion and longevity.
How to Choose the Best White Paint for Kitchen Cabinets
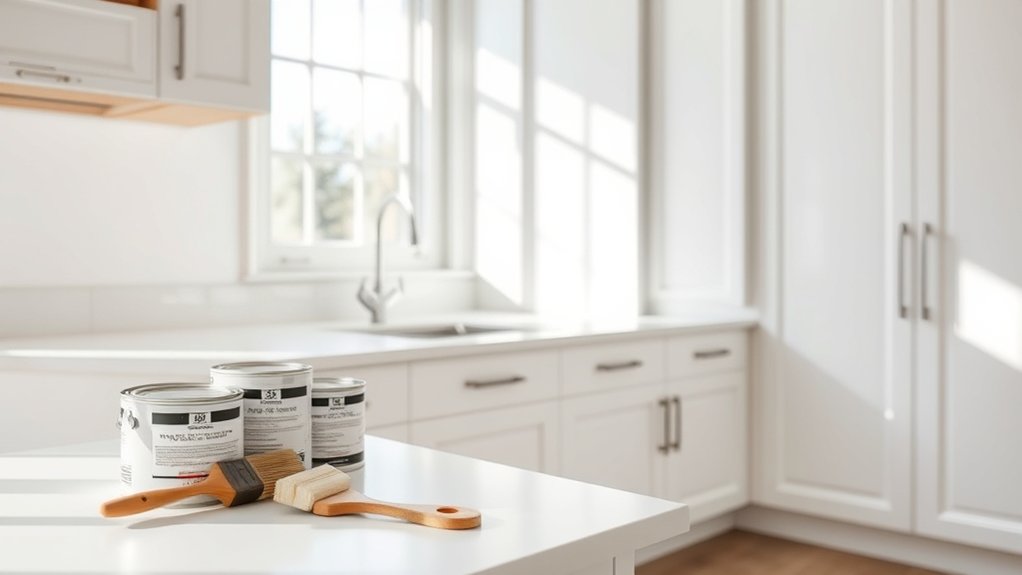
You’ll want to select a white paint formulated for cabinetry, such as acrylic enamel or alkyd-based options, to guarantee proper adhesion and durability. Consider finishes like semi-gloss or satin, which resist stains and are easier to clean without sacrificing aesthetics.
Also, prioritize paints with high coverage and durability ratings to maintain a smooth, long-lasting surface on your kitchen cabinets.
Types Of White Paint
When choosing the best white paint for kitchen cabinets, understanding the different types of white shades and paint finishes is essential. Whites vary in undertones and brightness, affecting your kitchen’s ambiance. You’ll find:
- Warm White: Contains yellow or red undertones, creating a cozy, inviting feel.
- Cool White: Features blue or gray undertones for a crisp, modern look.
- Off White: Soft, muted whites with subtle warmth, ideal for traditional kitchens.
- Bright White: Pure, clean whites that reflect maximum light, enhancing spaciousness.
- Creamy White: Richer whites with a hint of beige, balancing warmth and brightness.
Additionally, popular finishes like satin white and eggshell white offer low sheen, ensuring durability and subtle texture without glossiness. Antique white provides a vintage touch, combining warmth and softness. Your choice depends on lighting, style, and cabinet material.
Paint Finish Options
Selecting the right paint finish greatly impacts the durability and appearance of your white kitchen cabinets. When choosing, consider a paint sheens comparison: flat, eggshell, satin, semi-gloss, and gloss.
Flat finishes hide imperfections but offer low durability, making them less ideal for high-traffic cabinets. Eggshell and satin provide a subtle sheen with better resistance to moisture and wear, balancing aesthetics and practicality.
Semi-gloss and gloss finishes deliver the highest durability factors, resisting stains and allowing easy cleaning. They are perfect for kitchen environments. However, higher sheen levels accentuate surface flaws, so thorough prep is essential.
Your choice hinges on balancing finish durability factors with desired look and maintenance; satin or semi-gloss often provide the best compromise for white kitchen cabinets.
Durability And Coverage
Although choosing the right paint finish is essential, understanding the durability and coverage of white paint specifically designed for kitchen cabinets guarantees long-lasting results. You want a product that secures paint longevity and enhances surface resilience against daily wear.
Look for paints formulated with high-quality binders and pigments to provide uniform coverage and prevent frequent touch-ups. Consider these factors when selecting your white paint:
- High opacity for fewer coats and better coverage
- Resistance to chipping, peeling, and staining
- Quick drying time to reduce project duration
- Compatibility with primers for improved adhesion
- Easy cleaning without degrading the finish
Prioritizing these attributes will help you achieve a flawless, durable cabinet surface that maintains its pristine white appearance over time.
How to Prime Your Cabinets for Long-Lasting Paint
Because proper priming forms the foundation for durable and smooth paint adhesion, you must apply a high-quality primer specifically designed for kitchen cabinets. Choose between oil-based, shellac, or water-based primers, each offering unique benefits: oil-based excels at sealing wood tannins, shellac blocks stains and odors, while water-based dries quickly and resists yellowing.
Before application, thoroughly sand and clean cabinet surfaces to guarantee ideal primer adhesion. Use a high-density foam brush or a synthetic bristle brush for precise, even coverage, avoiding drips and brush marks.
Apply primer in thin, uniform coats following the grain direction. Allow sufficient drying time as specified by the manufacturer before lightly sanding to create a smooth surface. This meticulous priming process ensures long-lasting paint durability and a flawless finish.
Step-by-Step Guide to Painting Kitchen Cabinets White
Begin by preparing your workspace and gathering all necessary materials, including high-quality white paint, fine-grit sandpaper, a synthetic bristle brush, and a foam roller designed for smooth finishes. Follow these steps to achieve a flawless coat that complements modern color trends and diverse cabinet styles:
Lightly sand primed surfaces to guarantee paint adhesion. Remove dust with a tack cloth for a clean base. Apply the first coat using a synthetic bristle brush on edges and a foam roller on flat surfaces. Let the paint dry completely before applying a second coat for uniform coverage. Finish with a clear protective topcoat to enhance durability and maintain color vibrancy.
Common Mistakes to Avoid When Painting Cabinets White
You can’t skip proper surface preparation, as it guarantees paint adhesion and durability. Using the wrong paint type, like flat latex instead of a durable enamel, will compromise the finish.
Also, neglecting ventilation can lead to uneven drying and health hazards, so always work in a well-ventilated area.
Skipping Proper Surface Preparation
Although it might be tempting to rush into painting, skipping proper surface preparation undermines the durability and finish quality of your kitchen cabinets. The prep importance cannot be overstated; neglecting it leads to surface issues like poor adhesion, peeling, and uneven texture.
You need to address every detail before applying paint to guarantee a flawless, long-lasting finish.
Key steps to avoid surface issues include:
- Thoroughly cleaning to remove grease and dirt
- Sanding to create a smooth, even surface
- Repairing dents, scratches, and holes with wood filler
- Removing old hardware and loosening paint
- Wiping down dust and debris before priming
Skipping these steps compromises your work and results in a subpar, short-lived cabinet makeover.
Using Incorrect Paint Types
Proper surface preparation sets the foundation, but selecting the right paint type directly impacts the final appearance and durability of your kitchen cabinets. When painting cabinets white, avoid using latex or flat paints; they lack the hardness and adhesion required for frequent handling.
Instead, opt for high-quality acrylic enamel or alkyd-based paints, which provide a smooth, durable surface resistant to chipping and staining. Consider your finish options carefully: semi-gloss or satin finishes offer a balance between aesthetics and cleanability, while high-gloss finishes maximize durability but highlight imperfections.
Using incompatible paint types can lead to peeling or uneven texture, so always verify compatibility with your primer. By choosing the correct paint types and finish options tailored for cabinetry, you guarantee your white cabinets maintain a flawless, long-lasting look.
Ignoring Ventilation Needs
When painting kitchen cabinets white, neglecting adequate ventilation compromises both your health and the quality of the finish. The ventilation importance cannot be overstated. It guarantees fumes disperse quickly, reducing health risks like headaches, dizziness, and respiratory irritation.
Without proper airflow, paint solvents accumulate, prolonging drying times and causing uneven curing. To avoid these issues, implement the following:
- Open windows and doors to maximize air exchange.
- Use fans to direct fumes outside.
- Wear a respirator rated for paint fumes.
- Avoid painting in enclosed or poorly ventilated areas.
- Schedule painting during mild weather to keep ventilation options open.
When and How to Apply a Protective Topcoat on Cabinets
Applying a protective topcoat is a crucial final step to guarantee your white kitchen cabinets maintain their finish and durability. Before you begin topcoat application, verify the paint is fully cured, typically 24 to 48 hours, to prevent trapping solvents beneath the surface.
Use a high-quality polyurethane or water-based clear coat designed for cabinetry. Apply thin, even layers with a synthetic brush or foam applicator, following the grain to avoid streaks.
Apply thin, even coats of high-quality polyurethane or water-based clear coat, following the grain to prevent streaks.
Allow each coat to dry thoroughly, respecting the manufacturer’s recommended drying time, usually 2 to 4 hours, before applying subsequent layers. Two to three coats provide ideal protection against moisture, stains, and wear.
Lightly sand with fine-grit sandpaper (220 grit) between coats to promote adhesion and a smooth finish. Proper topcoat application extends your cabinets’ lifespan while preserving their pristine white appearance.
How to Reinstall and Care for Your Painted Kitchen Cabinets
Three key steps will guarantee your painted kitchen cabinets are reinstalled securely and remain in excellent condition. First, carefully align hinges and hardware to avoid stress on joints. Second, use appropriate fasteners to maintain stability without damaging the paint. Third, verify doors open smoothly to prevent wear.
For ongoing cabinet maintenance, follow these cabinet maintenance tips inspired by furniture restoration techniques:
- Clean with mild, non-abrasive detergents to protect the finish
- Avoid excessive moisture to prevent paint peeling
- Lubricate hinges periodically for smooth operation
- Touch up chips promptly using matching paint
- Inspect seals and hardware for early signs of wear
Adhering to these precise steps helps ensure your white cabinets retain their aesthetic and functional integrity over time.
Frequently Asked Questions
How Long Does It Take for White Paint to Fully Dry on Cabinets?
The drying time for white paint on cabinets typically ranges from 4 to 6 hours per layer. You’ll need to wait between paint layers to guarantee proper adhesion and a smooth, durable finish.
Make sure the paint is fully dry before reassembling your cabinets to avoid any damage or smudging.
Can I Use a Spray Gun Instead of a Brush for Painting Cabinets?
You can use a spray gun instead of brushes; spray gun advantages include smoother, faster coverage and fewer brush strokes. However, mastering brush painting techniques guarantees precision in corners and detailed areas where spraying may be less effective.
What Type of Lighting Best Complements White Kitchen Cabinets?
You’ll want cabinet lighting with a color temperature between 2700K and 3000K for warm, inviting tones. This enhances white cabinets’ brightness without harshness, creating balanced illumination that highlights textures and details effectively.
How Do I Fix Small Paint Chips on White Cabinets?
You’ll fix small paint chips by cleaning the area, sanding lightly, then applying paint repair using precise touch-up techniques. Use a fine brush, matching paint color exactly, and allow proper drying for a seamless finish.
Are There Eco-Friendly White Paint Options for Kitchen Cabinets?
You know, “slow and steady wins the race.” You can choose eco-friendly brands like Benjamin Moore Natura or Sherwin-Williams Harmony, which offer low-VOC paint types ideal for durable, non-toxic, and vibrant white kitchen cabinets.