How to Paint Kitchen Cabinets
To paint your kitchen cabinets, start by removing all hardware and thoroughly cleaning the surfaces with a degreaser. This step is crucial to ensure the paint adheres properly.
Next, sand the cabinet surfaces to create a smooth base for painting. After sanding, apply a bonding primer to help the paint stick and last longer.
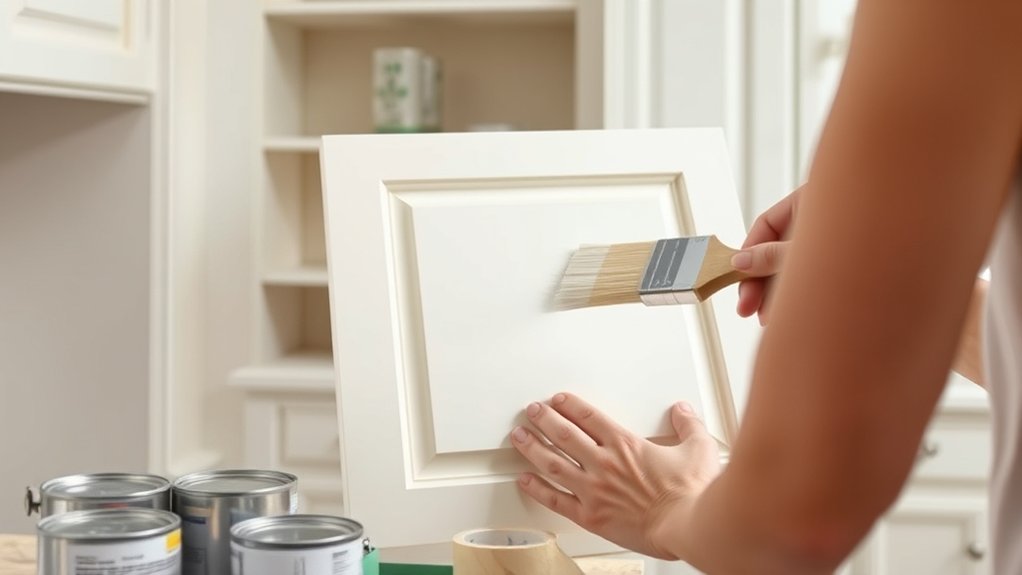
Choose a durable acrylic latex or oil-based paint in satin or semi-gloss finish, which makes cleaning easier. Use high-quality brushes and foam rollers to avoid brush marks, applying thin, even coats for the best results.
Once the paint is fully dry, carefully reinstall the doors and hardware to ensure proper fit and operation.
Maintain your painted cabinets regularly to keep them looking fresh and extend their lifespan.
Discover how to perfect each step for professional results and a beautifully painted kitchen cabinet makeover.
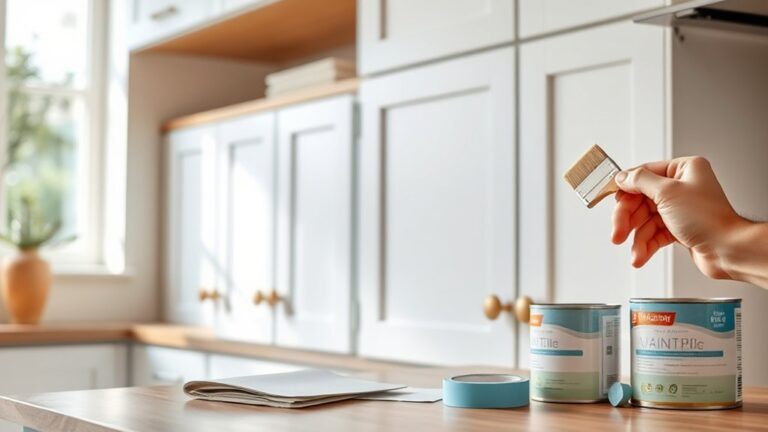
What Supplies You Need to Paint Kitchen Cabinets

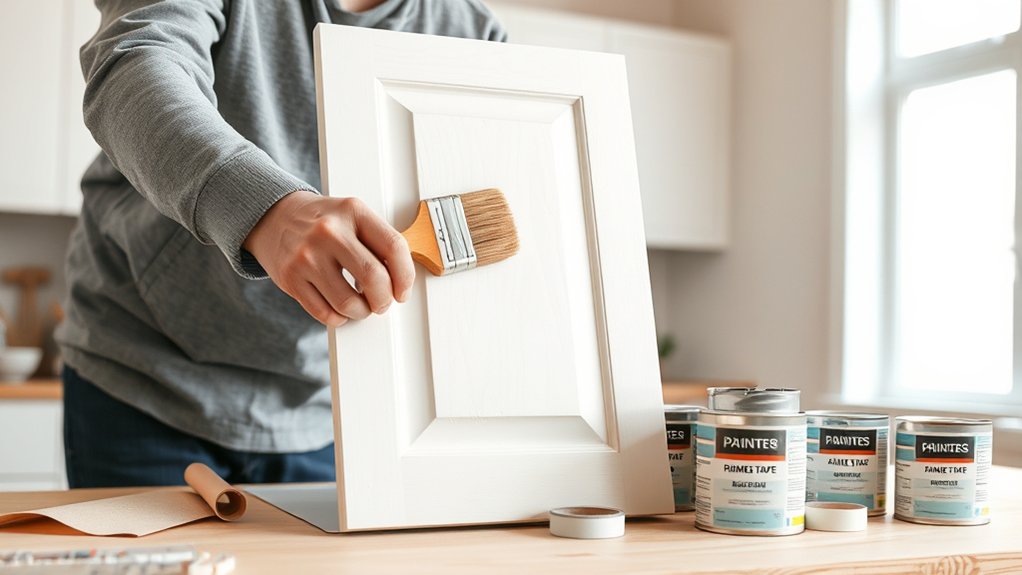
To paint your kitchen cabinets effectively, you’ll need a specific set of supplies that guarantees a smooth, durable finish. Start with high-quality brushes and foam rollers designed for cabinetry to avoid brush marks.
Choose from paint types like acrylic latex or oil-based, but hold off on deciding the exact paint until later. Primer options include bonding primers, which are essential for slick surfaces, or stain-blocking primers if your cabinets have discolorations.
You’ll also need sandpaper (120-220 grit) to prep surfaces, a degreaser to clean cabinets thoroughly, painter’s tape to protect hardware and walls, and drop cloths to protect floors.
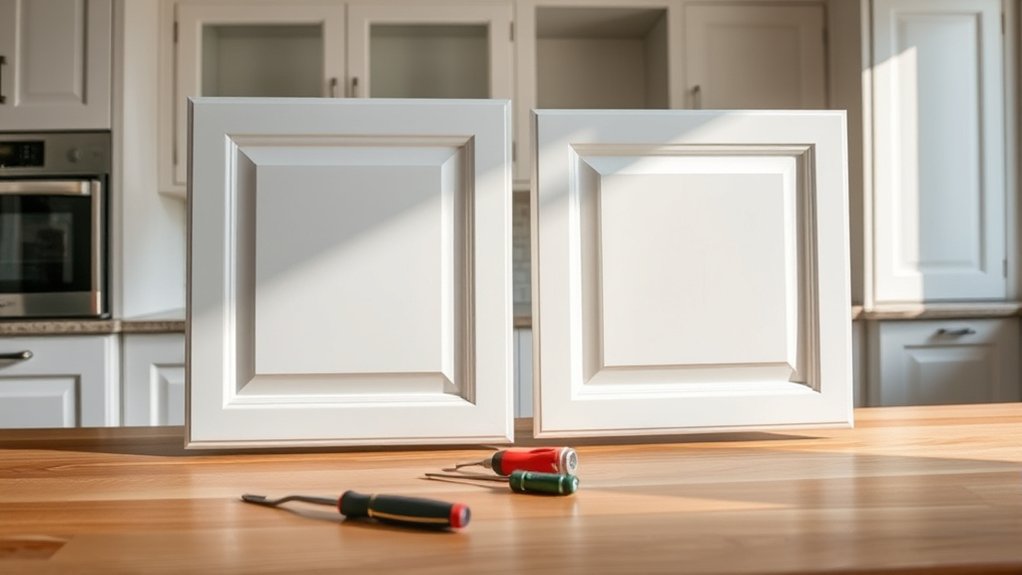
Finally, have a sturdy screwdriver for removing hardware and cabinet doors, ensuring you work on flat surfaces for even application.
Choosing the Right Paint and Finish for Kitchen Cabinets
You’ll want to choose a paint specifically formulated for cabinets, like acrylic latex or alkyd-based options, for durability and smooth coverage. Consider finishes such as satin or semi-gloss, which resist stains and are easier to clean.
Also, pick a color that complements your kitchen’s style and lighting to achieve the best look.
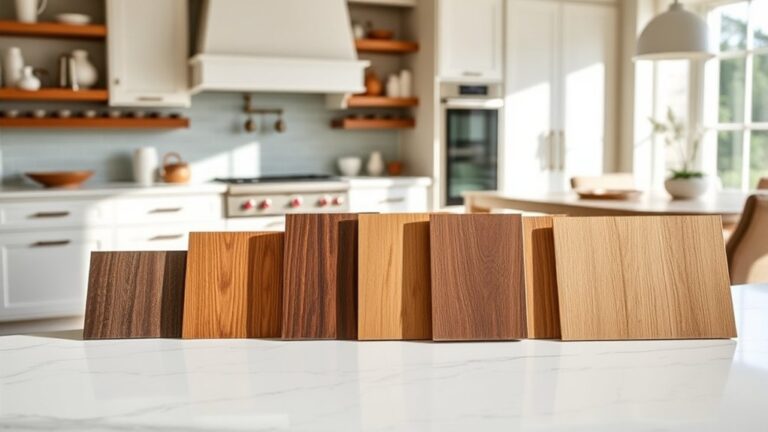
Types Of Cabinet Paint
Selecting the right paint and finish for your kitchen cabinets directly impacts their durability and appearance. You can choose chalk paint for a matte finish and vintage look, ideal for quick projects without extensive prep.
Spray paint offers smooth, even coverage, perfect for detailed cabinetry. Milk paint provides a natural, eco-friendly option with a matte finish but may require sealing.
Acrylic paint dries fast and resists yellowing, suitable for a clean, durable surface. Enamel paint, especially oil based paint, creates a hard, glossy finish that withstands heavy wear.
When deciding between matte finish and glossy finish, consider your kitchen’s style and maintenance needs. Matte hides imperfections; glossy highlights details and is easier to wipe clean.
Match your paint type carefully to your cabinet material for best results.
Durable Finishes Explained
Although choosing the right paint is important, understanding the durability of various finishes guarantees your kitchen cabinets withstand daily wear and tear. When selecting finish types, consider durability factors like resistance to moisture, scratches, and heat.
Satin and semi-gloss finishes offer excellent durability, making them ideal for high-traffic kitchens. Semi-gloss resists stains and cleans easily, while satin provides a softer sheen with good protection. Avoid flat finishes, as they lack durability and can show marks quickly.
For ultimate protection, consider a polyurethane topcoat, which enhances scratch resistance and moisture protection. Remember, the finish you pick directly affects longevity and maintenance. By prioritizing durability factors and selecting appropriate finish types, you confirm your cabinets stay beautiful and functional for years to come.
Color Selection Tips
Choosing the right color for your kitchen cabinets sets the tone for the entire space and influences how your kitchen feels and functions. Start by considering color psychology: light colors like soft blues and greens promote calmness, while warm tones such as reds and yellows stimulate energy.
Check current color trends to confirm your choice feels fresh but timeless. Matte finishes soften bold colors, while semi-gloss enhances brightness and durability.
Test your chosen paint under different lighting conditions to see how it shifts throughout the day. Remember, neutral shades provide flexibility in decor updates, whereas strong colors create focal points.
Balance your selection with your kitchen’s lighting, size, and overall style to achieve a cohesive, inviting look that lasts.
How to Prepare Cabinets for Painting
Start by thoroughly cleaning and degreasing your cabinets to remove any dirt or residue that could affect paint adhesion.
Next, carefully remove all hardware and take off the cabinet doors to guarantee an even, professional finish. This preparation sets the foundation for a smooth and long-lasting paint job.
Cleaning and Degreasing Cabinets
Before applying any paint, you’ll need to thoroughly clean and degrease your kitchen cabinets to guarantee proper adhesion. Start by wiping down surfaces with a damp cloth to remove loose dirt.
Then, apply a strong cleaning solution designed to cut through stubborn cabinet grease. Look for a degreaser or a mixture of warm water, dish soap, and a splash of white vinegar. Use a sponge or soft brush to scrub every inch, paying close attention to corners and edges where grease accumulates.
Rinse with clean water to remove residue, and dry completely with a lint-free cloth. This step guarantees the paint bonds well and prevents peeling or bubbling later. Never skip this essential stage—it’s the foundation for a smooth, lasting finish.
Removing Hardware and Doors
Remove all cabinet doors and hardware to guarantee an even, professional paint job. Start by labeling each door and its corresponding location with painter’s tape and a marker to simplify reinstallation.
For hardware removal, carefully unscrew knobs, handles, and hinges using a screwdriver, keeping all screws and pieces organized in labeled containers. Handle each door gently to avoid damage; place them on padded surfaces or sawhorses for door handling during sanding and painting.
If doors are heavy, enlist help to prevent injury or warping. Removing hardware and doors assures you can access all surfaces evenly, preventing paint drips and missed spots. This meticulous hardware removal and door handling process sets a solid foundation for a flawless kitchen cabinet transformation.
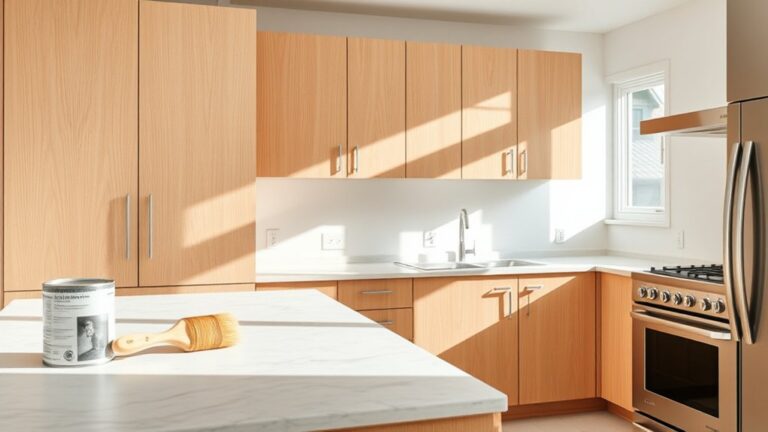
Step-by-Step Guide to Painting Kitchen Cabinets
Although painting kitchen cabinets may seem intimidating, following a clear, step-by-step process will guarantee a smooth and professional finish. Start by cleaning all surfaces thoroughly to remove grease and dirt.
Next, sand the cabinets lightly to help primer adhere, paying close attention to intricate cabinet design details. Apply a high-quality primer evenly, avoiding drips.
Lightly sand cabinets to enhance primer adhesion, focusing on detailed areas, and apply primer evenly without drips.
Once dry, use appropriate painting techniques such as brushing along edges and rolling flat surfaces for consistency. Allow the first coat to dry completely before applying a second, ensuring full coverage.
Finally, let the cabinets cure properly to enhance durability. By carefully following these steps and respecting the cabinet design, you’ll achieve a refreshed kitchen look that lasts. Avoid rushing to maintain precision throughout the process.
How to Get a Smooth Finish on Kitchen Cabinets
Achieving a smooth finish on your kitchen cabinets requires careful sanding, proper paint selection, and the right application techniques. Start by following sanding tips: sand with fine-grit sandpaper (220 grit) between coats to remove imperfections and guarantee adhesion.
Always sand lightly and wipe away dust with a tack cloth before painting. Choose a high-quality, water-based or oil-based cabinet paint designed for smooth finishes.
When applying paint, use specific brush techniques. Apply thin, even coats with a high-quality synthetic brush, brushing in the direction of the wood grain. Avoid over-brushing, which can cause streaks and bubbles.
Allow each coat to dry completely before sanding and applying the next. Patience and attention to detail in sanding and brushwork will give your cabinets a flawless, professional look.
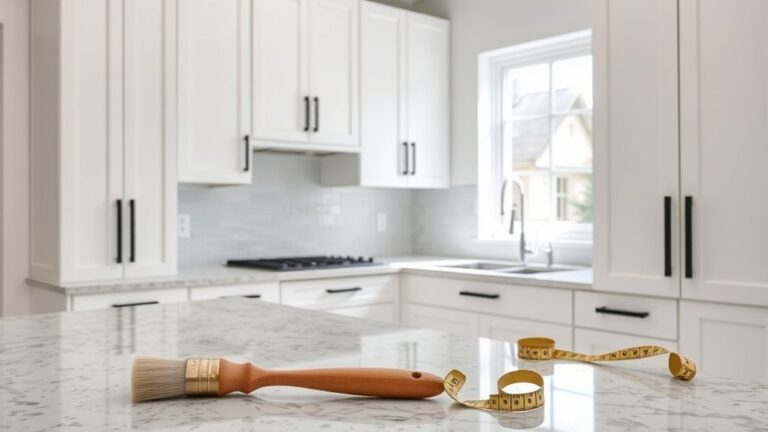
Putting Your Painted Cabinets Back Together
Once your paint has fully cured, you can start reassembling your kitchen cabinets by carefully reinstalling the hardware, doors, and drawers. Begin by reattaching doors to the cabinet frames, guaranteeing you align hinges precisely to avoid misalignment.
Use a screwdriver to secure screws tightly but avoid overtightening, which can strip the holes. Next, reinstall drawer fronts by lining them up with the cabinet boxes before fastening.
Check that all doors and drawers open smoothly without scraping the painted surfaces. Finally, reinstall knobs or pulls by aligning them with pre-drilled holes, securing them firmly.
Take your time to double-check each component for proper fit and function. This careful approach guarantees your cabinets look professional and operate seamlessly after painting.
Painting Mistakes to Avoid When Refinishing Kitchen Cabinets
When refinishing kitchen cabinets, avoiding common painting mistakes is essential to achieving a smooth, durable finish. First, prevent color miscalculations by testing paint samples under your kitchen’s lighting.
Inadequate prep, such as skipping sanding or cleaning, compromises adhesion and leads to finish mishaps. Use the right tools. Select brushes designed for cabinet paint to avoid brush marks.
Timing errors often cause layering issues. Apply thin coats and allow full drying time between each layer to prevent drips and uneven texture. Avoid drying mistakes by painting in a dust-free, controlled environment.
How to Maintain and Clean Painted Kitchen Cabinets
Although painted kitchen cabinets can transform your space, maintaining their appearance requires consistent care. For effective cabinet maintenance, start by wiping surfaces weekly with a soft cloth dampened with mild soap and water. Avoid harsh chemicals that can damage the paint finish.
Use gentle cleaning techniques like a microfiber cloth to prevent scratches. For tougher stains, apply a baking soda paste, let it sit briefly, then rinse and dry. Regularly check for chips or cracks and touch up promptly to prevent further damage.
Keep cabinets dry by immediately wiping spills. Avoid abrasive scrubbers or excessive water, which can deteriorate the paint. Following these cabinet maintenance steps guarantees your painted cabinets stay vibrant and durable, preserving the fresh look you worked hard to achieve.
Frequently Asked Questions
Can I Paint Kitchen Cabinets Without Removing the Doors?
Imagine painting a fence without removing the boards. It’s possible but tricky. You can paint kitchen cabinets without removing doors by mastering cabinet prep and spraying techniques, ensuring even coverage and avoiding drips or missed spots.
How Long Does Painted Kitchen Cabinet Paint Typically Last?
Paint durability on kitchen cabinets typically lasts 5-10 years. To extend it, you’ll want to follow maintenance tips like cleaning gently, avoiding harsh chemicals, and touching up scratches promptly. This helps keep surfaces looking fresh longer.
Is It Safe to Paint Cabinets in a Small, Unventilated Kitchen?
No, you shouldn’t paint cabinets in a small, unventilated kitchen. Proper cabinet preparation and paint selection require good airflow to avoid inhaling fumes and guarantee paint cures well.
Use fans or ventilate the area safely.
Can I Use Chalk Paint on Kitchen Cabinets?
You can use chalk paint on kitchen cabinets, but guarantee thorough cabinet preparation for better adhesion.
Chalk paint durability improves with a protective topcoat, like wax or polyurethane, preventing chipping and extending your cabinets’ lifespan effectively.
How Do I Fix Paint Bubbles on Kitchen Cabinets?
Like popping bubble wrap, you’ll gently sand bubbles to fix paint adhesion. Then, clean thoroughly, apply a primer, and repaint to guarantee bubble prevention.
Proper prep keeps your cabinets smooth and flawless every time.