How to Replace Shower Faucet Handle
To replace your shower faucet handle, start by turning off the main water supply to prevent any water flow.
Next, open the shower handle to drain any remaining water from the pipes.
Use the appropriate screwdriver or Allen wrench to remove the set screw that secures the old handle.
Once the screw is removed, gently pull the handle off.
Choose a compatible new handle that matches your valve type and install it securely in place.
After installation, turn the water back on, test for leaks, and ensure the handle operates smoothly.
Continue exploring detailed steps and tips for a seamless replacement process.
What Tools and Materials You’ll Need

To replace a shower faucet handle, you’ll need a specific set of tools and materials to guarantee a smooth process. First, identify the faucet type, single-handle or dual-handle, as this determines the replacement parts.
Begin by identifying your faucet type—single or dual handle—to choose the correct replacement parts.
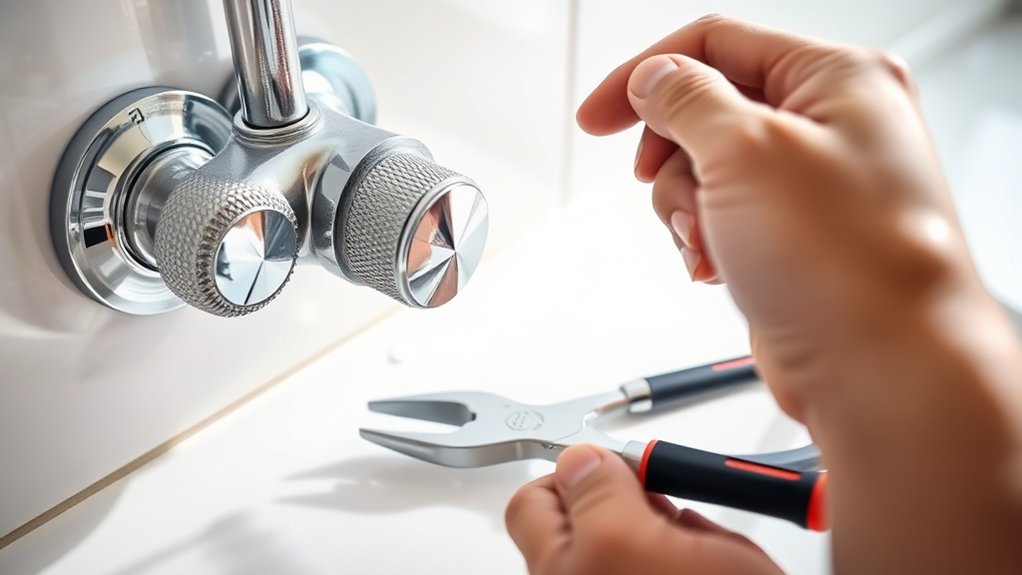
Gather a flathead screwdriver, Phillips screwdriver, Allen wrench set, and adjustable wrench. Prepare handle materials compatible with your faucet, such as metal, plastic, or ceramic, assuring durability and fit.
You’ll also need plumber’s grease for smooth operation and Teflon tape to secure threaded connections. Keep a clean cloth handy to protect finishes during the process.
Having these precise tools and correctly matched handle materials assures you can efficiently remove the old handle and install the new one without damaging the fixture or plumbing behind it.
How to Safely Turn Off Your Water Supply
Before you begin removing the shower faucet handle, make certain you safely shut off the water supply to prevent leaks or water damage. Locate the main water shut-off valve for your home, often found near the water meter or where the main line enters the house.
Turn the valve clockwise until it stops to shut off the water supply completely. If your home has individual shut-off valves for the shower or bathroom, use those instead for a localized shut off.
After turning off the water supply, open the shower handle to drain any remaining water from the pipes. Confirm the water has stopped flowing before proceeding. This step guarantees a safe, dry working environment and minimizes the risk of accidental flooding while replacing the faucet handle.
How to Remove the Old Shower Faucet Handle
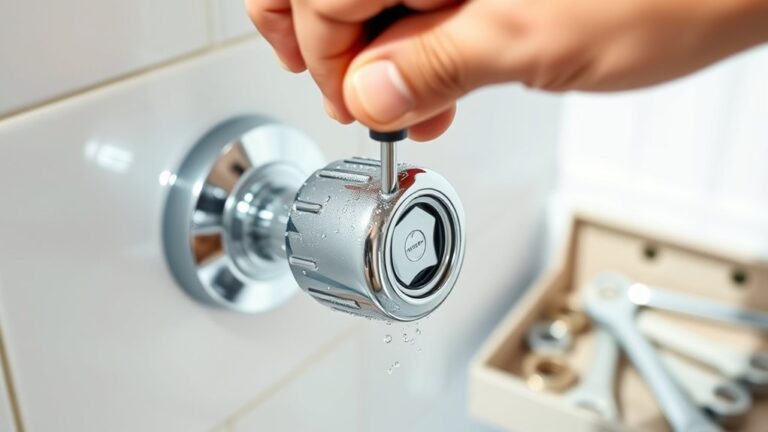
Start by locating the set screw that secures the shower faucet handle to the valve stem. Depending on the handle types, such as cross, lever, or knob, the screw may be hidden under a decorative cap. Use a flathead screwdriver or an Allen wrench to remove it.
Once loosened, gently pull the handle away from the valve stem. Common issues include stripped screws or stuck handles due to mineral buildup. Applying penetrating oil can help.
| Handle Type | Set Screw Location | Tool Needed | Common Issues | Removal Tip |
|---|---|---|---|---|
| Cross | Under cap | Allen wrench | Rusted screws | Use penetrating oil |
| Lever | Side of handle | Flathead | Stuck handle | Wiggle gently when pulling |
| Knob | Back or side | Allen wrench | Stripped screws | Apply extra torque slowly |
| Single-handle | Under decorative cap | Flathead | Mineral buildup | Clean before removal |
| Dual-handle | Front or side | Allen wrench | Corroded stem | Use a handle puller |
How to Choose the Right New Shower Faucet Handle
After successfully removing the old shower faucet handle, selecting a compatible replacement guarantees proper function and ease of installation. First, identify the valve type and stem design to make sure the new handle fits precisely.
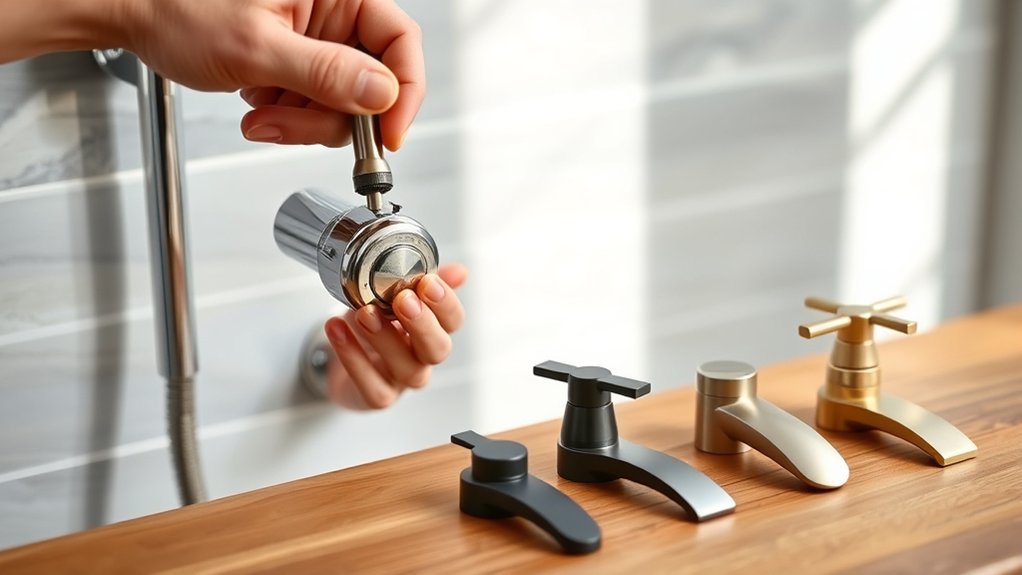
Next, evaluate handle styles, such as lever, knob, or cross, to match both your aesthetic preference and grip comfort. Consider the available material options, like brass, stainless steel, or plastic, focusing on durability and corrosion resistance.
Evaluate handle styles and materials for comfort, durability, and corrosion resistance to suit your bathroom’s design.
Choose a finish that complements your bathroom fixtures while withstanding moisture exposure. Verify the handle’s mounting mechanism aligns with your valve stem, whether it requires a set screw or a push-on installation.
Confirm all measurements before purchasing to avoid incompatibility. This systematic approach ensures your new shower faucet handle performs reliably and maintains your bathroom’s design integrity.
How to Install and Test Your New Handle
Start by securely attaching the new handle to the valve stem using the provided screws or clips. Once installed, turn the water supply back on and rotate the handle to check for proper water flow and temperature control.
Verify there are no leaks or unusual resistance before finishing the installation.
Handle Installation Steps
Align the new handle with the valve stem, making certain the set screw hole matches the stem’s flat side. Depending on the handle type, single lever, knob, or cross, this alignment is critical for proper operation.
Slide the handle onto the stem firmly but gently. Use a screwdriver to tighten the set screw securely; avoid overtightening, which can damage the handle or stem. For cartridge-type handles, make sure the cartridge is properly seated before attachment.
Installation tips include checking for debris on the stem and handle base, which can cause misalignment or leaks. After securing the handle, install any decorative caps or trim pieces included. These handle installation steps guarantee a stable, functional fit and prepare your new handle for the final testing phase.
Testing Water Flow
Once the handle is securely installed and any caps or trim pieces are in place, you can proceed to test the water flow. Begin by turning on the main water supply and slowly rotate the handle to activate the shower. Observe the water pressure and flow rate carefully to guarantee consistent performance.
Check for any irregularities such as sputtering or weak flow, which may indicate installation issues or valve problems. Verify that both hot and cold water adjust smoothly without leaks.
Confirm steady water pressure at all handle positions
Measure flow rate to match manufacturer specifications
Inspect for leaks around the handle and trim
Adjust handle tension if water flow is inconsistent
Proper testing guarantees your new shower handle functions reliably and safely.
When to Call a Plumber for Shower Faucet Repairs
If you notice persistent leaks, corrosion, or damaged valve components, it’s time to call a plumber. Attempting repairs beyond handle replacement can risk water damage or improper installation.
Trust a professional when the problem involves complex internal parts or extensive wear.
Signs of Major Damage
Although minor issues with your shower faucet handle can often be fixed with simple repairs, certain signs indicate major damage that requires professional attention. If you notice persistent faucet leaks despite tightening or replacing washers, the issue may lie deeper in the valve assembly.
Visible handle corrosion that compromises structural integrity also signals a need for expert repair. Additionally, difficulty in turning the handle or inconsistent water temperature control often points to internal cartridge or valve damage.
Watch for these signs:
- Continuous faucet leaks after standard fixes
- Severe handle corrosion affecting function
- Stiff or unresponsive handle movement
- Erratic water temperature fluctuations
Addressing these problems promptly with a plumber guarantees safety and prevents further water damage or costly replacements.
When DIY Is Risky
When dealing with complex faucet issues, you should call a plumber rather than attempt a DIY fix. Conduct a thorough risk assessment before proceeding; if you encounter persistent leaks, damaged valve seats, or corrosion inside the faucet body, these problems often require professional tools and expertise.
Prioritize DIY safety by evaluating your skill level and available equipment. If you lack proper knowledge of plumbing systems or if the repair involves accessing hidden pipes or electrical components, avoid DIY attempts. Improper handling can worsen damage or cause water damage.
Additionally, if your shower faucet controls hot water mixing or pressure balance, incorrect repairs may pose scalding risks. In these cases, contact a licensed plumber to guarantee safe and effective restoration without compromising your home’s plumbing integrity.
Frequently Asked Questions
Can I Replace a Shower Faucet Handle Without Shutting off Water?
You can’t safely replace a shower faucet handle without shutting off water. Different shower handle types and faucet handle materials require water off to avoid leaks or damage during removal and installation.
Always close the main valve first.
How Do I Fix a Leaking Shower Faucet Handle?
To fix shower handle leaks, first turn off the water and remove the handle. Inspect and replace worn washers or O-rings. Use faucet repair tips like cleaning valve seats and applying plumber’s grease for smooth operation and leak prevention.
What Causes a Shower Handle to Become Loose Over Time?
Think of your shower handle like a door hinge. Constant movement causes wear and tear.
Over time, installation issues or loosening screws make it wobbly. Tighten or replace parts regularly to maintain a secure fit and functionality.
Are There Eco-Friendly Shower Faucet Handle Options Available?
Yes, you can choose shower faucet handles made from eco friendly materials like recycled brass or bamboo. Look for sustainable brands that prioritize durability and low environmental impact, ensuring your replacement supports green building practices effectively.
How Do I Remove Mineral Buildup From My Shower Handle?
You can’t just scrub away mineral buildup; soak your shower handle in vinegar for 30 minutes to dissolve deposits.
For effective shower handle maintenance, regularly clean and apply a water softener to prevent future mineral buildup.