How to Change Shower Faucet
To change your shower faucet, start by gathering essential tools such as an adjustable wrench, screwdrivers, plumber’s tape, and replacement parts. Changing your shower faucet requires careful preparation to ensure a smooth process.
Begin by turning off the main water supply and opening the faucet to drain any remaining water. This step helps prevent leaks during the replacement.
Next, carefully remove the old faucet while inspecting it for any damage that might affect the new installation.
Apply plumber’s tape to the threaded joints before aligning and securing the new faucet, ensuring the valve is properly placed.
Once installed, restore the water supply and check for leaks or pressure issues. By following these steps, you can achieve a reliable installation and fine-tune details for peak performance.
Gather Tools and Materials for Your Shower Faucet
Before you begin replacing your shower faucet, gather all necessary tools and materials to facilitate a smooth process. Identify the faucet type you’re working with, such as single-handle, double-handle, or thermostatic, to confirm compatibility with your replacement.
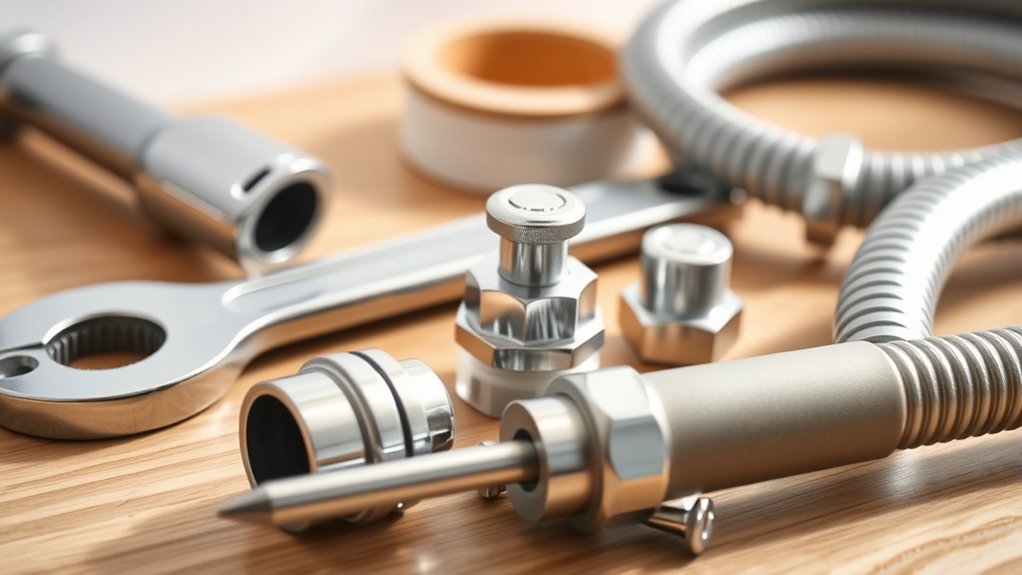
Essential tools include an adjustable wrench, screwdriver set, plumber’s tape, and a utility knife. You’ll also need replacement parts such as new handles, valve cartridges, or escutcheons, depending on your faucet type.
Installation tips recommend having a bucket and towels handy to catch residual water. Verify that you have proper sealants and lubricants for the valve stems.
Keep a bucket and towels ready to catch water and ensure sealants and lubricants are on hand for valve stems.
Preparing these items beforehand prevents delays during installation and potential damage. Being methodical at this stage sets the foundation for a successful faucet replacement.
Turn Off the Water and Remove Your Old Faucet
Once you have gathered all the necessary tools and materials, the next step is to shut off the water supply to your shower. Locate the main water valve and turn it off completely to prevent leaks or flooding. Open the shower faucet afterward to drain remaining water.
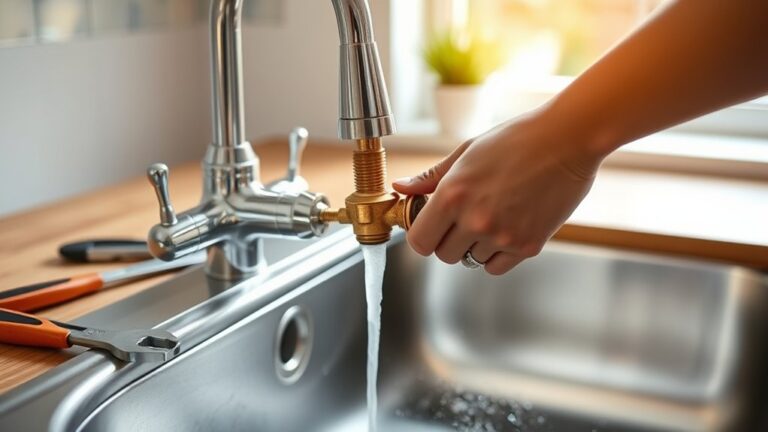
Adhering to safety precautions is critical. Wear gloves and safety glasses to protect yourself from sharp edges and debris. To remove your old faucet, use an adjustable wrench to unscrew the mounting nuts carefully.
Avoid common mistakes like forcing parts, which can damage pipes or fittings. Take note of the faucet’s configuration before removal to guarantee a smooth replacement process. Once detached, inspect the plumbing for corrosion or damage before proceeding.
This step sets the foundation for a safe and efficient faucet replacement.
Install Your New Shower Faucet
Begin by aligning the new shower faucet with the existing plumbing connections, guaranteeing the mounting holes and water inlets match precisely. Different faucet types may require specific alignment, so review manufacturer instructions carefully.
Secure the faucet using screws or mounting nuts, tightening them evenly to avoid stress on the fixture. Apply plumber’s tape to threaded connections to prevent leaks.
Tighten screws evenly and use plumber’s tape on threads to ensure a leak-free, secure faucet installation.
Installation tips include verifying that the valve cartridge sits correctly to guarantee smooth operation. Avoid overtightening, which can damage components.
Connect the water supply lines, confirming hot and cold inputs correspond to the faucet’s markings. Once mounted, check for a firm, stable fit without gaps between the faucet base and wall.
Following these steps guarantees a proper, durable installation tailored to your faucet type and plumbing setup.
Test and Troubleshoot Your New Shower Faucet

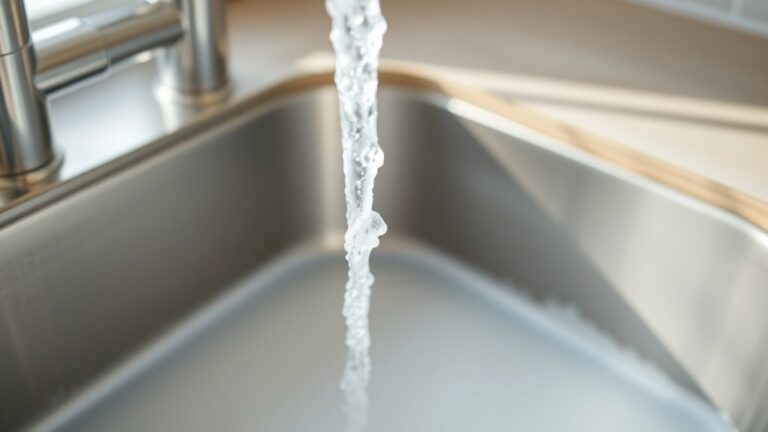
Turn on the water supply and activate the shower faucet to evaluate its performance. Check the water pressure to verify it meets expected levels; low pressure may indicate an installation error or clogged aerator.
Perform leak detection by inspecting all connections and joints for drips or moisture. If leaks appear, tighten fittings or reseat washers following installation tips.
Use troubleshooting techniques such as isolating valves and observing temperature control to diagnose inconsistent water flow or temperature fluctuations. Confirm that both hot and cold water operate correctly without cross-contamination.
For maintenance advice, regularly clean aerators and check seals to prolong faucet lifespan. Addressing issues promptly prevents damage and guarantees peak operation.
These steps ensure your new shower faucet functions efficiently and reliably post-installation.
Frequently Asked Questions
How Do I Choose the Right Style of Shower Faucet?
You choose the right shower faucet style by matching faucet finishes to your bathroom decor, considering functionality, and reviewing installation tips for compatibility with your plumbing.
Prioritize durability and ease of installation for best results.
Can I Upgrade to a Thermostatic Shower Valve?
Yes, you can upgrade to a thermostatic shower valve. Enjoy thermostatic benefits like consistent temperature control.
For installation, verify proper pressure balance and follow manufacturer guidelines carefully to prevent leaks and guarantee peak performance and safety.
What Water Pressure Is Ideal for a Shower Faucet?
You’ll want shower pressure between 40-60 psi for ideal faucet performance. This range guarantees steady water flow without damaging components.
Too low reduces comfort; too high strains the system, risking leaks or premature wear.
How Do I Maintain My Shower Faucet to Prevent Leaks?
Like a car needs regular oil changes, your shower faucet demands leak detection and routine faucet maintenance. Check seals monthly, replace worn washers, and tighten connections to prevent drips.
This ensures long-lasting, efficient performance and water savings.
Are There Eco-Friendly Shower Faucet Options Available?
Yes, you’ll find eco-friendly shower faucets featuring low flow options that reduce water usage considerably. Choose models made from sustainable materials like recycled brass or stainless steel to enhance durability and minimize environmental impact effectively.