How to Replace a Outdoor Faucet Handle
To replace an outdoor faucet handle, first turn off the water supply to avoid leaks. This is an essential step to ensure safety and prevent water damage during the replacement process.
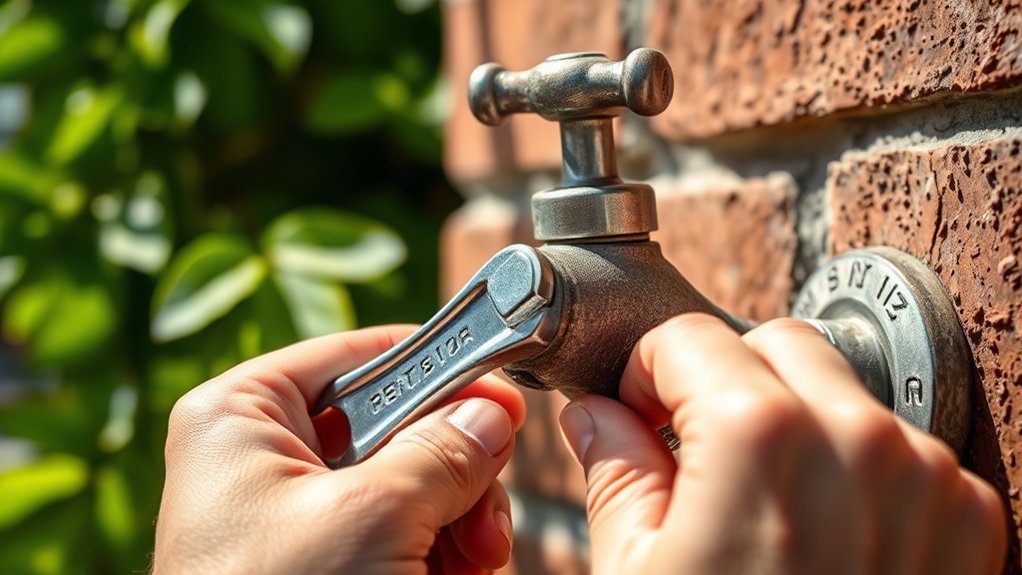
Next, identify your handle type—screw-on, set-screw, or push-on—and use the correct tool to gently remove it. Applying lubricant can help loosen a stuck handle.
Inspect the faucet stem for any damage or wear.
Then, align and secure a compatible replacement handle with the appropriate screw.
Finally, test the handle for smooth operation, ensuring there is no wobble or leaks. Following these steps sets the foundation for effective faucet maintenance and longevity.
What You Need to Replace an Outdoor Faucet Handle
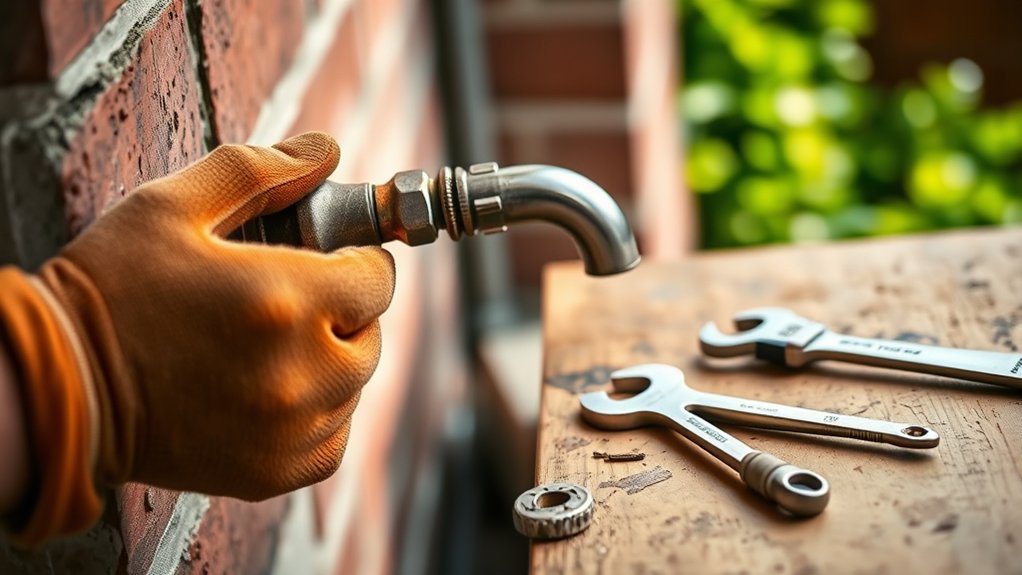
To replace an outdoor faucet handle, you’ll need a few essential tools and materials to complete the job efficiently and safely. Start by selecting the correct faucet handle type compatible with your existing valve stem. Common types include compression, ball, and cartridge handles.
Choose replacement materials that are durable and weather-resistant, such as brass or stainless steel, to guarantee longevity. Essential tools include an adjustable wrench, screwdriver (flathead or Phillips depending on your handle screws), and plumber’s grease for smooth operation.
Additionally, have a cloth or rag to clean the stem and a flashlight for better visibility if needed. Confirm that your replacement handle matches the size and style of your faucet to avoid installation issues. Preparing these items beforehand guarantees a streamlined and effective replacement process.
How to Safely Remove an Outdoor Faucet Handle
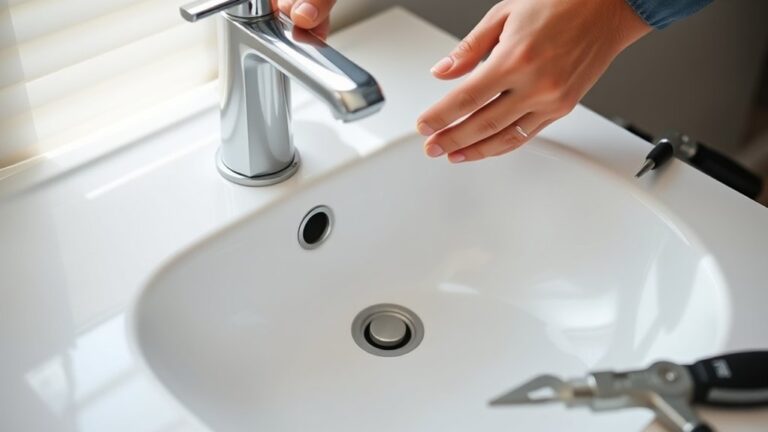
Begin by turning off the water supply to the outdoor faucet to prevent leaks or water damage during removal. Next, identify the handle type. Common types include screw-on, set-screw, or push-on handles.
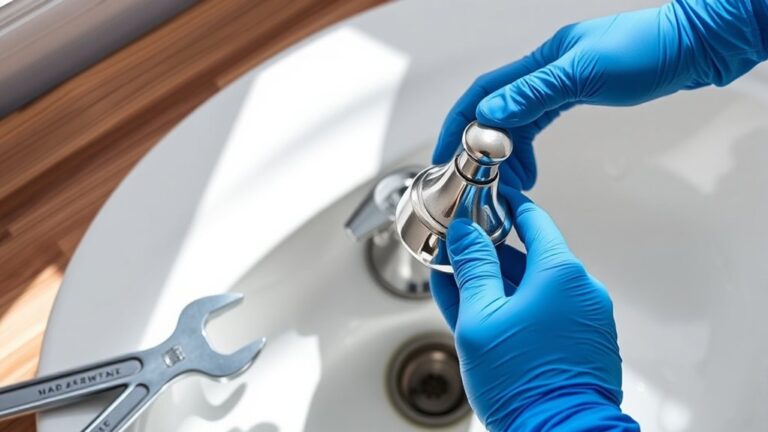
Use the appropriate screwdriver or Allen wrench to loosen any visible screws securing the handle. For screw-on handles, rotate counterclockwise to unscrew. If the handle is stuck due to corrosion, apply a penetrating lubricant and wait several minutes before attempting removal again.
Avoid using excessive force to prevent damaging the faucet stem. Once the handle is free, gently wiggle and pull it off. Proper removal is essential for effective faucet maintenance, ensuring no components are damaged before installing a replacement.
Keep all hardware for reuse or replacement as needed.
How to Install a New Outdoor Faucet Handle
After removing the old handle carefully, inspect the faucet stem for any damage or debris before installing the new handle. Choose the correct faucet handle type that matches your outdoor faucet’s design, whether it’s a screw-on, compression, or quarter-turn style.
Align the new handle with the stem, ensuring it fits snugly without forcing it. Secure the handle by tightening the set screw or fastening the center screw, depending on the handle type.
Test the handle’s operation by turning it on and off to confirm smooth movement. Proper installation is essential for effective outdoor faucet maintenance, preventing leaks and ensuring durability.
Regularly check for wear and clean the handle area during routine maintenance to enhance longevity and performance.
Tips to Prevent Leaks and Damage to Your Faucet Handle
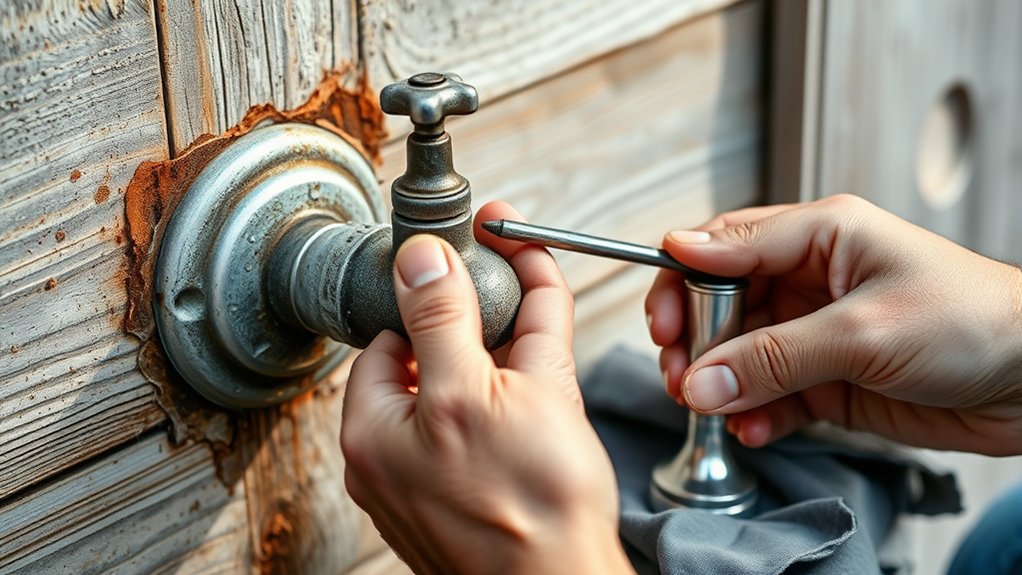
Though outdoor faucets face constant exposure to weather and usage, you can greatly reduce leaks and damage by implementing routine maintenance and proper handling techniques. Start by inspecting the faucet handle regularly for signs of wear or corrosion.
Regular inspection of outdoor faucet handles helps prevent leaks and damage caused by weather and frequent use.
Apply a silicone-based lubricant to moving parts to guarantee smooth operation and prevent rust buildup. Tighten any loose screws promptly to avoid handle wobbling, which can cause leaks.
During colder months, drain and shut off outdoor water lines to prevent freezing damage. Use faucet maintenance tips like replacing worn washers and seals to maintain a tight, leak-free connection.
Employ leak prevention strategies by avoiding excessive force when turning the handle and confirming the faucet is fully closed after use. These steps will extend your faucet handle’s lifespan and maintain peak function.
Frequently Asked Questions
Can I Replace an Outdoor Faucet Handle Without Shutting off the Main Water Supply?
You shouldn’t replace an outdoor faucet handle without shutting off the main water supply. Different faucet handle types can leak or spray water.
Follow outdoor plumbing tips: always turn off water to avoid damage and guarantee safety during replacement.
What Materials Are Best for Outdoor Faucet Handles in Cold Climates?
Though metal feels sturdy, you’ll want brass or stainless steel for durability factors in cold climates. These material options resist freezing damage and corrosion, unlike plastic, ensuring your outdoor faucet handle lasts through harsh winters without cracking or warping.
How Do I Know if My Outdoor Faucet Handle Is Compatible With My Faucet?
You check compatibility factors by identifying your faucet handle type: compression, ball, cartridge, or ceramic disc. Then match dimensions, threading, and connection style.
Refer to manufacturer specs to guarantee the replacement fits your existing faucet correctly.
Are There Tools to Help Remove a Stuck Faucet Handle Safely?
When it comes to faucet handle removal, you don’t have to break the bank. Use a handle puller or penetrating oil as stuck handle solutions to loosen corrosion safely, preventing damage during removal and ensuring smooth operation.
How Often Should Outdoor Faucet Handles Be Replaced?
You should replace outdoor faucet handles every 3-5 years or when signs of wear appear. Follow faucet maintenance tips and perform seasonal inspections to catch corrosion or leaks early, ensuring reliable operation and preventing damage.