How to Replace the Shower Faucet Valve
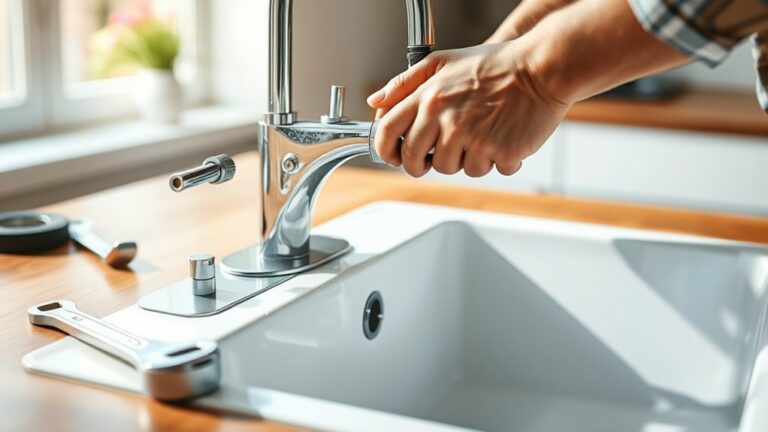
First, shut off your water supply before starting the process of how to replace the shower faucet valve. Open the shower faucet to relieve any built-up pressure.
Gather the necessary tools, including an adjustable wrench, screwdrivers, plumber’s tape, and a replacement valve that matches your existing setup.
Carefully remove the old valve, paying close attention to how it is fastened. Clean the valve seats thoroughly to ensure a good seal for the new valve.
Install the new valve by aligning it properly and applying plumber’s tape to the threads. Tighten all fittings securely to prevent leaks.
Finally, restore the water flow and test the faucet for leaks and proper temperature control. Continuing will provide detailed steps and tips for a successful replacement.
Turn Off Your Shower’s Water Supply
Before you begin any work on your shower faucet valve, make certain to turn off the water supply completely. Locate the main water shutoff valve for your home or the dedicated valve for your bathroom.
Reducing water pressure prevents leaks and potential damage during valve replacement. Understanding valve types, such as cartridge, ball, or compression valves, helps you identify the correct shutoff point.
Lowering water pressure avoids leaks and damage; knowing valve types ensures you find the right shutoff point.
Follow this installation guide step carefully to guarantee safety and efficiency. After shutting off the water, open the shower faucet to drain residual water and relieve pressure.
Incorporate these maintenance tips to avoid unexpected water flow while working. Properly turning off the water supply is critical before proceeding with valve removal or installation, assuring a smooth and safe repair process.
Gather Essential Tools and Parts
When you’re ready to replace your shower faucet valve, gather all necessary tools and parts to facilitate a smooth process. Identify the valve type first, as different types require specific tools and have varying replacement frequency.
Having the right components on hand prevents delays and guarantees compatibility.
| Tool/Part | Purpose | Notes |
|---|---|---|
| Adjustable wrench | Loosen and tighten fittings | Essential for all valve types |
| Screwdrivers | Remove screws and handles | Phillips and flathead needed |
| Replacement valve | Replace faulty valve | Match valve type exactly |
| Plumber’s tape | Seal threaded connections | Prevent leaks |
| Silicone grease | Lubricate valve components | Extends valve life |
Gather these based on your valve type and expected replacement frequency.
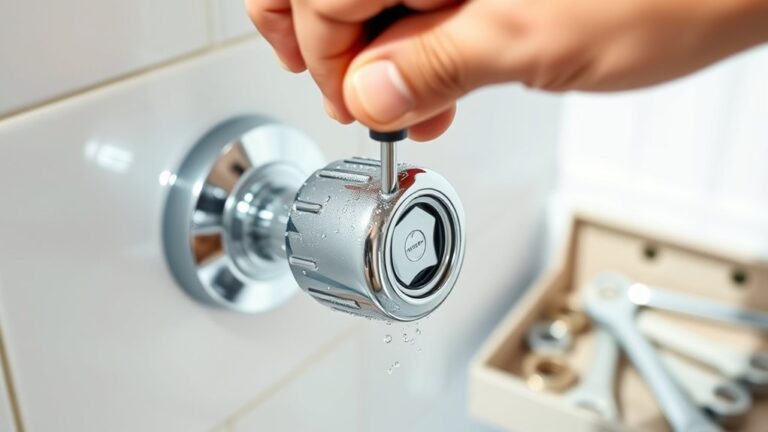
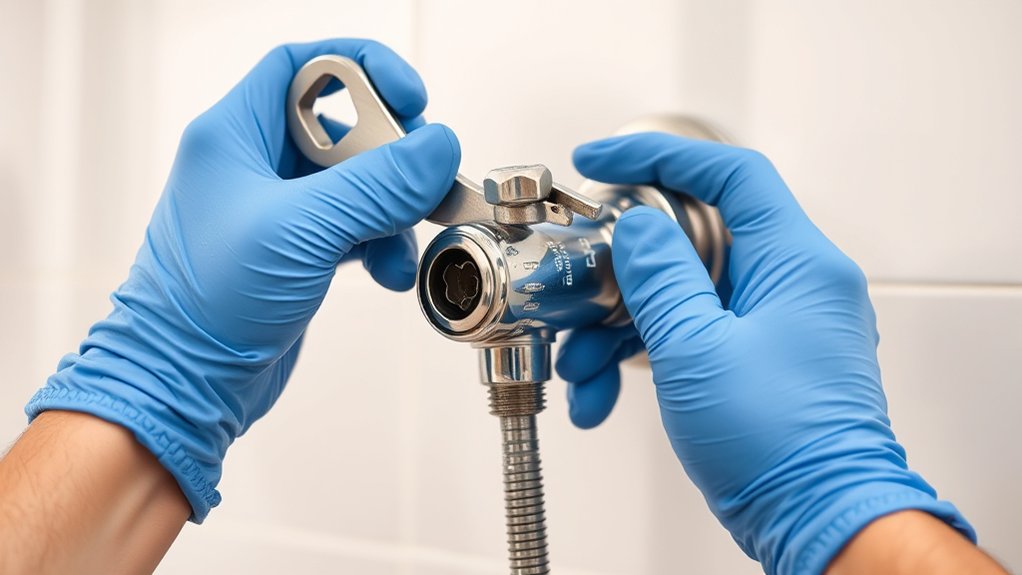
Remove the Old Shower Faucet Valve
With all necessary tools and the correct replacement valve at hand, you can proceed to remove the old shower faucet valve. First, turn off the water supply and open the faucet to relieve pressure. This safety precaution prevents leaks.
Identify the valve type to determine the removal method, as cartridge, ball, and compression valves vary. Use troubleshooting tips to spot common issues like corrosion or worn seals that may complicate removal.
Carefully unscrew or pull out the valve using appropriate tools without damaging surrounding plumbing. Note any installation techniques used, such as retaining clips or screws, for proper disassembly.
Follow maintenance advice by cleaning valve seats and pipes during removal to guarantee a smooth, secure fit for the new valve and avoid future leaks or malfunctions.
Install the New Shower Faucet Valve
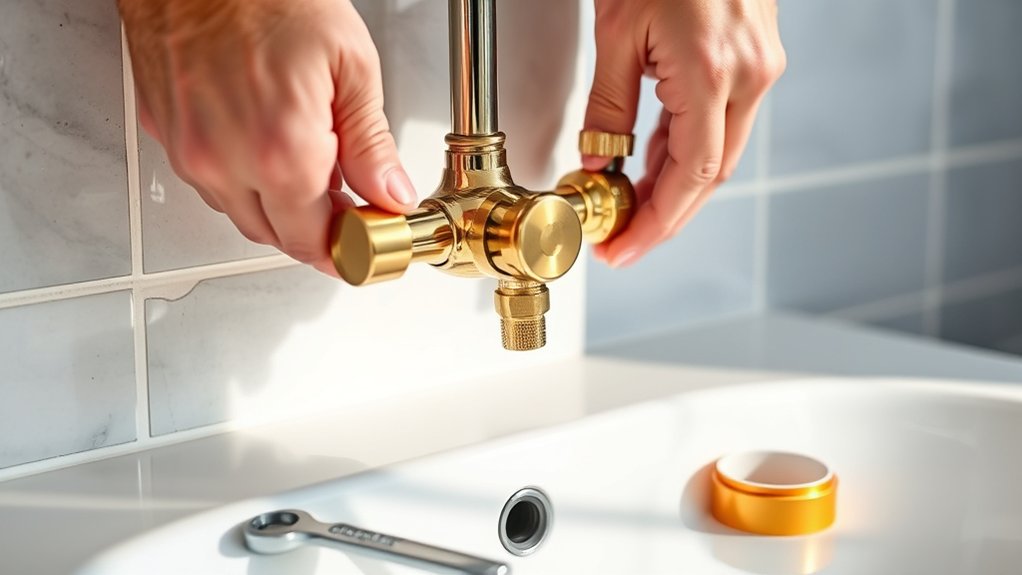
Begin by carefully aligning the new shower faucet valve with the existing plumbing connections to guarantee a proper fit. Confirm you select the correct valve type, compression, cartridge, or ceramic disc, matching the original for compatibility.
Use installation tips like applying plumber’s tape to threaded joints and tightening connections securely without over-torquing to avoid leaks. Watch for common issues such as misaligned fittings or damaged seals, which can affect water pressure and valve function.
Follow the maintenance advice in your valve’s manual to extend lifespan and prevent corrosion. Consult the troubleshooting guide if you encounter unexpected resistance or irregular water flow during installation.
Taking these precise steps confirms a durable, efficient valve setup and smooth operation once fully installed.
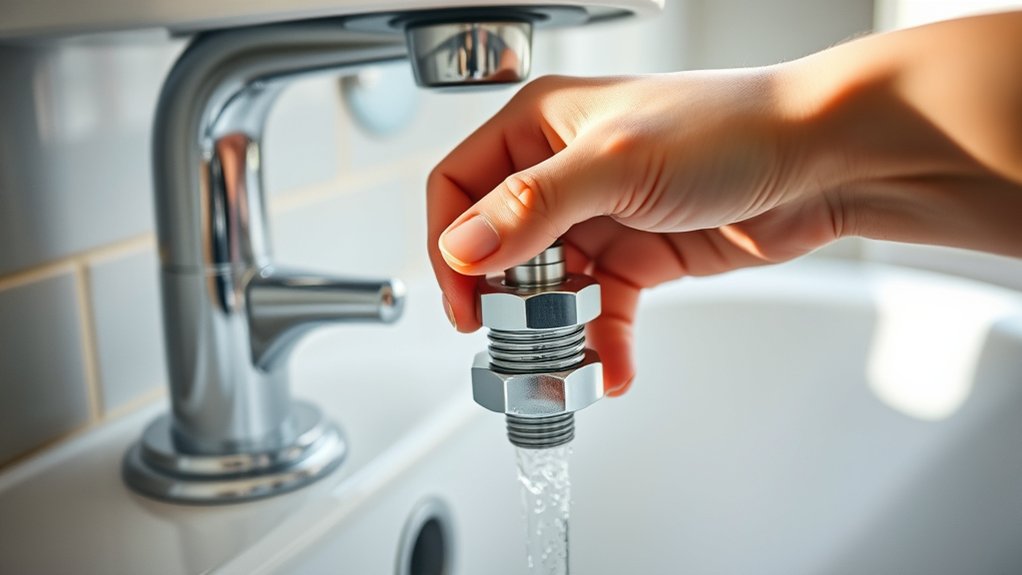
Test the New Valve for Leaks and Function
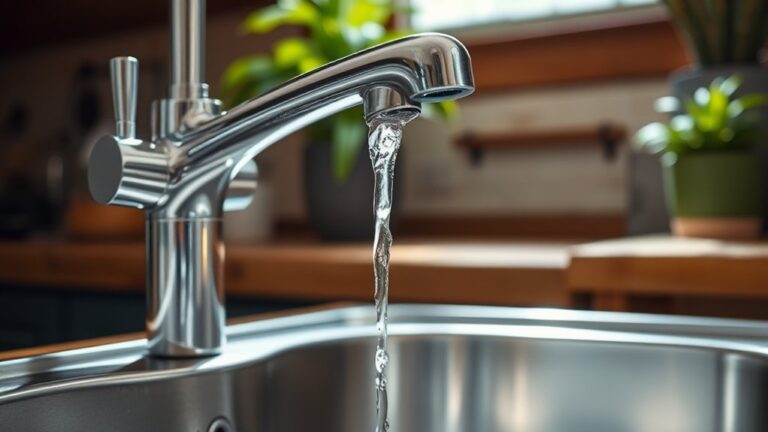
After securing the new shower faucet valve in place, you need to verify its performance and check for leaks before completing the installation. Begin by turning the water supply back on slowly to pressurize the valve.
Observe all connections carefully for any signs of water seepage, which indicates a failure in leak prevention. Next, operate the valve handles through their full range to test valve functionality, ensuring smooth rotation and proper water flow control.
Check both hot and cold water outputs to confirm temperature regulation works correctly. If you detect any leaks or irregular valve operation, shut off the water supply immediately and tighten fittings or reseat the valve as needed.
Only proceed with finishing the installation once you confirm the valve is fully functional and leak-free.
Frequently Asked Questions
How Do I Know if My Shower Valve Needs Replacement?
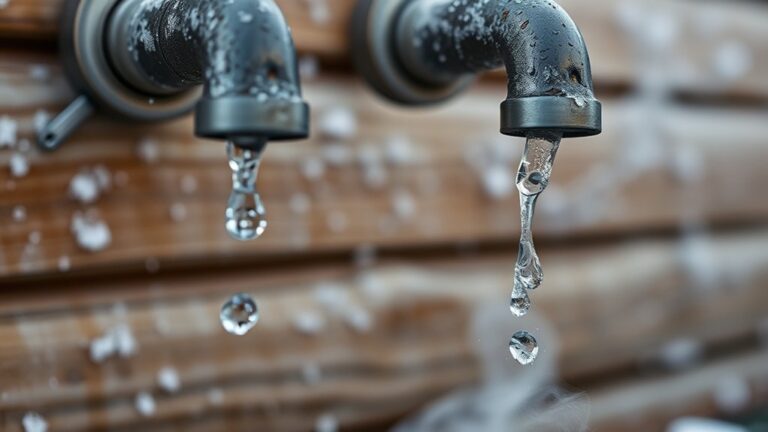
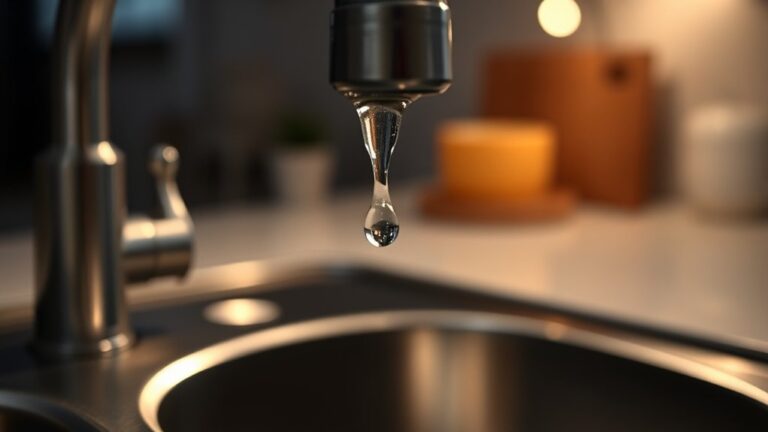
Don’t ignore valve signs like leaks, low water pressure, or inconsistent temperature. They’re clear replacement symptoms.
If your shower drips nonstop or feels sluggish, you need to replace the valve promptly to avoid bigger plumbing issues.
What Types of Shower Valves Are Available?
You’ll find manual valves like compression and cartridge valves, pressure balanced valves for temperature control, diverter valves to switch water flow, and electronic valves offering precise digital adjustments, each serving specific shower system needs.
Can I Upgrade to a Thermostatic Valve?
Yes, you can upgrade to a thermostatic valve. Thermostatic benefits include precise temperature control and safety.
For installation tips, verify compatibility with your plumbing and carefully follow manufacturer instructions to avoid leaks or malfunctions.
How Long Does a Typical Valve Replacement Take?
Replacing a valve won’t take you all day. Typically, 1 to 3 hours suffices.
Know your valve types and follow installation tips precisely. You’ll efficiently swap valves without unnecessary delays or complications.
Are There Safety Precautions to Consider During Replacement?
You should always shut off the water supply to prevent valve leaks and wear gloves to avoid injury. Use proper installation tools, guarantee electrical devices stay dry, and double-check connections for a secure, leak-free fit.