How to Replace Outdoor Faucet
To replace an outdoor faucet, first shut off the main water valve and drain any water from the existing faucet. This step is crucial to prevent water spillage and ensure safety during the replacement process.
Gather tools like a pipe wrench, plumber’s tape, and the correct replacement faucet matching your pipe size and material.
Unscrew the old faucet carefully, making sure not to damage the connecting pipes. Apply plumber’s tape to the new faucet’s threads to ensure a tight seal. Then, tighten it securely without overtightening, which could cause damage.
Turn the water back on and check for leaks to confirm the installation is successful. Following these precise steps guarantees a durable, leak-free outdoor faucet replacement. You can explore further to master the process.
Tools and Materials for Replacing an Outdoor Faucet
To replace an outdoor faucet, you’ll need a specific set of tools and materials to guarantee a smooth and secure installation. Start by selecting the appropriate faucet type. Typically brass frost-free models offer durability and freeze protection.
Gather essential tools: a pipe wrench, adjustable wrench, plumber’s tape, pipe cutter, and a bucket for water drainage. You’ll also need replacement pipe fittings and possibly soldering equipment if working with copper pipes.
Installation tips include matching your new faucet to existing pipe materials and sizes to prevent leaks. Having a pipe thread sealant or Teflon tape assures a watertight connection.
Preparing these tools and materials before starting saves time and helps you work efficiently and safely during the faucet replacement process.
How to Shut Off Water and Prep the Faucet Area
First, locate your main water valve and turn it off to stop the water flow to the outdoor faucet. Next, open the faucet to drain any remaining water from the pipes.
Finally, clear the area around the faucet to guarantee easy access for the replacement process.
Locate Main Water Valve
Identifying the main water valve is essential for safely shutting off the water supply before replacing an outdoor faucet. You need to find the valve location to control the main water access effectively.
Usually, the main valve is near the water meter or where the water line enters your home. Follow these steps to locate it:
- Check the basement, crawl space, or utility room for the valve.
- Inspect near the water heater or under the kitchen sink.
- Look outside near the foundation or in a covered box on the property line.
- If you have a municipal water supply, the valve may be near the water meter on your property.
Knowing the exact valve location guarantees you can quickly shut off water during the faucet replacement, preventing leaks or flooding.
Drain Remaining Water
Begin by shutting off the main water valve to stop the flow to the outdoor faucet. Next, open the outdoor faucet fully to allow any remaining water to drain out. This step is essential to prevent water from freezing inside the pipe during winter preparation.
Utilize proper drainage techniques by tilting the faucet slightly downward if possible, ensuring all residual water exits the system. If your setup includes a drain valve or bleed valve near the faucet, open it to enhance drainage efficiency.
Allow several minutes for complete drainage before proceeding. Ensuring no water remains in the pipe reduces the risk of pipe damage or freezing. Following these precise steps prepares the faucet area effectively for removal or replacement while safeguarding your plumbing system.
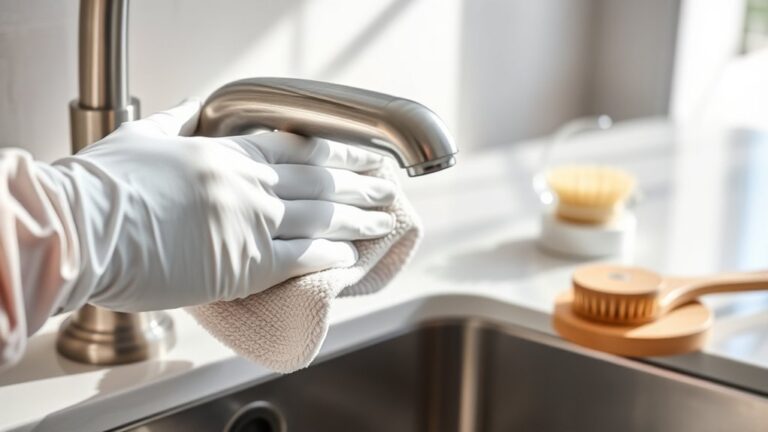
Clear Faucet Surrounding Area
Three key steps help you clear the faucet surrounding area efficiently: removing debris, trimming nearby vegetation, and guaranteeing unobstructed access to shutoff valves. Start by clearing leaves, dirt, and any loose material that could hinder your work.
Next, trim back plants or grass crowding the faucet to prevent damage during replacement. Locate the shutoff valve controlling water flow to the faucet and verify easy access for quick operation.
These steps align with essential faucet maintenance tips and support seasonal inspections to avoid future issues.
- Remove all debris around the faucet base.
- Trim vegetation at least 6 inches from the faucet.
- Confirm shutoff valve is visible and accessible.
- Check for signs of corrosion or leaks nearby.
This preparation guarantees safe, efficient faucet replacement.
Choosing the Best Replacement Outdoor Faucet
What factors should you consider when selecting a replacement outdoor faucet? First, evaluate faucet types, such as hose bibb, frost-free, or anti-siphon, based on your climate and usage needs. Frost-free faucets help prevent freezing damage, ideal in colder regions.
Next, examine faucet materials. Brass is durable and corrosion-resistant, while stainless steel offers excellent longevity but at a higher cost. Avoid plastic faucets, as they tend to degrade over time.
Also, verify the connection size and thread type to guarantee compatibility with your existing plumbing. Prioritize faucets with robust valve mechanisms for reliable shutoff and minimal leaks.
Step-by-Step Removal of Your Old Outdoor Faucet
First, shut off the water supply to prevent leaks during removal. Next, use a wrench to carefully detach the old faucet from the pipe.
Finally, clean and prepare the pipe connections to guarantee a secure fit for the new faucet.
Shut Off Water Supply
Before you begin removing your old outdoor faucet, locate and shut off the main water supply valve to prevent any leaks or water damage. This step is essential for effective faucet maintenance and controlling water pressure during the replacement process.
Follow these precise actions:
- Identify the main shut-off valve, usually near your water meter or where the main line enters your home.
- Turn the valve clockwise until fully closed to stop water flow.
- Open the outdoor faucet to release any remaining water and relieve pressure.
- Verify the water is off by checking that no water flows when the faucet handle is turned.
Completing this guarantees a safe, dry work area and prevents unexpected water pressure surges as you proceed to detach the old faucet.
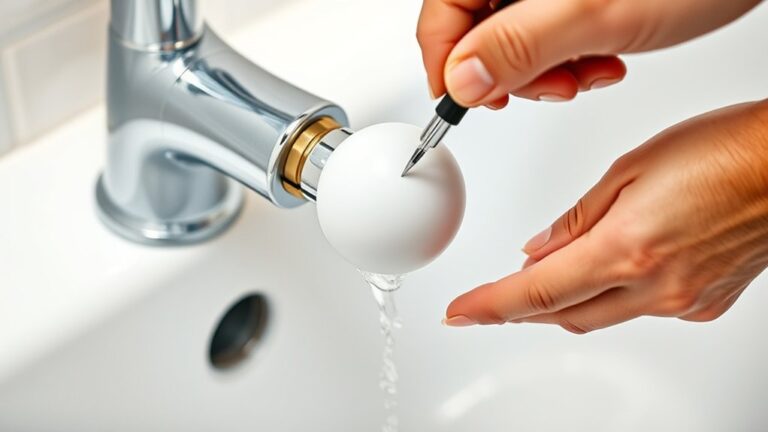
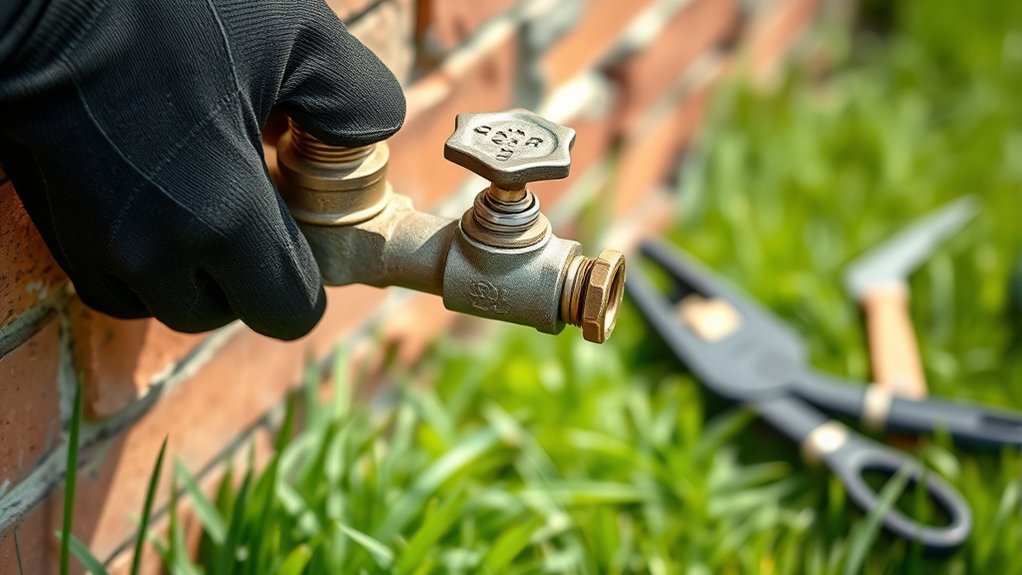
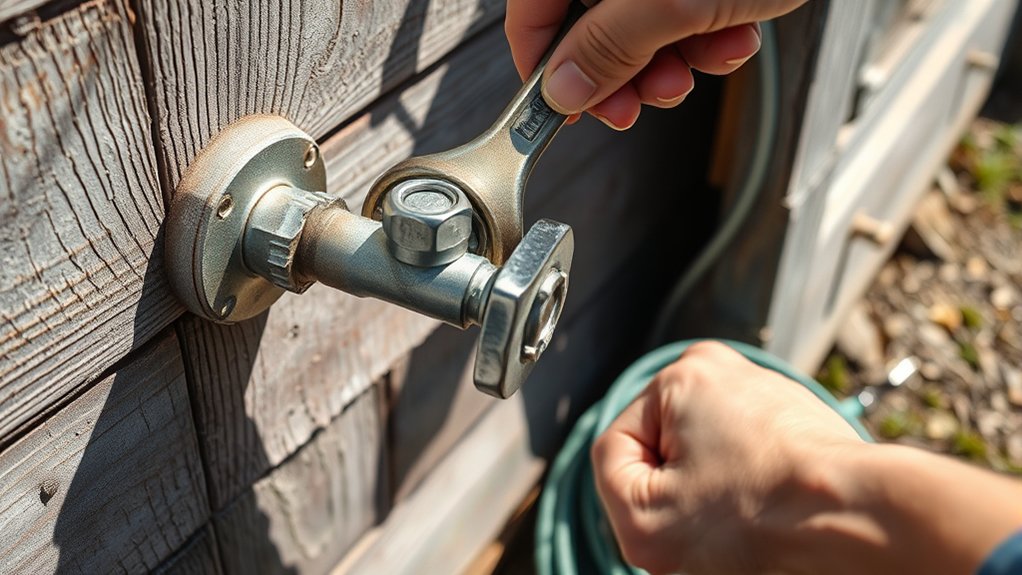
Detach Old Faucet
Start by loosening the old faucet’s connections using a wrench or pliers, making sure you grip firmly to avoid damaging the pipe. Turn counterclockwise to unscrew the faucet from the pipe.
Depending on faucet types, you may encounter threaded or compression fittings; identify yours to apply the correct removal technique. If the faucet resists, apply penetrating oil and wait a few minutes before trying again.
Once loose, carefully remove the faucet, watching for residual water in the pipe. Inspect the pipe end for corrosion or damage, as this affects installation tips for your new faucet.
Clean the pipe threads thoroughly to guarantee a tight seal. Properly detaching the old faucet sets the foundation for a secure, leak-free replacement.
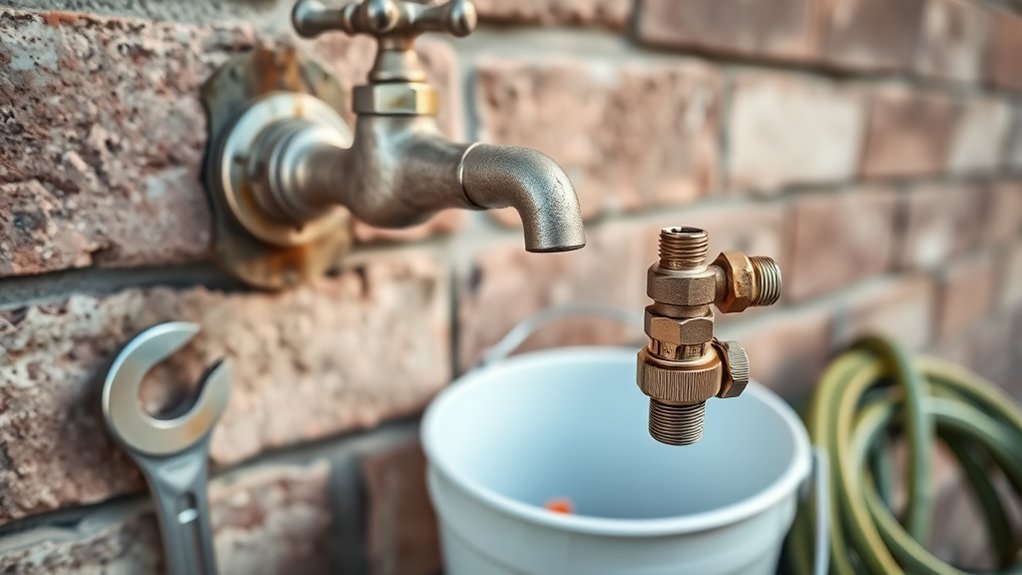
Prepare Pipe Connections
After removing the old faucet and inspecting the pipe end, you’ll need to prepare the pipe connections to guarantee a secure fit for the new faucet. Start by cleaning the pipe threads thoroughly to remove any debris or old thread sealing compound.
Next, apply fresh thread sealing tape or pipe joint compound evenly around the threads to prevent leaks. Check the pipe end for any damage or corrosion; replace or repair as necessary to ensure a smooth connection.
Finally, consider adding pipe insulation around the exposed pipe to protect against freezing and extend the faucet’s lifespan.
- Clean pipe threads with a wire brush
- Apply thread sealing tape clockwise
- Inspect pipe end for damage or corrosion
- Wrap pipe insulation securely around exposed pipe
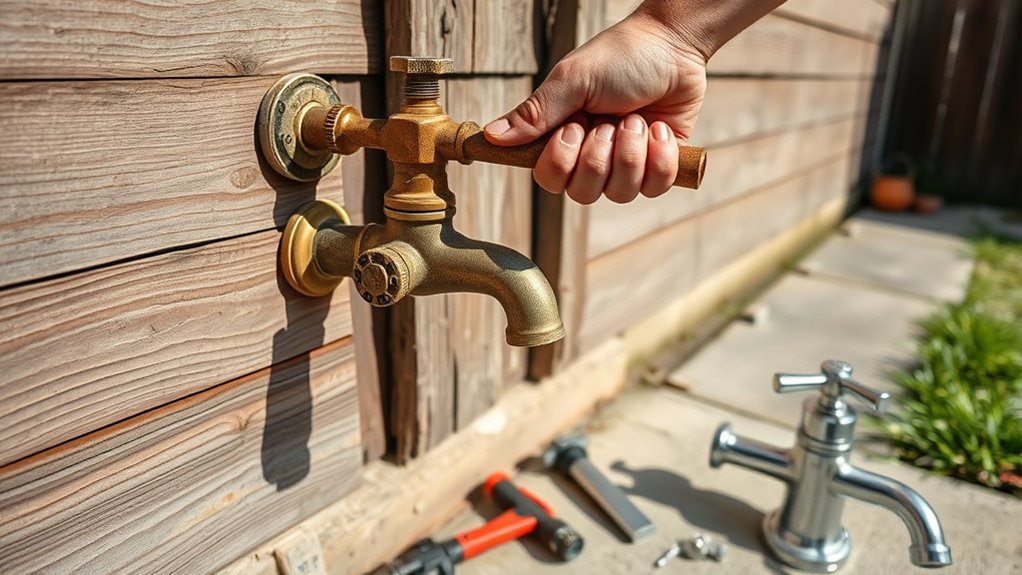
How to Install Your New Outdoor Faucet
Securely position the new outdoor faucet by aligning it with the existing pipe thread and applying plumber’s tape to guarantee a watertight seal. Choose the right faucet type, compression or frost-free, to match your needs.
Screw the faucet onto the pipe by hand, then tighten it with a wrench, avoiding overtightening that could damage threads. Follow installation tips like ensuring the faucet handle faces upward for ease of use and checking that the spout points downward to prevent water pooling.
| Faucet Type | Use Case | Installation Tip |
|---|---|---|
| Compression | Standard outdoor use | Hand-tighten before wrench use |
| Frost-Free | Cold climates | Angle spout downward |
| Wall-Mount | Mounted on exterior wall | Align handle upward |
Testing Your New Outdoor Faucet for Leaks
Once you’ve installed your new outdoor faucet, you’ll want to verify its integrity by thoroughly testing for leaks. Proper leak detection guarantees your replacement is secure and prevents water waste or damage.
Start by turning on the water supply to apply pressure to the faucet. Perform pressure testing by observing the faucet and surrounding connections for any signs of moisture or dripping.
Begin by turning on the water supply and inspecting the faucet for any signs of leaks or moisture.
To effectively test your new faucet:
- Visually inspect all joints and seals under pressure for leaks.
- Use a dry cloth to detect moisture accumulation.
- Listen for any hissing sounds indicating escaping water.
- Monitor water meter readings to identify unexpected flow.
If you detect leaks, tighten connections or replace faulty washers immediately to maintain system integrity.
Troubleshooting Common Outdoor Faucet Issues
Why does your outdoor faucet sometimes leak or fail to deliver water properly? Common causes include valve malfunctions and rust problems that impair water flow. Faucet leaks often stem from worn washers or damaged seals inside the valve.
Handle issues, such as stiffness or looseness, usually indicate corrosion or stripped components needing replacement. Pressure drops can result from mineral buildup restricting flow or partially closed valves.
To troubleshoot, first inspect the faucet for visible rust and clean or replace affected parts. Test the valve operation to verify it opens and closes fully without resistance.
Regular seasonal maintenance, including draining and lubricating valves before winter, prevents freezing damage and extends faucet life. Addressing these issues promptly will restore peak function and prevent costly repairs.
Frequently Asked Questions
Can I Replace an Outdoor Faucet Without Turning off the Main Water Supply?
Imagine Joe trying DIY repairs on outdoor plumbing; you can’t replace an outdoor faucet without turning off the main water supply. Doing so risks flooding and damage, so always shut off the water before starting any work.
How Do I Winterize My Outdoor Faucet After Replacement?
You’ll drain the faucet, close its shutoff valve, and insulate it with foam covers or heat tape. This faucet maintenance guarantees proper winter preparation, preventing freezing and damage during cold weather conditions efficiently and effectively.
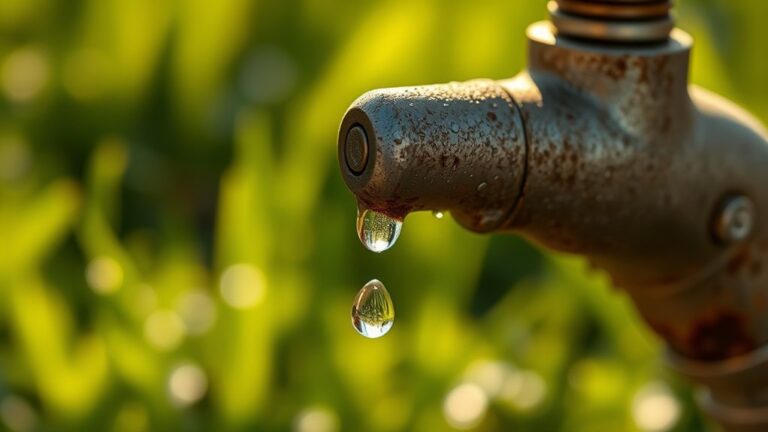
What Are the Signs My Outdoor Faucet Needs Replacing?
If your leaking faucet drips like a slow, constant drum, or your water pressure weakens unexpectedly, you should replace it. These signs indicate worn washers or corrosion, compromising efficiency and risking further damage. Act promptly.
Can I Install a Frost-Free Outdoor Faucet Myself?
Yes, you can do a DIY installation of a frost-free outdoor faucet. It requires careful pipe cutting and sealing to prevent leaks.
Benefits include reduced freeze damage and easier winter maintenance.
How Do I Prevent My Outdoor Faucet From Freezing in Winter?
Don’t let your outdoor faucet star in a winter horror show. Use insulation techniques like foam sleeves and secure faucet covers tightly. These practical steps stop freezing, saving you from busted pipes and costly repairs.