How to Replace Kitchen Faucet
To replace your kitchen faucet, first gather tools like adjustable and basin wrenches, plumber’s tape, and a bucket.
Choose a faucet matching your sink’s hole configuration and water flow needs. Shutting off the water supply and draining the lines is essential before clearing under the sink.
Remove the old faucet carefully, then install the new one, tightening mounting nuts evenly and connecting water lines securely.
Turn the water back on and check for leaks.
Keep following for detailed steps and troubleshooting tips to guarantee a smooth replacement.
Gather Tools and Materials for Faucet Replacement
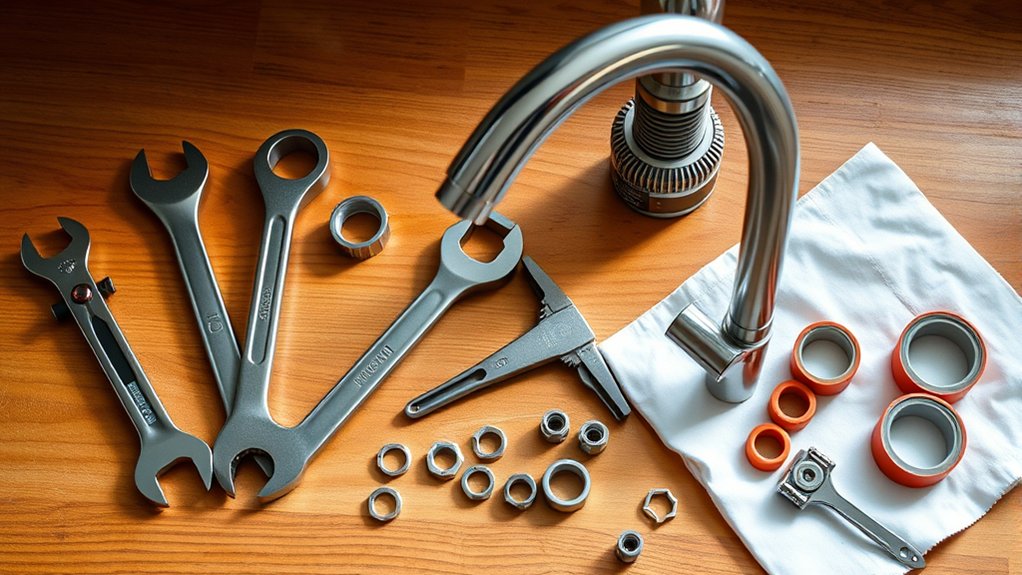
Before you begin replacing your kitchen faucet, gather all necessary tools and materials to secure a smooth process. You’ll need an adjustable wrench, basin wrench, plumber’s tape, a bucket, and a screwdriver. Having a flashlight can help illuminate tight spaces under the sink.
Depending on your faucet style, you might also require specific mounting hardware or supply lines. Review installation tips to confirm compatibility with your faucet style and sink configuration. Preparing these items in advance prevents delays and guarantees efficient work.
Additionally, keep a towel handy to catch any residual water during disconnection. By systematically assembling tools and materials tailored to the faucet style you’re replacing, you’ll streamline the installation process and avoid common pitfalls.
Choose the Right Kitchen Faucet for Your Needs
You’ll need to select a faucet type that fits your kitchen’s layout and functionality, such as single-handle, pull-down, or wall-mounted models. Check the water flow rate to verify it meets efficiency standards without sacrificing performance.
Finally, confirm the faucet’s configuration matches your sink’s hole pattern and size for a proper fit.
Types Of Kitchen Faucets
Although kitchen faucets serve the same basic function, their designs and features vary considerably to accommodate different needs and preferences. You’ll find pull down faucets ideal for flexibility and ease of cleaning, while touchless technology offers hygienic, hands-free operation.
Wall mounted options save counter space and suit farmhouse sinks perfectly. High arc designs provide ample clearance for large pots and pans. Commercial styles deliver robust durability and powerful water flow for heavy use.
Single handle convenience allows for quick temperature and flow adjustments with one motion. Additionally, many models feature dual function spray heads that switch between steady stream and spray modes, enhancing versatility.
Selecting the right type depends on your kitchen layout, usage patterns, and style preferences to guarantee peak performance and comfort.
Consider Water Flow Rate
When selecting a kitchen faucet, considering the water flow rate is essential to balance efficiency and performance. A faucet with a high flow rate may offer stronger water pressure, but it can increase water usage and complicate faucet maintenance. Conversely, a lower flow rate promotes water efficiency, reducing utility costs and environmental impact.
| Flow Rate (GPM) | Water Efficiency | Maintenance Impact |
|---|---|---|
| 1.5 | High | Easier, less wear |
| 2.2 | Moderate | Standard upkeep |
| 2.5+ | Low | More frequent repairs |
Choose a faucet flow rate that matches your household needs while optimizing water efficiency and minimizing faucet maintenance.
Match Faucet With Sink
Selecting the right water flow rate sets a foundation, but aligning your faucet choice with your sink’s design and configuration guarantees ideal function and aesthetics. First, identify your sink’s mounting holes: single, double, or triple. This helps verify sink compatibility with faucet styles.
For example, a widespread faucet suits sinks with three holes spaced 8 to 16 inches apart, while a single-hole faucet fits sinks with one mounting hole. Next, consider the spout height and reach to avoid splashing and verify clearance for washing large pots.
Also, confirm that your chosen faucet’s installation method, deck-mounted or wall-mounted, matches your sink setup. By matching faucet styles precisely to your sink’s specifications, you optimize performance and maintain a cohesive kitchen design.
Turn Off Water and Prepare Sink for Faucet Removal
First, locate and shut off the main water valve to stop water flow to the sink. Next, open the faucet to drain any remaining water from the lines.
Finally, clear out the under-sink area to give yourself easy access for faucet removal.
Locate Main Water Valve
Locate the main water valve to prevent any accidental flooding during faucet removal. First, identify the valve location, usually near the water meter, basement, or utility room.
Turn off the valve controlling the water supply to the entire house. This step guarantees no water flows through the pipes when you disconnect the faucet.
If your kitchen has individual shut-off valves under the sink, turn these off first, but still confirm the main valve is accessible in case of leaks. Use a wrench or valve handle to close the valve completely.
Verify the water supply is off by turning on the faucet; no water should flow. Properly locating and closing the main water valve is essential to safely proceed with faucet removal without risk of water damage.
Drain Remaining Water
Before removing the faucet, make sure to drain any remaining water from the pipes and sink. Start by turning on the faucet to release pressure and allow water to flow out completely.
Use a drain technique that involves placing a shallow container or bucket beneath the sink’s drain to catch excess water and prevent spills. Open the drain stopper if accessible, facilitating faster water flow.
After the water stops draining, wipe the sink basin and surrounding area dry to avoid slipping hazards. This water collection step is vital to keep your workspace clean and safe before you proceed with disconnecting water supply lines.
Properly draining the system minimizes leaks and simplifies faucet removal, ensuring a smooth, efficient replacement process.
Clear Under-Sink Area
Two key steps prepare your workspace for faucet removal: shutting off the water supply and clearing the under-sink area. After turning off the valves, your next priority is to organize cleaning supplies and tools for easy access. This guarantees efficiency and safety during the process.
Then, thoroughly assess the plumbing layout to identify connections and potential obstacles. Clear out any stored items to create ample room for maneuvering and tool placement.
- Remove all personal and cleaning supplies from under the sink
- Place a bucket or towel below plumbing to catch drips
- Inspect and document faucet connections and water lines
- Confirm the shutoff valves are fully closed and functional
- Arrange tools and cleaning supplies within arm’s reach
This preparation minimizes disruptions and streamlines faucet removal.
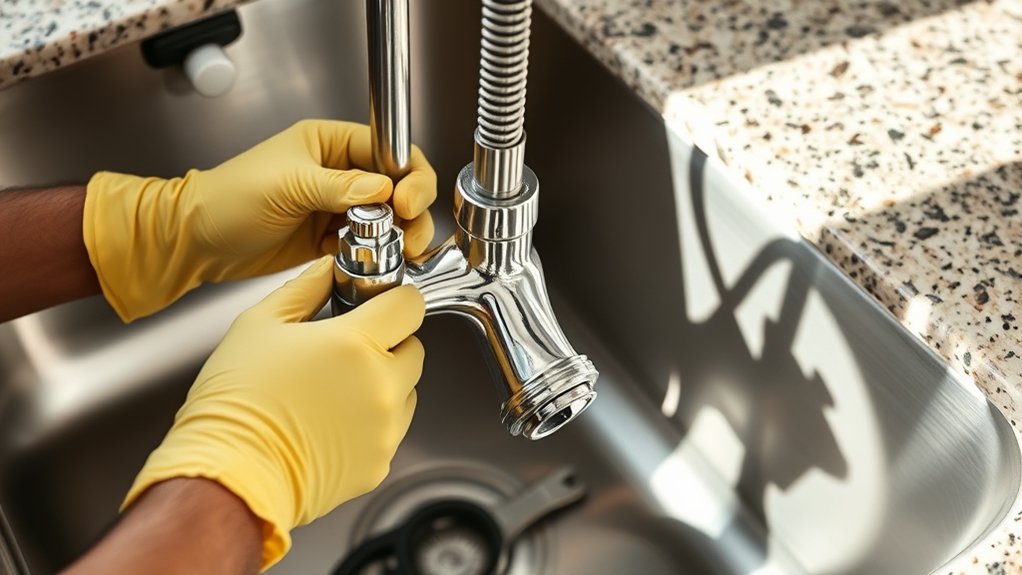
Remove the Old Kitchen Faucet Safely

Start by shutting off the water supply valves under the sink to prevent leaks during removal. Next, open the faucet to relieve pressure and drain any remaining water.
Use appropriate faucet removal techniques: disconnect the supply lines with an adjustable wrench, then loosen the mounting nuts securing the faucet to the sink. Keep a bucket or towel handy to catch residual water.
Follow safety precautions by wearing gloves to protect your hands from sharp edges and debris. Avoid using excessive force to prevent damaging the sink or plumbing.
Once all connections are detached, carefully lift the old faucet away. Inspect the sink surface for any old sealant or debris and clean it thoroughly before proceeding.
This method guarantees a safe, efficient removal without causing damage.
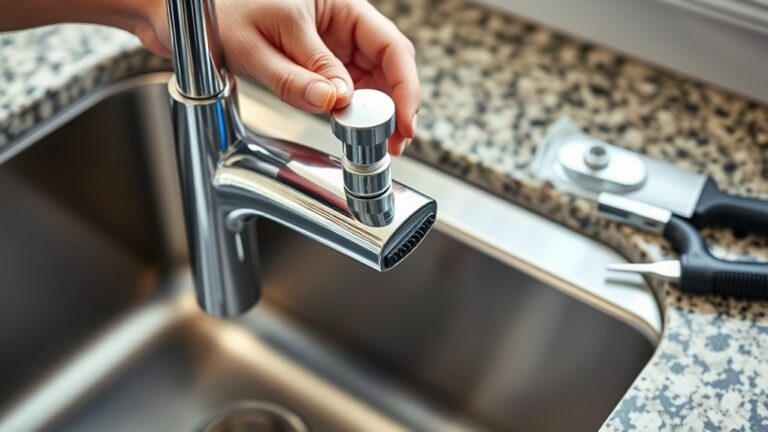
Install New Kitchen Faucet and Connect Water Lines
Position the new kitchen faucet onto the sink, aligning it with the mounting holes. Secure it from underneath using the provided mounting hardware, guaranteeing a tight fit to prevent movement.
When making water line connections, attach the hot and cold supply lines carefully, using plumber’s tape on threaded connections to secure a seal. Here are essential faucet installation tips to follow:
- Confirm gasket placement between faucet base and sink to avoid leaks
- Tighten mounting nuts evenly to prevent faucet wobble
- Use adjustable wrenches for water line connections without overtightening
- Verify water lines are free of kinks to maintain proper flow
- Double-check that all connections align with manufacturer specifications
Following these steps guarantees reliable water line connections and a stable faucet installation.
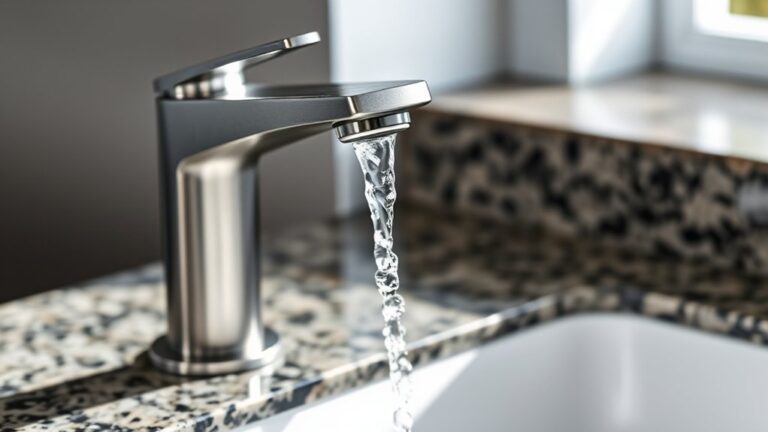
Test Your New Faucet for Leaks and Proper Operation
After securing your faucet and connecting the water lines properly, you’ll want to verify that everything functions correctly without leaks. Turn on both hot and cold water supplies slowly, observing all connections for immediate signs of leakage.
Use a dry cloth or tissue to perform leak detection around the base, supply lines, and underneath the sink. Check the faucet’s operation by running water at various pressures to guarantee smooth flow and proper shutoff.
Inspect aerators and handles for correct alignment and responsiveness. Performing this test is vital for faucet maintenance, preventing water damage or future malfunctions.
Address any leaks promptly by tightening fittings or resealing connections before completing your installation. This step confirms your replacement is secure, operational, and ready for daily use.
Troubleshoot Common Faucet Replacement Problems
Although replacing a kitchen faucet is generally straightforward, you may encounter issues such as low water pressure, persistent leaks, or misaligned handles. To effectively troubleshoot common faucet replacement problems, focus on identifying the root cause and addressing installation challenges promptly.
Check all connections for tightness to prevent faucet leaks. Verify that supply lines are correctly attached and not kinked. Make sure the faucet is properly aligned and secured to the sink.
Inspect aerators and valves for debris causing low water pressure. Confirm that washers and O-rings are correctly seated and undamaged.
Frequently Asked Questions
How Long Does a Typical Faucet Replacement Take?
A typical faucet replacement takes about 1 to 2 hours. You’ll save time by following faucet installation tips and avoiding common mistakes like forgetting to shut off water or mismatching connections during the process.
Can I Replace a Kitchen Faucet Without Shutting off the Main Water Supply?
You can’t safely replace a kitchen faucet without shutting off the main water supply. For effective faucet installation tips, always follow water supply precautions to avoid leaks or damage during your project.
What Are the Signs That My Faucet Needs Replacement?
You’ll know your faucet needs replacement if you notice persistent faucet leaks, handle issues like stiffness or looseness, reduced water pressure, or visible corrosion. These signs indicate worn parts or internal damage requiring prompt action.
Are There Eco-Friendly Faucet Options Available?
Yes, you’ll find eco-friendly faucets made from sustainable materials like recycled brass or stainless steel. These models prioritize water efficiency through aerators and flow restrictors, helping you conserve water without sacrificing performance or durability.
How Do I Dispose of My Old Kitchen Faucet Properly?
You’ll want to avoid tossing your old faucet like it’s a meteorite! Follow plumbing disposal methods by draining water and removing parts.
Use faucet recycling tips: take metal parts to scrap yards and dispose of non-recyclables per local codes.