How to Extend Kitchen Cabinets to Ceiling
To extend your kitchen cabinets to the ceiling, start by measuring the vertical gap precisely using a calibrated tape or laser measure.
Be sure to account for uneven ceilings and any obstacles that might affect the fit. This careful measurement ensures a seamless extension.
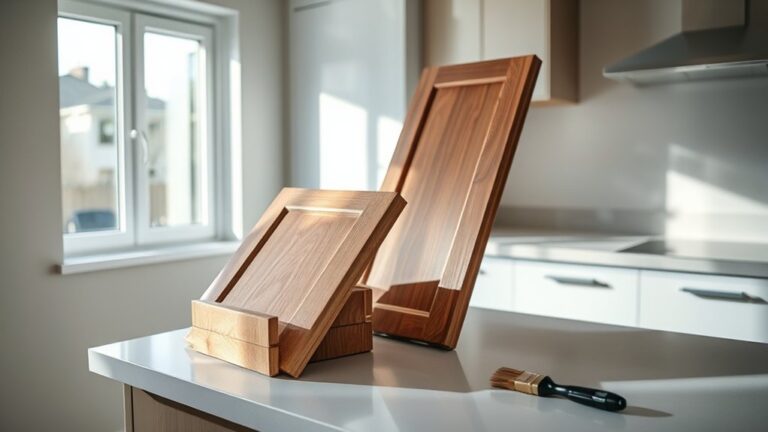
Next, choose extension materials like plywood or MDF that match your cabinet style and finish. This will help create a cohesive look between the original cabinets and the new extension.
Cut and assemble box frames to fit the measured gap, then securely attach them flush to the existing cabinets.
Adding crown molding provides a refined finish, elevating the overall appearance.
Finally, consider integrating adjustable shelving inside the extensions to maximize storage space.
By following these detailed steps, you can enhance both the function and aesthetics of your kitchen efficiently.
Why Extend Kitchen Cabinets to the Ceiling
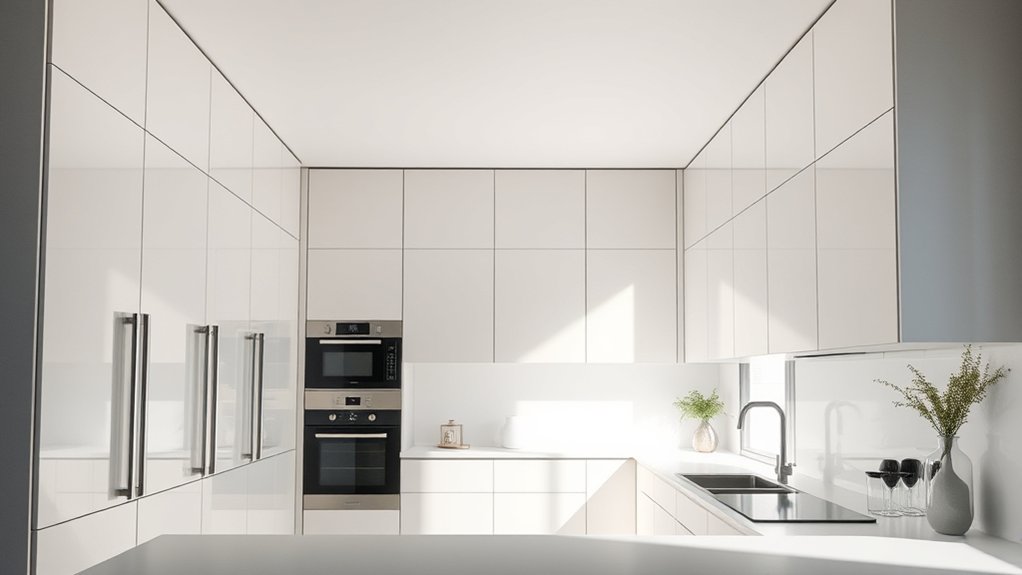
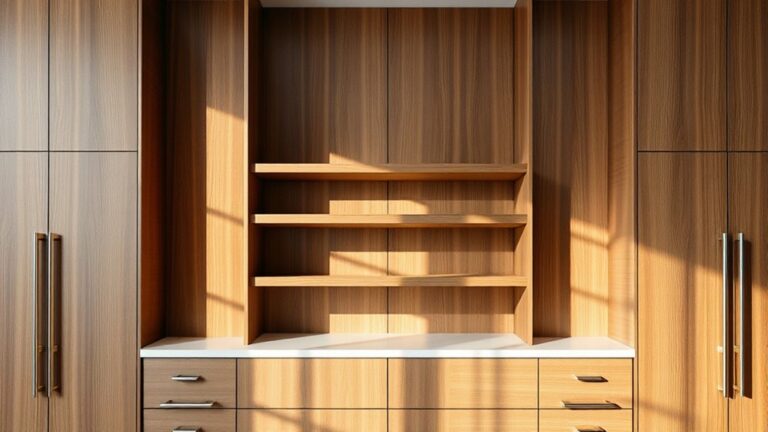
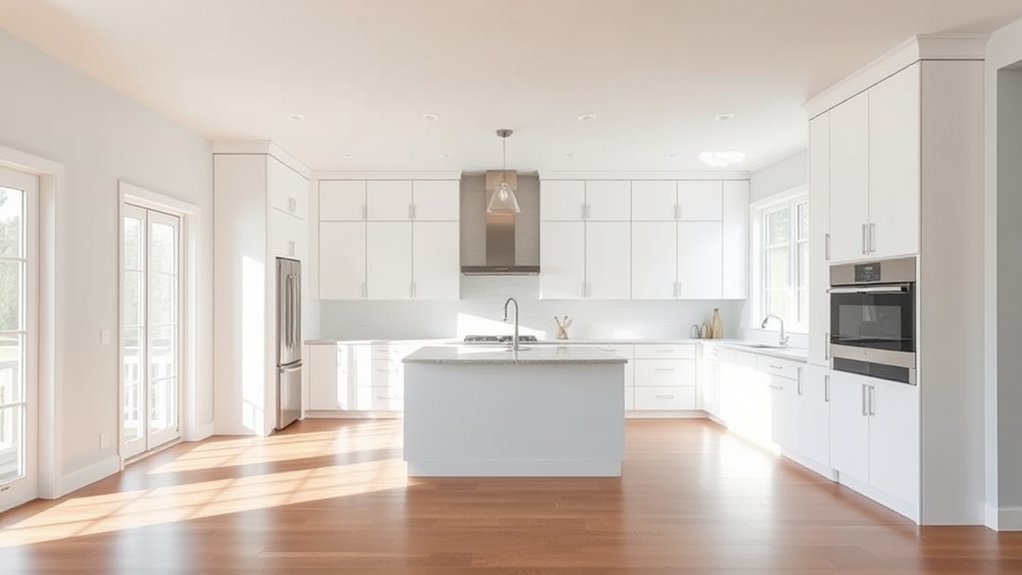
When you extend kitchen cabinets to the ceiling, you maximize vertical storage space, allowing you to store less frequently used items up high while keeping everyday essentials within easy reach. This approach delivers increased storage capacity without expanding your kitchen’s footprint, enhancing overall functionality.
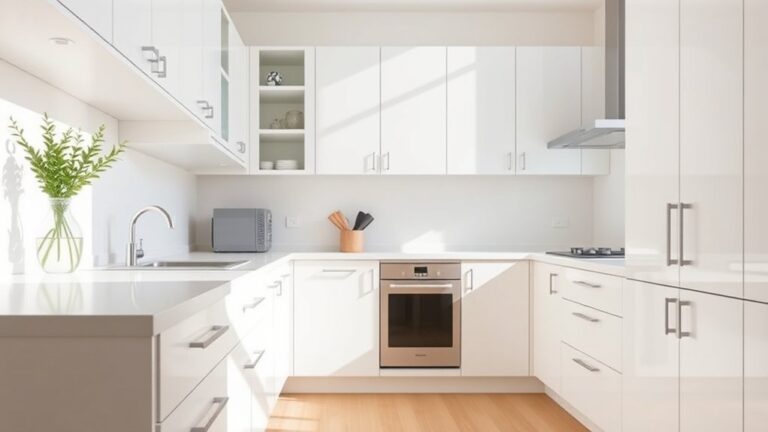
You’ll also notice a significant boost in aesthetic appeal; ceiling-height cabinets create a seamless, clean line that complements a modern design perfectly. By eliminating the gap between cabinets and ceiling, you reduce dust accumulation and provide a more polished, integrated look.
Additionally, you improve kitchen ergonomics by incorporating adjustable shelves and pull-out mechanisms within the extended space, ensuring easy access. Extending cabinets to the ceiling is a practical, stylish upgrade that optimizes both form and function.
Measuring Your Kitchen Space for Cabinet Extensions
Before you begin extending your kitchen cabinets, you need to accurately measure the available space to confirm a proper fit. Start by using precise measuring techniques, such as a laser distance measurer or a steel tape measure, to capture the vertical distance from the top of the existing cabinets to the ceiling.
Next, perform a thorough space assessment by measuring the width and depth of the cabinet tops, making sure you account for any molding or ceiling irregularities. Record all dimensions meticulously, double-checking for accuracy.
Don’t forget to measure clearance around light fixtures, vents, or other obstacles that could affect the extension. This detailed space assessment confirms your cabinet extensions integrate seamlessly with your kitchen’s architecture, preventing costly errors during installation.
Preparing Your Cabinets for Extensions
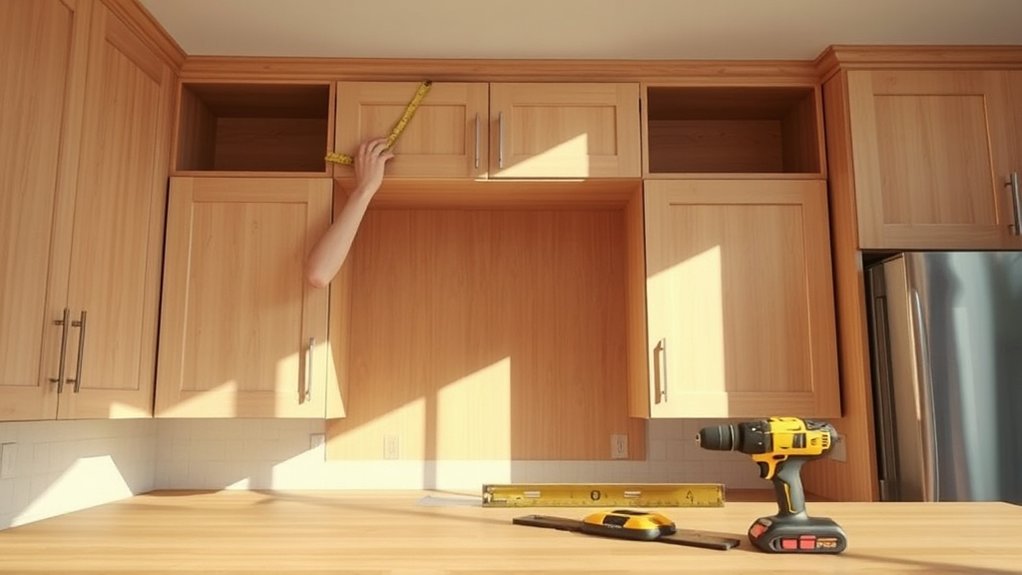
Start by accurately evaluating your cabinet height to guarantee the extension aligns perfectly with existing units. Next, select extension materials that match your cabinet’s finish and structural requirements for seamless integration. Proper preparation here assures a sturdy, professional-looking result.
Assess Cabinet Height
Although cabinet extensions might seem straightforward, accurately evaluating your cabinet height is essential for a seamless fit. Start by measuring from the top edge of your existing cabinets to the ceiling, noting any ceiling finishes like crown molding or textured surfaces that reduce available space.
Different cabinet styles, such as shaker, flat-panel, or raised-panel, may affect how extensions integrate visually and structurally, so factor in style-specific dimensions. Use a reliable tape measure and record measurements at multiple points to account for uneven ceilings. Precision here prevents gaps or forced modifications later.
Also, check if your current cabinets have built-in features like valances or decorative trims that could interfere with the extension. This thorough assessment guarantees your extensions align perfectly, creating a cohesive shift from cabinet to ceiling.
Choose Extension Material
Selecting the right extension material is critical for ensuring durability, seamless integration, and aesthetic consistency with your existing kitchen cabinets. Start by evaluating wood options such as solid hardwood, plywood, or MDF.
Solid hardwood offers strength and a natural grain that matches many traditional cabinets but can be costly. Plywood provides stability and resists warping, making it ideal for painted finishes. MDF delivers a smooth surface for consistent paint application but may lack structural rigidity.
If you prefer laminate choices, opt for high-pressure laminates that resist moisture and scratches, matching your cabinet’s color and texture precisely. Carefully measure and select materials with compatible thickness and edge profiles to maintain alignment.
Proper material choice guarantees that your extension blends structurally and visually with your current cabinetry.
Selecting Materials for Kitchen Cabinet Extensions
When extending your kitchen cabinets, choosing the right materials directly impacts durability, appearance, and ease of installation. You’ll want to evaluate material types and finish options carefully to guarantee seamless integration with existing cabinetry.
Consider these essential factors when selecting materials:
- Plywood: Strong, stable, and moisture-resistant, ideal for structural components.
- MDF (Medium Density Fiberboard): Smooth surface, excellent for paint finishes but less moisture-resistant.
- Solid Wood: Offers durability and natural grain but may expand or contract with humidity changes.
- Laminate: Durable surface finish with various textures and colors, easy to clean.
- Veneer: Thin wood layers over substrates, providing authentic wood aesthetics without full solid wood expense.
Choose finish options that match or complement your existing cabinets for a cohesive look.
Building Your Cabinet Extensions Step-by-Step
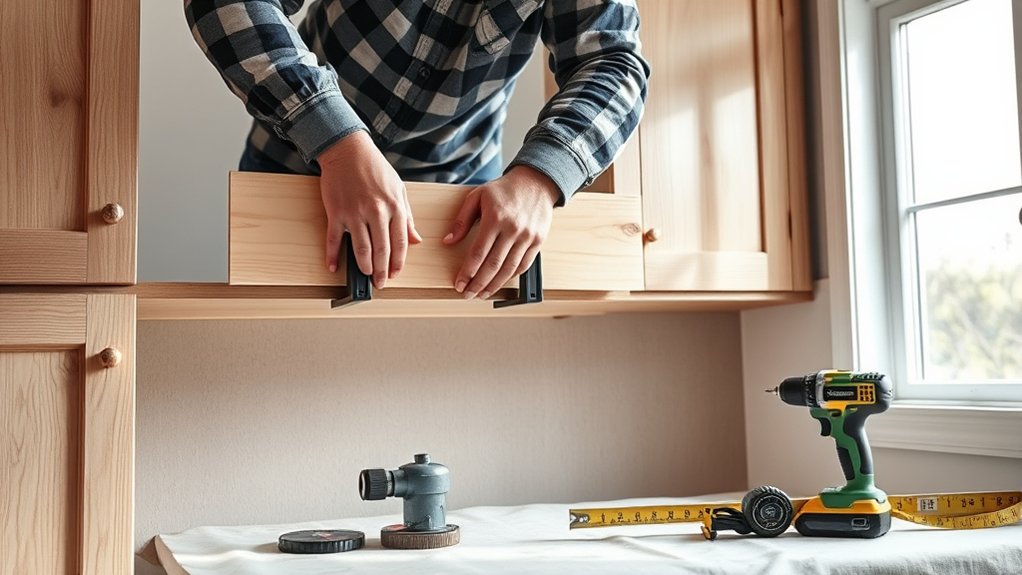
Begin by accurately measuring the dimensions of your existing cabinets and the space where the extension will be installed. Cut plywood or MDF panels to match the height difference between your cabinets and ceiling, ensuring precise fitment.
Assemble box frames using wood glue and screws, maintaining square corners verified by a carpenter’s square. Sand edges smoothly to prepare for finishing. Attach extension boxes securely atop existing cabinets, aligning edges flush to preserve structural integrity.
Incorporate vertical stiles or panels consistent with your cabinet design to maintain uniform aesthetic appeal. Install back panels if needed to reinforce stability. Apply edge banding or veneer to visible surfaces for a seamless look.
Your step-by-step approach must emphasize precision to achieve a professional finish that enhances your kitchen’s overall cabinet design and aesthetic appeal.
Installing Crown Molding on Kitchen Cabinets
After securing your cabinet extensions firmly and guaranteeing all surfaces are smooth and aligned, you’ll want to enhance the visual impact by installing crown molding. Choosing from various crown molding styles, such as traditional, modern, or layered, can dramatically refine your kitchen’s aesthetic.
Follow these installation tips for a flawless finish:
- Measure and cut molding precisely with a miter saw to accommodate angles.
- Use a coping saw to create tight inside corners for seamless joints.
- Pre-drill holes and use finishing nails to secure molding without splitting.
- Apply wood filler to conceal nail holes and sand smooth before painting.
- Align molding consistently along cabinet tops to maintain uniformity.
Adhering to these steps guarantees your crown molding complements your extended cabinets perfectly, creating a polished, professional look.
Storage Solutions for Tall Ceiling-High Cabinets
Maximizing storage efficiency in tall ceiling-high cabinets requires strategic planning and specialized solutions. To optimize vertical storage, install adjustable shelving that allows you to customize heights based on item size.
Incorporate pull-down racks or sliding shelves, which provide easy access to upper sections while maximizing space. Consider using narrow, tall bins or vertical dividers to segregate items, preventing wasted gaps.
Installing built-in lighting enhances visibility, guaranteeing you utilize the entire cabinet depth effectively. Utilize cabinet doors by adding mounted racks or hooks for small items, further maximizing space.
When designing your storage system, prioritize accessibility by combining fixed and movable components to adapt to changing needs. These technical adjustments guarantee you fully leverage vertical storage, turning tall cabinets into highly functional, organized spaces.
Common Cabinet Extension Challenges and Fixes
You’ll need to guarantee height measurements are exact to avoid gaps or misalignment when extending cabinets. Focus on precise cutting and secure fastening to maintain structural integrity.
Then, use seamless finish techniques like edge banding and matching paint to blend the extension with existing cabinetry flawlessly.
Height Measurement Accuracy
Although measuring cabinet height might seem straightforward, even slight inaccuracies can lead to misaligned extensions that compromise both function and aesthetics. To guarantee height measurement accuracy, start by using a reliable tape measure, checking its calibration beforehand.
Measure multiple points along the cabinet top and ceiling to identify any height discrepancies caused by uneven floors or walls. Record each measurement precisely, then use the smallest value to avoid extension gaps.
Here’s how to avoid common errors:
- Use a laser level to verify horizontal alignment
- Measure twice, or even thrice, for consistency
- Account for molding or ceiling irregularities
- Mark measurements clearly on your extension materials
- Double-check measurements after cutting components
Seamless Finish Techniques
Accurate height measurements set the foundation, but achieving a seamless finish requires addressing common challenges that arise when extending kitchen cabinets. You’ll encounter gaps, misalignments, and paint inconsistencies.
Focus on seamless joinery by carefully sanding joints flush and using high-quality wood filler to mask imperfections. Apply precise paint techniques, using multiple thin coats with fine grit sanding between, to blend new extensions with existing cabinetry perfectly.
| Challenge | Fix |
|---|---|
| Visible seams | Sand joints flush, use wood filler |
| Paint mismatch | Match sheen, apply multiple thin coats |
| Uneven surfaces | Level panels before painting |
| Dust in finish | Clean thoroughly, use tack cloth |
| Edge chipping | Use edge banding or trim for protection |
Master these, and your extended cabinets will look factory-made.
Maintaining and Cleaning Ceiling-High Kitchen Cabinets
Because ceiling-high kitchen cabinets accumulate dust and grease in hard-to-reach areas, maintaining and cleaning them requires specialized tools and techniques. You’ll need to adopt precise cleaning techniques and maintenance tips to preserve their appearance and functionality.
Ceiling-high kitchen cabinets need specialized cleaning methods to keep them looking great and working well.
Begin with a microfiber duster on an extendable pole to remove surface dust. Follow with a degreasing solution applied via a spray bottle and a soft cloth to dissolve kitchen residues. Use a step ladder safely to access upper sections, ensuring you don’t strain or damage cabinet surfaces.
Regularly inspect hinges and seals for wear, lubricating moving parts as needed. Finally, avoid abrasive cleaners that can damage finishes.
Here’s a checklist for effective maintenance:
- Microfiber dusting with extendable tools
- Degreasing with appropriate cleaners
- Safe ladder use for access
- Inspection and lubrication of hardware
- Avoidance of harsh abrasives
Frequently Asked Questions
Can I Extend Cabinets to the Ceiling in a Rental Kitchen?
You can’t permanently extend cabinets in a rental due to strict rental restrictions, but you can use temporary solutions like tension rods or removable shelving. These methods respect lease terms while maximizing vertical storage space efficiently.
How Much Does It Typically Cost to Extend Kitchen Cabinets?
You’ll typically spend $500 to $2,500 extending cabinets, depending on cabinet materials like solid wood or MDF, and installation techniques such as custom framing or adding crown molding. Labor costs and finishes also greatly affect pricing.
Are There Any Safety Concerns With Very Tall Cabinets?
Tall cabinets symbolize ambition but demand precise attention to cabinet stability and weight distribution. If you don’t secure anchoring and evenly spread the load, you risk tipping hazards and structural failure.
This compromises safety and functionality in your kitchen.
Can Cabinet Extensions Affect Kitchen Lighting or Ventilation?
Yes, cabinet extensions can impact lighting balance by blocking natural or artificial light sources, altering cabinet aesthetics. You’ll need to strategically position lighting fixtures and ventilation to maintain ideal brightness and airflow in your kitchen space.
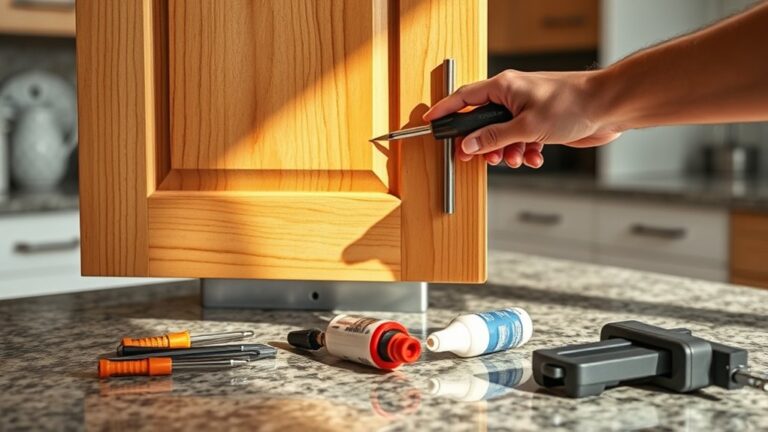
What Tools Are Essential for DIY Cabinet Extensions?
You’ll need a drill, level, stud finder, measuring tape, clamps, and a saw. These tools help you accurately measure, cut, and secure cabinet styles while applying proper installation techniques for a seamless extension to the ceiling.