How to Stain Kitchen Cabinets
To stain your kitchen cabinets, start by choosing the right stain based on your wood type and desired look, testing colors first to find the perfect match.
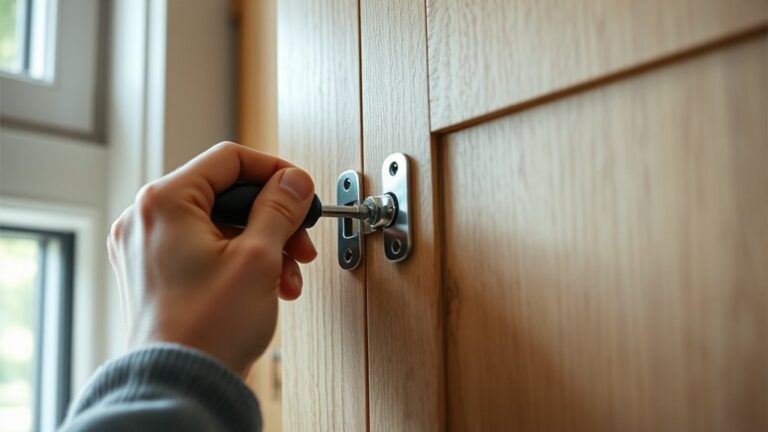
Proper preparation is key to achieving a beautiful finish. Remove all hardware from the cabinets, clean the surfaces thoroughly, and sand them with fine-grit paper for a smooth, even base. This ensures the stain adheres properly and highlights the wood grain.
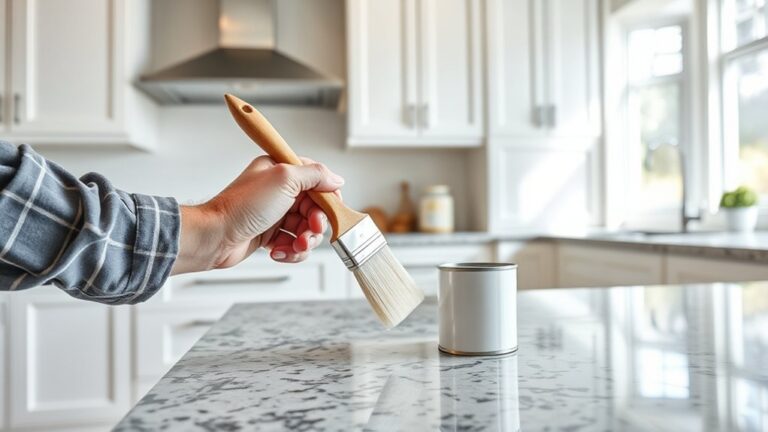
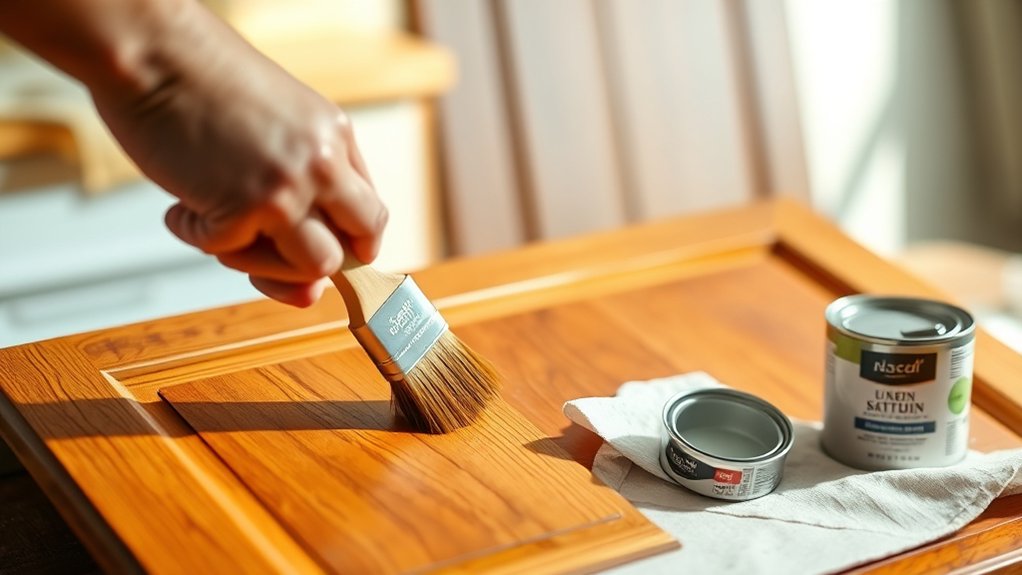
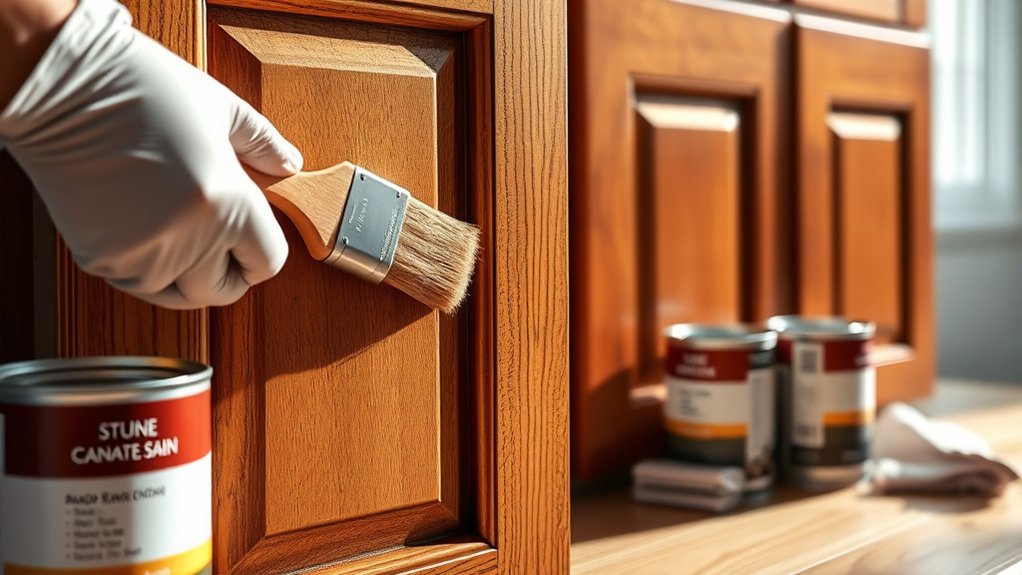
Apply the stain evenly using the proper brush, always following the wood grain. Wipe off any excess stain to control the color intensity and avoid blotches.
Once the stain is completely dry, seal your cabinets with a compatible finish to protect your work and enhance durability.
If you want to avoid common pitfalls and achieve lasting results, there’s more you’ll want to know.
Choosing the Best Stain for Kitchen Cabinets
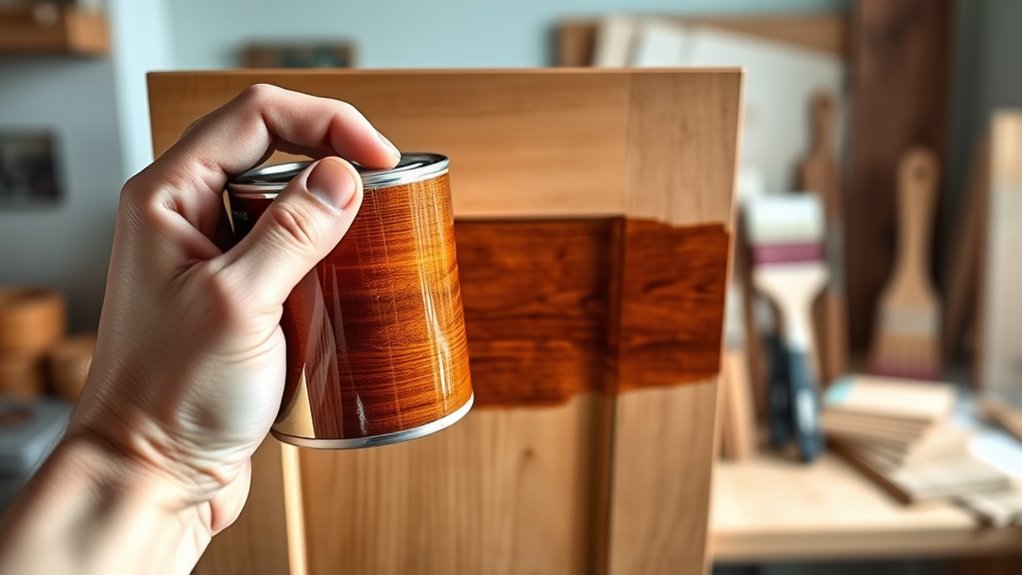
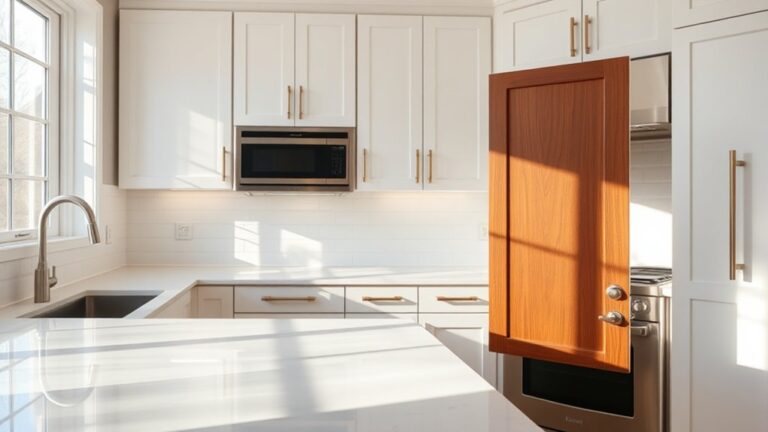
Choosing the best stain for your kitchen cabinets starts with understanding the type of wood you’re working with and the look you want to achieve. Different wood types absorb stain colors uniquely; for instance, oak highlights grain patterns well, while maple offers a smoother finish that may require a gel stain to guarantee even coverage.
If you’re working with pine, lighter stain colors can prevent the wood from appearing blotchy. Consider whether you want a natural, rustic, or modern aesthetic. Warmer tones like cherry or walnut enhance traditional styles, while cooler grays or blacks suit contemporary designs.
Test stain colors on a small wood section before committing, so you can see how the wood type reacts and make adjustments accordingly. This guarantees your cabinets turn out exactly as you envision.
Preparing Your Cabinets for Staining
Once you’ve selected the perfect stain that complements your wood type and style, the next step is to prepare your cabinets properly for staining. Start by removing all hardware, including handles, knobs, and hinges, to avoid staining them accidentally.
Next, thoroughly clean surfaces to remove grease, dirt, and dust, ensuring the stain adheres evenly. Sand the cabinets lightly with fine-grit sandpaper to create a smooth surface and open the wood grain.
Finally, wipe down the surfaces with a tack cloth to remove sanding dust.
| Step | Details |
|---|---|
| Removing Hardware | Take off knobs, handles, hinges |
| Cleaning Surfaces | Use degreaser and mild detergent |
| Sanding | Fine-grit sandpaper (220 grit) |
| Dust Removal | Wipe with tack cloth |
How to Apply Stain Like a Pro
Applying stain like a pro involves mastering a few key techniques that guarantee an even, rich finish. First, choose the right brush; natural bristle brushes work best for oil-based stains, while synthetic ones suit water-based stains.
Master stain application by selecting the right brush for a smooth, even finish every time.
Next, make sure you apply stain evenly to avoid blotches or streaks. Follow these stain application techniques:
- Work in manageable sections, applying stain with the brush’s grain.
- Wipe off excess stain promptly with a clean cloth to control color intensity.
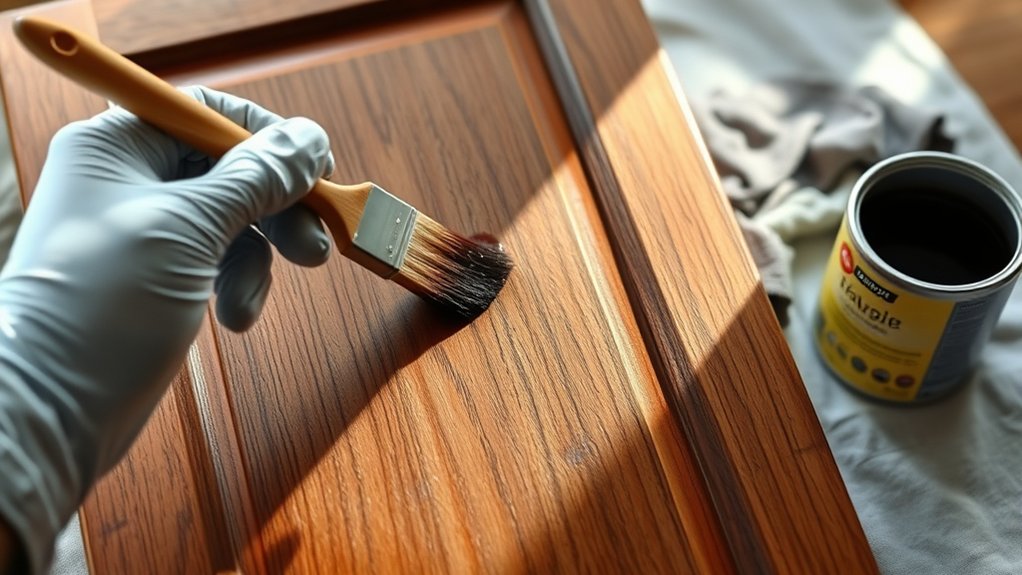
- Allow each coat to dry thoroughly before applying another for depth.
- Maintain consistent pressure and smooth strokes to prevent uneven absorption.
Sealing Kitchen Cabinets for a Durable Finish
Two essential steps follow staining your kitchen cabinets: sealing and protecting the finish. Sealing techniques create a barrier that locks in the stain and prevents moisture damage. You’ll want to choose a sealer compatible with your stain. Water-based sealers dry faster, while oil-based ones deepen color and durability.
Apply thin, even coats with a high-quality brush or foam applicator, sanding lightly between coats to guarantee smoothness.
When selecting finish types, consider polyurethane for strong protection, lacquer for quick drying, or varnish for a natural look. Each finish type offers different levels of sheen and durability, so pick one that suits your kitchen’s use.
Proper sealing not only enhances the stain’s appearance but also extends your cabinets’ lifespan, keeping them beautiful for years.
Fixing Common Kitchen Cabinet Staining Mistakes
If you notice uneven color, blotches, or sticky spots after staining your kitchen cabinets, don’t worry. You can fix these common mistakes with the right approach. First, assess your color selection; sometimes, a mismatch causes uneven appearance.
Next, refine your application techniques to guarantee smooth, consistent coverage.
Here’s how to correct staining errors:
- Lightly sand blotchy areas with fine-grit sandpaper to even the surface.
- Remove dust thoroughly before reapplying stain to avoid sticky spots.
- Use a clean cloth or brush, applying stain in thin, even coats following the wood grain.
- Allow sufficient drying time between coats to prevent tackiness and blotchiness.
Frequently Asked Questions
How Long Does the Staining Process Take From Start to Finish?
You’ll spend about 1-2 hours on stain preparation, including sanding and cleaning.
After applying the stain, expect drying time of 4-6 hours per coat. Overall, the entire staining process can take up to a day.
Can I Stain Over Previously Painted Kitchen Cabinets?
You can’t make a silk purse from a sow’s ear. You’ll need effective paint stripping methods first. Use stain removal techniques to prep the surface, ensuring the stain adheres properly and lasts on your previously painted cabinets.
What Tools Are Essential for Staining Kitchen Cabinets?
You’ll need sandpaper, a tack cloth, brushes or foam applicators, and a quality stain.
Focus on wood preparation by sanding thoroughly, then apply staining techniques evenly for the best, smooth finish on your cabinets.
How Often Should Kitchen Cabinets Be Restained?
You should restain your kitchen cabinets every 3 to 5 years, depending on staining frequency and cabinet maintenance.
Regular cleaning and touch-ups can extend this period, keeping your cabinets looking fresh and protected longer.
Are There Eco-Friendly Stains Safe for Indoor Use?
Yes, you’ll find eco-friendly stains made with natural ingredients and low VOC options, ensuring safety indoors. These stains reduce harmful fumes, making your kitchen safer while giving your cabinets a beautiful, durable finish.