How to Install Kitchen Cabinet Handles
To install kitchen cabinet handles, first select handles matching your style and check compatibility with existing holes. Gather tools like measuring tape, drill, and screwdriver.
Measure and mark drill points carefully, using painter’s tape to avoid splintering. Then drill pilot holes to protect the wood. Secure handles with appropriate screws, tightening steadily.
Use a level to check alignment and adjust as needed for straighter placement. Following these steps guarantees durability and precision.
Exploring further will refine your technique and address common issues.
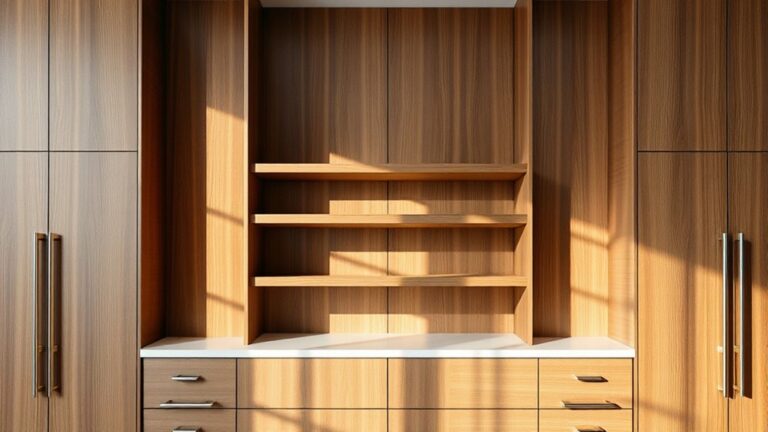
Choose Kitchen Cabinet Handles for Your Style
Choosing the right kitchen cabinet handles starts with understanding your style preferences and how they complement your cabinetry. You’ll want to explore modern designs for sleek, minimal looks or vintage styles that add character. Assess ergonomic options to guarantee handles feel comfortable and functional.
Consider finish choices such as matte, polished, or brushed, and match them with your color palettes for seamless integration. Material durability matters; stainless steel resists corrosion, while brass offers classic appeal but needs maintenance.
Size variations affect usability and visual balance, so measure your cabinets carefully. Installation tips include confirming hole spacing and using proper tools for secure attachment. By focusing on these factors, you select handles that enhance both style and function efficiently without unnecessary complexity.
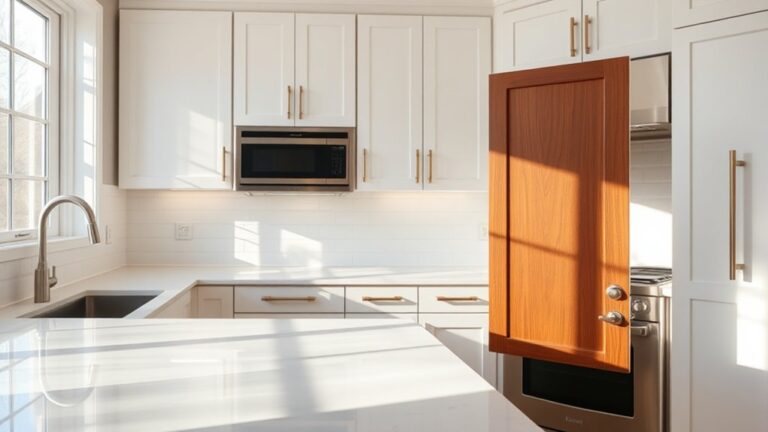
Decide: Replace Old Handles or Install New Ones
First, inspect your current handles for wear or damage to determine if replacement is necessary.
Next, decide whether to reuse existing hardware or install entirely new handles based on style and functionality.
Prioritize handles that complement your kitchen design while ensuring ease of use.
Assess Current Handle Condition
Before installing new kitchen cabinet handles, you need to evaluate the condition of your current hardware. Inspect each handle type, such as knobs, pulls, or bar handles, for wear, corrosion, or looseness. Check the screws and mounting holes for damage to guarantee secure installation.
Note if the existing handles align with your cabinet door drill pattern, as mismatched holes complicate replacement. Use this assessment to identify if existing handles can be reused or require removal. Pay attention to handle types compatible with your cabinet design to streamline installation.
Keep installation tips in mind: measuring handle spacing and verifying mounting hardware condition prevents errors. This evaluation step saves time and effort, ensuring a smooth installation process and maintaining cabinet integrity.
Choose Between Replacement Or New
How do you decide whether to replace your old cabinet handles or install new ones? Start by evaluating the compatibility of handle types with existing holes and installation height.
If you want to maintain your cabinet’s current look and avoid drilling, replacing old handles with identical ones is best. However, opting for new handles offers customization but requires adjusting installation height and possibly filling old holes.
Consider these factors:
- Compatibility: Does the new handle type fit existing mounting holes?
- Installation Height: Will changing handles require repositioning for ergonomic use?
- Effort: Are you prepared to fill previous holes or drill new ones?
Consider Style And Function
Once you’ve evaluated compatibility and installation requirements, focus on how the style and function of your cabinet handles align with your kitchen’s design and daily use. Decide whether to replace old handles with updated models or install entirely new ones.
Consider current design trends to guarantee handles complement your cabinetry and overall aesthetic. Prioritize ergonomic options that enhance grip and ease of use, especially if you frequently cook or clean.
Select handles that balance form and function. Sleek designs improve visual appeal while textured or contoured grips boost practicality. Also, assess durability and material quality to withstand daily wear.
Gather Your Tools and Materials
You’ll need a few essential tools like a drill, screwdriver, measuring tape, and a pencil to start. Select handle materials that match your cabinet style and durability requirements.
Accurate measuring and marking guarantee proper alignment and a professional finish.
Essential Tools Checklist
Five essential tools will streamline the process of installing kitchen cabinet handles. Before you begin, gather these to match your handle types and installation techniques precisely.
1. Measuring Tape and Pencil
Accurate measurements prevent misaligned holes, ensuring a professional finish regardless of the handle style.
2. Drill with Appropriate Bits
A drill fitted with the correct bit size guarantees clean, precise holes, critical for different installation techniques.
3. Screwdriver (Manual or Electric)
Tighten screws securely to avoid loose handles and maintain durability.
These tools form the backbone of efficient installation. Having them ready saves time and reduces errors while adapting to various handle types, from knobs to pulls.
Keep them organized, and you’ll achieve a flawless installation with minimal frustration.
Choosing Handle Materials
Having the right tools lined up guarantees accurate installation, but selecting the appropriate handle material is just as important for durability and style. Choose brass finishes for corrosion resistance and a classic look that suits vintage styles.
If you prefer wood options, pick hardwoods sealed for moisture resistance, ideal for a natural aesthetic. Modern designs often incorporate sleek metals or matte coatings, offering durability and easy maintenance.
Prioritize ergonomic shapes to guarantee comfortable grip and functionality. Also, consider color coordination with your cabinet surfaces and overall kitchen palette to maintain visual harmony.
Each material affects longevity and user experience differently, so balance form and function carefully before proceeding. Your choice sets the foundation for both the practical use and the kitchen’s final appearance.
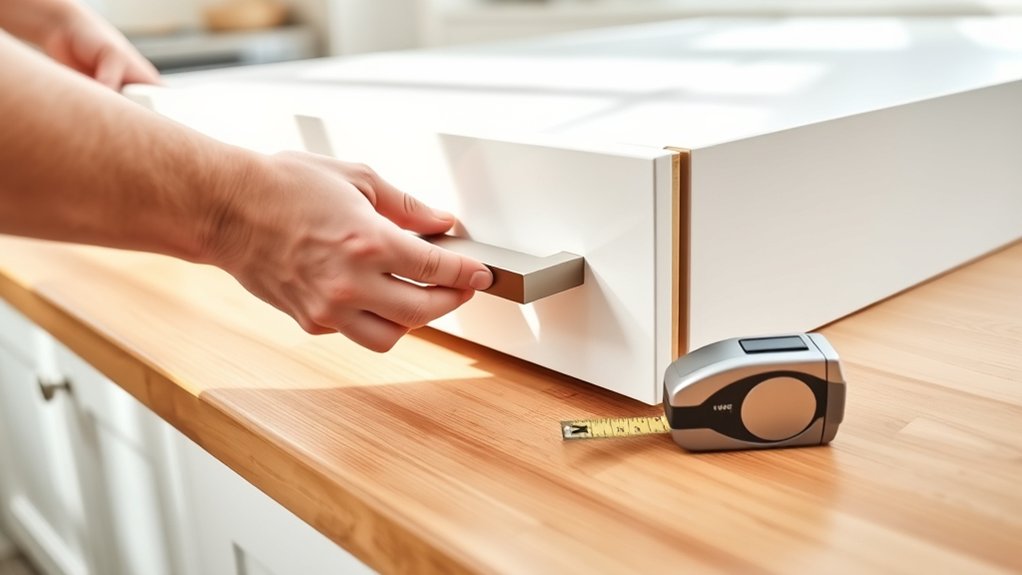
Measuring and Marking
Two essential tools you’ll need before measuring and marking are a reliable tape measure and a pencil with a fine tip. These allow you to apply precise marking techniques tailored to different handle types, ensuring alignment and consistency.
Follow these steps for accurate results:
- Measure the cabinet door or drawer width to determine the ideal handle placement.
- Mark the drill points with your pencil, using a ruler or template for even spacing.
- Double-check measurements to avoid misaligned holes, considering the handle type’s screw hole distance.
Measure and Mark Handle Placement Accurately
Accurate measurement and marking are essential for consistent handle placement on your kitchen cabinets. Begin by determining the ideal handle height, typically centered vertically on drawers and positioned ergonomically on doors. Use a tape measure and a marking tool to establish precise points.
Employ alignment tips such as using a ruler or a template to maintain uniform spacing across all handles. Mark the screw hole locations clearly with a pencil, guaranteeing marks are level and evenly spaced relative to cabinet edges.
Double-check each measurement before proceeding to avoid errors. Consistent handle height and alignment not only enhance aesthetics but improve functionality. Taking these steps assures your handles will be installed straight and at the correct height, delivering a professional, polished look throughout your kitchen cabinetry.
Drill Pilot Holes Without Damaging Cabinets
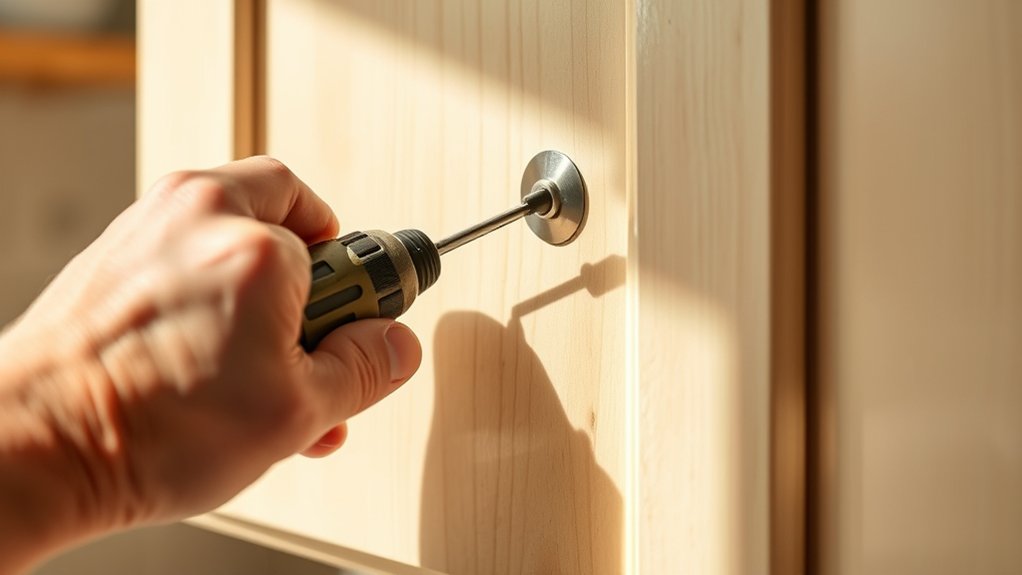
Before inserting screws, drill pilot holes carefully to prevent splitting or damaging your cabinet wood. Using proper drilling techniques secures cabinet protection and a clean installation. Follow these steps:
Drill pilot holes carefully to protect cabinet wood and ensure a clean, secure installation.
- Select a drill bit slightly smaller than your screw diameter to maintain a tight fit without stressing the wood fibers.
- Use painter’s tape over the marked spots to reduce surface splintering and guide precise drilling.
- Drill slowly and steadily, applying minimal pressure to avoid cracking the cabinet surface or creating oversized holes.
These focused steps help you maintain control and protect your cabinets while preparing for handle installation. Mastering these drilling techniques assures a professional finish and preserves the integrity of your kitchen cabinetry.
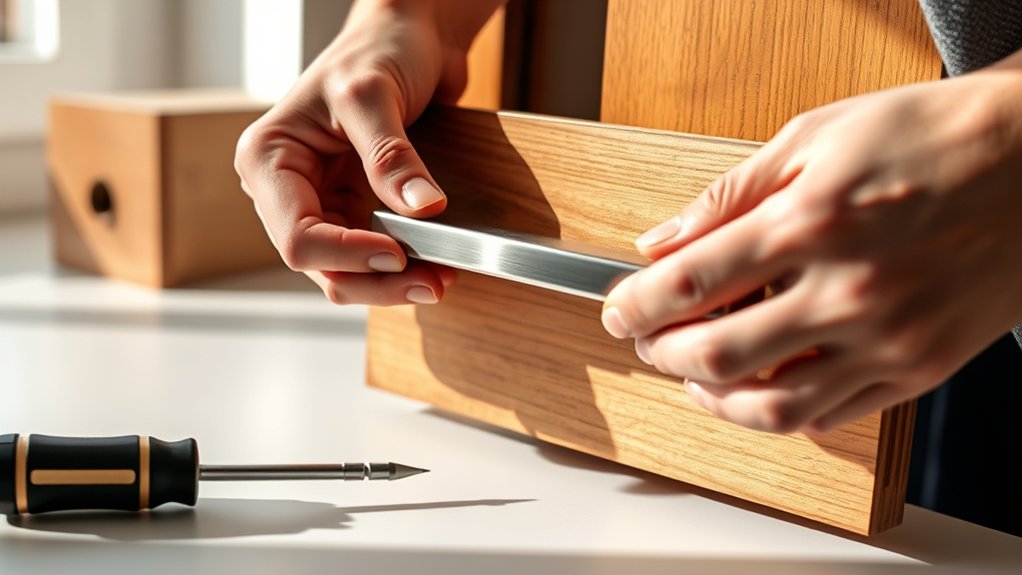
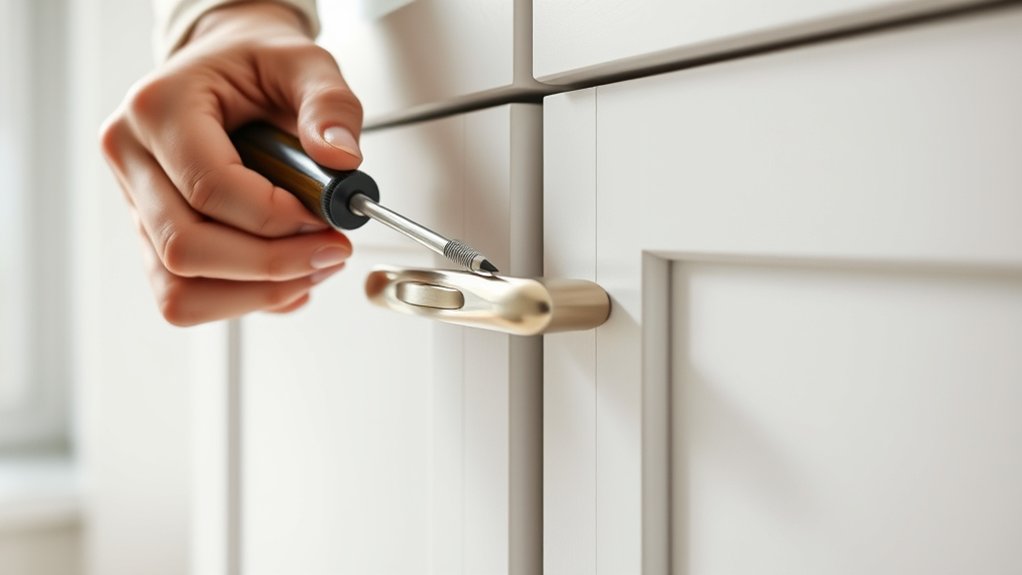
Attach Kitchen Cabinet Handles Securely With Screws
Securely fastening your kitchen cabinet handles guarantees durability and a polished look. Begin by selecting the appropriate screw types, typically machine screws that match the cabinet thickness and handle design. Use screws with threading compatible with your cabinet material to prevent stripping or loosening over time.
Insert screws through the back of the cabinet door and align them with the handle’s pre-drilled holes. Tighten the screws steadily using a screwdriver, confirming the handle finishes remain unmarred. Avoid overtightening, which can damage both the handle finish and the cabinet surface.
If your handles have a delicate or specialized finish, consider using washers to distribute pressure evenly. This method confirms your handles are mounted securely, maintaining both functionality and aesthetic integrity.
Check Handle Alignment and Adjust If Needed
Once your handles are fastened, inspect their alignment to confirm they sit perfectly straight and evenly spaced. Proper handle spacing is essential for both function and aesthetics. Use these alignment techniques to verify and adjust:
- Measure the distance between handles on adjacent doors or drawers to ascertain uniform handle spacing.
- Use a level or straightedge to validate that all handles align horizontally or vertically, depending on your design.
- If any handle is misaligned, slightly loosen its screws, reposition it, then retighten to maintain consistent spacing and straightness.
Troubleshoot Common Installation Problems
Several common issues can arise during cabinet handle installation, but you can resolve most with straightforward adjustments. For handle misalignment solutions, re-measure hole spacing and use a template to guide drilling.
If screws strip, try screw stripping fixes like using a slightly larger screw or inserting wood filler before re-screwing. Always guarantee screws are tight but not over-torqued to avoid damage.
| Problem | Cause | Fix |
|---|---|---|
| Handle misalignment | Incorrect hole spacing | Re-drill using template |
| Loose handles | Stripped screw holes | Use wood filler, then reinsert screw |
| Screws strip | Over-tightening | Use larger screw or fill hole |
| Handle wobbles | Loose screws | Tighten screws carefully |
| Uneven handles | Misaligned drilling | Adjust holes, realign handles |
Frequently Asked Questions
Can I Install Handles on Glass Cabinet Doors?
You absolutely can install handles on glass cabinet doors. It’s not rocket science! Choose handle options designed for glass, like clamp-on or adhesive types.
Guarantee proper alignment and secure mounting to avoid cracking or damage during use.
What Type of Screws Work Best for Different Cabinet Materials?
You’ll use shorter screws for thin materials like glass, ensuring material compatibility to avoid damage. For wood or MDF, longer screws provide secure attachment.
Always match screw length to cabinet thickness and material type for durability.
How Do I Remove Old Handles Without Damaging the Cabinet Finish?
Use handle removal techniques like unscrewing gently with a screwdriver, applying painter’s tape around handles for cabinet finish protection, and avoiding prying. This prevents scratches and preserves your cabinet’s surface during handle removal.
Are There Specific Handle Styles for Corner Cabinets?
Yes, corner cabinet styles often require specialized handles like L-shaped or angled pulls. For handle placement tips, install handles near the cabinet edge to guarantee easy access and ergonomic opening, adapting to the cabinet’s unique geometry.
Can Cabinet Handles Affect Kitchen Ergonomics or Workflow?
Handles are the kitchen’s silent conductors; proper handle placement and ergonomic design streamline your workflow, reducing strain and improving access.
You’ll work faster and smarter when your cabinets respond intuitively to your movements.