How to Adjust Hinges on Kitchen Cabinets
You’ll want to start by identifying your hinge type—overlay, inset, or full wrap—before adjusting hinges on kitchen cabinets.
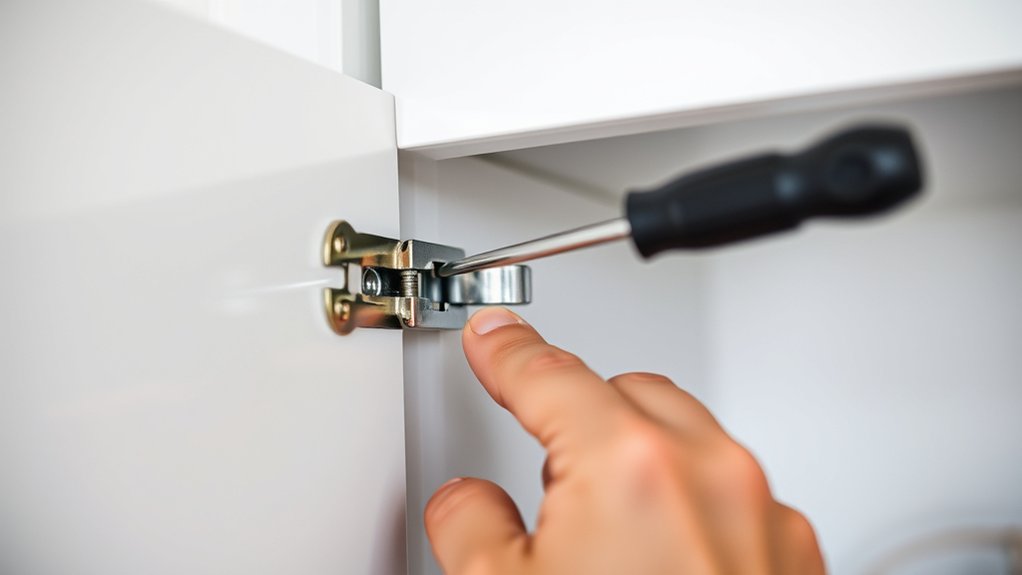
Use the right screwdriver or Allen wrench to adjust screws controlling height, depth, and side alignment.
Loosen screws slightly, shift the door for even gaps and a flush fit, then tighten securely.
Test the door’s movement after each small adjustment to guarantee smooth operation and no sagging.
Following these precise steps will have your cabinet doors working seamlessly.
There’s more to learn about maintaining and troubleshooting hinges for long-term performance.
How to Tell If Your Cabinet Hinges Need Adjusting

How can you tell if your cabinet hinges need adjusting? Start by inspecting the door gaps; uneven or inconsistent spacing between doors and frames indicates misalignment.
Check if cabinet doors don’t close flush or rub against the frame, which signals hinge wear or improper positioning. You might also notice doors sagging or dropping over time.
Cabinet doors that don’t close flush or sag often indicate hinge wear or misalignment.
Test the doors by opening and closing them slowly—any resistance or looseness suggests hinge issues. Additionally, listen for squeaks or creaks, which often accompany hinge wear.
Examine the screws holding the hinges; if they’re loose or stripped, it can create instability. Identifying these signs early lets you address hinge problems before they worsen, ensuring your cabinet doors function smoothly and maintain a professional appearance.
How to Adjust Different Types of Cabinet Hinges
Because cabinet hinges come in various styles and mechanisms, adjusting each type requires specific steps and tools. You must first identify the cabinet hinge styles: overlay, inset, and full wrap. Each demands distinct hinge adjustment techniques.
For overlay hinges, you’ll adjust the screws to align the door horizontally and vertically. Inset hinges require precision to guarantee the door sits flush with the cabinet frame, often involving depth adjustments. Full wrap hinges generally allow for more straightforward lateral and vertical tweaks.
- Overlay hinges: adjust side and depth screws to align gaps
- Inset hinges: focus on depth and vertical screws for flush fit
- Full wrap hinges: use lateral and vertical screws for door positioning
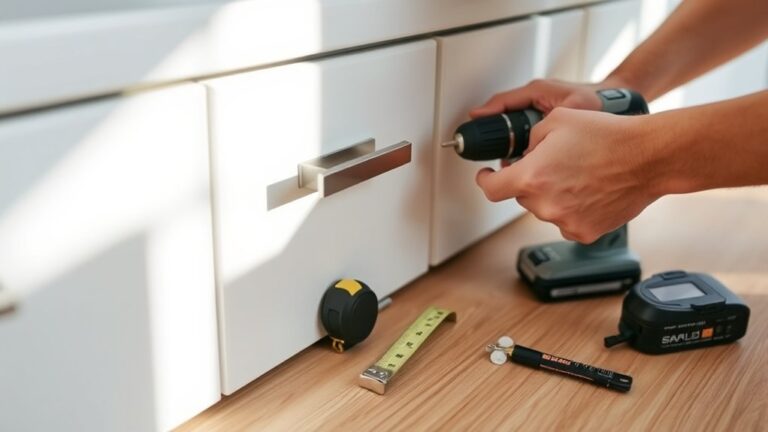
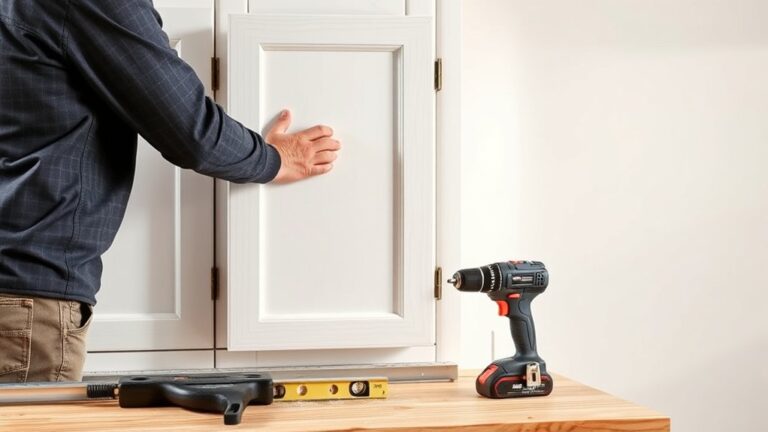
What Tools You Need to Adjust Cabinet Hinges
Before you begin adjusting your cabinet hinges, you’ll need a specific set of tools to confirm accuracy and ease. Different hinge styles require different screwdriver types; having the correct tools prevents damage and guarantees precise adjustments.
Typically, you’ll need Phillips and flathead screwdrivers, but some hinges might require a Torx or Allen wrench. A small level or ruler can also help verify alignment.
| Tool | Purpose |
|---|---|
| Phillips screwdriver | Most common for cabinet hinges |
| Flathead screwdriver | Older or specialty hinge styles |
| Torx screwdriver | Certain concealed hinge models |
| Allen wrench | Adjusting specific hinge screws |
| Level or ruler | Checking door alignment |
Prepare these tools beforehand to streamline your hinge adjustment process.
How to Adjust Kitchen Cabinet Hinges Step-by-Step
First, identify the type of hinge on your cabinet to determine the correct adjustment method. Next, use a screwdriver to carefully adjust the hinge screws, focusing on depth, height, and side-to-side positioning.
Finally, test the door alignment and make fine adjustments until it closes smoothly and sits flush with the frame.
Identify Hinge Types
Hinges come in various designs, each requiring specific adjustment methods to guarantee your kitchen cabinets function smoothly. To identify your cabinet hinges accurately, focus on hinge materials and hinge styles, as these elements dictate the adjustment approach.
Most kitchen cabinet hinges fall into three categories:
- Overlay Hinges: Mounted on the cabinet door’s surface, commonly made from steel or brass, often featuring concealed mechanisms.
- Inset Hinges: Fit inside the cabinet frame, usually constructed from durable metals like stainless steel for longevity.
- Full Wrap Hinges: Enclose the cabinet frame edge, typically crafted from heavy-gauge steel for structural support.
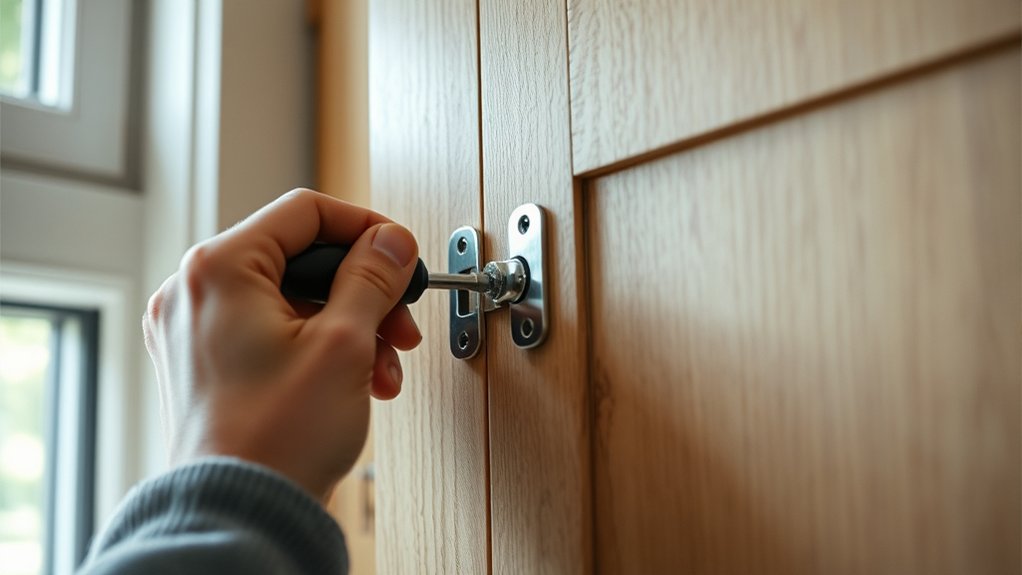
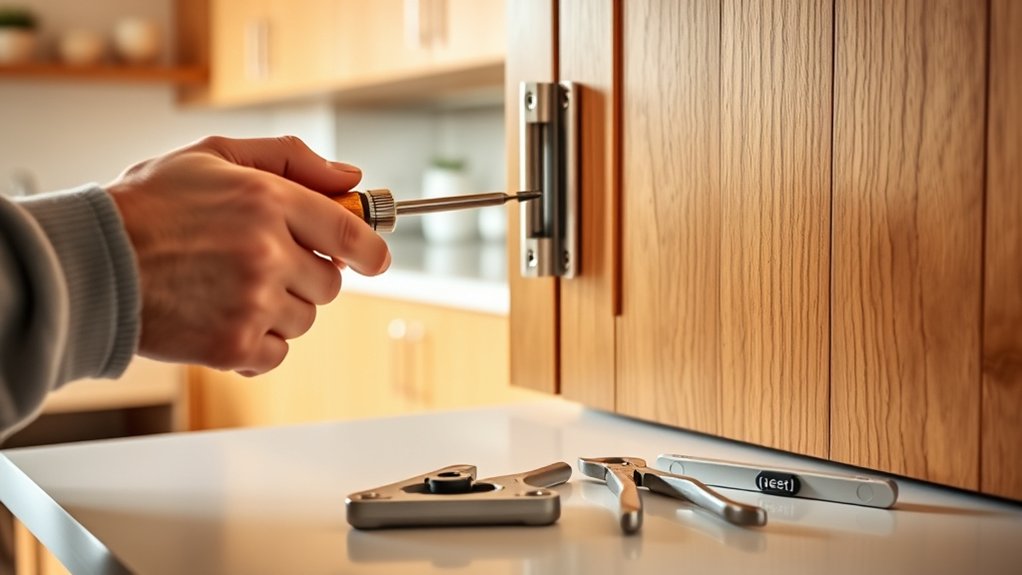
Adjust Hinge Screws
A proper adjustment of the hinge screws guarantees your cabinet doors align perfectly and operate smoothly. Start by identifying the screw types on your hinges. Typically, you’ll find depth, height, and side adjustment screws. Use a screwdriver that fits precisely to avoid stripping.
For side-to-side alignment, turn the side adjustment screw slightly. For depth positioning, adjust the depth screw. To raise or lower the door, use the height screw. Make small, incremental turns while checking the door’s position after each adjustment.
Regular hinge maintenance involves cleaning the screws and applying a drop of lubricant if they feel stiff. This prevents wear and guarantees consistent performance. By methodically adjusting each screw type, you maintain door alignment and prolong hinge lifespan effectively.
Test Door Alignment
After adjusting the hinge screws, you’ll want to test the door alignment carefully to verify the cabinet doors close evenly and sit flush with the frame. Proper alignment prevents uneven door gaps and compensates for potential hinge wear, ensuring smooth operation and longevity.
To test door alignment effectively:
Close the door slowly and observe any inconsistent door gaps along the edges.
Check for contact points where the door may rub against the cabinet frame, indicating misalignment or hinge wear.
Open and close the door multiple times to confirm consistent movement without binding or looseness.
If you notice irregular gaps or resistance, revisit the hinge adjustment steps to fine-tune the screws. Proper testing guarantees your cabinet doors look professional and function efficiently.
How to Fix Sagging or Misaligned Doors by Adjusting Hinges
You’ll first need to identify if the cabinet door is sagging or misaligned by checking its position relative to the frame. Gather basic tools like a screwdriver and possibly a drill for adjustments.
Then, follow a precise step-by-step process to tighten or reposition the hinges to restore proper alignment.
Identifying Door Alignment Issues
How can you tell if your kitchen cabinet doors need hinge adjustment? Look closely for uneven door gaps, which often indicate misalignment caused by hinge wear or improper installation. Additionally, check if doors sag or don’t close flush against the frame, as these are common signs of hinge issues.
Focus on these key indicators:
- Inconsistent door gaps along the edges, signaling uneven alignment
- Visible sagging or doors that rest lower than adjacent ones
- Hinge wear marked by looseness or stripped screws affecting door stability
Tools Needed For Adjustment
Essential tools for adjusting kitchen cabinet hinges include a screwdriver, typically Phillips or flathead depending on your hinge screws, and a level to guarantee proper door alignment. You’ll also need a flashlight or inspection light to clearly see the hinge mechanism, especially in dimly lit cabinets.
A small wrench or hex key may be required for specific hinge types. These tools enable precise hinge maintenance, ensuring you address sagging or misalignment effectively. Regular adjustment frequency depends on cabinet use and environmental factors, but keeping these tools handy facilitates timely corrections before issues worsen.
Having a soft cloth or gloves can help protect finishes during adjustment. Preparing these tools beforehand streamlines the process and improves the accuracy of your hinge adjustments.
Step-by-Step Hinge Adjustment
Adjusting kitchen cabinet hinges typically involves three key steps: loosening the screws, repositioning the door, and securing the screws once alignment is correct. To fix sagging or misaligned doors effectively, follow these hinge maintenance and adjustment techniques precisely.
Loosen the mounting screws on the hinge plate without removing them completely to enable movement.
Gently shift the door up, down, left, or right to achieve proper alignment and eliminate gaps or uneven spacing.
Tighten the screws firmly to lock the hinge in place, ensuring the door remains stable during use.
Tips for Maintaining Smooth-Operating Cabinet Hinges
Regularly lubricating and tightening cabinet hinges can greatly extend their lifespan and guarantee smooth operation. For effective cabinet maintenance, use a silicone-based lubricant to prevent buildup and corrosion.
Tighten screws periodically to avoid misalignment and squeaking. Clean hinges with a damp cloth before lubrication to remove dust and debris.
| Task | Frequency |
|---|---|
| Hinge lubrication | Every 6 months |
| Screw tightening | Every 3 months |
| Cleaning hinges | Monthly |
Following this schedule helps maintain hinge performance and prevents premature wear. Avoid using oil-based lubricants as they attract dust, which can impair hinge function.
Troubleshooting Common Cabinet Hinge Problems
When you notice cabinet doors sagging, misaligning, or making noise, it’s a clear sign that hinge issues need your attention. Addressing these common problems promptly prevents further damage and guarantees smooth operation. Start by inspecting for hinge wear, such as rust, loosened screws, or bent components. Using proper installation tips can also prevent recurring issues.
Focus on these key troubleshooting steps:
- Tighten loose screws and replace any stripped fasteners.
- Clean and lubricate hinges to reduce friction and noise.
- Replace worn or damaged hinges to restore proper alignment.
Frequently Asked Questions
Can I Replace Cabinet Hinges Myself or Should I Hire a Professional?
You can absolutely tackle DIY hinge replacement yourself; it’s not rocket science. With the right tools and patience, you’ll save money.
However, if precision and time are essential, professional installation guarantees flawless alignment and durability.
What Types of Cabinet Hinges Are Best for Heavy Wooden Doors?
You’ll want heavy duty options like full overlay or European hinges designed for weight. These provide strong support and smooth hinge installation, ensuring your heavy wooden doors stay secure and aligned without sagging over time.
How Often Should Cabinet Hinges Be Lubricated for Optimal Performance?
You should lubricate your cabinet hinges every six months, following a strict maintenance schedule. Use precise lubrication techniques like applying silicone spray or light machine oil to guarantee smooth operation and prevent wear over time.
Are There Eco-Friendly Hinge Materials Available for Kitchen Cabinets?
Yes, you’ll find sustainable materials like bamboo and recycled metals offering excellent hinge durability. These eco-friendly options reduce environmental impact while maintaining strength and function, making them practical choices for kitchen cabinet hardware.
Can Hinge Adjustments Improve Cabinet Door Energy Efficiency or Insulation?
You might not expect it, but adjusting hinges can actually boost energy efficiency by sealing gaps tightly. This precise alignment improves insulation, reducing drafts and heat loss.
This makes your kitchen cabinets more effective barriers against temperature changes.