How You Put a Rotisserie on Your Pellet Grill
To put a rotisserie on your pellet grill, start by choosing a compatible heavy-duty rotisserie kit designed for pellet grills. Gather essential tools like a drill and screwdriver to make installation easier.
Next, securely mount the motor and brackets on your grill, ensuring the spit rotates freely and remains balanced. Skewer your food tightly to prevent slipping during cooking.
Preheat the grill to 350°F–450°F and maintain steady heat for juicy, even cooking. Keep an eye on both the temperature and meat doneness for the best results.
There’s plenty more to learn to master rotisserie grilling perfectly.
Key Takeaways
- Choose a rotisserie kit compatible with your pellet grill model and ensure it includes a heavy-duty motor and brackets.
- Remove obstructing cooking grates and drill small holes to securely mount the motor bracket on the grill’s chosen side.
- Install a support bracket opposite the motor to hold the rotisserie spit and ensure smooth, balanced rotation.
- Skewer food tightly onto the spit with forks, balance the load, and truss poultry legs to avoid shifting during cooking.
- Preheat the grill to around 400°F, maintain consistent temperature, and monitor meat’s internal temperature for even cooking.
Choosing the Right Rotisserie Kit for Your Pellet Grill

Choosing the right rotisserie kit for your pellet grill is vital to getting the best results. You’ll want to make certain the kit is compatible with your specific model, whether it’s a Camp Chef Woodwind 24 or a Yoder Smokers YS480 or YS640. A heavy-duty bracket is essential for stability during those long cooking sessions, helping maintain consistent rotation and preventing motor strain.
Look for a rotisserie kit that offers self-basting action—this feature keeps your meat juicy and flavorful, perfect for tender meat like chicken or pork roasts. Don’t forget to check the motor’s power; it needs to handle the weight of your food for even cooking. Finally, choose a kit that doesn’t limit your grill’s side shelf or workspace, so you can keep prepping other items while your rotisserie does its magic.
This way, you’ll enjoy perfectly cooked, tender meat every time.
Tools and Materials Needed for Installation
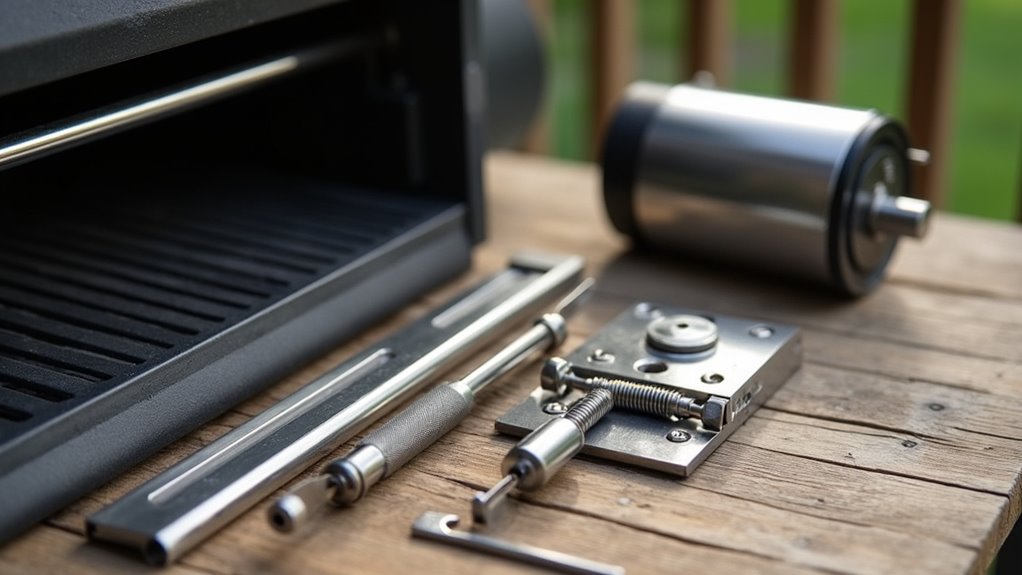
Getting your rotisserie up and running on a pellet grill requires a few essential tools and materials. First, you’ll need a quality rotisserie kit designed to fit your grill model—universal kits, like those from Char Broil, often work well. For installation, basic tools such as a drill, screwdriver, and possibly a wrench are necessary.
You’ll use the drill to create two small holes to securely attach the motor bracket to your grill. Depending on your pellet grill’s design, you might also have to install a support bracket on the opposite side to hold the rotisserie rod steady during cooking. Before starting, double-check that your pellet grill, such as the Camp Chef Woodwind 24, supports rotisserie modifications.
Having these tools and the right rotisserie kit handy will make the installation straightforward and guarantee your rotisserie performs smoothly.
Preparing Your Pellet Grill for Rotisserie Setup
Once you’ve gathered your rotisserie kit and tools, the next step is preparing your pellet grill for installation. Start by removing any cooking grates that might obstruct the rotisserie setup. Preheat your grill to a high heat setting, around 400°F, which is perfect for rotisserie cooking.
This guarantees your grill reaches ideal temperature for even cooking once the rotisserie is in place. Make sure the grill is clean and free of debris to promote good airflow and consistent heat distribution. When you’re ready, skewer your food onto the rotisserie spit, securing it tightly with the forks to keep everything balanced during rotation.
Before mounting, double-check that the spit spins freely without touching the grill’s sides or any internal parts. Preparing your pellet grill carefully will help you achieve perfectly cooked, evenly roasted dishes every time you use the rotisserie.
Mounting the Rotisserie Motor and Brackets
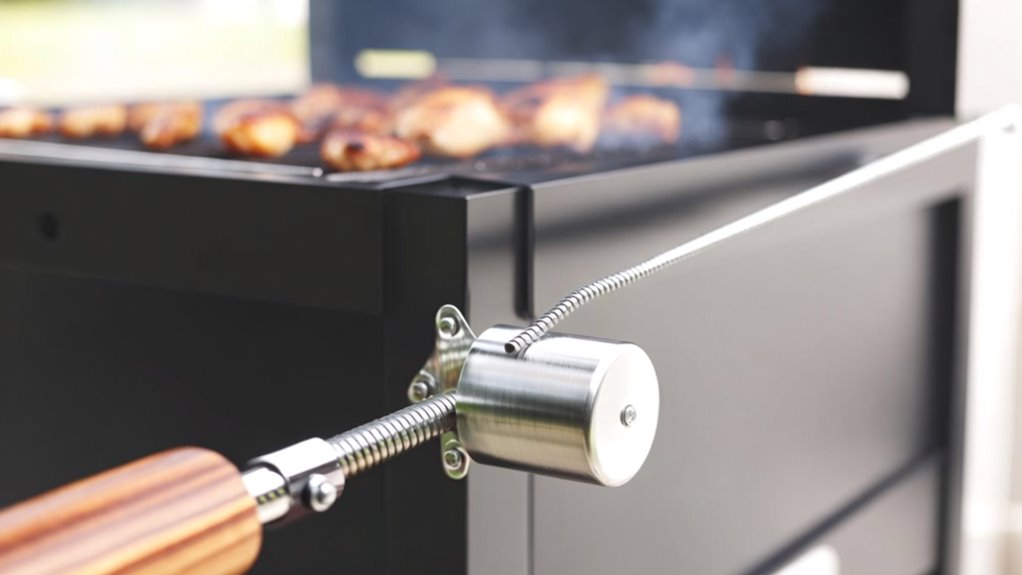
When mounting your rotisserie motor, you’ll want to choose the best side of your pellet grill for easy access and balance. Use the provided brackets to secure the motor firmly, and be ready to drill small holes if needed for a stable fit.
Keep in mind, some grills may need an extra bracket to support the rotisserie rod during cooking.
Motor Placement Options
Although mounting the rotisserie motor requires some care, positioning it correctly on your pellet grill guarantees smooth rotation of the spit. When considering motor placement options, you’ll want to install the motor on the side of your grill where the rotisserie rod can spin freely without hitting any obstructions. Use the provided brackets to secure the motor, typically by drilling two small holes.
Make certain the motor sits level and stable to avoid any wobbling during cooking. Some pellet grills might need an extra bracket opposite the motor to support the rotisserie rod properly. After mounting, always double-check that the rod spins smoothly and is well-balanced before you start cooking.
Proper motor placement guarantees consistent, even cooking every time.
Bracket Installation Tips
Getting the motor securely mounted is just the start—you’ll also need to focus on installing sturdy brackets to support the rotisserie rod. Begin by drilling two small holes for the motor bracket, ensuring a secure fit tailored to your pellet grill model. Some grills require an additional bracket on the opposite side to hold the spit rod firmly in place.
Choose heavy-duty brackets that can handle the weight and movement during cooking, preventing wobbling or instability. Position the motor and brackets so the spit rod rotates freely without hitting any grill components. Once everything’s mounted, double-check that the spit is perfectly centered for even cooking.
Proper bracket installation not only supports the spit rod but also guarantees smooth, reliable rotisserie performance every time.
Installing the Rotisserie Spit and Securing the Food
To install the rotisserie spit and secure your food, start by mounting the rotisserie motor with the provided brackets, making certain it’s firmly attached to your pellet grill. If needed, drill two small holes on one side of the grill following the manufacturer’s guidelines to install the motor bracket securely.
Next, slide the rotisserie spit through the center of your food, making sure it’s balanced and centered within the grill. Use the rotisserie forks to tightly secure the food to the spit, preventing any movement during rotation. Properly centering the spit helps with even cooking and smooth rotation.
Before closing the lid and starting your pellet grill, double-check that the food is firmly attached and won’t shift as it turns. Taking these steps guarantees your rotisserie setup is stable, allowing you to achieve perfectly cooked meals every time without interruptions.
Balancing the Load for Smooth Rotation
Once you’ve secured your food to the rotisserie spit, the next step is making certain the load is properly balanced. Balancing the load is essential to prevent uneven spinning, which can strain the motor and disrupt the slow rotation needed for even cooking. Start by centering the food on the spit, ensuring weight is evenly distributed.
If one side is heavier, use counterweights to achieve smooth rotation. Securely truss or tie the meat so it won’t shift during cooking, maintaining stability throughout the process. Regularly check the balance as the food cooks to avoid motor stress or failure.
Proper balancing also helps maintain consistent internal temperature, allowing your roast or poultry to cook evenly and thoroughly. By keeping the load balanced, you ensure your pellet grill’s rotisserie operates efficiently and delivers perfectly cooked results every time.
Setting the Ideal Cooking Temperature
To get the best results on your pellet grill rotisserie, aim for a temperature between 350°F and 450°F for even cooking and a crispy outside.
Preheating to around 400°F helps maintain consistent heat throughout the process.
Keep an eye on the temperature and adjust as needed based on what you’re cooking to avoid drying out your food.
Optimal Temperature Range
Although pellet grills offer a wide temperature range, you’ll want to keep your rotisserie cooking between 275°F and 400°F to get the best results. For poultry, aim for around 350°F to guarantee even cooking and crisp skin while keeping the meat juicy.
If you’re cooking beef or pork roasts, bump the temperature closer to 400°F to develop a nice crispy outer layer. When setting up your rotisserie on the side of the grill, try to maintain consistent heat within this range to avoid uneven cooking.
Using a meat thermometer is key; target 165°F for poultry and 145°F for pork or beef for safe, delicious results. Keeping these temperatures steady will help you master rotisserie cooking on your pellet grill.
Temperature Maintenance Tips
Keeping your pellet grill’s temperature steady between 350°F and 400°F is crucial when using a rotisserie, as fluctuations can lead to uneven cooking or dry meat. To maintain this, regularly check your grill’s temperature and adjust pellet flow as needed. Make certain your rotisserie is balanced properly; an unbalanced load strains the motor and can cause inconsistent heat.
Use a drip pan beneath the rotisserie—this not only catches juices but also helps maintain humidity inside the grill, promoting even cooking and moisture retention. Don’t forget to monitor your meat’s internal temperature with a thermometer to guarantee perfect doneness.
Monitoring and Adjusting During Cooking
While your meat slowly cooks on the rotisserie, you’ll want to regularly check both its internal temperature and your grill’s heat to keep everything on track. Use a meat thermometer to monitor doneness and prevent overcooking. Keep the grill temperature steady between 350°F and 450°F by adjusting the pellet feed or airflow as needed.
Make certain the spit rotates evenly and stays balanced since uneven spinning can affect cooking and moisture retention. Also, watch the drip pan to avoid it drying out—adding water or broth helps maintain moisture and enhances flavor. Staying attentive to these details guarantees consistent heat and proper cooking.
Once your meat reaches the desired temperature, remove it and let it rest for 10 to 20 minutes. This resting period allows juices to redistribute, improving tenderness and flavor. By actively monitoring and making small adjustments, you’ll get the best results from your pellet grill rotisserie setup.
Tips for Achieving Juicy and Evenly Cooked Meat
To get juicy, evenly cooked meat, make certain your food is balanced on the spit so it spins smoothly without straining the motor. Keep an eye on the grill’s temperature, aiming for around 400°F, and use a meat thermometer to check the internal temperature as you cook.
These steps help guarantee your meat cooks evenly and stays tender.
Proper Food Balancing
Achieving juicy and evenly cooked meat on your pellet grill’s rotisserie starts with proper food balancing. First, securely skewer your meat using forks to prevent shifting during rotation. Even weight distribution is essential; an unbalanced spit can cause uneven cooking and strain your motor.
For larger or oddly shaped cuts, use counterweights to maintain balance. When cooking poultry, truss legs and wings tightly to the body for consistent heat exposure.
| Issue | Solution |
|---|---|
| Uneven spinning | Adjust weight distribution |
| Shifting meat | Secure with forks |
| Motor strain | Use counterweights if needed |
Regularly check balance and speed during cooking to keep your meat juicy and evenly cooked.
Temperature Monitoring Techniques
Even if your rotisserie is perfectly balanced, you won’t get juicy, evenly cooked meat without closely monitoring the temperature. Use a reliable meat thermometer to track internal temps—165°F for chicken and 145°F for pork—to guarantee safety and doneness. Keep the grill’s ambient temperature steady between 350°F and 400°F for the best cooking results.
A dual-probe thermometer is a smart investment, letting you monitor both the meat’s internal temperature and the grill’s heat simultaneously. Don’t forget to let your meat rest for 10-20 minutes after cooking; this helps the juices redistribute, locking in moisture. Finally, make certain your rotisserie motor and spit stay centered and balanced to maintain consistent rotation, promoting even cooking throughout.
Cleaning and Maintaining Your Rotisserie Equipment
Although cleaning your rotisserie equipment might seem tedious, it’s essential for ensuring consistent performance and longevity. After each use, detach the rotisserie spit and motor to clean them separately. Soak the spit and forks in warm, soapy water, then scrub with a non-abrasive sponge to remove grease and food particles without damaging the surface.
When cleaning the motor and electrical components, simply wipe them down with a damp cloth, taking care to avoid excess moisture that could cause damage. Regularly inspect the rotisserie brackets and connections for wear or loosening, tightening screws as needed to keep everything stable during cooking. Finally, store your rotisserie equipment in a dry place when not in use to prevent rust and extend its lifespan.
Frequently Asked Questions
Can You Put a Rotisserie on a Pellet Grill?
Yes, you can put a rotisserie on your pellet grill. You’ll need to drill a couple of small holes for the motor bracket, but it’s pretty straightforward with basic tools. Models like the Camp Chef Woodwind 24 are designed to handle rotisserie setups.
Just make sure you balance your food well and keep the temperature steady between 275°F and 350°F for juicy, evenly cooked results with that self-basting effect.
What Temperature Do You Cook a Rotisserie Chicken on a Pellet Grill?
When cooking rotisserie chicken on your pellet grill, you’ll want to set the temperature between 350°F and 400°F—that’s the sweet spot for crispy skin and juicy meat. Don’t forget to preheat first and use a meat thermometer to hit an internal temperature of 165°F.
It’s key to avoid drying out your chicken. Once done, let it rest for 10-15 minutes to let the juices settle—makes all the difference in flavor!
How to Insert a Rotisserie Rod?
To insert a rotisserie rod, start by skewering your food evenly and securing it tightly with forks or clamps. Then, place the rod into the motor bracket on one side of your grill, making sure it’s fully seated and can spin freely without any obstructions.
Double-check that the motor is properly mounted and plugged in. Once inserted, close the lid and you’re ready to start cooking your rotisserie meal.
How to Use Rotisserie on a Grill?
Using a rotisserie on your grill is both simple and rewarding. You’ll start by mounting the motor and skewering your food securely, balancing it so it rotates evenly. Then, set your grill to the right temperature and place the spit in the motor.
As it slowly turns, the even heat cooks your meat perfectly, locking in juices. Just remember to monitor doneness and let it rest before serving for the best flavor.
Conclusion
Now that you’ve got your rotisserie set up on your pellet grill, you’re ready to impress like a backyard BBQ knight of old. Just remember to keep an eye on the temperature and rotate that spit evenly for juicy, mouthwatering results.
With a bit of practice and care, your rotisserie will become your grill’s shining armor, delivering perfectly cooked meat every time. Happy grilling, and may your feasts be legendary!
Mastering how you put a rotisserie on your pellet grill ensures your meals are flavorful and evenly cooked, making your outdoor cooking experience truly exceptional.