How to Remove Faucet Aerator
To remove your faucet aerator, first turn off the water supply to avoid spills. This step ensures a clean and safe removal process.
Identify the type of faucet you have to understand how the aerator is attached.
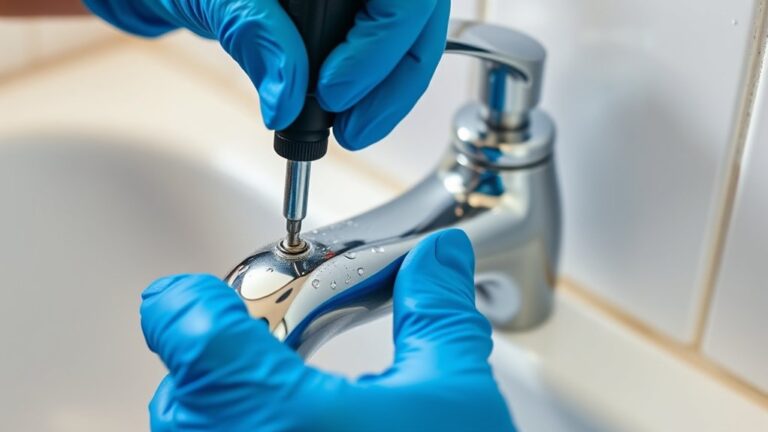
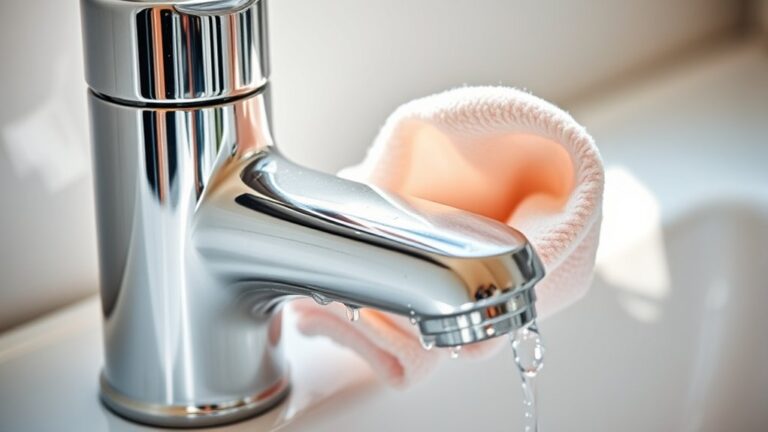
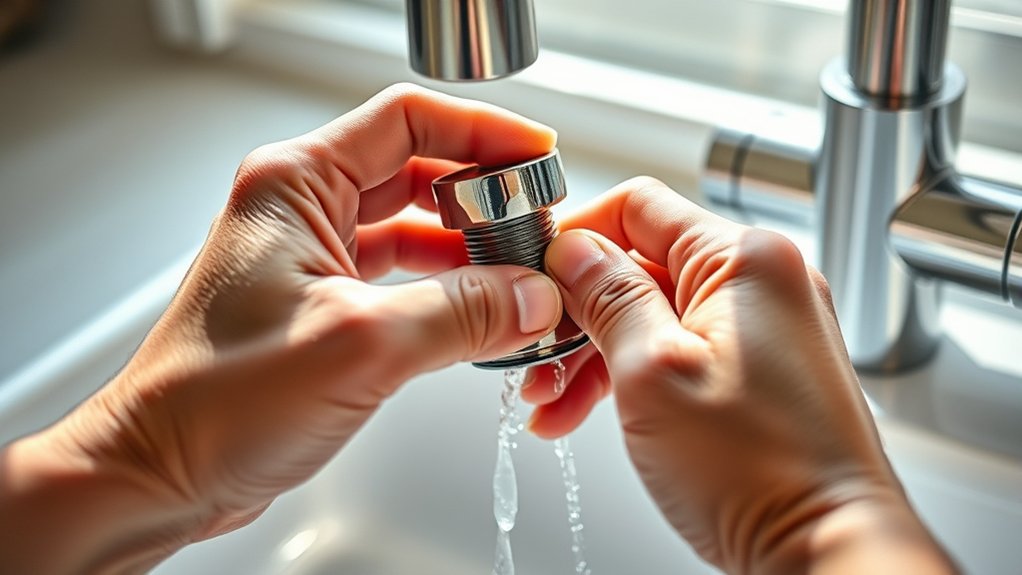
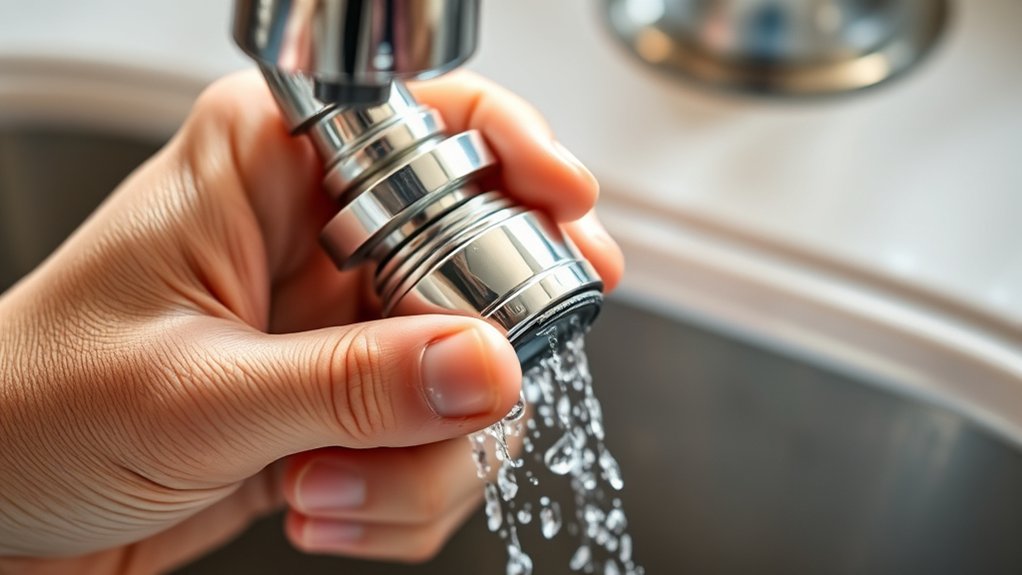
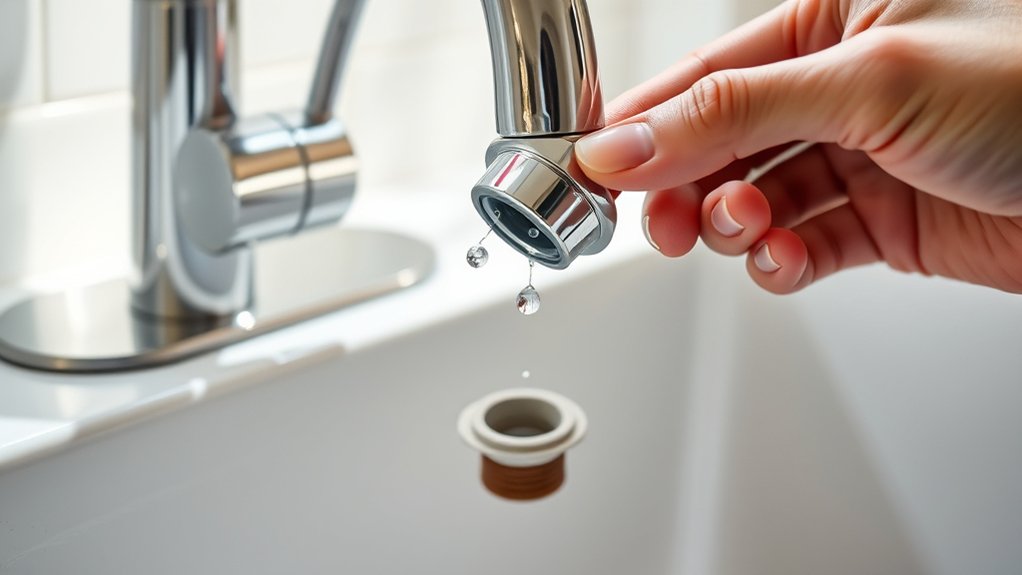
Next, grip the aerator firmly and twist it counterclockwise to unscrew it. If it feels stuck, use a cloth or an adjustable wrench to protect the finish while loosening it.
Be cautious with delicate finishes—rubber strap wrenches work well to avoid damage.
Once the aerator is removed, you can clean or inspect it for damage. Keeping your aerator maintained helps ensure proper water flow.
Keep going to uncover tips on proper cleaning, inspection, and reinstallation.
How to Remove Your Faucet Aerator
Begin by turning off the water supply to prevent any accidental flow. Next, identify your faucet type, as aerator removal methods vary slightly between models. Most aerators screw onto the faucet’s spout, but some may require a gentle pry.
Grip the aerator firmly and twist counterclockwise to unscrew it. If it’s stuck, use a cloth for better grip to avoid damaging the finish. Removing the aerator lets you clean or replace it, maintaining water flow effectiveness and preventing debris buildup.
Aerator benefits include reducing water usage, improving water pressure, and filtering out particles. By understanding your faucet type and carefully removing the aerator, you guarantee peak performance and prolong the fixture’s lifespan without causing damage.
Tools Needed to Remove a Faucet Aerator
After you’ve identified your faucet type and prepared to remove the aerator, gathering the right tools will make the process smoother and prevent damage. Different aerator types require specific handling, so having the proper equipment is crucial for effective faucet maintenance.
Knowing your faucet type and having the right tools ensures smooth, damage-free aerator removal every time.
Here’s what you’ll need:
- Adjustable wrench provides a secure grip without scratching the aerator.
- Rubber strap wrench is ideal for delicate finishes and plastic aerators.
- Needle-nose pliers are useful for removing internal screens or washers.
- Teflon tape to reseal threads if necessary during reassembly.
Using these tools guarantees you can safely remove various aerator types without causing damage, streamlining your faucet maintenance routine.
How to Clean and Inspect Your Faucet Aerator
Three key steps guarantee your faucet aerator functions effectively: cleaning, inspecting, and reassembling. Begin aerator maintenance by soaking the disassembled parts in a mild cleaning solution, such as vinegar or a commercial descaling agent, to dissolve mineral deposits. Use a soft brush to scrub the screen and housing gently, making sure no debris remains lodged.
Rinse all components thoroughly with water to remove any residual cleaning solution.
Next, inspect the aerator for damage or wear, focusing on the screen, rubber washers, and housing threads. Check for cracks, corrosion, or blockages that could impair water flow. Replace any compromised parts to maintain peak performance.
This precise cleaning and inspection routine guarantees your faucet aerator remains efficient and prolongs its service life.
How to Reinstall Your Faucet Aerator and Prevent Clogs
Thorough cleaning and inspection set the stage for proper reinstallation of your faucet aerator. Follow these steps to guarantee peak performance and prevent clogs:
- Align the cleaned or replaced aerator with the faucet spout threads, making sure the rubber washer sits correctly to prevent leaks.
- Hand-tighten the aerator clockwise, avoiding overtightening which can damage threads or washers.
- Use aerator maintenance tips like periodic removal and cleaning to sustain water flow and prevent mineral buildup.
- Consider aerator replacement options if damage or persistent clogging occurs, selecting models compatible with your faucet for easy installation.
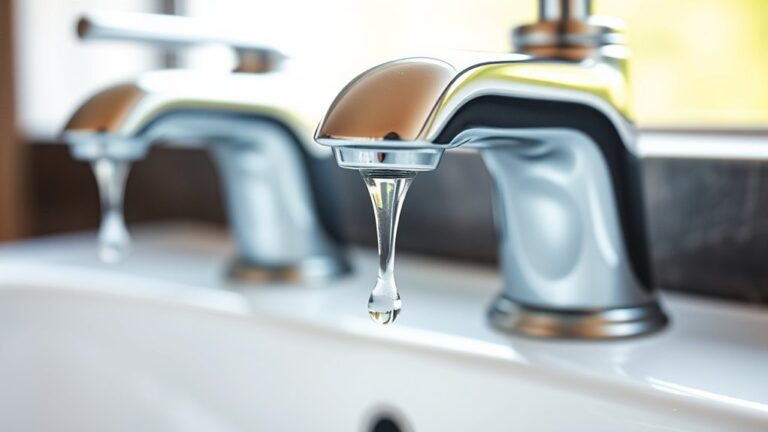
Signs Your Faucet Aerator Needs Cleaning
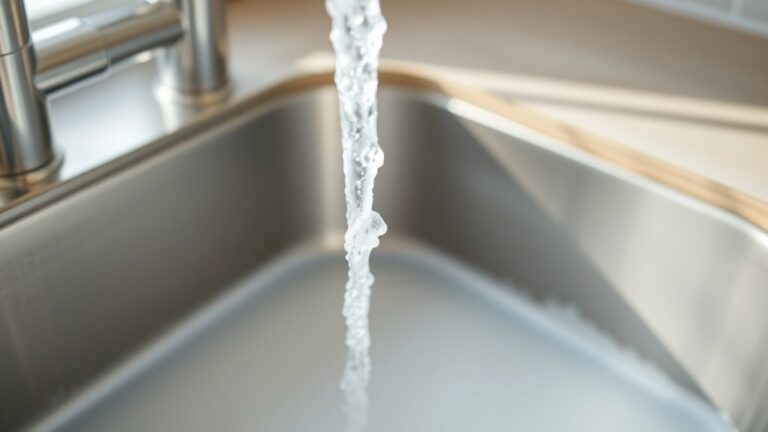
When you notice a sudden drop in water pressure or an irregular spray pattern, your faucet aerator likely requires cleaning. These signs indicate that mineral deposits or debris have accumulated, obstructing water flow and reducing the aerator benefits such as water conservation and smooth flow.
Common issues include uneven water distribution, sputtering, or noisy flow, all pointing to clogging inside the aerator screen or housing. You might also detect visible buildup or discoloration around the aerator tip.
Ignoring these symptoms can lead to persistent flow problems and diminished water efficiency. Regular inspection helps you identify when cleaning is necessary, ensuring your faucet maintains peak performance and preserves the aerator’s function.
Addressing these issues promptly prevents further damage and supports long-term faucet reliability.
Frequently Asked Questions
Can a Faucet Aerator Improve Water Pressure?
Yes, you can improve water flow by choosing the right aerator type. Some aerators increase pressure by mixing air with water, optimizing flow without wasting water.
Select aerators designed for higher pressure to enhance your faucet’s performance.
Are Faucet Aerators Compatible With All Faucet Types?
Faucet aerators aren’t universally compatible with all faucet types due to varying aerator sizes and thread patterns. You’ll need to match the aerator size precisely to your faucet type for a proper fit and ideal performance.
How Often Should I Replace My Faucet Aerator?
Think of your faucet aerator like a car’s oil filter. You replace it every six months to keep things flowing smoothly.
Follow aerator maintenance tips and aerator cleaning methods regularly to prevent buildup and maintain water quality.
Do Faucet Aerators Help Save Water?
Yes, faucet aerators help save water by mixing air with the flow, reducing water use without sacrificing pressure.
You’ll benefit from improved water conservation and lower utility bills, making aerator benefits both practical and efficient.
Can a Damaged Aerator Cause Leaks?
Like a worn-out tire causes slow leaks, a damaged aerator can cause leaks too. Regular aerator maintenance helps with leak detection, ensuring you catch drips early and avoid water waste or fixture damage.