How to Install Shower Faucet Single Handle
First, shut off your main water supply to begin the installation of your single-handle shower faucet. Remove the old faucet handle using an adjustable wrench, taking care not to damage surrounding fixtures.
Gather the necessary tools such as a screwdriver set, plumber’s tape, and a level to ensure a smooth installation process.
Prepare the new single-handle shower valve by checking that it fits your existing plumbing and is free of any debris.
Connect the water supply lines securely using plumber’s tape to prevent leaks.
Mount the valve level on the wall, then attach the handle and trim properly according to the manufacturer’s instructions.
Finally, test the faucet for smooth operation and check carefully for any leaks. Following these steps will help you achieve a precise, leak-free installation and reliable water control.
Turn Off Water and Remove the Old Faucet

Before you begin, shut off the main water supply to prevent leaks and water damage. This step is essential to safely reduce water pressure in your plumbing system. Once the water is off, open the existing faucet to relieve any remaining pressure and drain residual water.
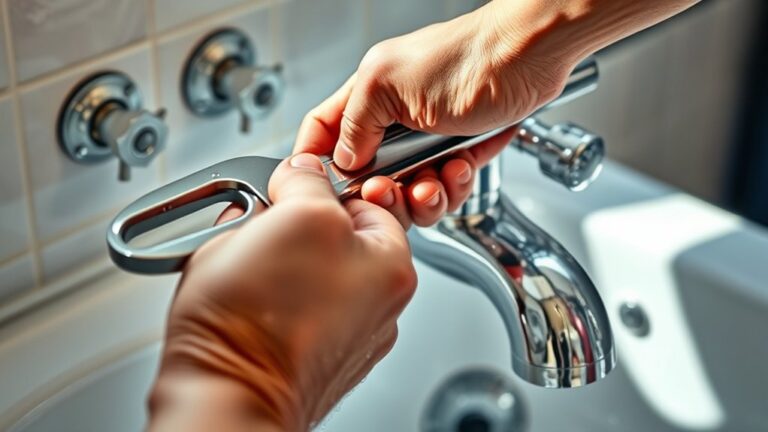
Next, inspect the faucet area for signs of faucet leaks or corrosion that might affect removal. Use an adjustable wrench to carefully loosen and remove the faucet handle, then detach the escutcheon plate and any mounting hardware securing the unit.
If the faucet is stuck due to mineral buildup, apply penetrating oil and allow it to sit before attempting removal again. Properly removing the old faucet without damaging surrounding pipes or fixtures guarantees a clean installation of your new single-handle shower faucet.
Gather the Right Tools and Materials for Your Single-Handle Faucet
Before you start installing your single-handle shower faucet, make certain you have all the essential tools, including an adjustable wrench, screwdriver, and plumber’s tape.
You’ll also need specific materials like the faucet assembly, supply lines, and mounting hardware. Having everything on hand will guarantee a smooth and efficient installation process.
Essential Tools Checklist
To install your single-handle shower faucet efficiently, you’ll need a specific set of tools and materials on hand. Knowing the different faucet types helps you select the right tools and follow installation tips precisely. Having everything ready minimizes delays and errors during installation.
Here’s your essential tools checklist:
- Adjustable wrench: for tightening connections without damaging fittings.
- Screwdriver set: both flathead and Phillips for handle and plate screws.
- Plumber’s tape (Teflon tape): to seal threaded joints against leaks.
- Pipe cutter or hacksaw: for adjusting pipe lengths if necessary.
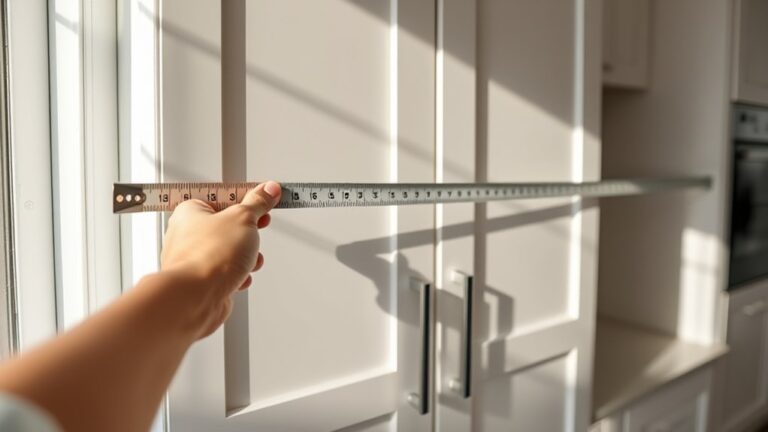
- Level: to verify your faucet is installed straight for peak performance.
Gathering these tools streamlines your workflow and supports a successful installation.
Materials Needed Overview
Having the right tools ready sets a solid foundation, but you’ll also need specific materials tailored to your single-handle shower faucet model. First, identify your faucet type, whether it’s pressure-balancing, thermostatic, or manual, as this determines compatible parts.
Gather a new valve cartridge, plumber’s tape, and appropriate mounting hardware matching your faucet’s specifications. You’ll also need supply lines rated for your water pressure and temperature range. Sealants or silicone caulk may be necessary to guarantee watertight installation.
Review installation tips from the manufacturer to confirm any model-specific components or adjustments. Preparing these materials beforehand prevents delays and errors during installation.
Confirming precision in selecting parts enhances faucet performance and longevity, making your single-handle shower faucet installation efficient and reliable.
Prepare Your Bathroom Workspace for Installation
Three essential steps confirm your bathroom workspace is ready for shower faucet installation. First, prioritize bathroom organization to streamline your process and avoid clutter.
Next, guarantee workspace safety by removing hazards and securing tools. Finally, prepare your tools and materials within easy reach to maintain efficiency.
Focus on these critical tasks:
- Clear the area around the shower to prevent accidents.
- Lay down a protective covering on floors and fixtures.
- Organize all required tools and parts systematically.
- Turn off the main water supply to avoid leaks.
- Confirm proper lighting for detailed work.
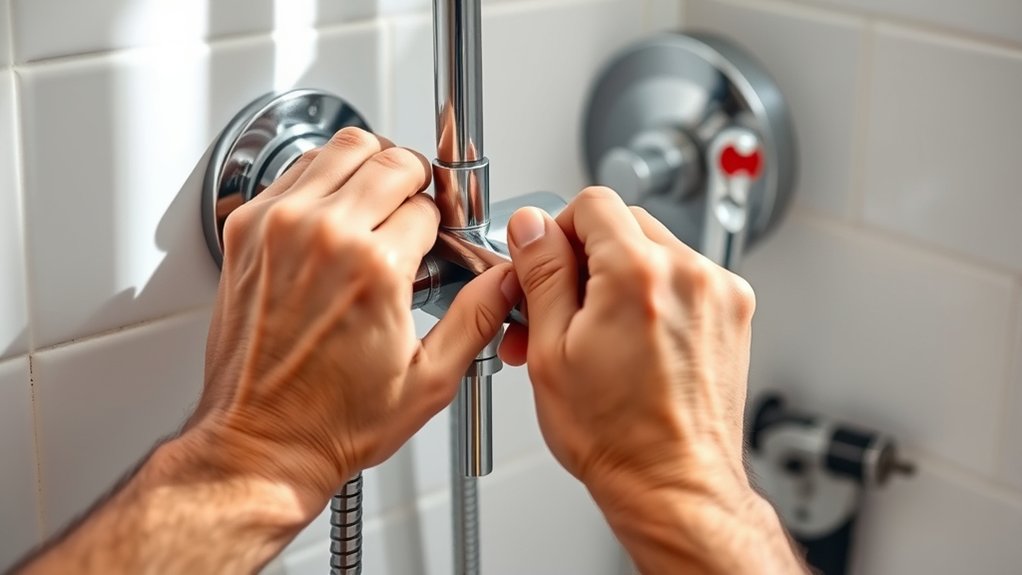
Install the New Single-Handle Shower Valve
Start by preparing the new single-handle shower valve according to the manufacturer’s instructions. Then, connect the water supply lines securely, ensuring all fittings are tight and properly aligned.
Finally, fasten the valve to the wall framing and test for leaks before closing the wall.
Preparing the Shower Valve
Before installing the new single-handle shower valve, make certain the water supply is completely shut off and the old valve is fully removed. Proper preparation guarantees a secure fit and ideal function. Familiarize yourself with valve types to select the right model for your plumbing.
Follow these installation tips:
- Inspect the valve body for any damage or debris before fitting.
- Align the valve so the handle and ports face the correct direction.
- Use a level to verify the valve sits straight within the wall cavity.
- Check that mounting brackets or support straps are securely fastened.
- Confirm that the valve’s depth matches the finished wall thickness for proper trim installation.
These steps help prevent leaks and streamline the next phase of connecting water supply lines.
Connecting Water Supply Lines
With the shower valve properly positioned and secured, you can now connect the water supply lines. Begin by attaching the hot and cold water lines to the valve’s inlet ports using appropriate pipe fittings.
Verify that you use fittings compatible with your pipe material, such as copper, PEX, or CPVC, to maintain a secure seal and avoid leaks. Tighten each connection firmly but avoid over-tightening, which can damage threads or fittings.
Check that the fittings are aligned correctly to prevent undue stress on the valve. Maintaining consistent water pressure is essential; confirm the supply lines are free of blockages or kinks that could restrict flow.
Use thread sealant or Teflon tape on threaded connections to enhance the seal and prevent leaks when the system is pressurized.
Securing and Testing Valve
Secure the shower valve firmly to the framing using mounting brackets or screws designed for your valve model. Proper attachment prevents movement that could cause leaks or damage.
Once secured, test the valve for proper function and leaks. Follow these steps:
- Turn on the main water supply slowly to pressurize the system.
- Inspect all connections for drips or moisture.
- Operate the valve handle through its full range to guarantee smooth movement.
- Check for any unusual noises or resistance indicating internal issues.
- If leaks appear, tighten fittings or replace seals as part of valve maintenance.
This process helps you catch and troubleshoot leaks early, assuring reliable operation and longevity of your new single-handle shower valve.
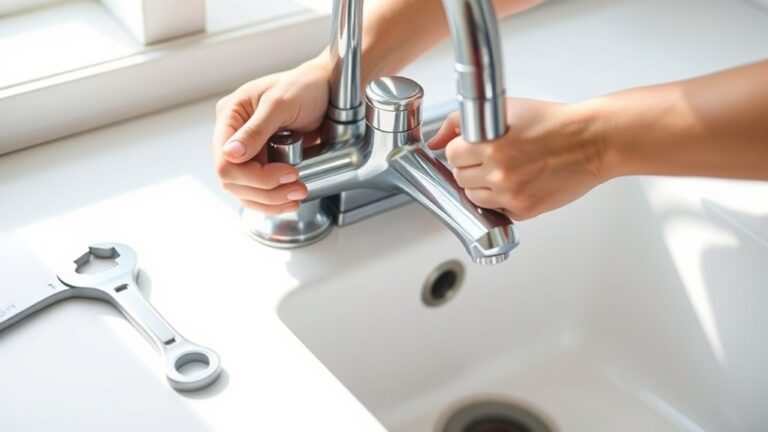
Connect the Water Supply Lines Correctly
Carefully align the hot and cold water supply lines to their corresponding inlets on the shower faucet. Confirming correct alignment prevents cross-connection, which can affect water pressure and temperature control.
Use plumber’s tape on threaded connections to create a watertight seal and avoid leaks. After securing the fittings by hand, tighten them with an adjustable wrench. Avoid overtightening to prevent damaging the fittings.
Once connected, check that pipe insulation is properly positioned around the supply lines to maintain temperature consistency and reduce heat loss. Finally, turn on the main water supply slowly and observe for leaks at all joints.
Verify consistent water pressure from both hot and cold lines before proceeding to the next installation step. Proper connection confirms ideal faucet performance and longevity.
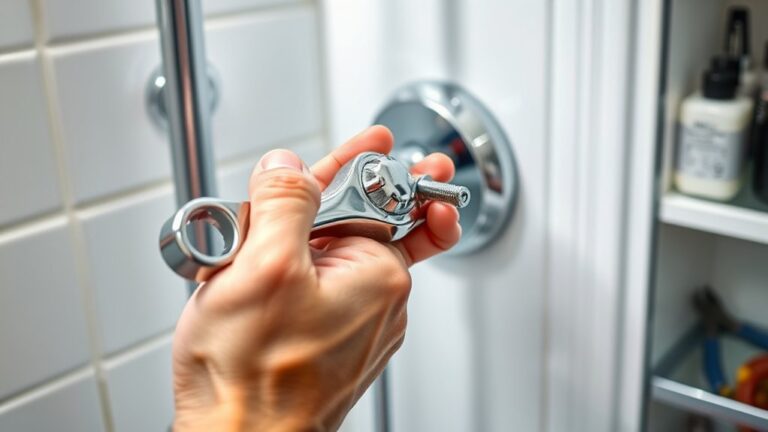
Attach and Secure the Faucet Handle and Trim
Begin by positioning the faucet handle and trim onto the valve stem, confirming they align with the designated markers or notches. Proper handle alignment is critical to guarantee smooth operation and prevent damage.
Next, secure the handle using the provided set screw or fastener, tightening it firmly but without over-torquing. Pay close attention to trim aesthetics by verifying the trim plate sits flush against the wall surface without gaps or uneven spacing.
Finally, check that all components move freely and appear symmetrical. Follow these steps:
- Align handle precisely with valve stem markers
- Position trim plate flush to wall for clean look
- Tighten set screw securely, avoiding over-tightening
- Confirm handle rotates smoothly without resistance
- Inspect trim aesthetics for uniform gaps and fit
This approach guarantees a professional, durable installation.
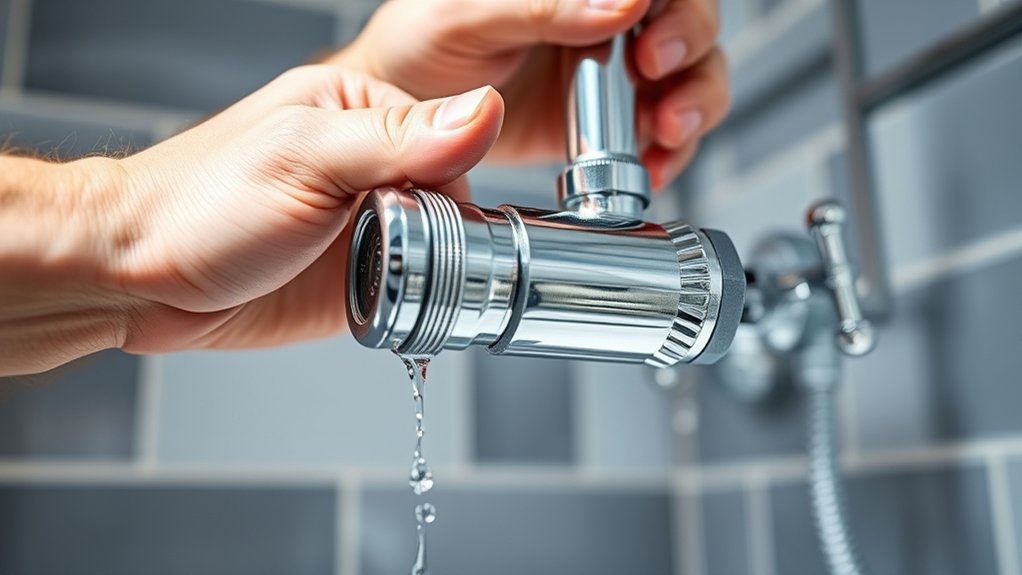
Test Your New Faucet and Troubleshoot Common Issues
Once you’ve installed the faucet handle and trim, you’ll want to test the new faucet to verify it functions correctly and identify any issues early. Turn the water supply on slowly and operate the handle through its full range. Check for smooth operation and consistent water temperature control.
Inspect all connections for leaks, paying close attention to the trim plate and handle base. If you detect any drips, tighten fittings or reapply plumber’s tape as needed. Listen for unusual noises or observe inconsistent water flow, which may indicate internal cartridge problems.
Address faucet performance issues promptly to prevent water damage. Use a systematic approach for troubleshooting leaks by isolating sections and confirming seals. Proper testing guarantees long-term faucet reliability and peak performance.
Frequently Asked Questions
What Are the Best Brands for Single-Handle Shower Faucets?
You’ll want brands like Moen, Delta, and Kohler for single-handle shower faucets. They offer excellent moisture resistance and standout design aesthetics, ensuring durability and style in your bathroom’s plumbing fixtures.
How Do I Choose Between a Pressure-Balancing and Thermostatic Valve?
When choosing valve types, don’t put all your eggs in one basket. Pressure-balancing valves prevent sudden temperature changes, while thermostatic valves offer precise control.
Consider installation tips, water pressure, and budget to make the right call.
Can I Install a Single-Handle Faucet Myself Without Plumbing Experience?
You can install a single-handle faucet yourself without plumbing experience by following detailed guides, using appropriate faucet tools, and approaching the task with patience.
DIY plumbing requires precision, but with preparation, you’ll achieve a professional result safely.
What Maintenance Is Required to Keep the Faucet Working Smoothly?
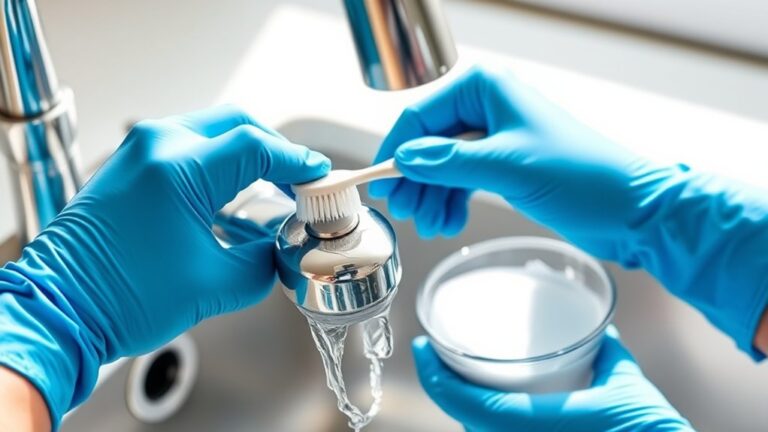
You should clean aerators regularly, check for leaks, and lubricate moving parts to prevent corrosion. These faucet longevity tips address common issues like dripping or stiffness, ensuring your single-handle faucet operates smoothly and lasts longer.
How Do I Upgrade to a Single-Handle Faucet From a Dual-Handle System?
Upgrading to a single-handle faucet is like switching gears smoothly: first, gather installation tools, remove old faucet types, and check compatibility. Then install the new cartridge and handle, ensuring all connections are watertight and tested for leaks.